I get some really great posters in my email from time to time that are bordered and have text in them. I wanted to try my hand at making my own. They're fun and easy to make.
A
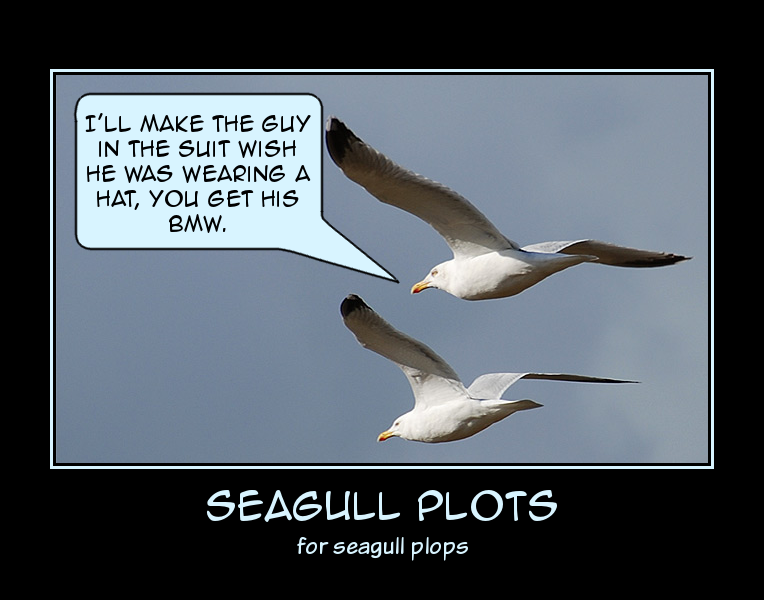
Bing search for posters will bring up a lot of similar posters.
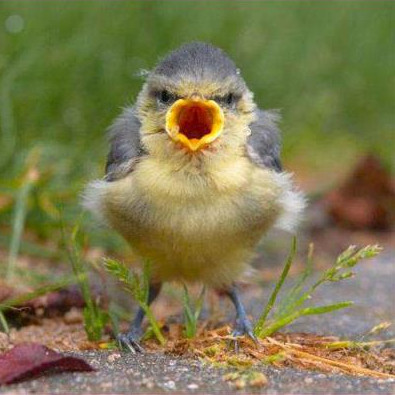
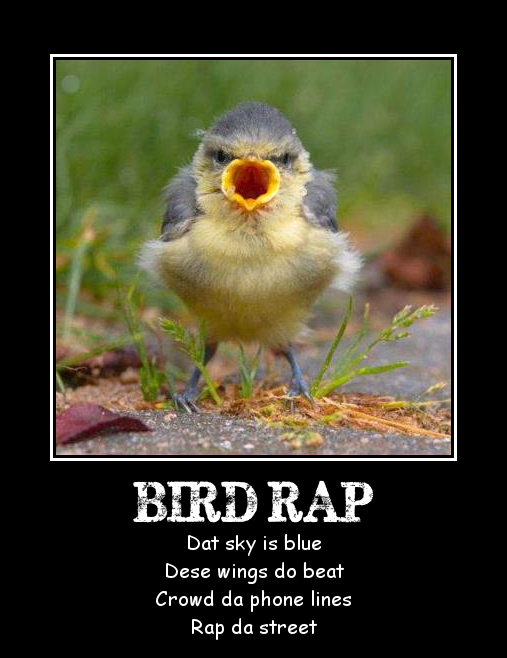
I got this bird picture in an email and I immediately thought "poster" and the bird made me think of a rapper.
I used the
Add Border Script by Insanity Prevails to make the thin borders around the image. It's my all time favorite border script for small borders and it's located in Filters > Decor >
Apply Border. Be sure to click
Apply Border in Decor because there is another border script in there. I've also attached the script below. Download the script to your scripts folder. Refresh the scripts in GIMP or if it's not open, it will refresh when you open GIMP.
1. Open your image and crop it if necessary. Right click the image layer and Add Alpha Channel.
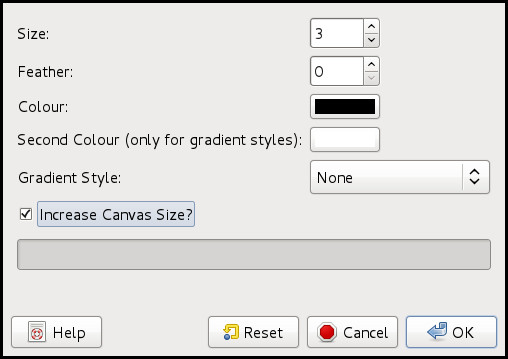
2. Filters > Decor >
Apply Border3. I usually use 2 or 3 for the border, but use what you like. The top color window should be black (000000). Be sure to check the Increase Canvas Size box. Click OK.
4. You will have a new layer called Border. Merge it down to the image.
5. Re-open the Apply Border script, make the top color window white or another color if you want color. Merge the layer down to the image.
6. Image > Canvas Size. Make sure the chain in there is broken. For the Width, make the canvas size 100 pixels larger than the image, and for the Height, make it 200 pixels larger (Depending on the size of your text, you may need to go back later and increase the height more). Click the center button, click Resize.

7. Make a new layer, fill it with black and move it below the image layer.
8. The image is centered both horizontally and vertically, but you need to move the image up so that the bottom black area is larger to fit text.
9. Make sure your image layer is the active layer. Click the Move

tool, be sure Move the Active Layer is selected in the Move tool options.
10. Click the Title bar or the Menu on the image window so that the image window is selected. I click there rather than in the image so that I don't accidentally move the image. Use the Up arrow key to move the image up. Using the Move
tool with the arrow prevents your image from accidentally becoming uncentered horizontally. You may have to move your image more or add more canvas and black to it. The text will determine that.
11. Now it is time to do your text. If you have a colored border instead of a white one you will probably want to use that color for your text. Click the Text

Tool. The top line(s) of text will be larger than the lower line(s). The top text is the title of the poster. Make a line of large text and fit it to the width of your black background.
12. Right-click the text layer and select Discard Text Information. Then Layer > Autocrop Layer.
13 Select the Alignment

tool, click the autocropped text and select only the horizontal centering icon

. That will center your text horizontally. Go to the Move tool
and move the text up or down as you want.
14. Make your smaller text another font if you wish. Discard the text information in the layer, then autocrop the layer as you did with the title text. Center it and move it up or down as you want it.
15. Before merging everything, be sure to look over your poster and fix anything you need to fix. Save your poster.
Title font: Subway Novella.
http://www.dafont.com/subway-novella.fontI've attached a PDF document of the tutorial.