In this tutorial i will show you how to add a border to your text, or as its called in Photoshop: a Stroke.
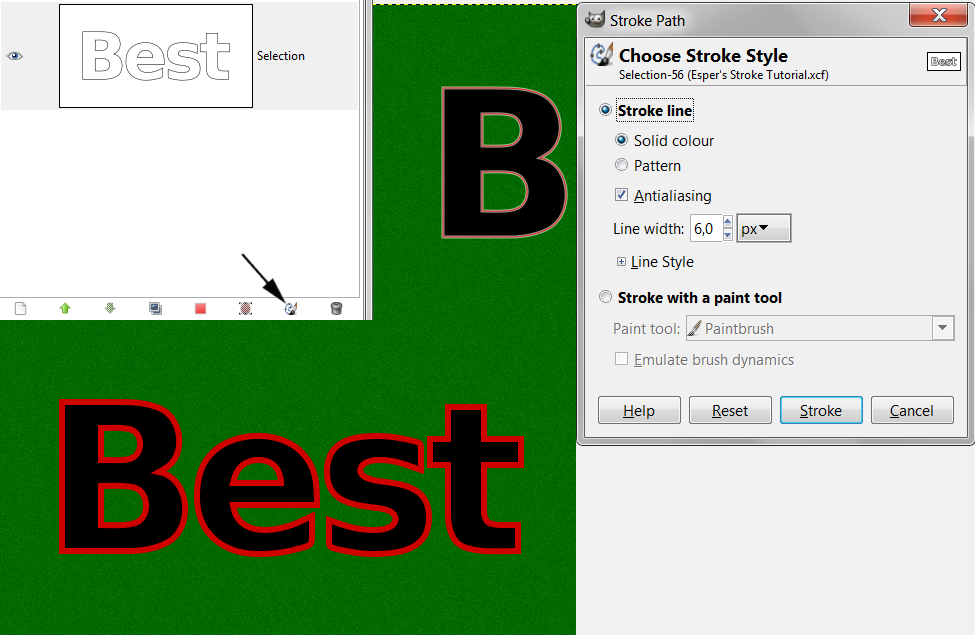
For a Stroke consisting of a colour or a pattern you can stroke the selection turned into a path.
As Jolie already showed in this video, never stroke the selection, stroke the path !
http://gimpchat.com/viewtopic.php?f=10&t=116This is because it will give you the smoothest result possible in Gimp.
Stroking a Path with a color (or a Brush) is your
basic stroke technique.
Note that this technique will grow your final text a bit, because the stroke extends to both sides.
But if you want more control, or use a gradient, a pattern or a texture, this is your technique.
Note: instead of using layermasks, like i do, you can just as well delete everything you dont want, but if you later decide you want a different stroke, you'll have to do it all over again. With a layermask, you just have to delete the mask.
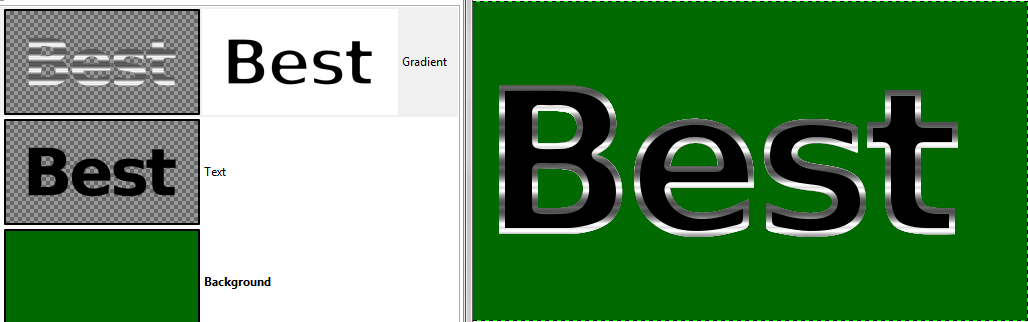
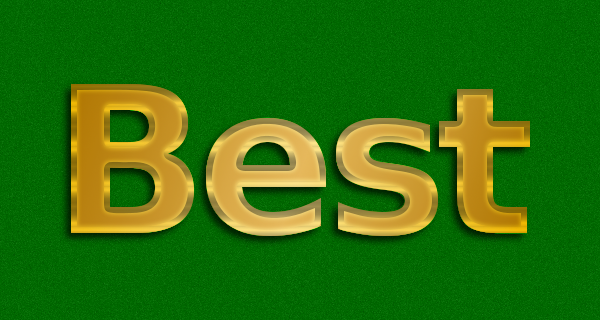
1. create a new layer - i used 600x320px in #006900
2. type your text – i used Sans Bold 205px, spacing -11
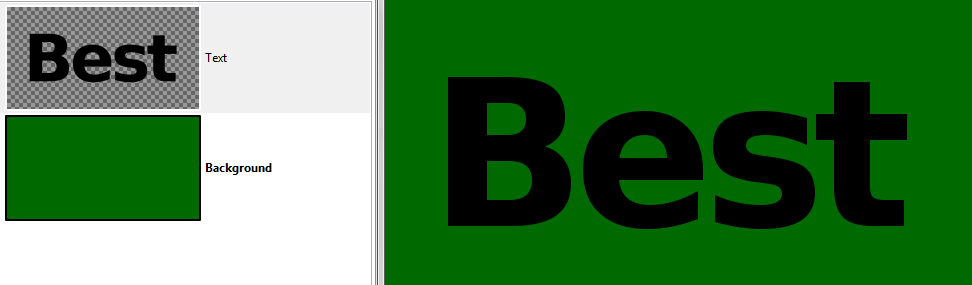
3. alpha select your text
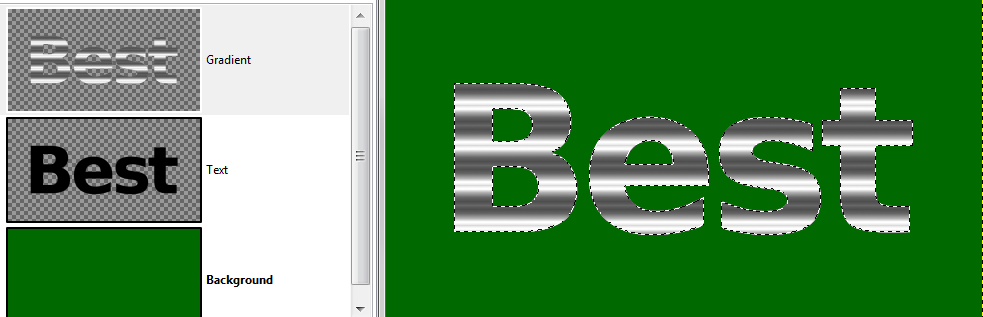
4. create a new transparent layer on top of your text and name it 'Stroke'
5. fill the selection with your gradient
7. go to Selection -> Shrink and choose a value you want for the thickness of your Stroke
i used 6
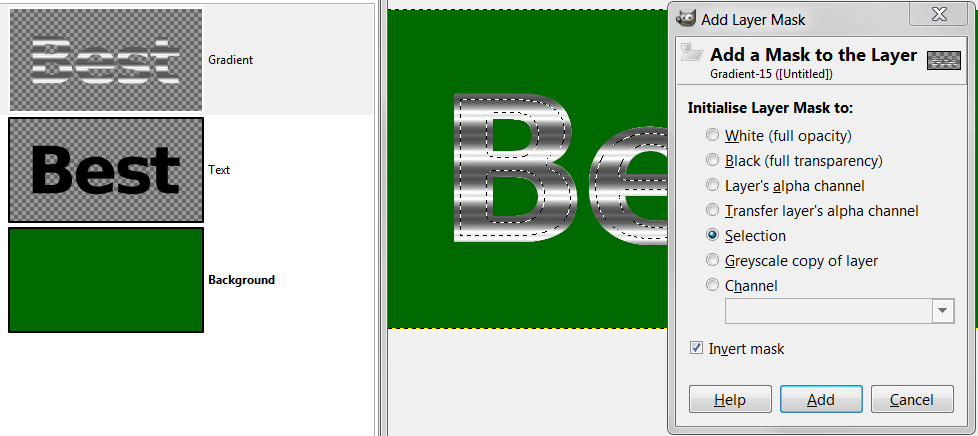
08. on your Stroke layer, right click and chose 'Add Layer Mask'
you want the options: 'Selection' and 'Invert Mask'
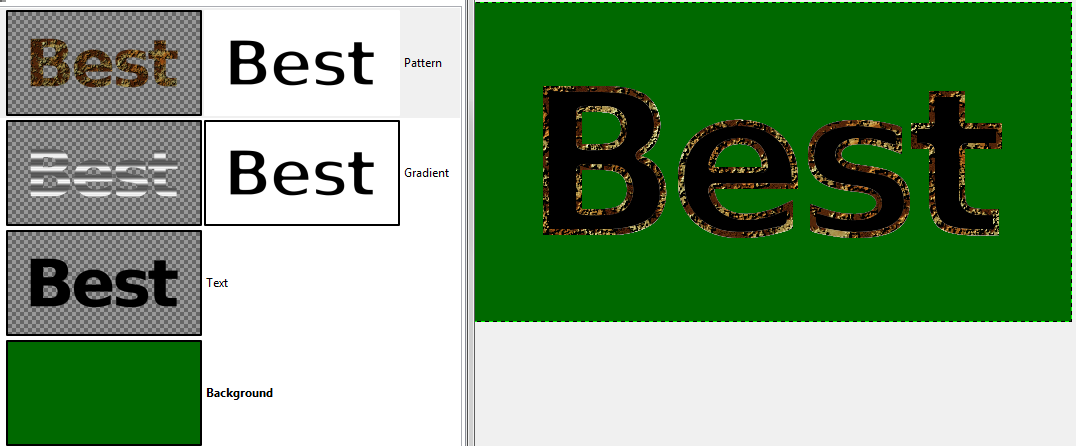
Thats the basic technique and
09. for this tutorial, we will repeat the same steps but use a
pattern to make a second stroke
i used a rust pattern, that i got from a Draconian tutorial (i think)
10. i put the rust pattern stroke underneath the gradient stroke and set the gradient layer mode to 'Value' 60%
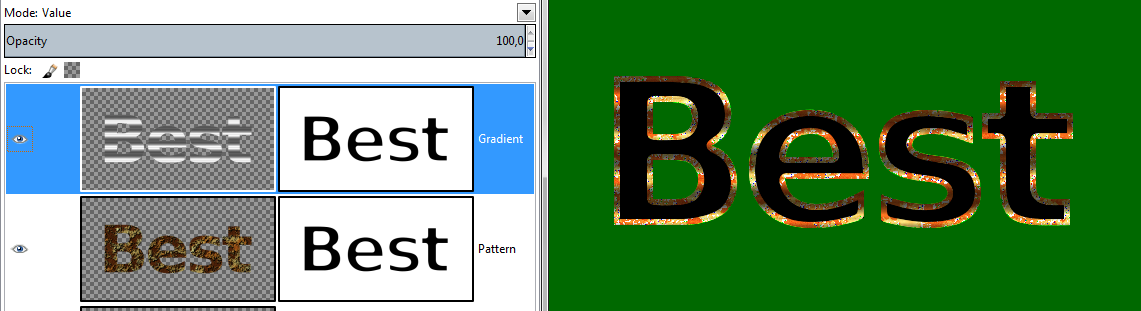
11. i added a tiny Inner Glow, a Dropshadow and 'Posterised' the Rust Stroke by 2
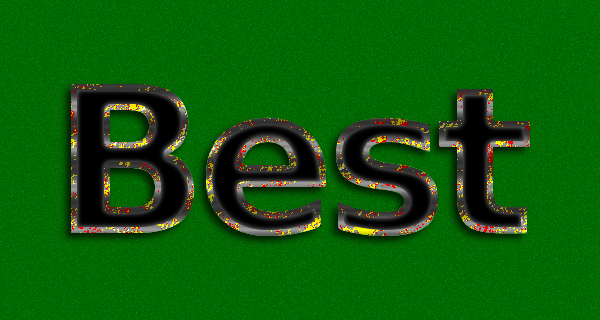
and a second example with a gradient overlay, instead of the black text and no rust.
That concludes this tutorial

If you want to have a look at what i did, download the attached xcf-file below.
EDIT: this is an updated version of the tutorial. In the first version we converted each selection into a path in hope we would get a smoother selection. According to saulgoode, this is not the case, which makes the tutorial even simpler.


