In the not so recent (but still this year) past, many here had some fun with this tut. Felt it was good enough to duplicate here as well. I won't copy Script-fus from Saul here since he's the owner/genious. I will add that David (G'MIC) has since added a similar feature in G'MIC. I do like Saul's Script-fu still though. Note that any links to GIMPTalk may or may not work (won't guarentee it; maybe they can finally figure out the server issues over there and fix it soon; works right now by the way). Below is exactly how I posted it at GIMPTalk (note, I stand by the "I hate doing tuts" quote; lol):
OK; I hate doing tuts, but here goes. (ref:
http://www.gimptalk.com/forum/how-to-ge ... 48488.html)
Suggestion before starting: Click CTRL T to disable selection Ants (which can slow down everything if enabled; Thanks to RobA for suggesting this trick to me).
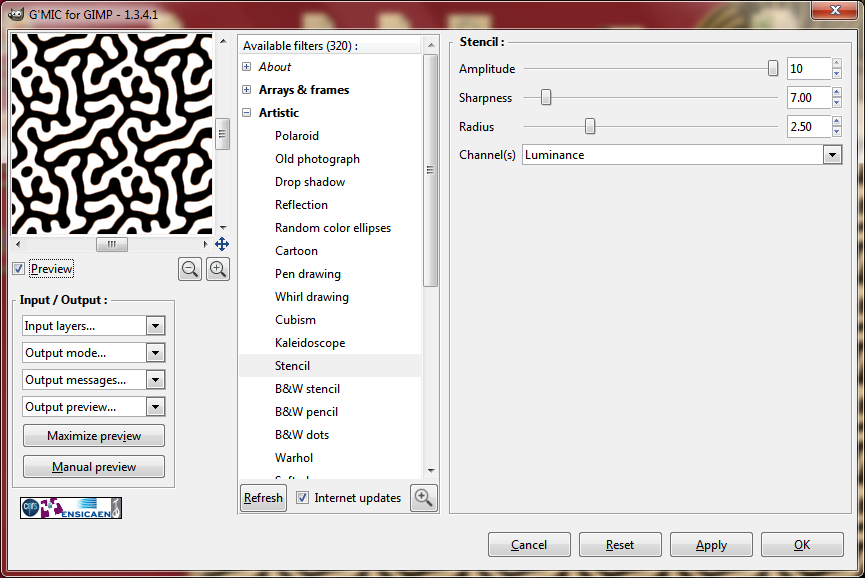
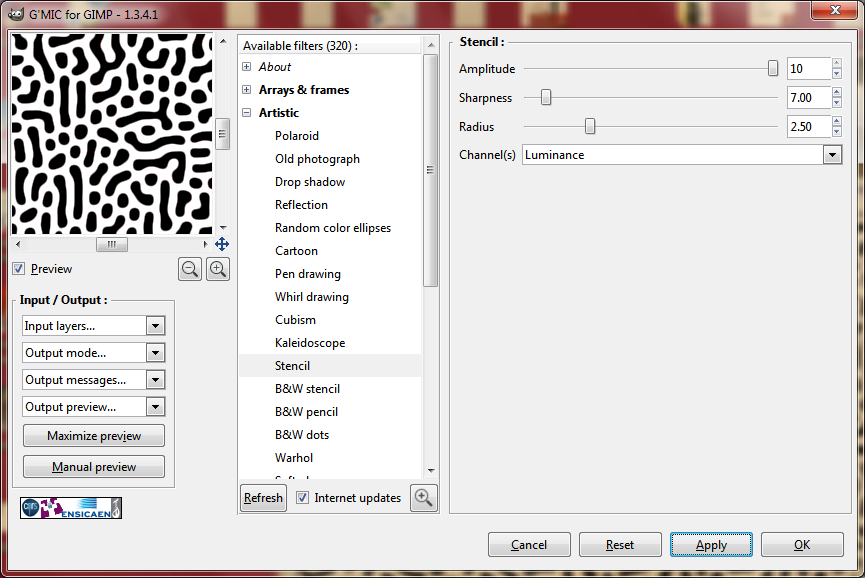
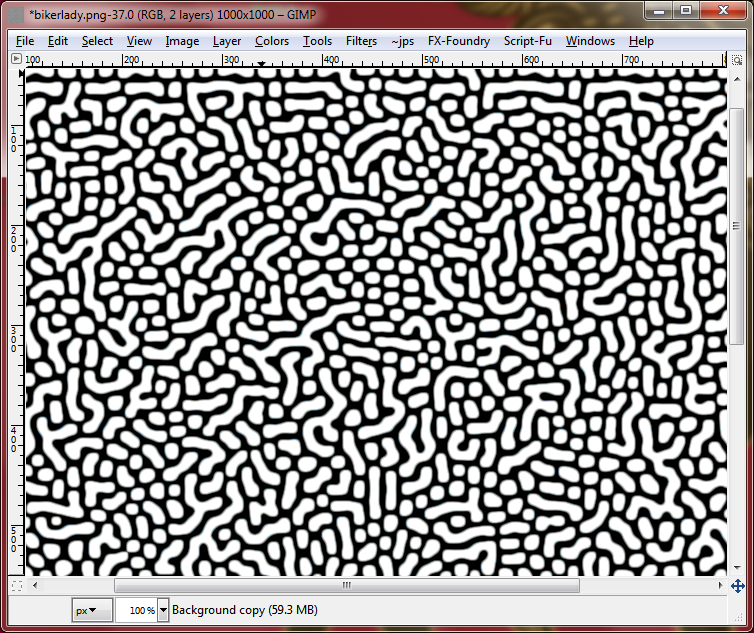
Step one: Choose your target (hope you dont' mind me using your avatar O), duplicate, and run G'MIC's Stencil (repeat a few times) on the Top layer.

Step two: Create an additional Fill layer and choose a pattern and run Stencil on that layer too (repeat a few time. You'll see why later; I chose Dried Mud for this one).
Set the Top layer to Lighten and merge Down.
Run Stencil on the resulting Layer (Repeat a few times). Doing this gives you smaller brick sizes (very important).
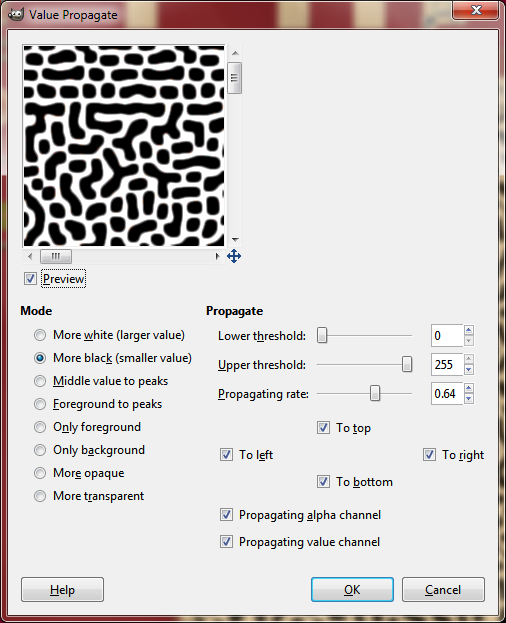
Run Distort>Value Propogate (set to Darken) to widen the outlines.
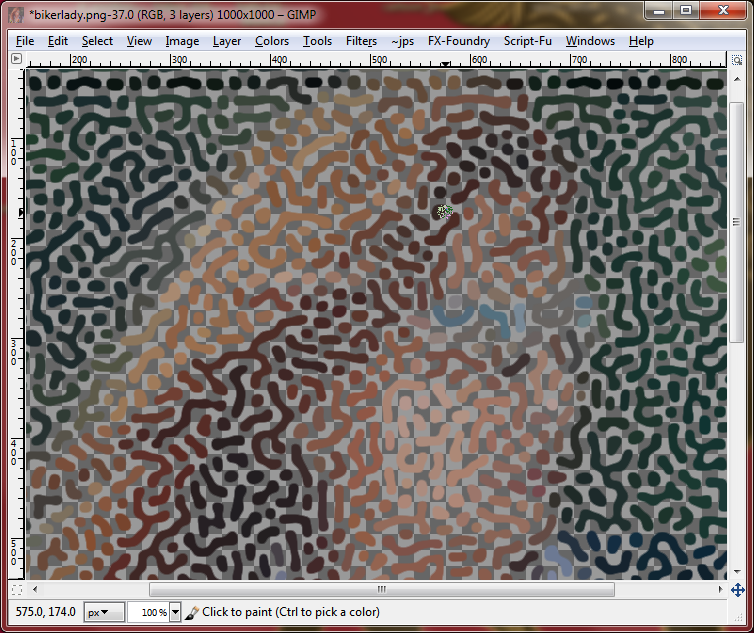
Invert the result for the mask and cut it to clipboard.
Toggle selection Mask and paste it into the target image.

Untoggle the selection mask and run Saul's Script-fu.
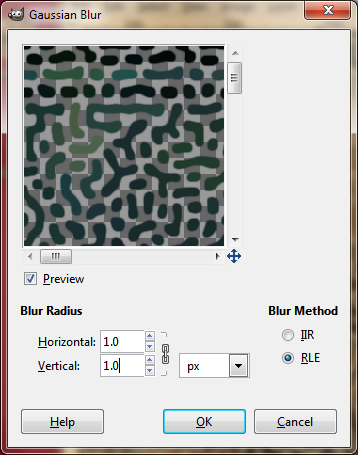
Deselect then Dup the result, and blur the lower layer 1 px and duplicate till solid and merge down. This step widens the islands.
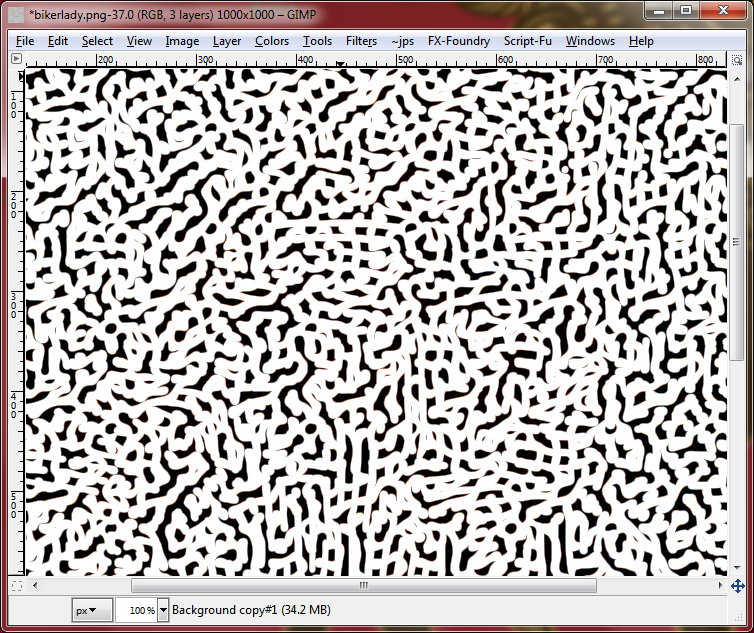
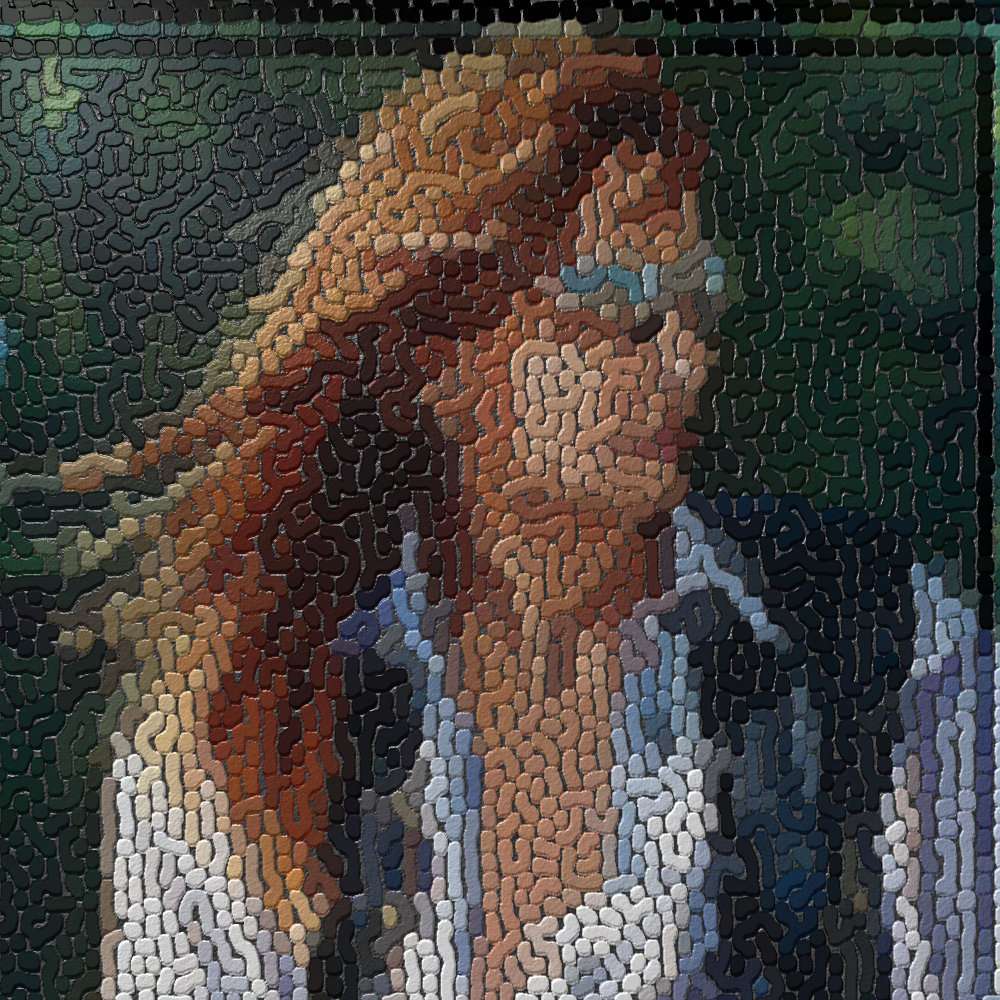
Below's the result of everything so far. Hope that helps.

Additional steps for texturizing, but I'm not going to outline those steps. below's my final result.

Images hosted free thanks to ImageShack (
http://www.imageshack.us).


