This is a tutorial on how to place text around an arc or sphere.
1. Go to file > New > 640x400 (default) is fine.
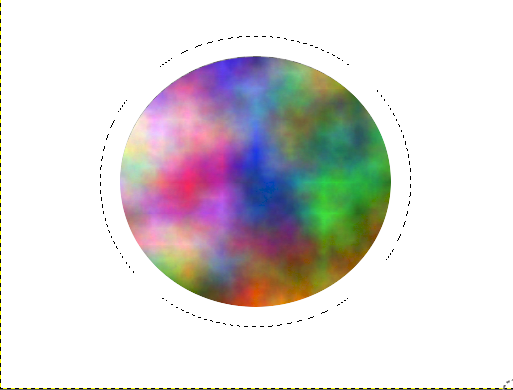
2. Use your Ellipse Select tool > Expand from center, and create a circle in the center of your layer, fill it with color. Use your move tool to center it. SELECT NONE
3. Now you want to make another selection out side this globe. Grow your selection 20 pixels.
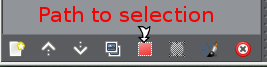
4. Now we will turn the selection to path.
Go to Select > To path.
You don't need your Selection anymore so SELECT NONE.
5. Now we will start with some text. Change your foreground color to black.
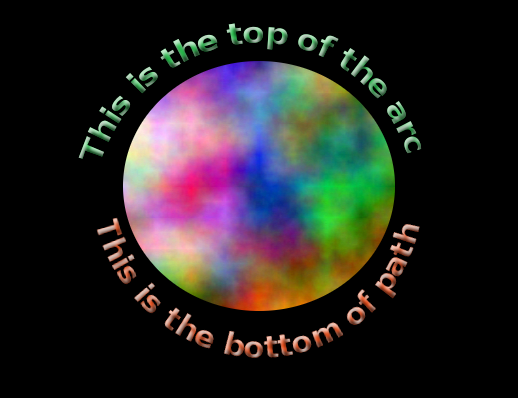
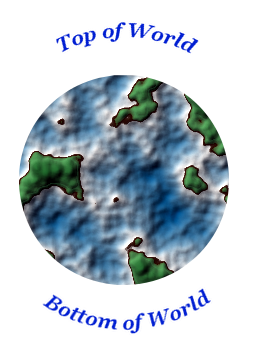
Type your text for the top of your arc. "This is the top of the arc."
Right click on the text layer > text along path.
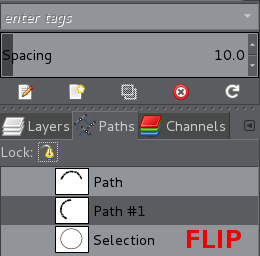
6. Go to your path dialogue and click your ellipse and use your flip tool, make sure your path is selected and flip horizontal.
7. Now you need to make some more text for the bottom. Type your text the same as you did for the top, right click and choose text along path.
Your path should curve along the bottom of your path.
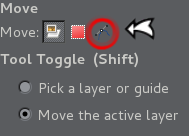
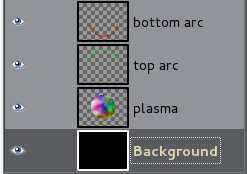
You can use your rotate and move tool to place them later. 8. After you have your two curved paths, top and bottom, you can delete the two original layers OR turn off the eyes to hide them. I prefer to delete them.
9. In Layers, make two new transparent layers at the top.
Name one top arc and the other bottom arc.
10.Click lower arc in new layer, go back to paths and click your lower arc, click path to selection. Change color, pick a color for the foreground, edit > change foreground color, Select NONE
11.In your layers, click upper layer in your new layer, go back to path and click upper arc > path to selection, change your fg color in your color dialogue, path to selection > edit > change fg color > select NONE
Turn eyes in paths off to hide paths
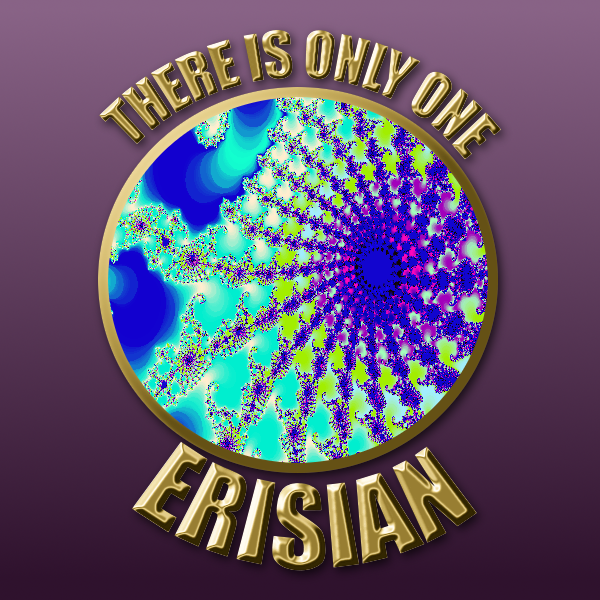
12.Go back to layers, select rotate tool and select upper arc, rotate to center it and use move tool to move it.into position. Repeat for lower layer.
When you are all finished and you want your text a little different you can edit it. In mine, I used ICCII > layer effects > bevel and Emboss with the default settings.