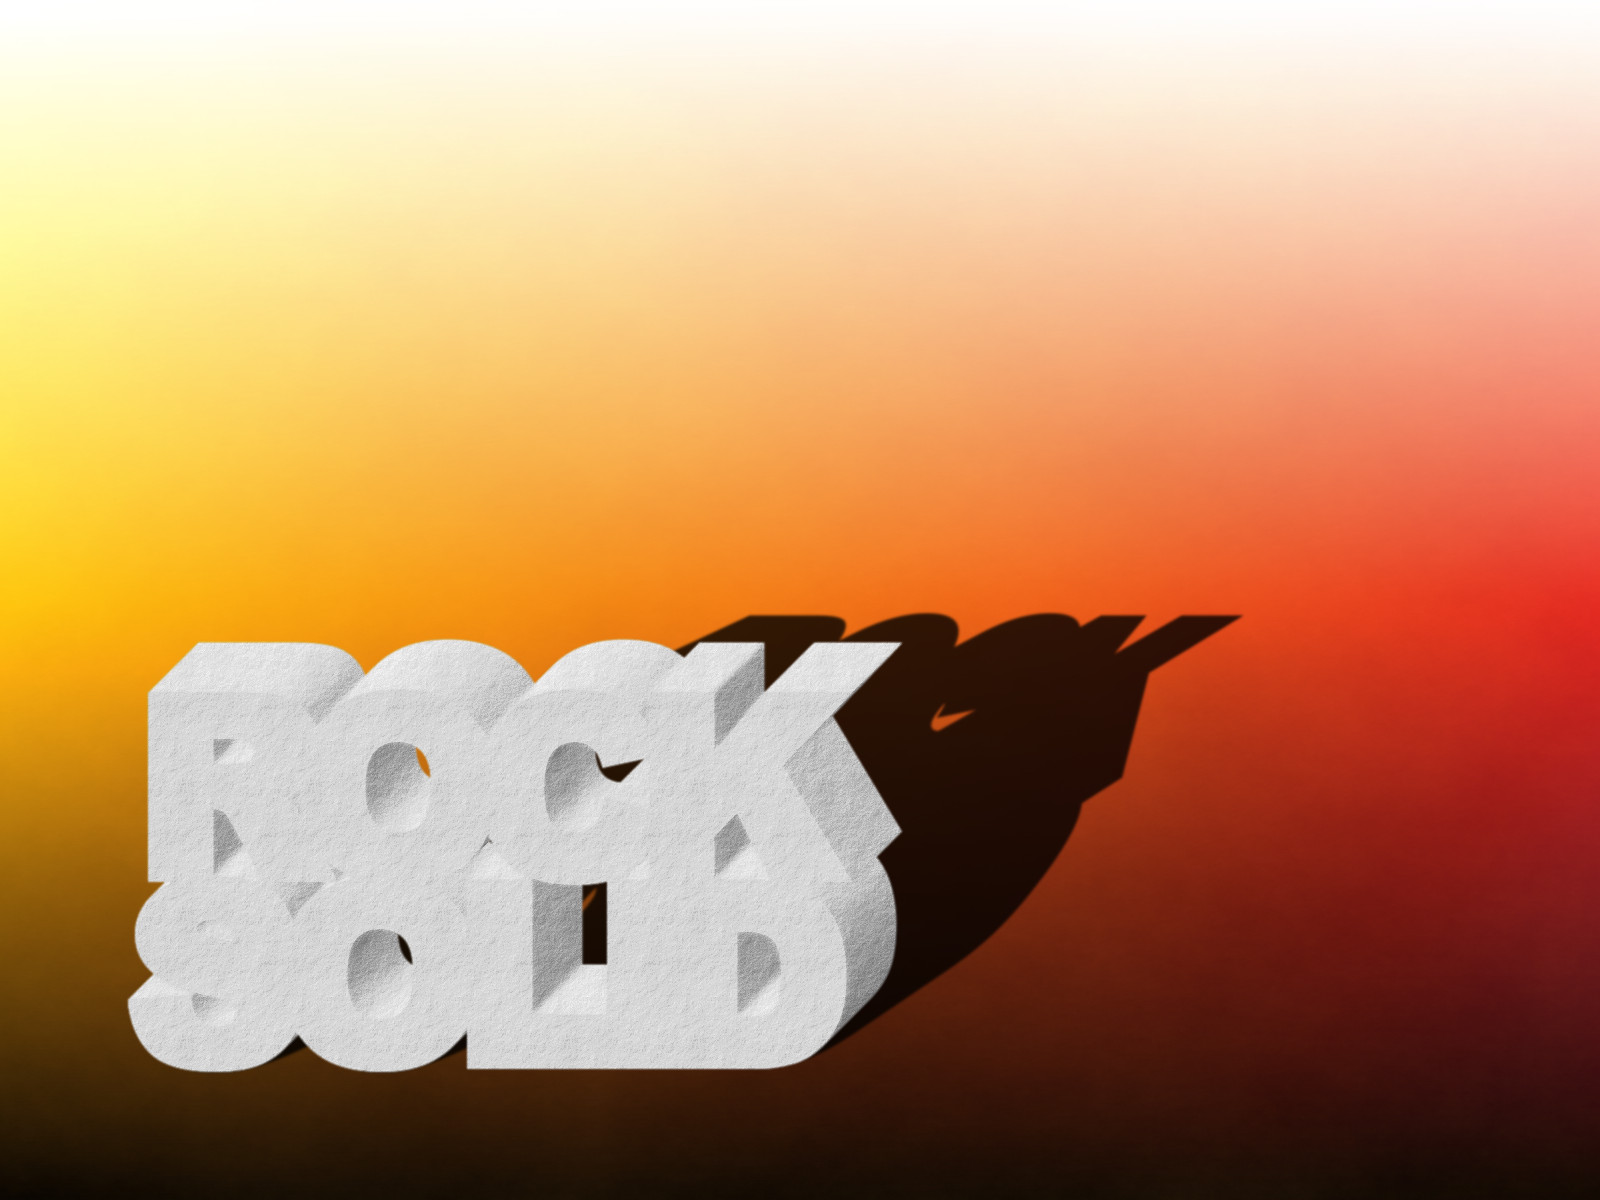
Thought I would do a quick little tutorial on creating a text effect wallpaper, here is the result.
For this Tutorial you will need to install the script 3D Extrusion.
If you want to change the location of the script then have a look at this
thread1. Open a new image in Gimp 1600px * 1200px, Go view and make sure "Snap to Canvas Edge" is ticked. Add a horizontal guide at 1050px and a vertical guide at 150px
2. Make sure foreground colour is set to White and background colour is set to Black.
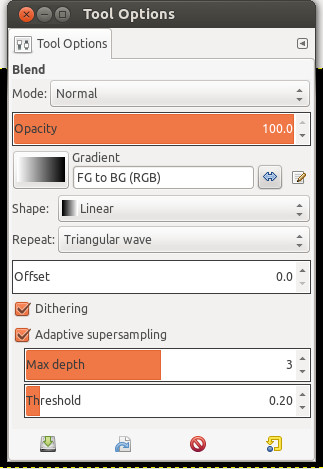
3. Select the Blend Tool

and with settings as shown below, blend the background layer with a white to black vertical gradient, holding down the ctrl key will help keep the gradient straight.
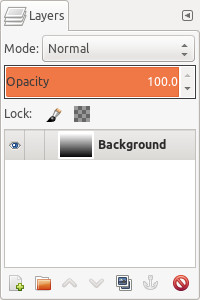
4. Create a new transparent layer and name it Colour.
5. Change the foreground and background colours to two colours of your choosing, for this tutorial I have changed the foreground colour to Gold "ffd700" and the background colour to Crimson "dc143c".
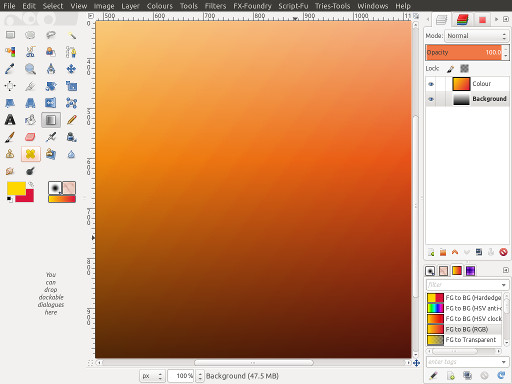
6. Select the Blend tool again and using the same settings blend with new gradient from top left hand corner to bottom right hand corner.
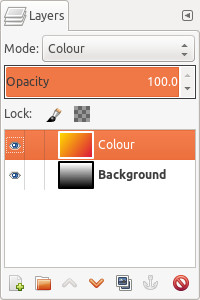
7. Change layer mode to "Colour"
8. Depending on what colours you chose to use you might find you have a stripping effect Like I have, see below, so with Colour layer selected go Layers>Merge Down then Go Filters>Blur>Gausians Blur and set X & Y to 50. This should smooth out the stripping, if not then try a higher setting for the blur.
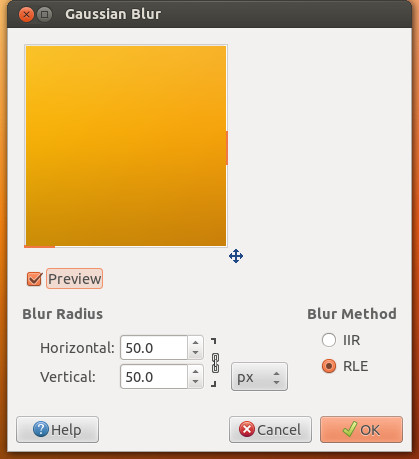
This is the results after the blur

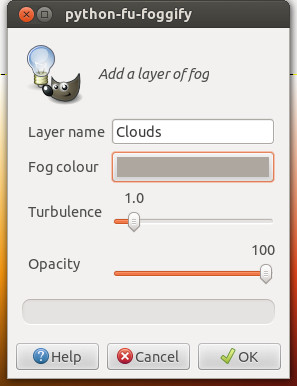
9. Go Filters>Render>Clouds>Fog and change colour to Warm Grey "aea79f" and click ok.
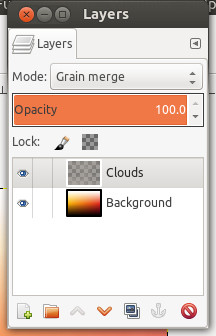
10. Select the layer named "Clouds" and change layer mode to "Grain Merge".
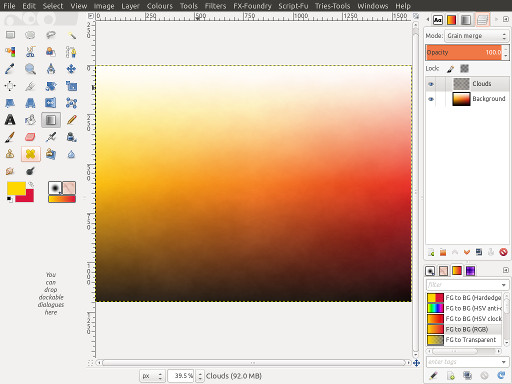
11. Your wallpaper background should now look something similar to the image below.
We are now going to look at creating the text effect for the wallpaper, we will be doing this in stages to show some of the effects that we are able to achieve.
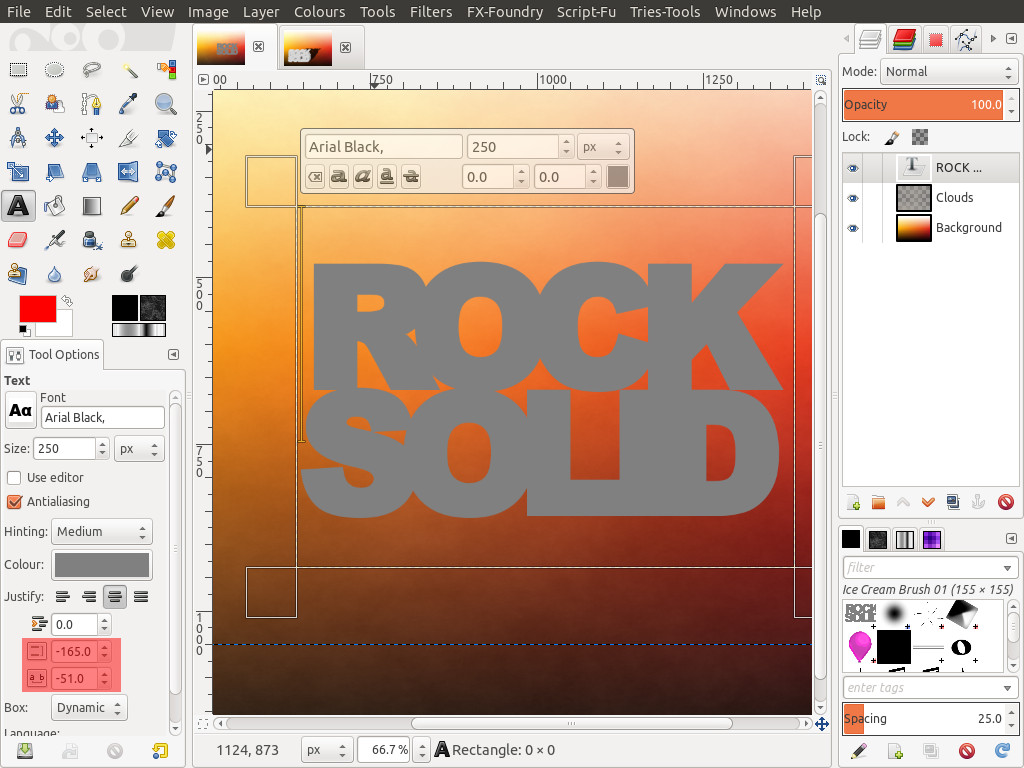
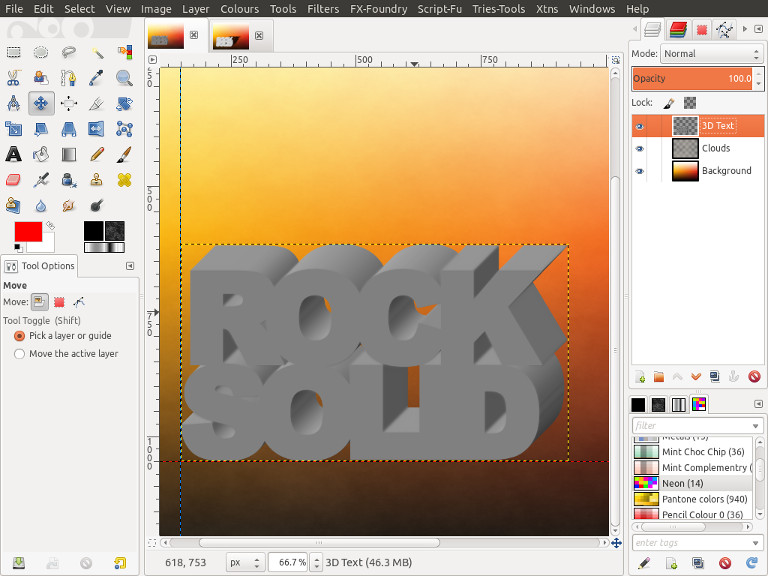
12. To begin with select the text tool and enter some text, I will be using Ariel Black set at 250px and the colour grey 808080, Also for this effect to work better you will need to use all Capital letters.
13. Type in text and then highlight text as you would in any word processor and click the "Bold" button, this just thickens the edge of our text even more.
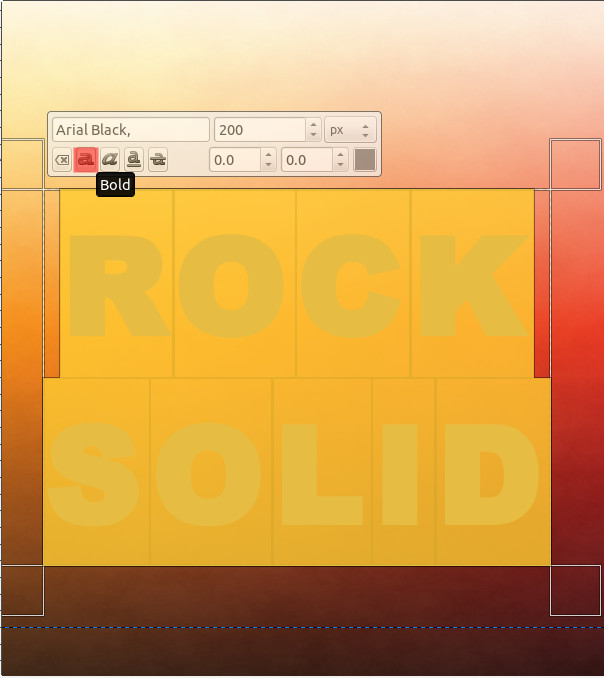
14. The next step is to close the gaps up between the letters and the space between the lines of text, we can do this by adjusting the two highlighted controls on the text Dialogue, see image below.
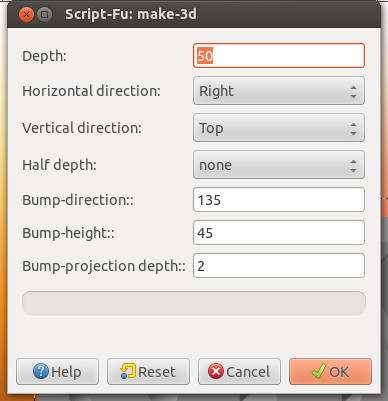
15. Now to run the 3D script, if you haven't changed the location of the script then you should find it at Xtns>Script-Fu>3Dtext>Make 3D, use the settings shown below and click O.K.
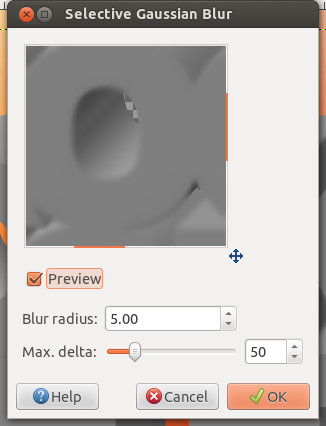
16. Select your new 3D text layer (Should be second layer from top), you'll notice its very stripey, so to smooth it out go Filters>Blur>Selective Gaussian Blur and with settings as shown in image below click O.K, then repeat the filter.
I tried different settings but felt I got the best results by running the filter twice on these settings.
17. After the blur the edges can go a little bit transparent so duplicate your 3D text layer to add a little more depth on the edges, then merge all 3 text layers together,I renamed layer to "3D Text". Go Layer>Autocrop Layer and position layer on our two guides we created earlier.
18. Go Layer>Layer to Image Size, At this point you could experiement with the different layer modes as they can give some nice effects, but for this tutorial change Layer Mode to Grain Merge.
19. Create a new Layer and name it "Texture" and fill this layer with the pattern "Slate". Then lower this layer so that it is below your "3D Text" Layer.
20. Select your "3D Text" layer and go Layer>Transparency>Alpha to Selection, Now select your "Texture" layer and go Layer>Mask>Add Layer Mask and use the settings below, then Go Select>None.
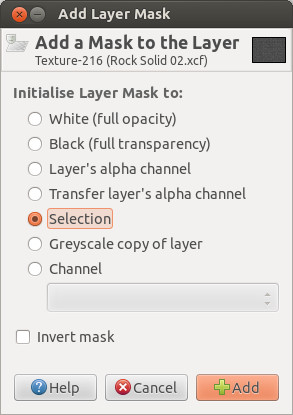

NOTE:-
The pattern needs to be very irregular for the effect to work, try it with a stripey pattern and you'll see what I mean, Also if you go for a lighter pattern you may find your better setting your "3D Text" layer to mode "Multiply".
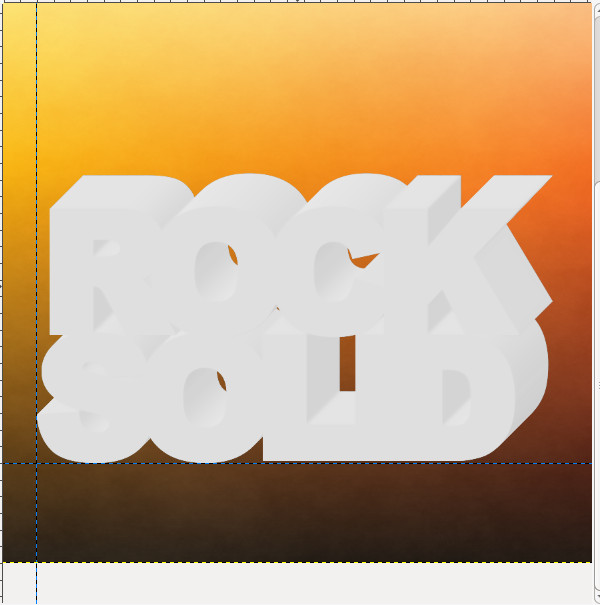
21. We are going to create another text effect, so first duplicate your Layer "3D Text", Select this new layer and Change Layer Mode to "Normal".
22. Set Foreground Colour to Grey bfbfbf and Background Colour to white 000000, also make sure Gradient selected is "FG to BG (RGB)", then go Colour>Map>Gradient Map. This gives us quite a nice White text effect.
23. What I want to do now is combine the white text effect with the Slate text effect, so I am going to change the layer mode of the white text to "Grain Merge", now its still not as white as I would like so I am going to duplicate this layer and change opacity to "50". So now we have a very nice effect.
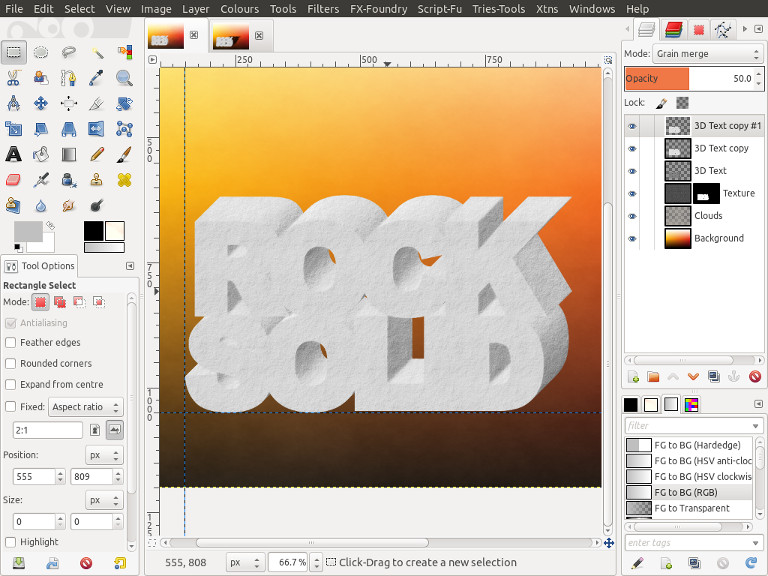
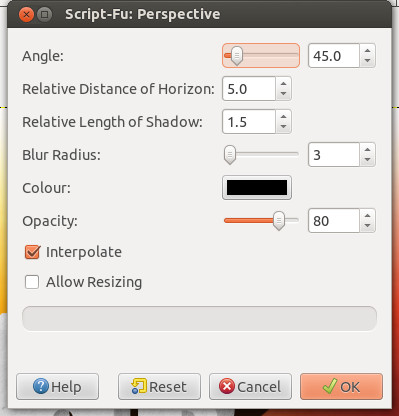
24. The last thing to do is to create a shadow for the Text, Select the layer named "3D Text" and go Filters>Light and Shadow>Perspective Shadow and using the settings shown below click O.K.
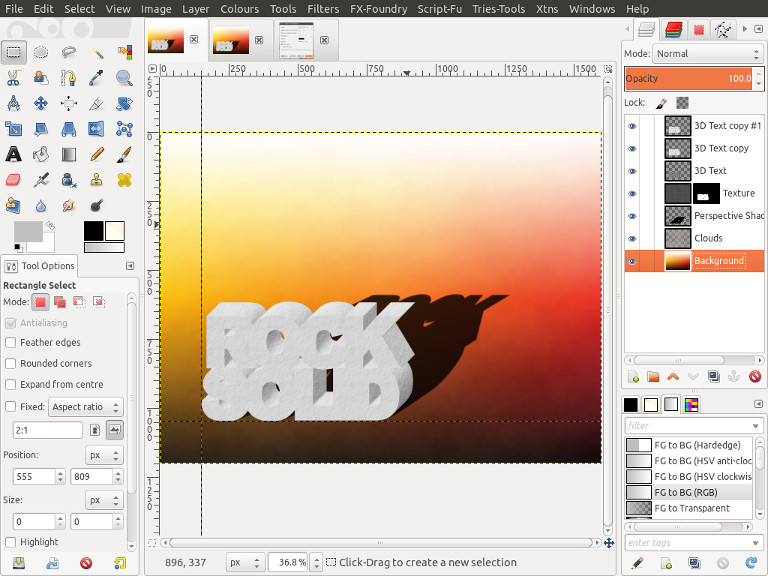
25.Then select the layer "Perspective Shadow" and lower this layer to below the layer named "Texture", and thats it finished, you should have a screen and layers dialouge similar to mine below.