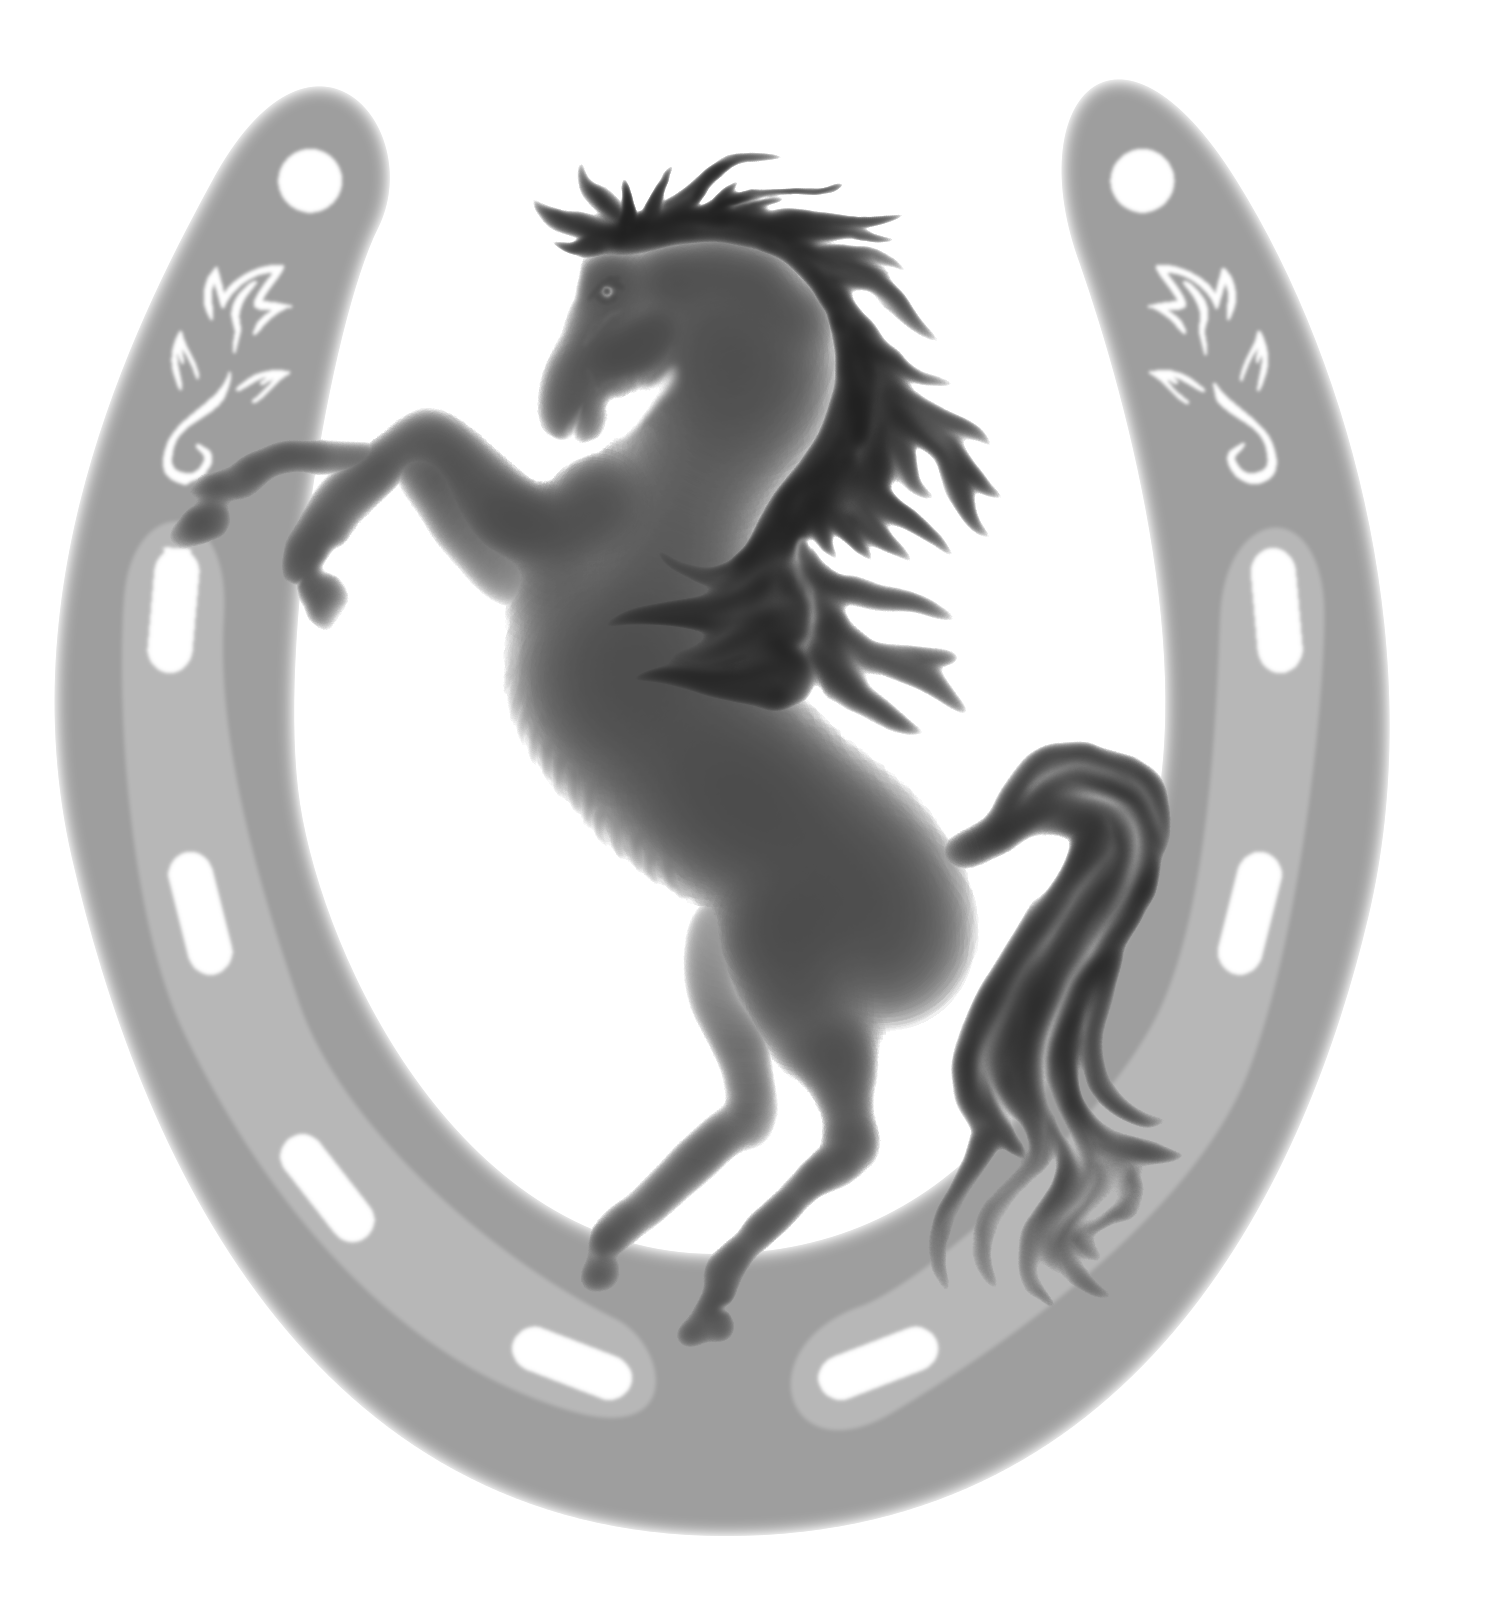
There's a lot of different things you can do with one grey-scale layer set with the layer mode to [Divide] over another grey-scale layer, but here is just one neat thing you can do. After working with the two layers you can then create a new layer from visible and then apply a gradient to it using [Colors] + [Map] [Gradient Map].
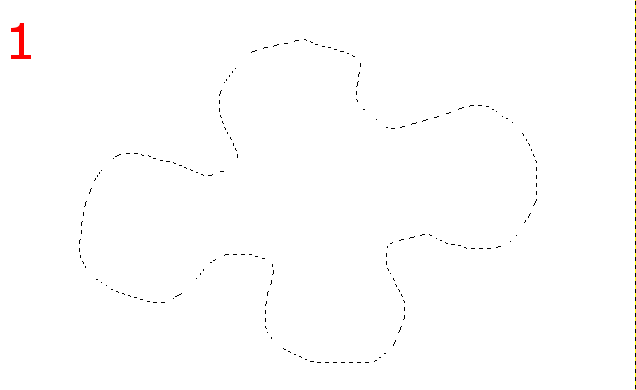
First make a selection on screen.
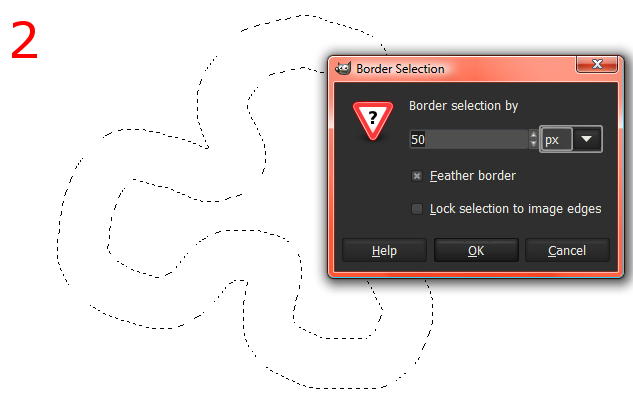
Then go to [Select] [Border]. In the Border Selection dialog box choose a thickness of 50 or whatever and put a check box in the Feather field and hit OK.
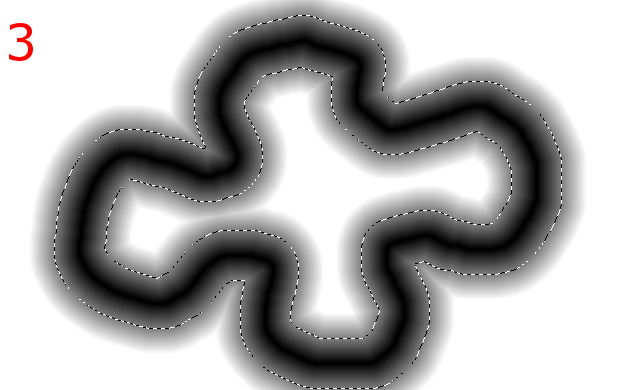
Now simply fill the selection feather with the Foreground color of black.
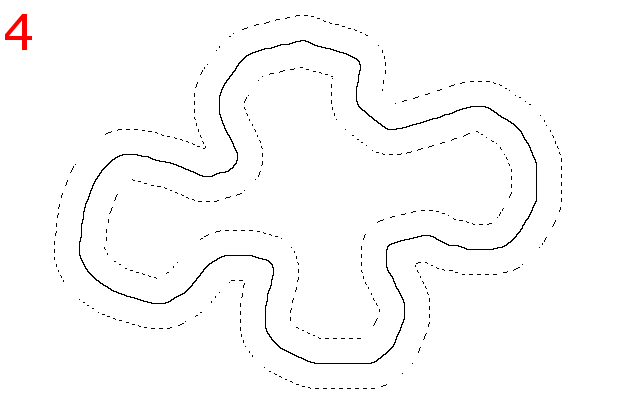
Create a new layer above that layer and fill it with black. Also change the layer mode to [Divide]. And make sure that you unselected or select all of the canvas area.
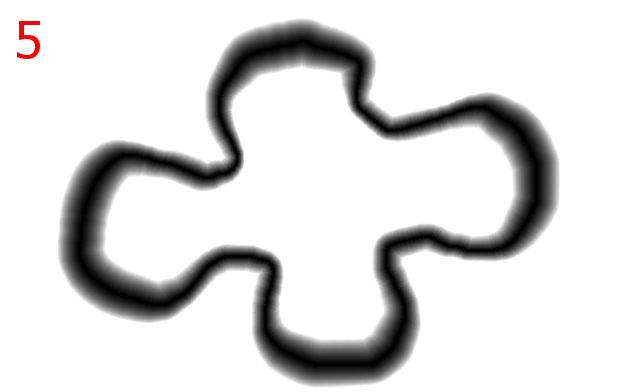
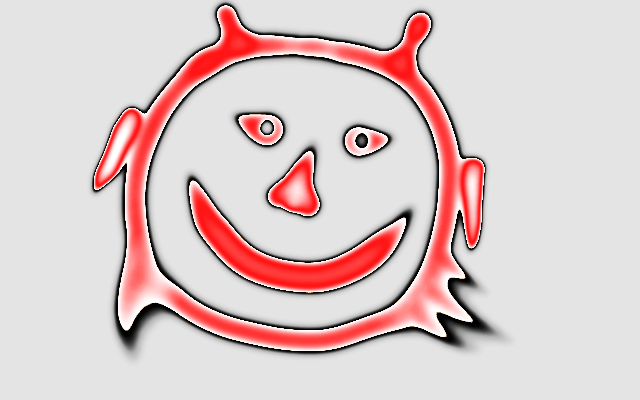
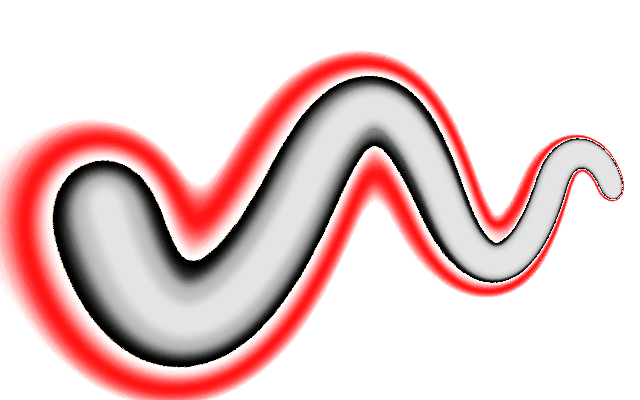
Now simply draw with the airbrush tool using a foreground color of white above the image that the selection feather made on the layer below. You will notice that the more you airbrush in one spot the thicker the bevel gets from the layer below. Create thick and thin spots by airbrushing more in one spot. You can also hit the X key to toggle between the white and black foreground color to draw and undo areas.
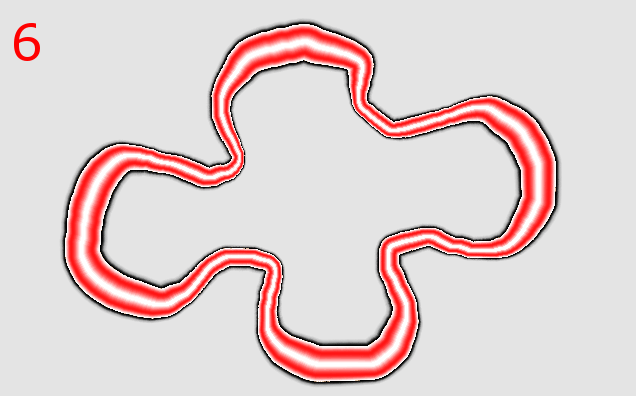
In this last step you must first create a new layer. So click the [Layer] menu and hit [New From Visible]. Now click the gradients tool from the toolbox and choose a gradient that you would like to use to replace the grey-scale canvas gradient with. With this new layer active click [Colors] [Map] and then [Gradeint Map]. And now your canvas gradient should now be replaced with the gradient you had selected earlier.
And thats it, enjoy...
Alan
PegLeg I made a PDF of your excellent tutorial and added it here. I also included the two images you made later - O