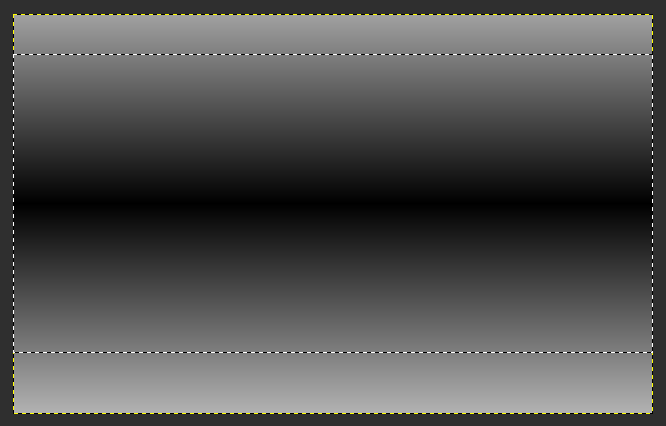
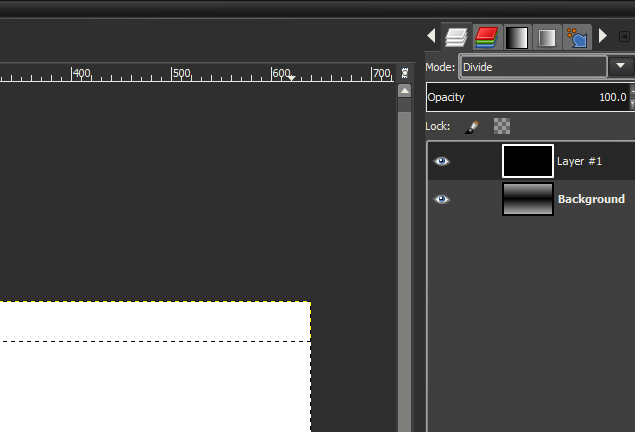
Nice but the bottom layer can just as well be filled with a bilinear black-to-50%gray gradient.
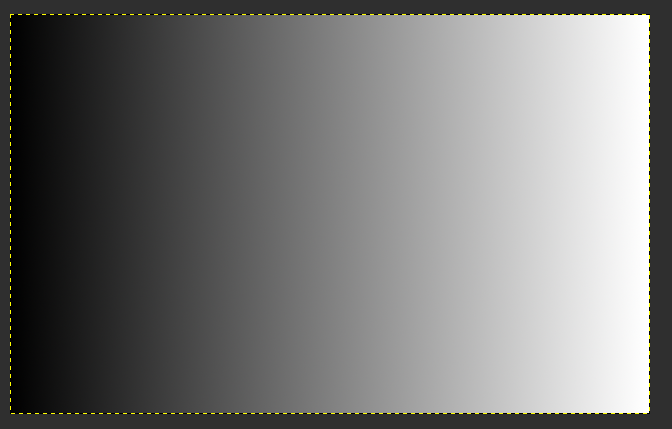
Rather easy to understand on a simplified version, with a vertical and an horizontal gradient:
- The horizontal gradient is just a mapping of the X coordinate of the pixels.
- The curve is therefore just a function the X coordinate of the pixels
- The value of the curve for X is the value by which we divide all the pixels on the same vertical line.
- Since that vertical line of pixels on the bottom layer is a white to black gradient, those with a value greater that the divisor value will have a result greater that one and be completely white, and the bottom of the line is a black to white linear gradient.
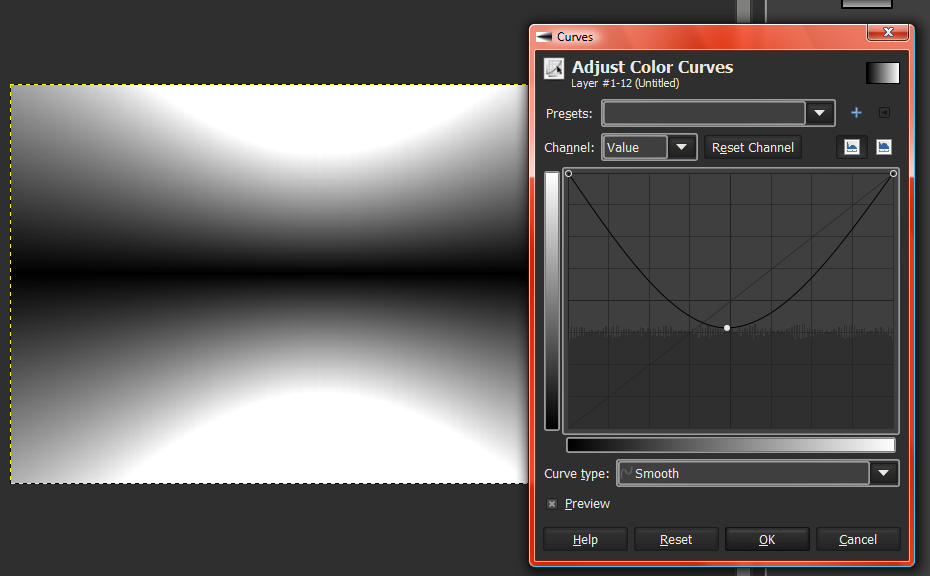
- Therefore the full-white limit line follows exactly the curve in the curves tool.
Attachment:
 CurveShape.png [ 222.93 KiB | Viewed 11901 times ]