GIMP has very good tools to remove scratches and stains manually, but why waste time that laborious work if we can make the task almost automatically?. Currently in GIMP we have the ability to use two filters for "smart filling/painting" zones of an image: Resynthesizer and G'MIC inpaint patch based filter. If you have ever done this kind of work manually, you'll know why you should be eternally grateful to these two great filters.
The general idea of this method is on a transparent layer over the copy of the original photograph, paint over the scratches and stains with the pencil tool and a solid brush, then apply filters.
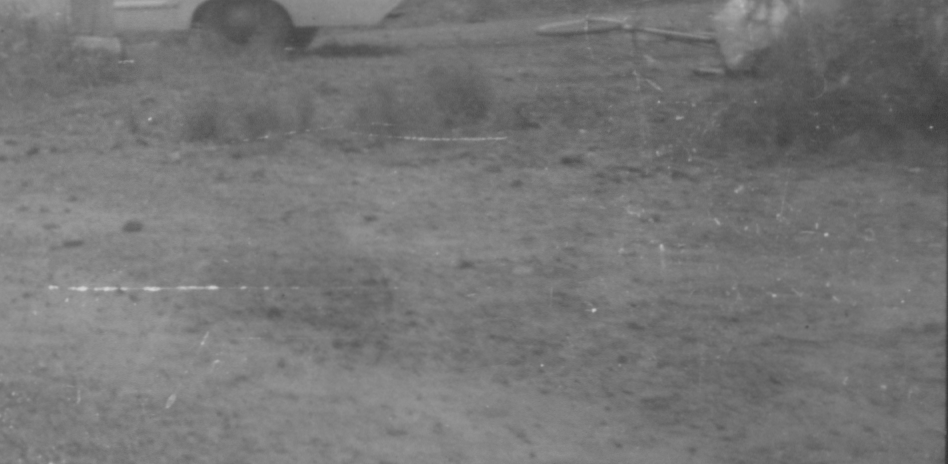
We will work on a portion of the next old picture to show how to restore it:
viewtopic.php?f=18&t=8017This will be our workflow in GIMP:
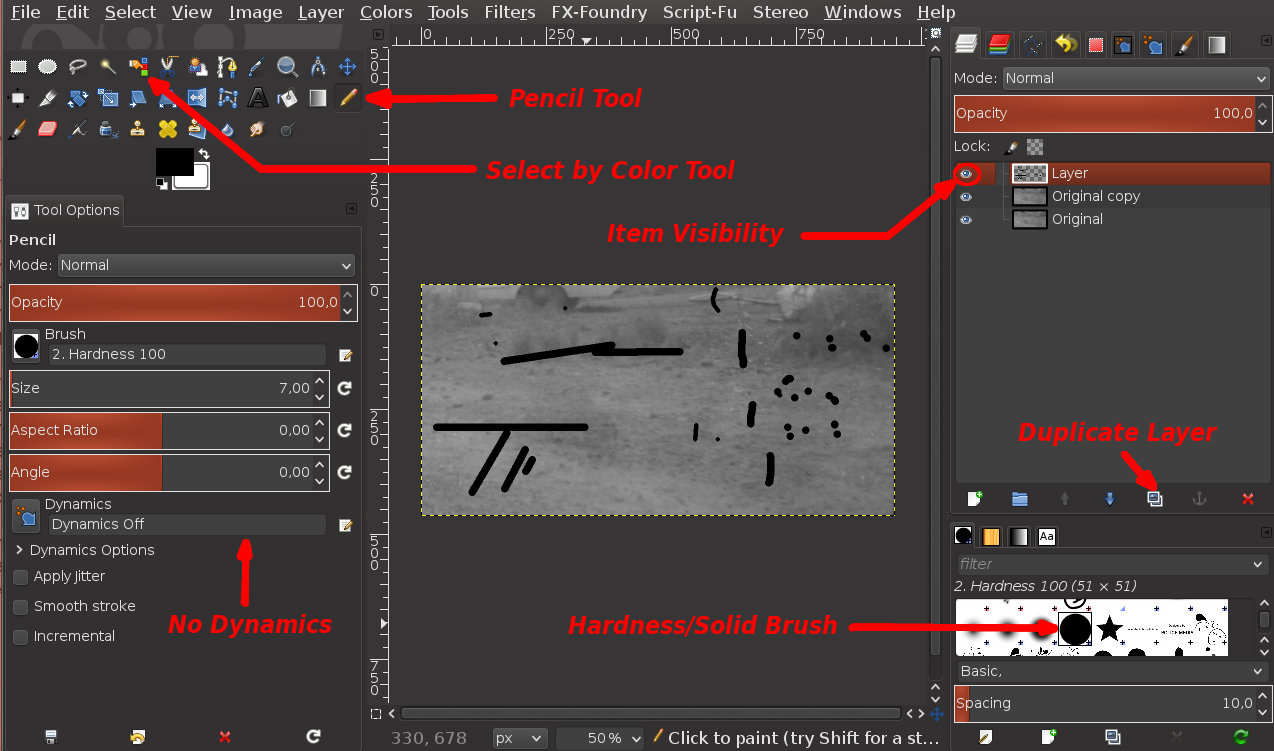
Then, open your original photograph in GIMP. You always work on a copy of the original photograph, leaving the original bottom. Then duplicate the original photograph with Duplicate Layer. Create a new transparent layer above that copy layer (Layer > New Layer). Select that new transparent layer in the field of layers to the right of GIMP. Select the Pencil Tool and a hardness/solid brush. Select brush size to cover the scratches but do not over way too. Paint scratches and stains filling them completely, barely exceeding the limits of the edges. You remember that you can draw straight and contiguous lines drawing a single point with a simple click at the start of the scratch, then hold down the Shift key and draw with a simple click a new point at the end of the scratch.The idea is that your work looks like this:
I will not stop in explaining how to install the filters. I will not explain each filter settings too. So, we will use the default settings in each filter. Then you can research and experiment on your own.
Well, now to apply filters:
* Resynthesizer1- Select the transparent layer where you had painted with the pencil tool in the field of layers to the right of GIMP.
2- Click on "Select by Color" tool. To the left of GIMP you choose a "Treshold" value of approximately in 50.
3- Having selected the transparent layer, on the image you pick on an area painted with the pencil. In this way you select all the areas painted with the pencil.
4- Now you select the "Original copy" layer in the field of layers to the right of GIMP.
5- Choose from Filters > Enhance the filter "Heal Selection" (remember that you must have installed the Resynthesize plugin) and apply the filter with the default values. Go to Select > None. Uncheck "Item Visibility" in the transparent layer, and you'll see the magic happened.
* Inpaint patch based (G'MIC)1- Select the transparent layer where you had painted with the pencil tool in the field of layers to the right of GIMP.
2- Open G'MIC from Filters > G'MIC (remember that you must have installed the G'MIC plugin)
3- To the left of G'MIC in “Input/Output” properties in Input Layers you choose “Active and Below”
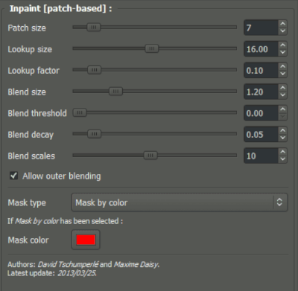
4- Under Repair filters menu chose “Inpaint [patch-based]” filter.
5- Right on G'MIC you choose in Mask Type, “Opaque regions in top layer”, and click the "OK" button. Again, the magic happens.
======================
Remember to experiment with different values in each filter.
There are times that in some areas the filters do not work well. That is the reason why we should always leave the original image intact under all the layers to be able to further adjustments in our photo manipulation.
With this method you can also remove wires or anything you want, or use this method for modeling/fashion purposes, to remove pimples or skin moles for example.