This tutorial is adapted from a Ps tutorial - pdf post # 4
Lenna or Lena has become a test image for much of the image processing programs.
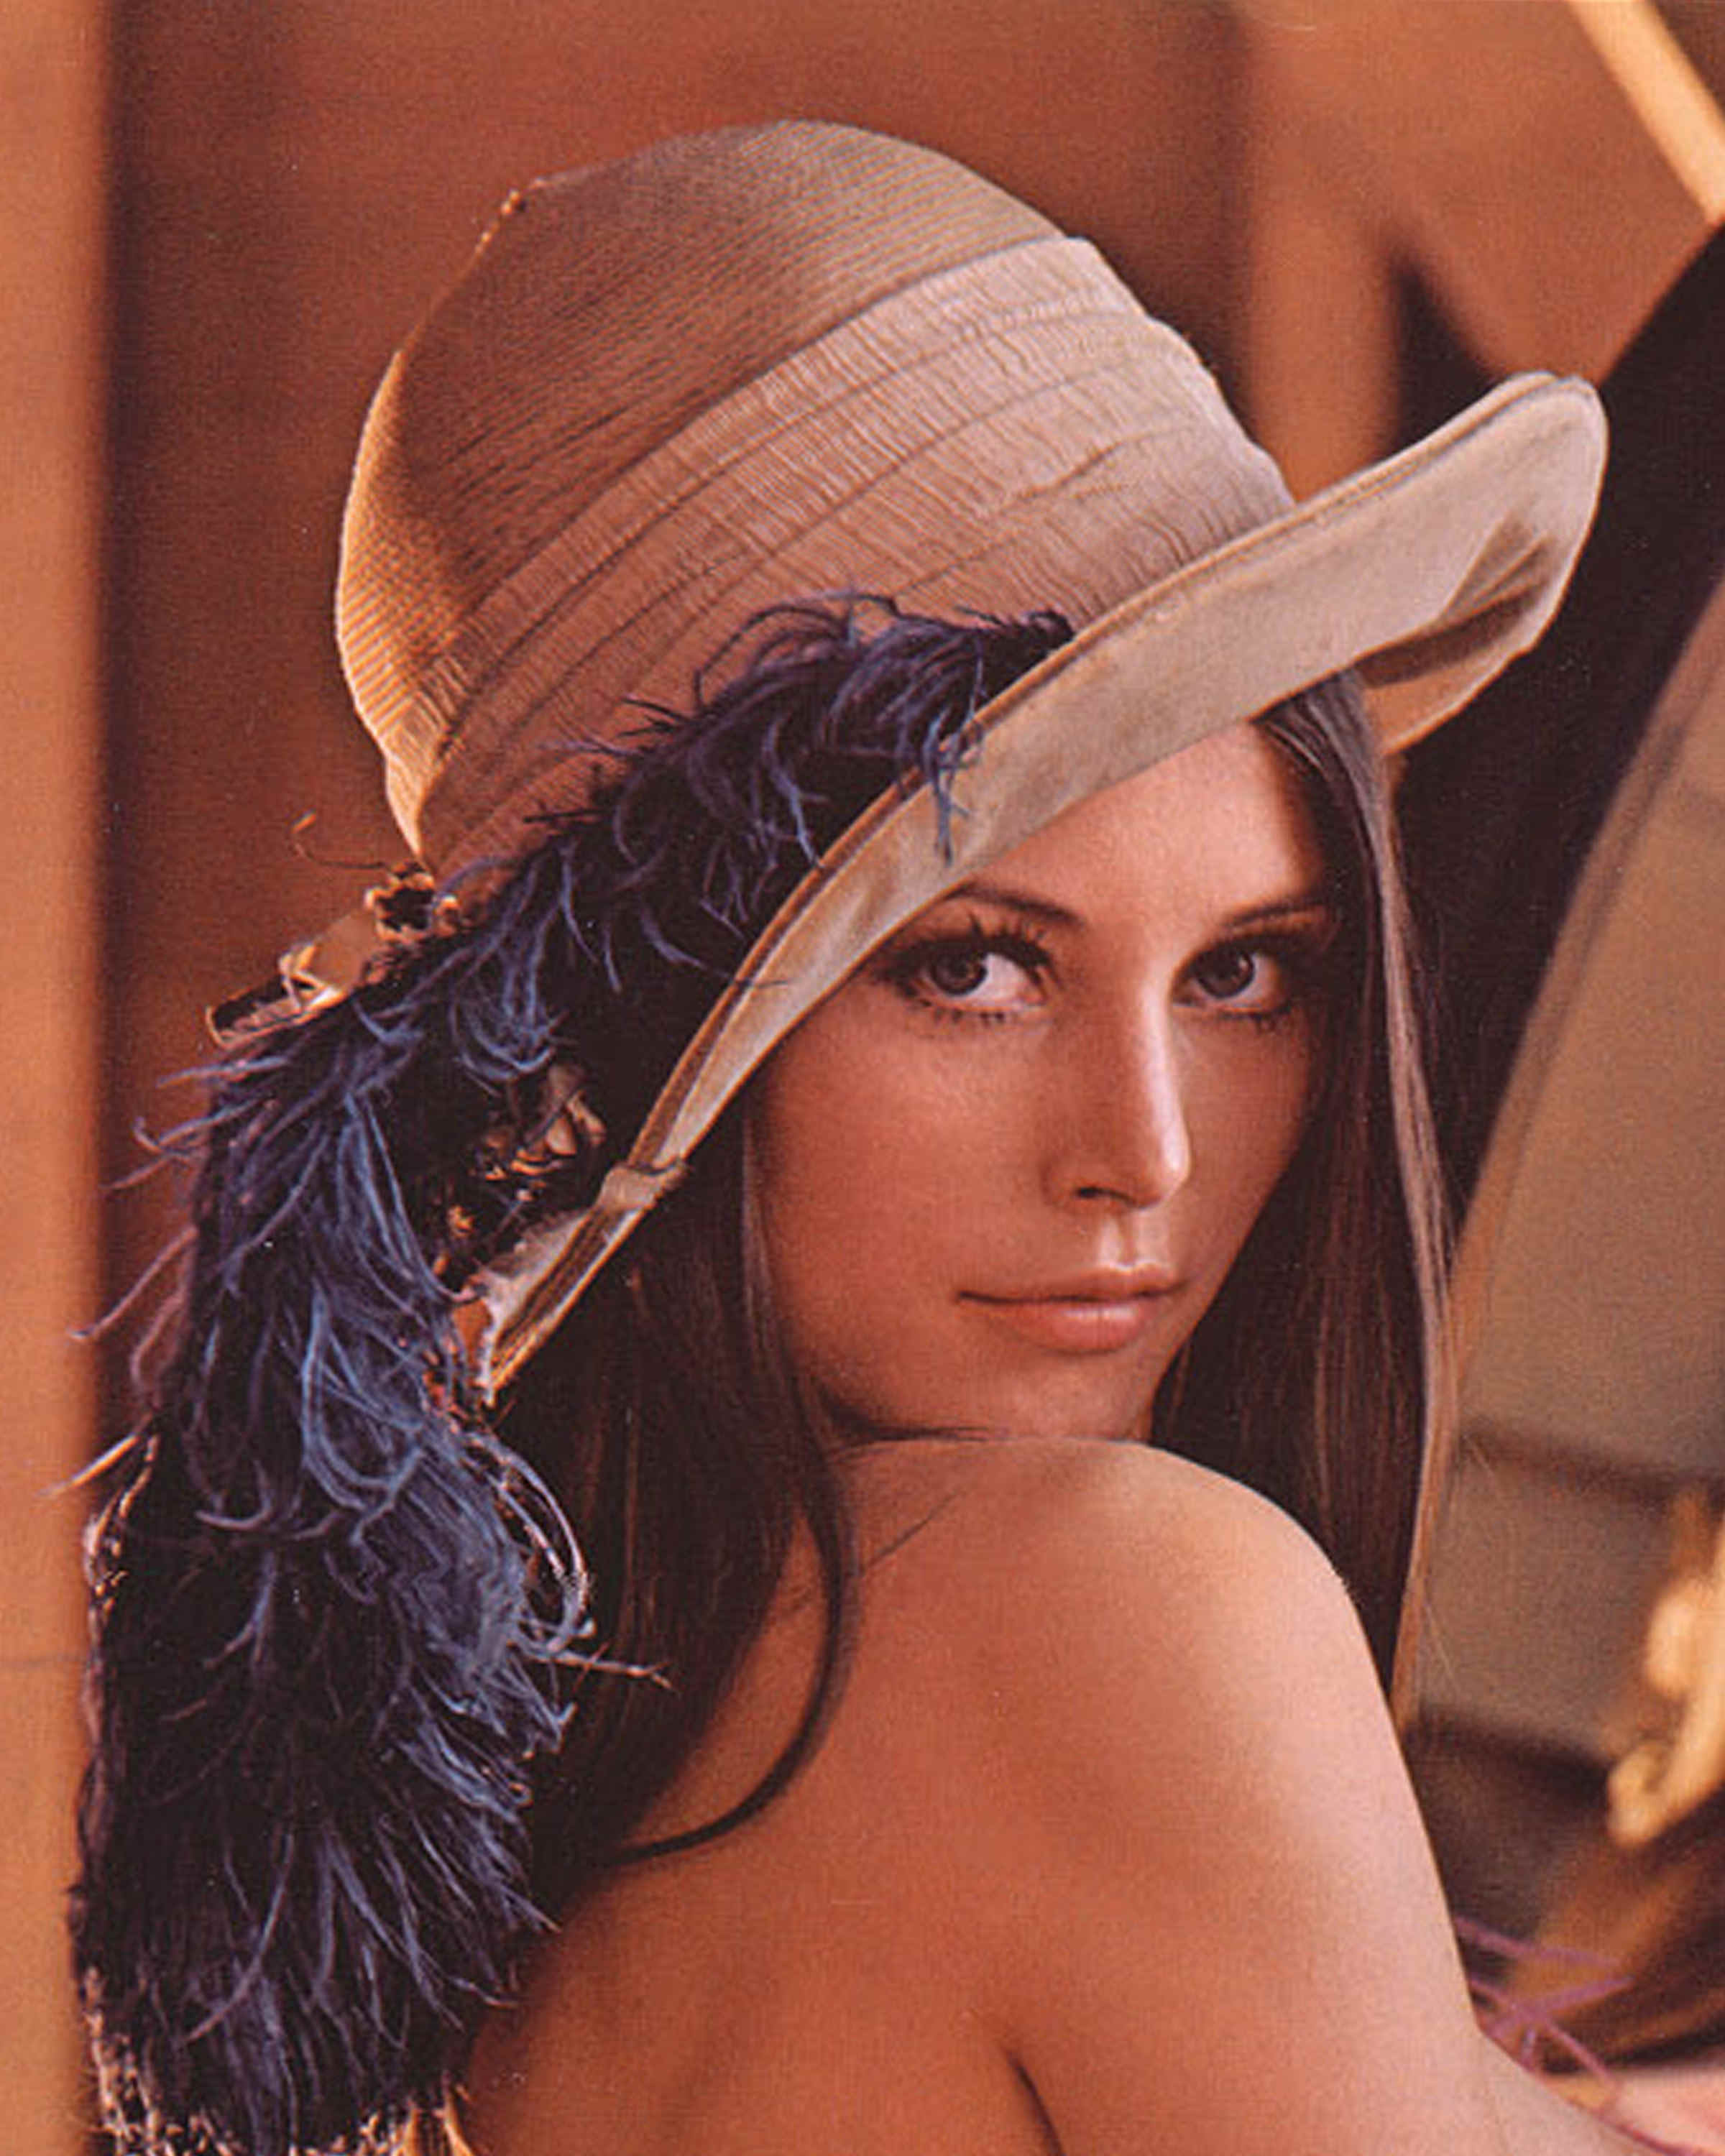
This is the starting photo (there are a few better resolution images available on the net, search for Lena or Lenna images )
lenahiresreduced
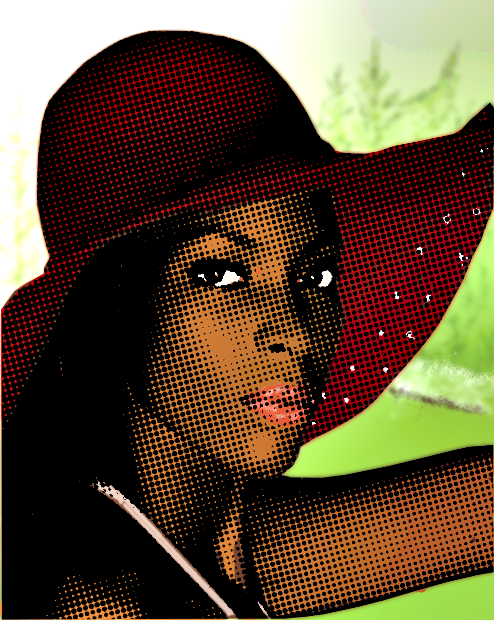
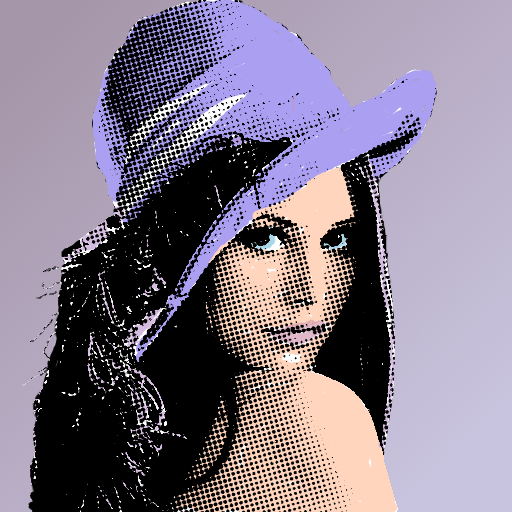
and this is the end result
lennaGimped finished
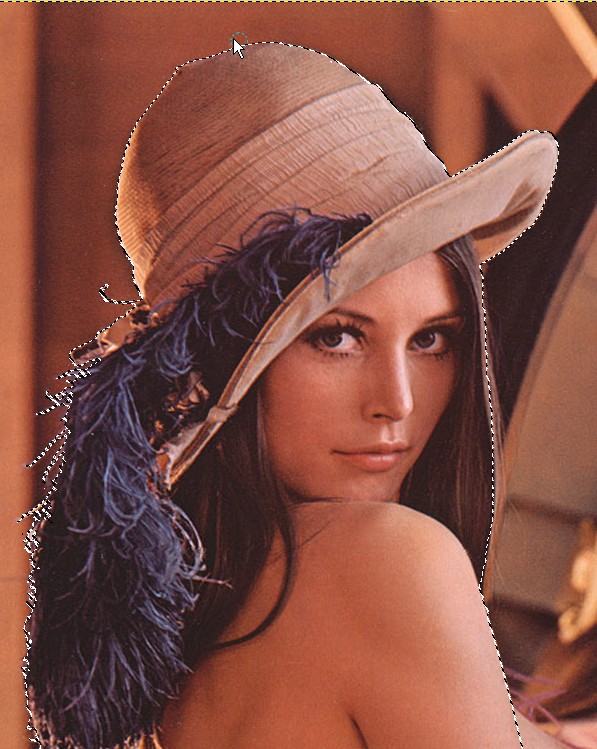
Duplicate the background, select the duplicate layer, add an alpha layer and select the portrait by any means you prefer. (paths tool, magnetic scissors or quick mask).
SH_01 8/08
Save your selection, (select|save to channel). Invert the selection (Ctrl+I or Select|Invert). Rename the Background Copy Layer to halftone layer. (Ctrl + X or Edit|Cut) to remove the selection. Select None.
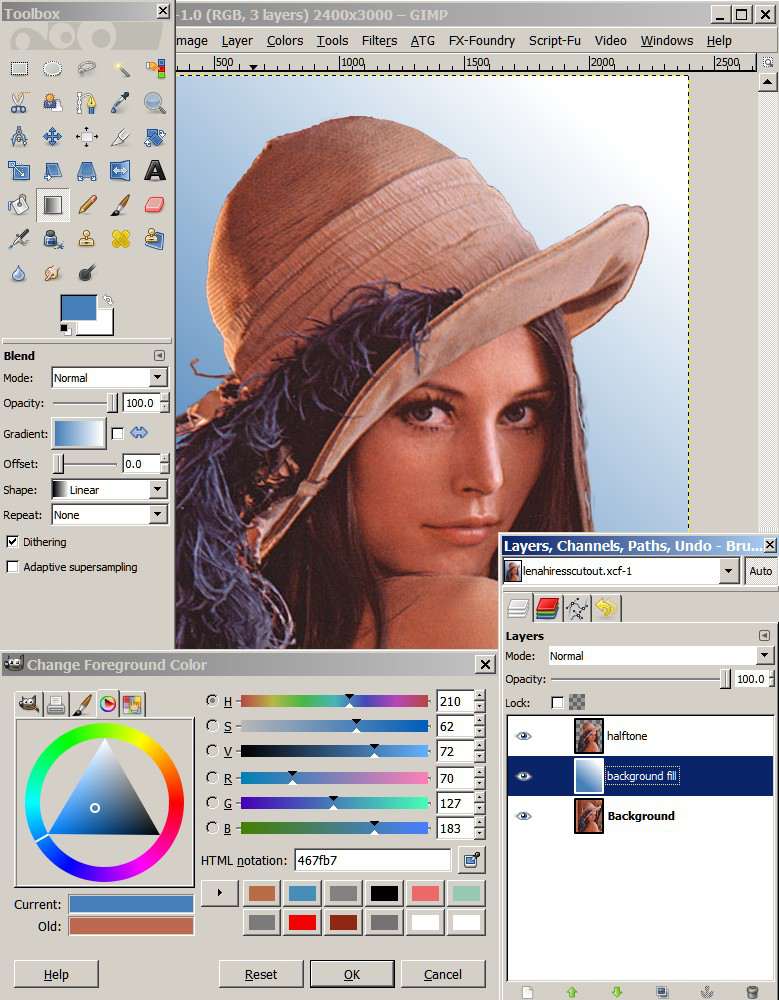
You can now add a new layer and fill with an appropriate background such as a radiating pattern, a simple colour gradient or a flat colour fill. I am just going for a simple gradient.
Create a new transparent layer and name it background fill and insert it between the halftone and Background layer. In this case we will just fill it with gradient. You can always change it later if it doesn't look nice. I chose the the gradient by making a complimentary of the main colour scheme by taking a sample with the eyedropper tool on the shoulder and adding 180 in the Hue slider or simply turn the colour wheel slider 180 degress. It need not be accurate! Use the gradient tool apply a gradient on an angle.
SH_03 aug07
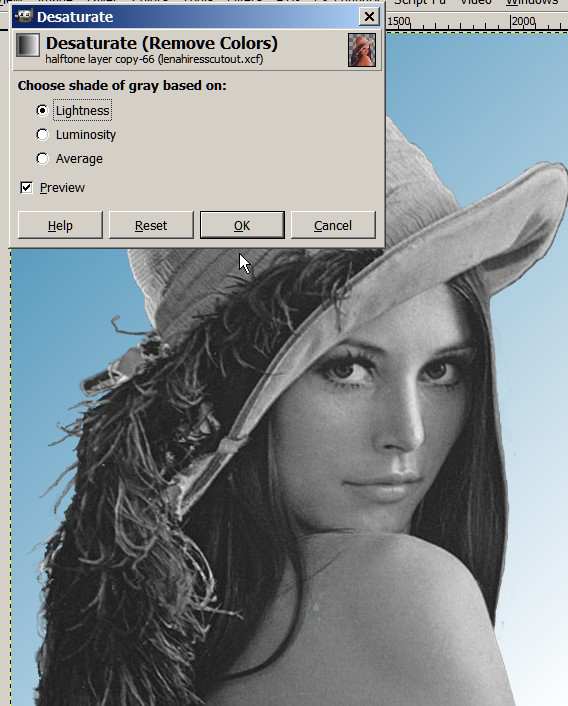
Turn off visibility (click on eyes next to layer) of the halftone and Background Layer. Copy the halftone layer and make the halftone layer copy the target layer (white border) and make it visible by switching on the eye. Use Colors | Desaturate to make it a b/w layer (note the blue background fill is also visible). You should have something like this.
SH_10 aug8
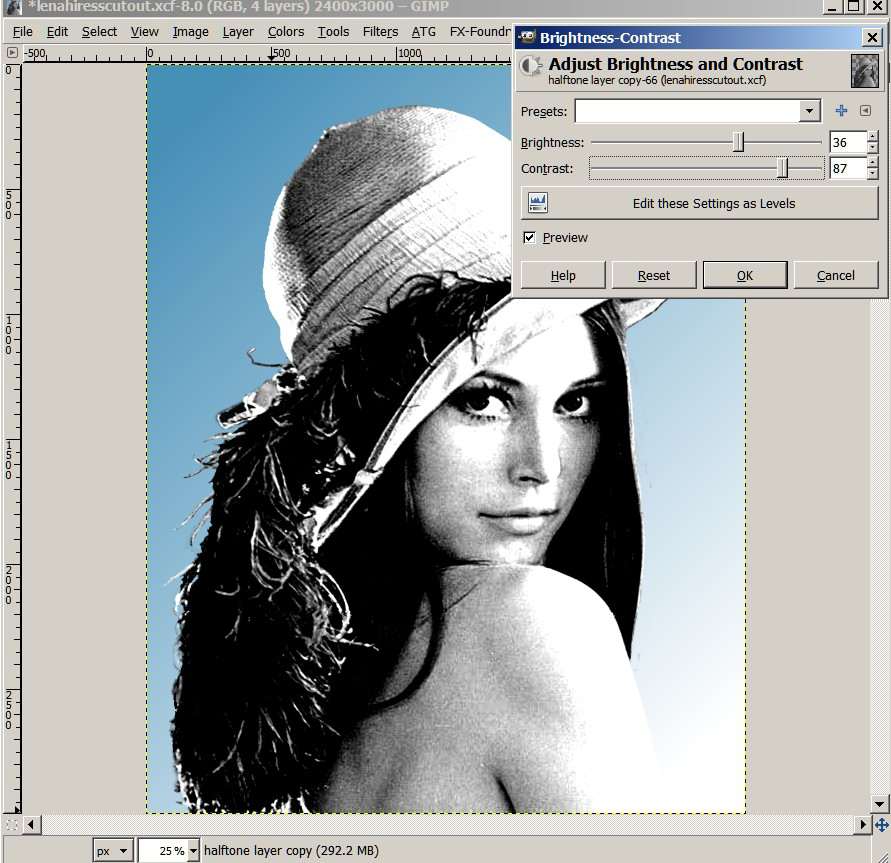
The next step is to use the Colors| Brightness -Contrast filter to accentuate the darks and lights and apply a Gaussian blur of about 15-20
SH_11 aug 8
Next step is to apply the Filters|Distort|newsprint and apply the filter. This filter is a bit tricky and needs to be set up properly to do what you want it to do. I have set the exact same settings in the Red,Green and Blue channels Note the other settings.
SH_12 aug8
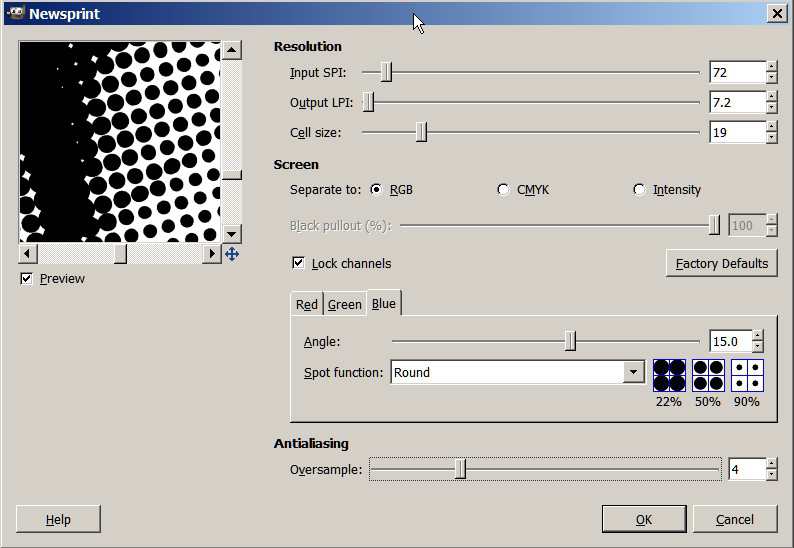
You may like a different angle (make sure that all channels have the same angle). You may like like a larger or smaller dot size. It will depend on your portrait or image. Unfortunately there are are no hard and fast rules , you need to experiment a bit here. You should have something like this.
SH_14 aug8
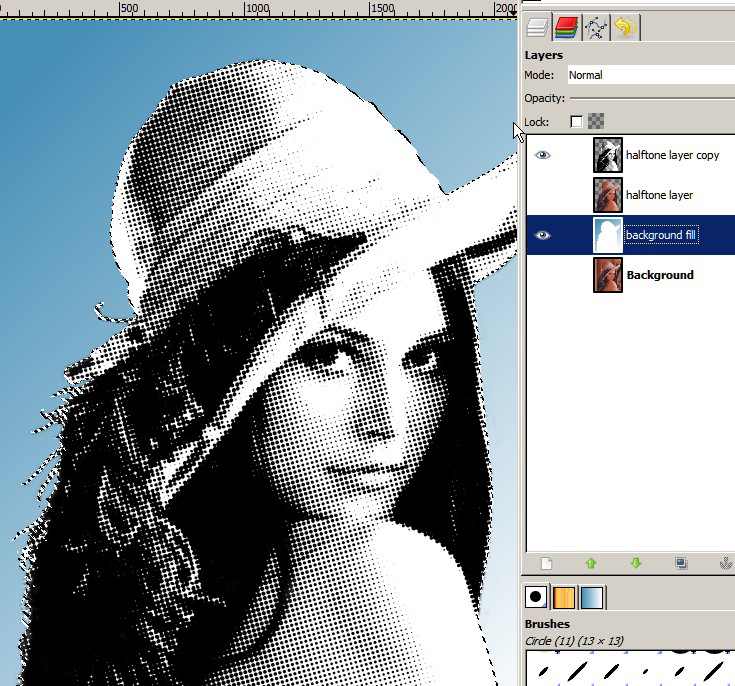
Make the background fill layer your target (white border). Open the channel dialog, select the selection Mask copy and click on the red button(replace the selection with this channel).
Return to the layers dialog, ensure the background fill layer is selected (white border) and fill the selection with white. You should have something like this.
SH_16 aug8
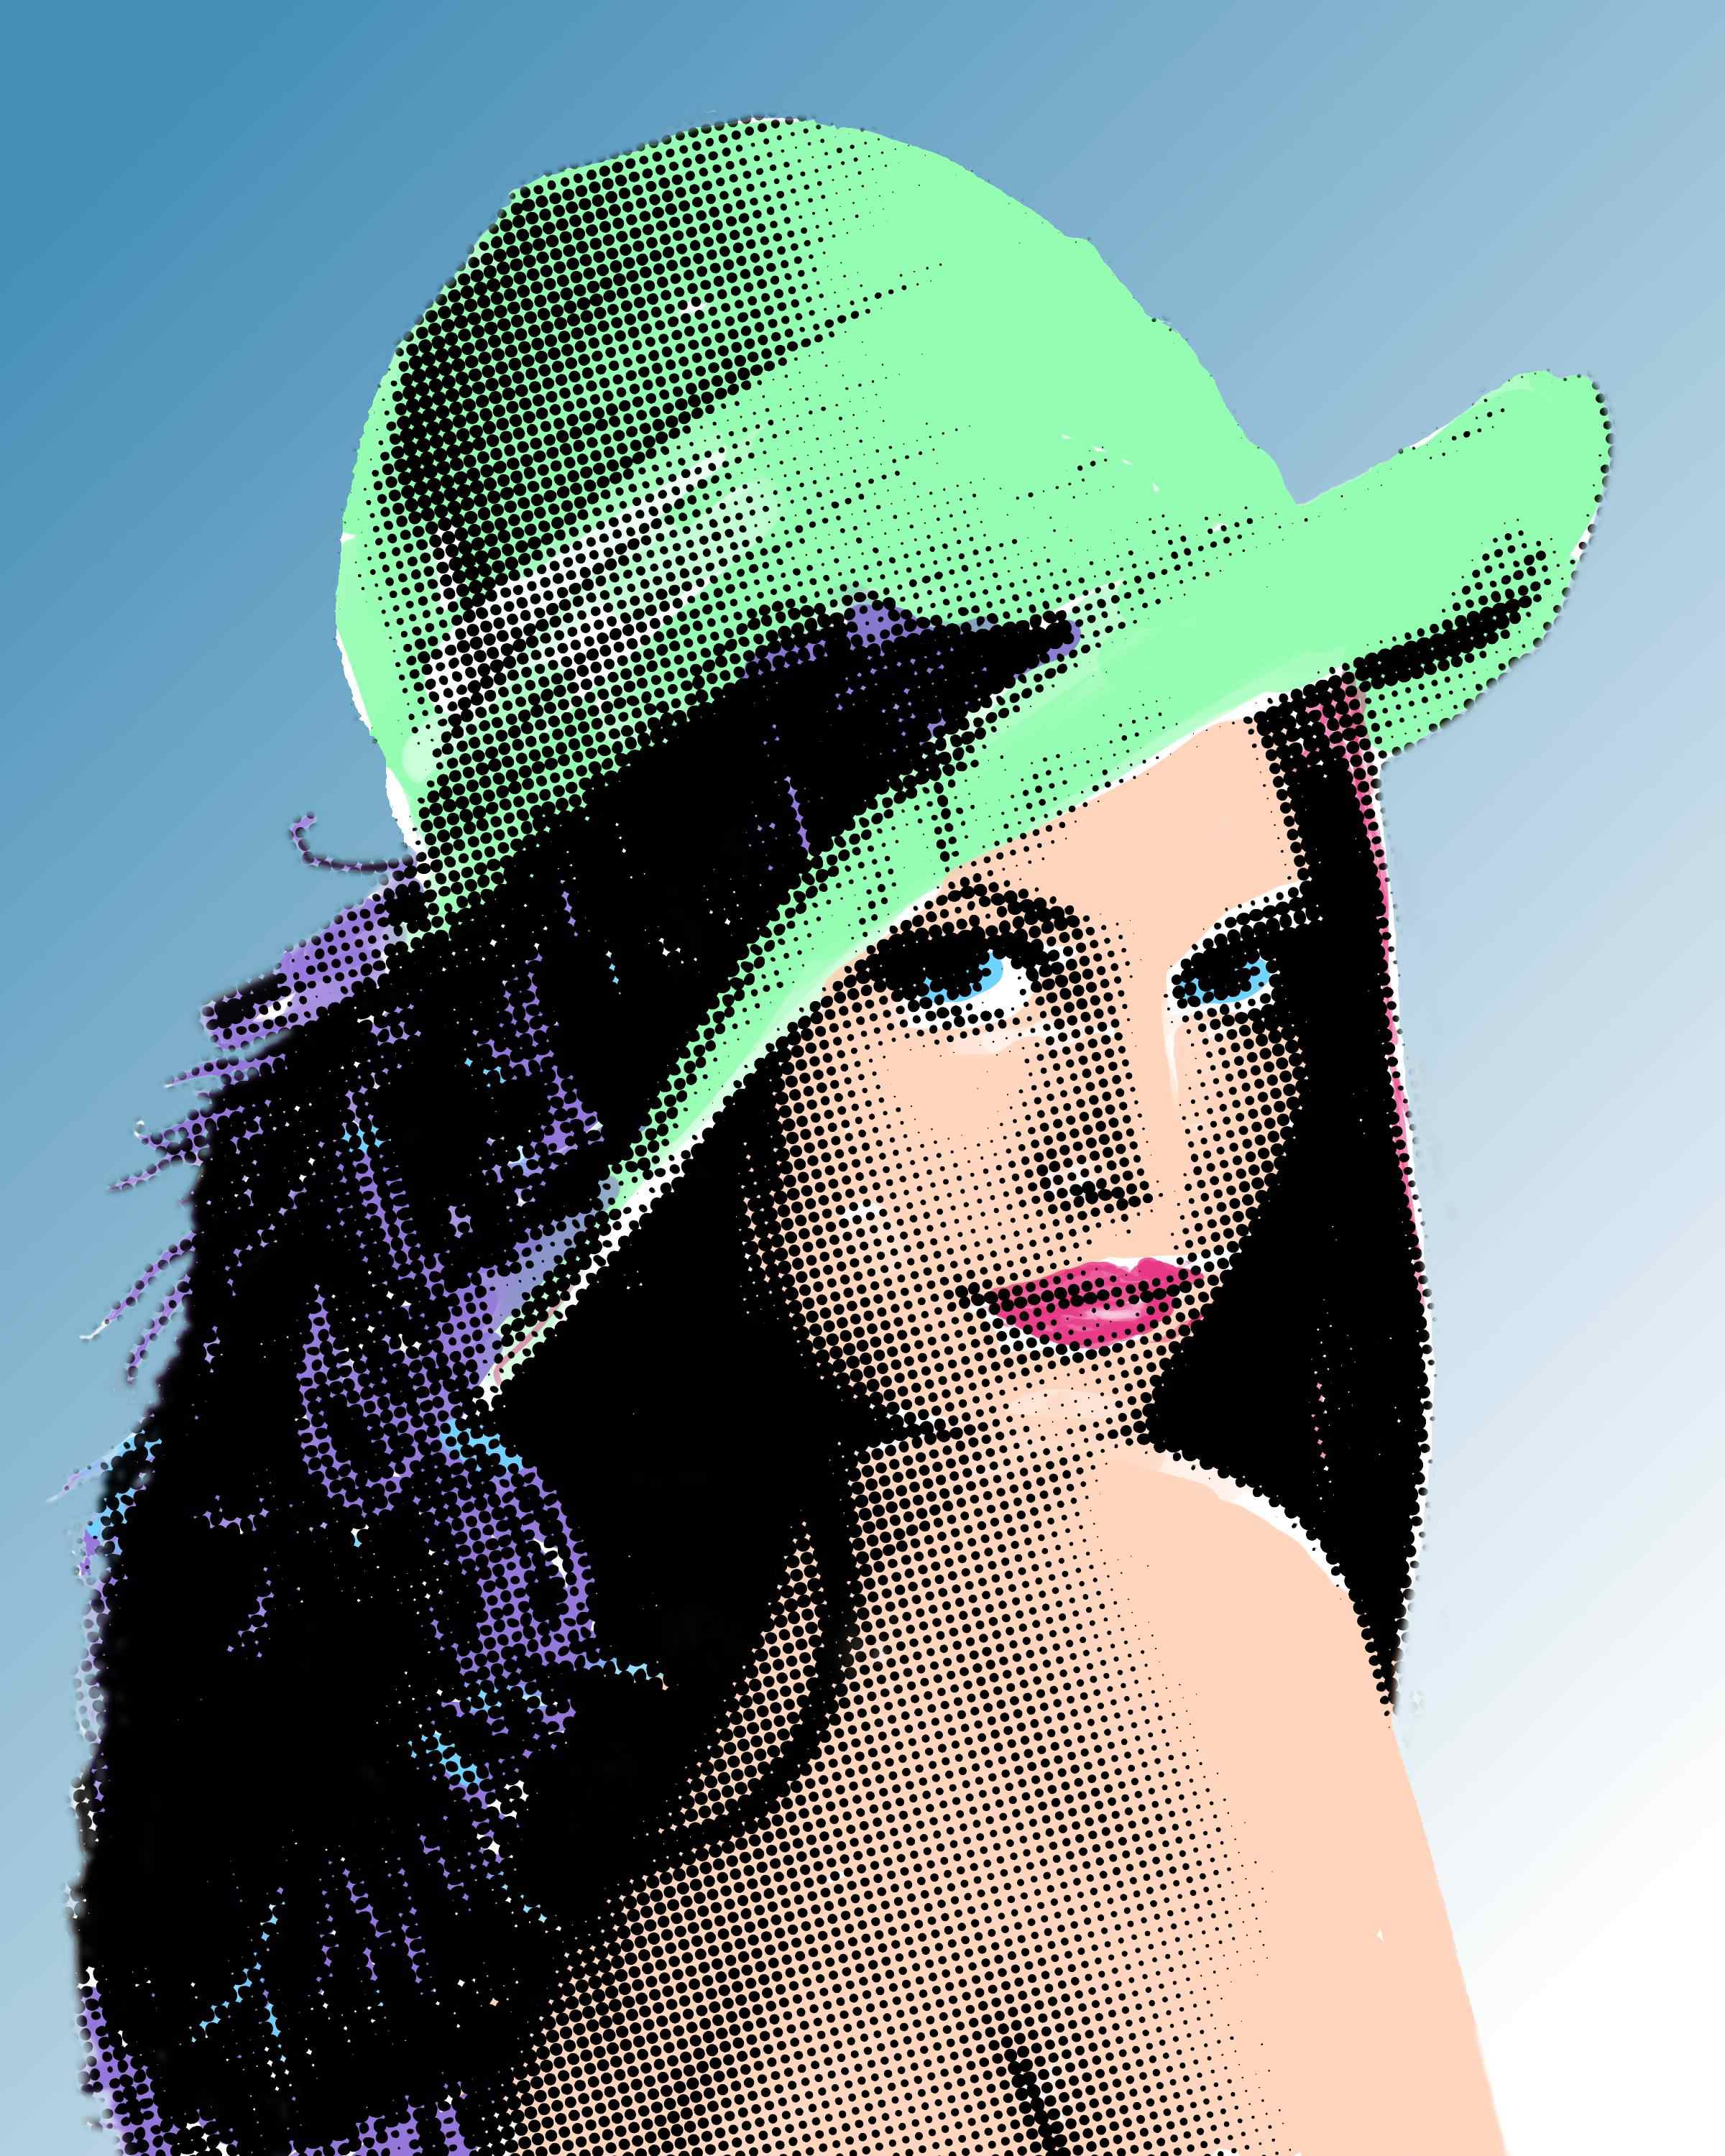
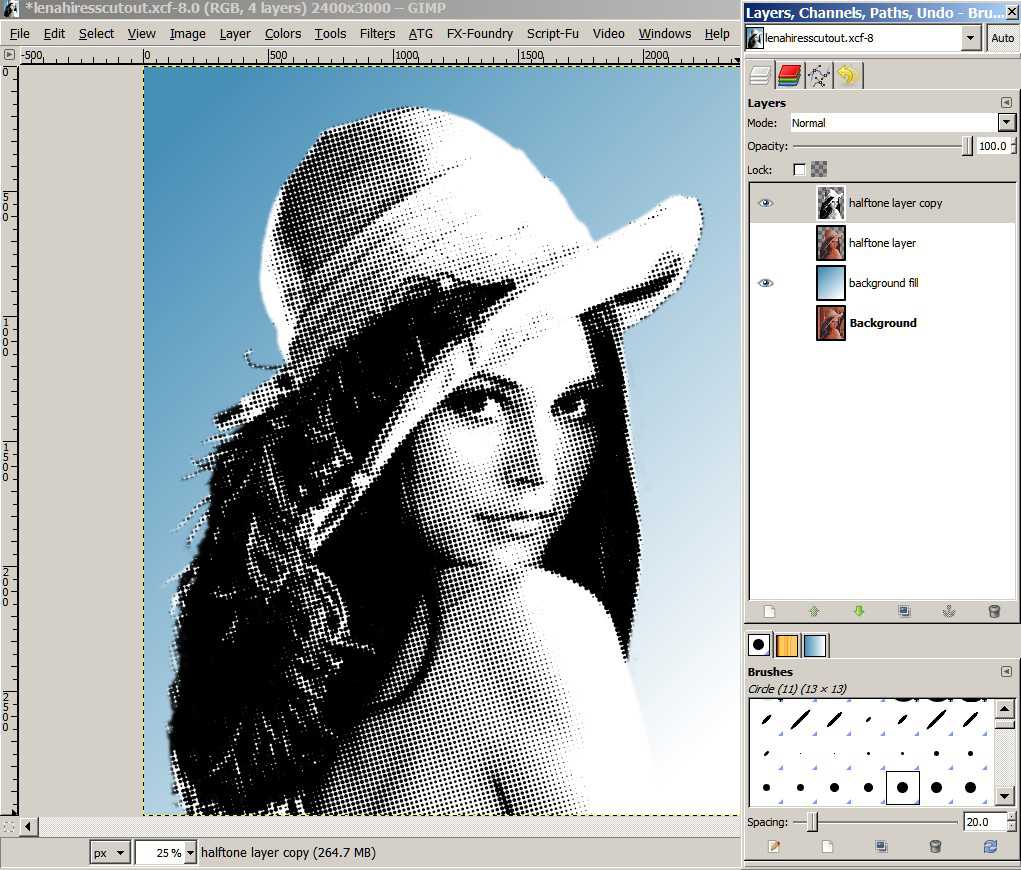
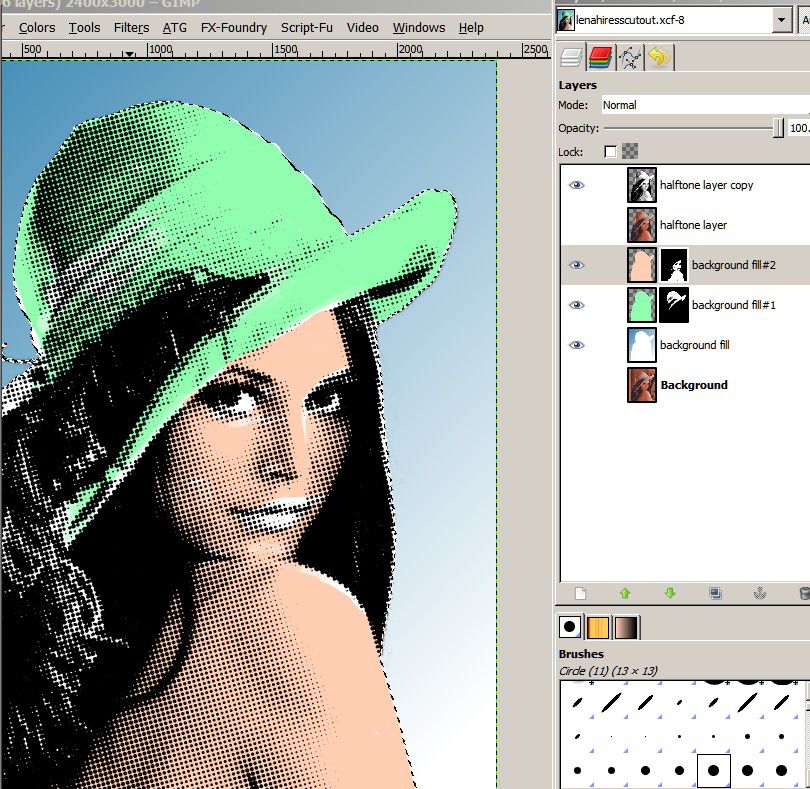
Set the display mode of your halftone layer copy to multiply. From here onwards we will add a new transparent layer for each colour we wish to add or manipulate eg hair, eyes, lips, etc. Each layer will have its own colour, eg. pink for lips, blue for eyes or straw for hair. We will need a black layermask and we will work on the layermask to reveal the under lying colour.Add a new layer and place each new layer above the previous one. Use the colour wheel or other colour selectors to select your colour. You do not have to do the "ok" bit and colour fill, just drag the colour over your new background fill layer (see SH_17 aug 8)
I will illustrate the the green layer . The other layers are the same , after you finish a colour layer insert a new transparent layer above it and do the same .
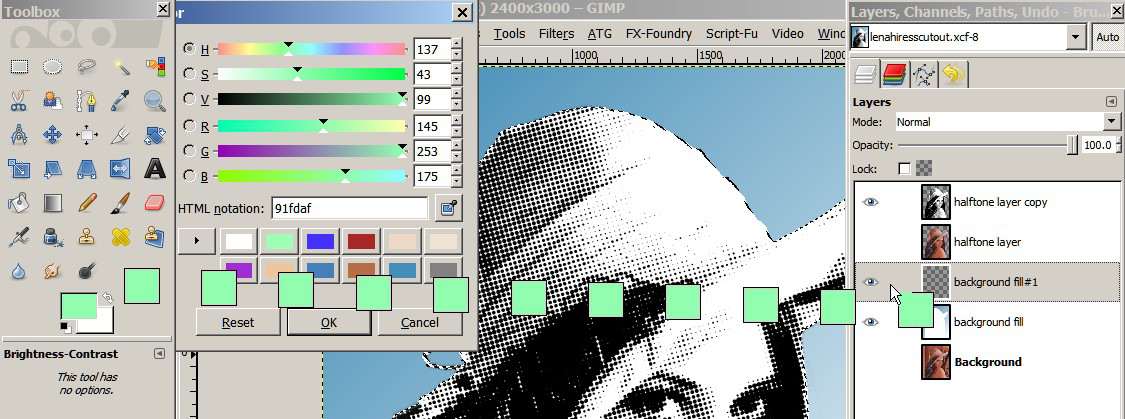
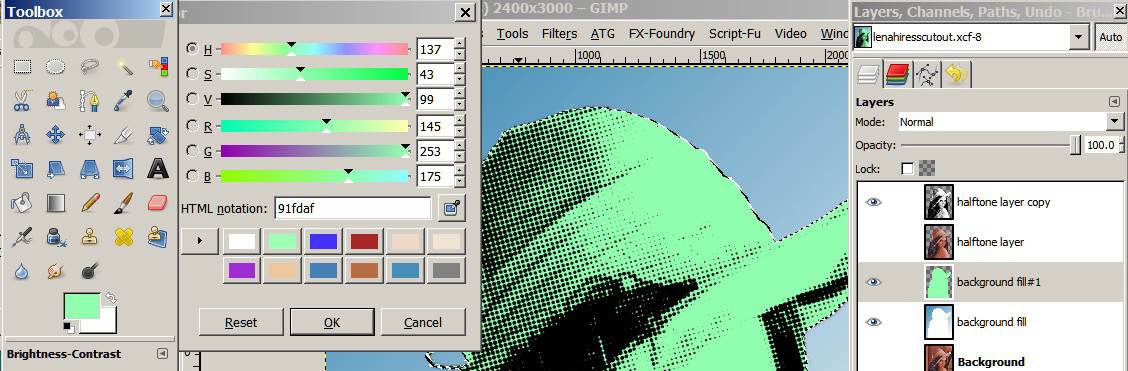
Insert a new transparent layer above the background fill layer and fill it with green. This layer will be called background fill #1 (see sh_17 aug 8). Your background fill #1 layer should be a green silhouette on a transparent back ground.
Add a black layermask and ensure that it is the target layer (white border) and with a white paintbrush paint on the hat to reveal the green. Note that you actually painting on the black mask (white border) Once you have painted the hat, start the new layer. If you go too far with the green , you can cover the green by painting over with black.
Insert a new transparent layer above the background fill layer #1 and fill it with skin colour , add a black layer mask , etc. I
SH_17 aug8
SH_18 aug8
SH_19 aug8

Notice that I have a bit of white (unrevealed) in the fill colour and on areas where other colours will fill.
SH_22 aug8
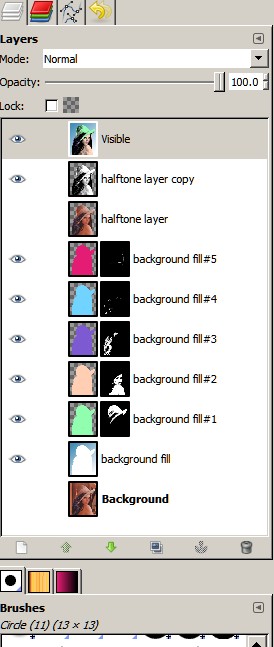
You can re-visit these layers later and play with the layermasks to add more reveal (white or less by painting on the layer mask with black or white. At the end of your colour layers select none, flatten the image or make a new layer from visible to end upo with a single layer jpg or png. Don't forget to save often in case you make a mistake
I put the little highlight on the lips with using a lower opacity black to block some of the colour. After you have added your basic colour layer you may play with each layer display mode to achieve your own special blends. Ofcourse you can restrict or increase the number of layers and layers. Here is my final XCF.
SH_23 aug8
The last step is to do new layer from visible (layer | new from Visible) and save that as a new image or save the xcf file with a new name and flatten the image (image | Flatten Image) and save.
I include the original Lenna photo which may be freely used which is the first image at the beginning of this tut.


 I think this would work well with a ladybird beetle or a flower.