Supposing you don't mind use also Xnview ( That may be used with Wine in Linux and allow to use most PS filters in Linux ...)
1) Be sure the image mode is NOT greyscale but RGB :
in Gimp Image> Image mode > RGB ,if you are browsing with Xnview Image >RGB
(if "RGB" is grayed out, fine, image is already in RGB mode)
Don't forgot this because in "greyscale" mode most of Gimp (or even Xnview) tool and filters would not work as expected or not at all
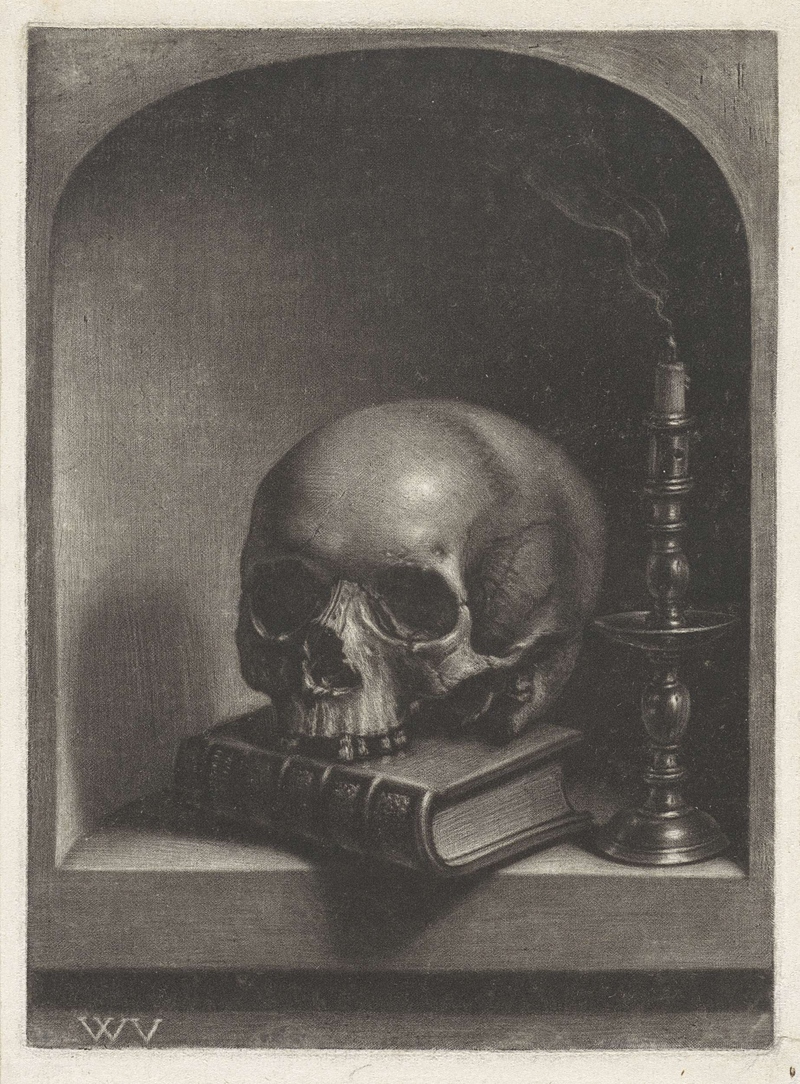
2) CROP AWAY all the white (or black) border around the image:
that border if present would deceive automatic contrast or level adjustments with well defined white or black area that are external to the area to edit3) in Xnview Image> Automatic Contrast will most of the time improve the contrast.
If not or if not sufficently you may try also Image> Automatic Level
If you prefer do with gimp are so many alternatives one of most simple COLORS>Level , there click "auto"
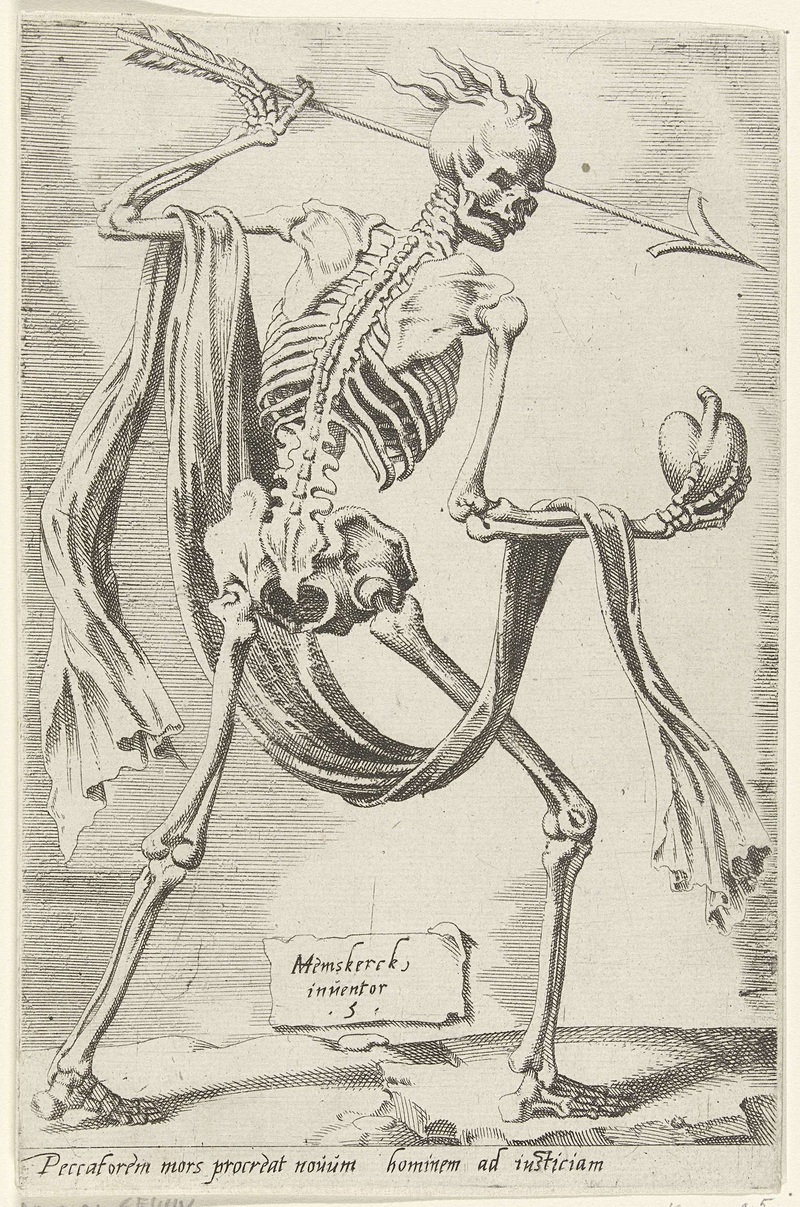
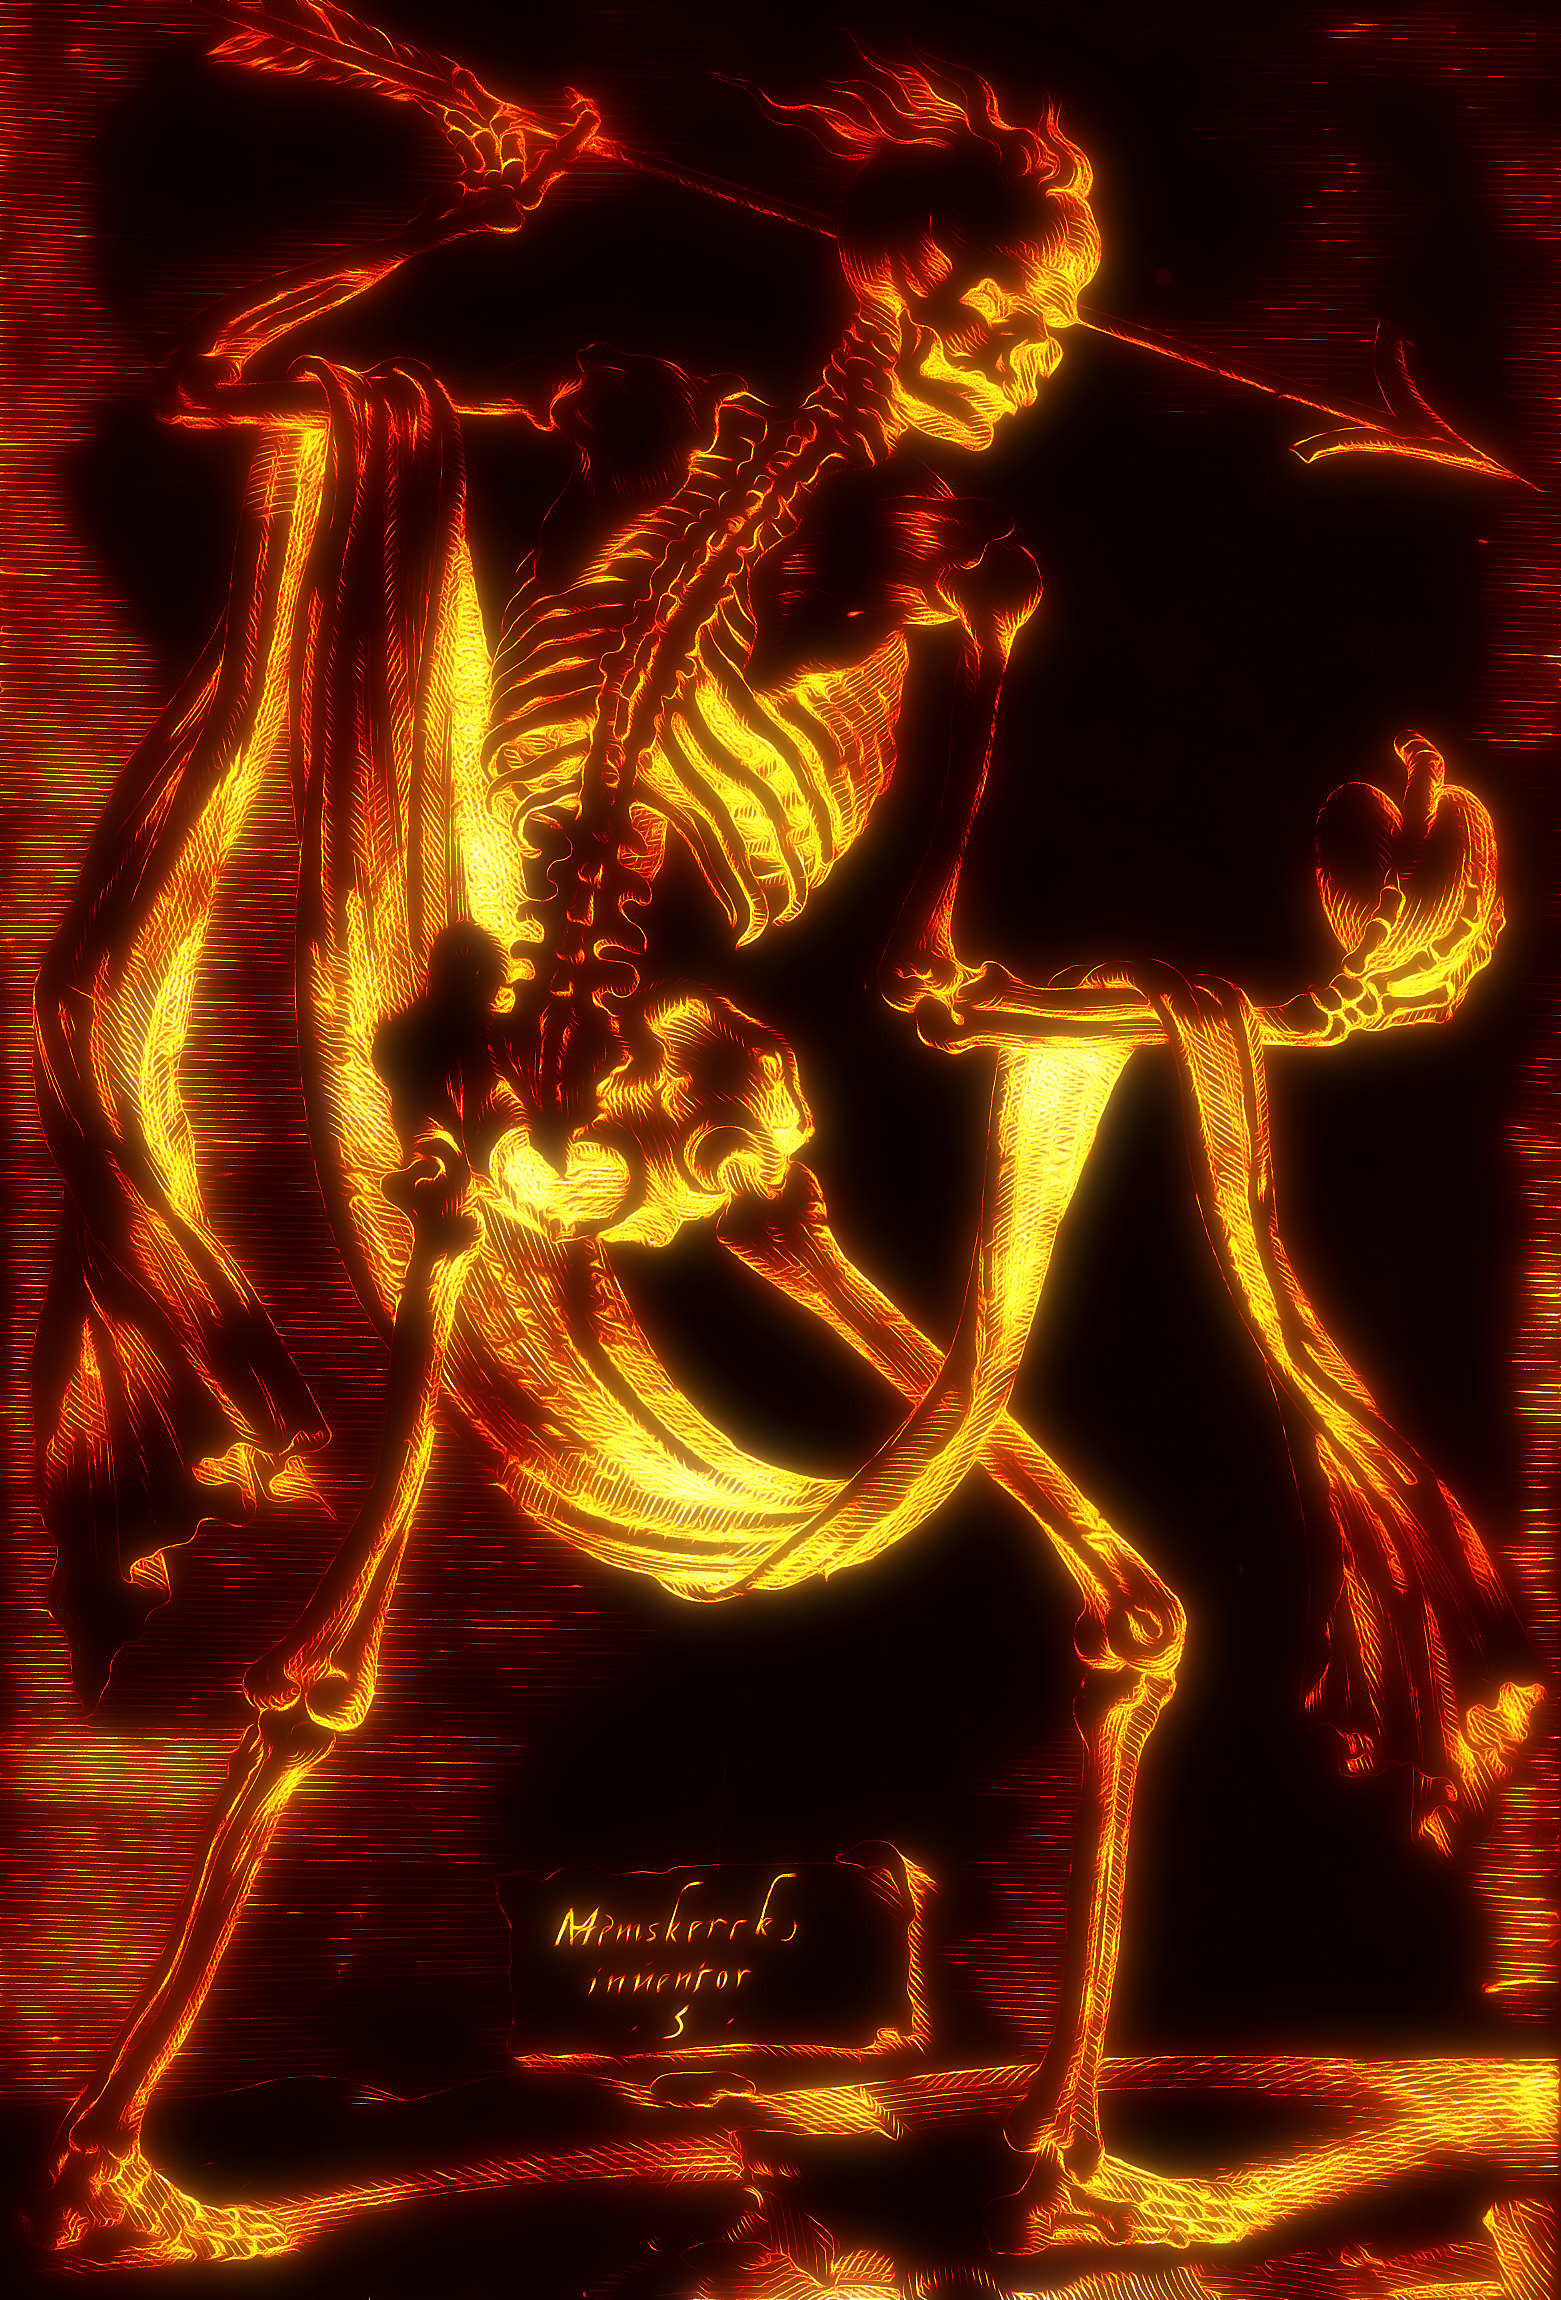
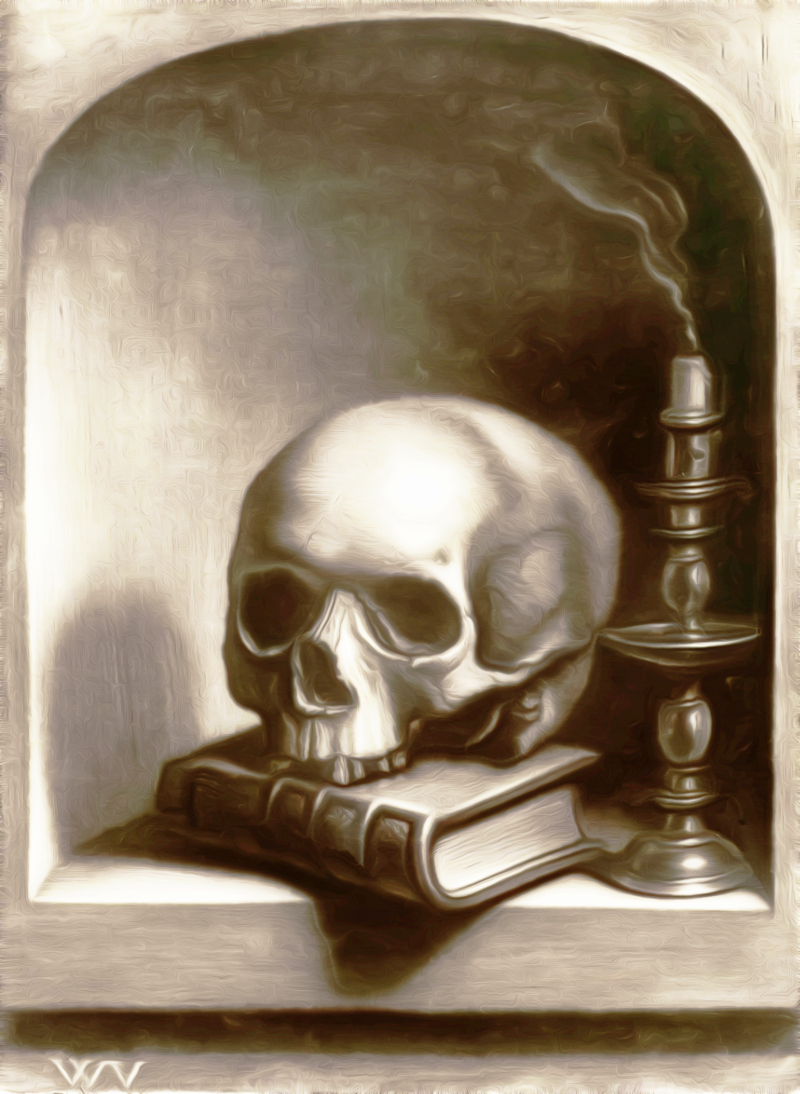
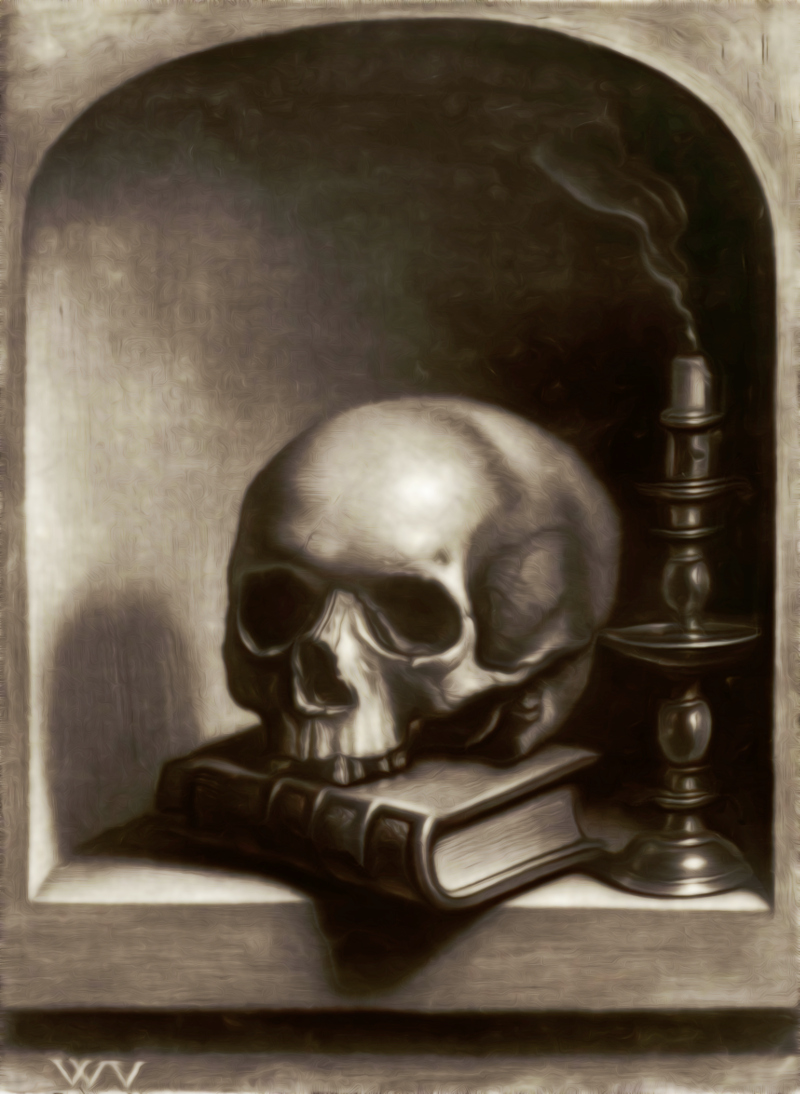
So now the skull i chose as example should look so
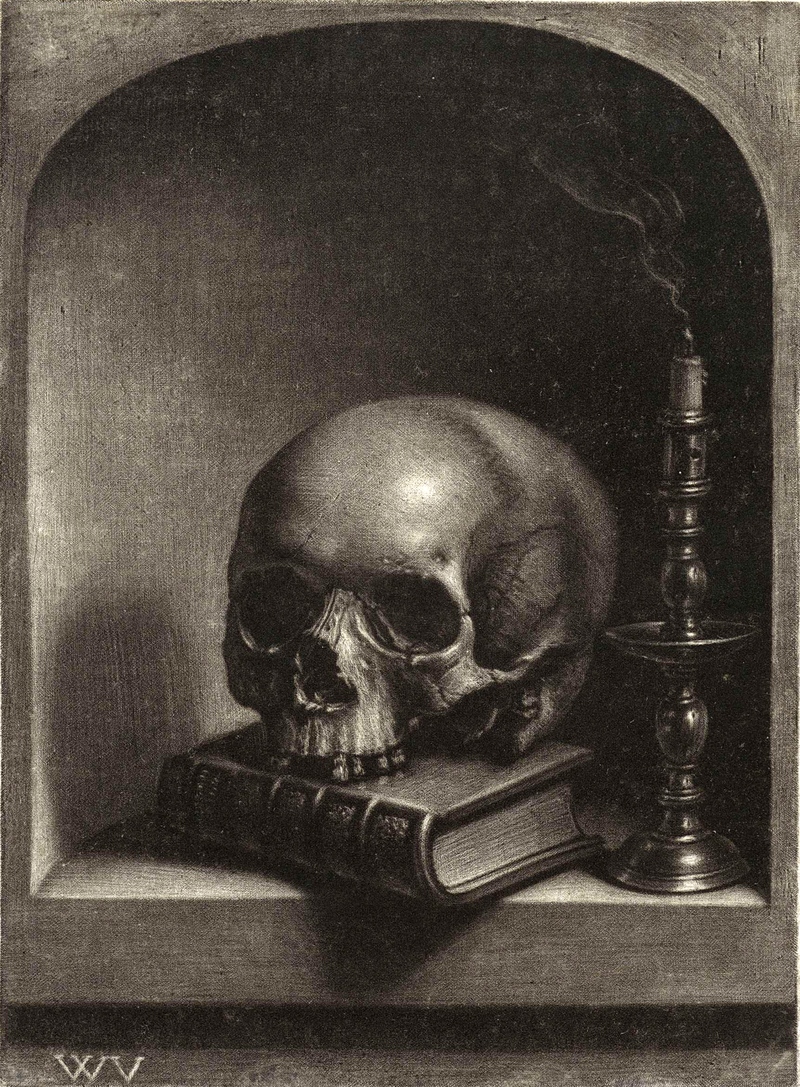
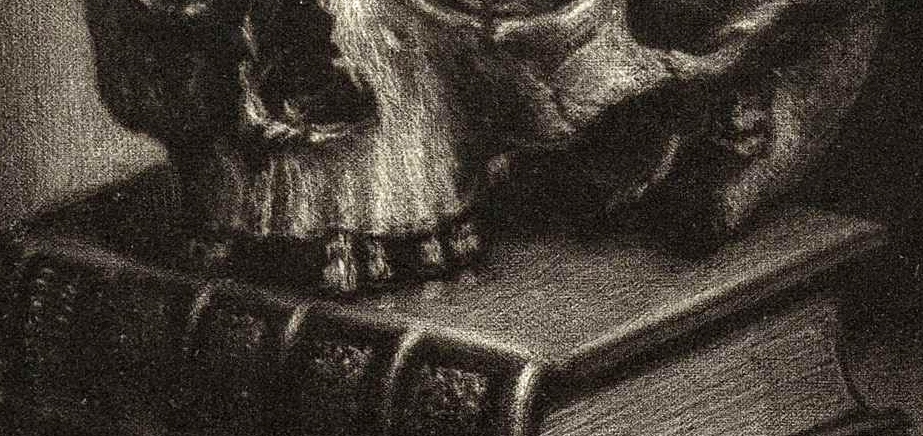
But what is important is the image texture because is what we will modify and is well visible here at 100% zoom
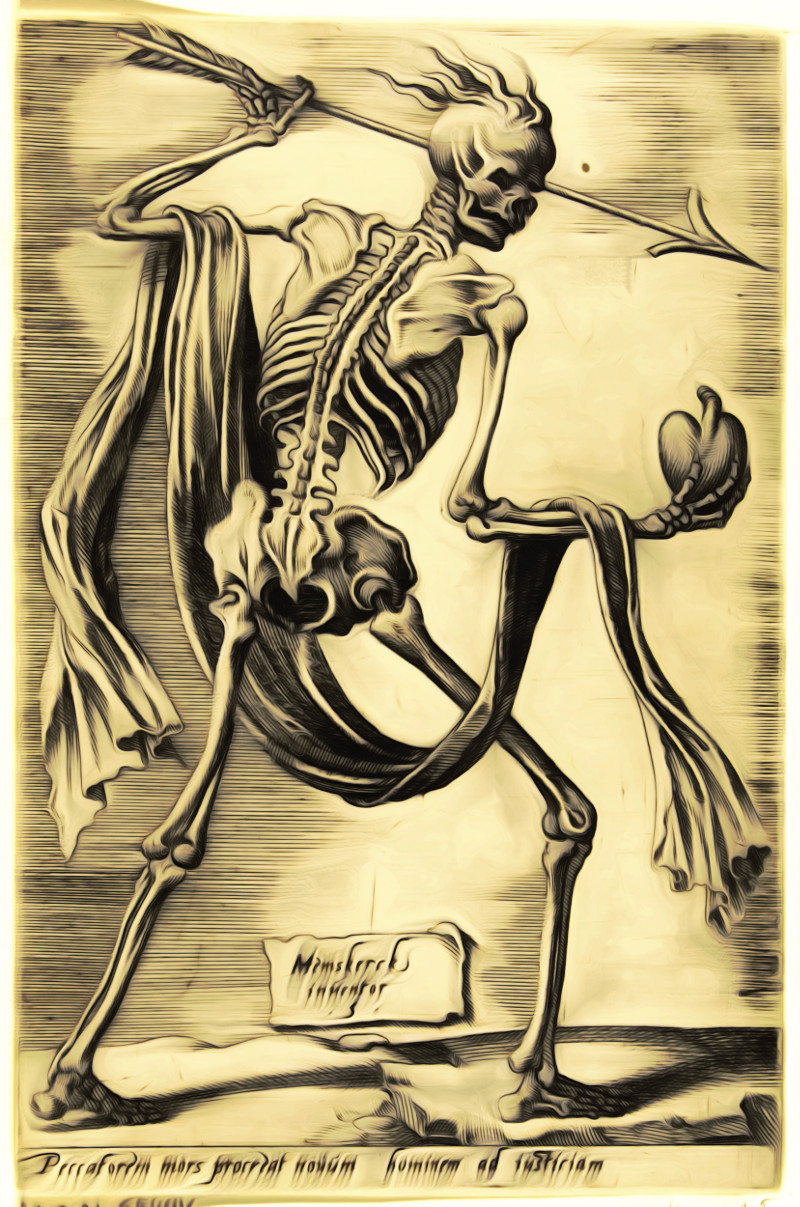
Now ,paste the image in gimp , open GMIC and change "Output" option (highlighted in the screenshot below )from default to "New Layer", and open Artistic> Dream Smoothing

And we already are close but instead then black we have a not too dark brown
No bad but we want more depth and contrast and some shadows closer to absolute black ...see are no black here
So CTRL+ L to open layer window, there make 2 duplicate of the BG layer (THE ORIGINAL IMAGE ) move one on top, apply a generous gaussian blur (i used 15, again note we are talking of large images, would be MUCH less for little image)change mode to Multiply , multiply because i want also darken, and lower layer opacity
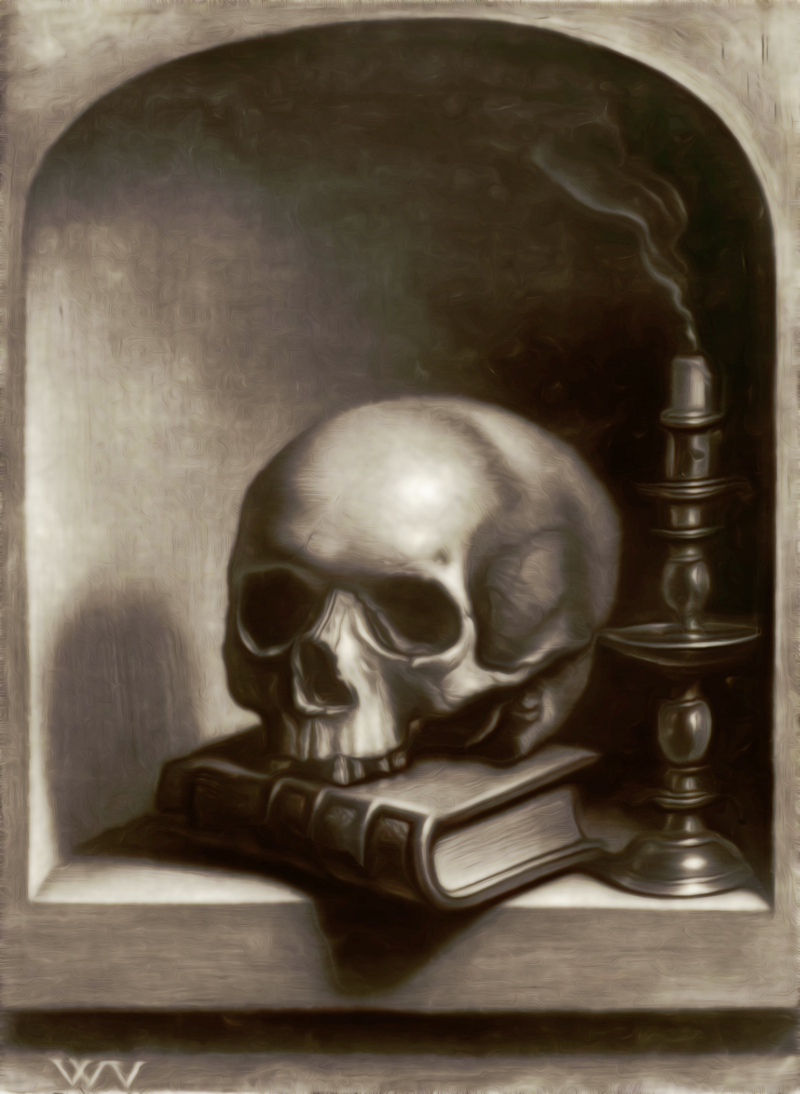
Do the same for the second dup of the original, blur it and move on top
but this time chose "Soft Light" as layer mode , again lower opacity of this layer and
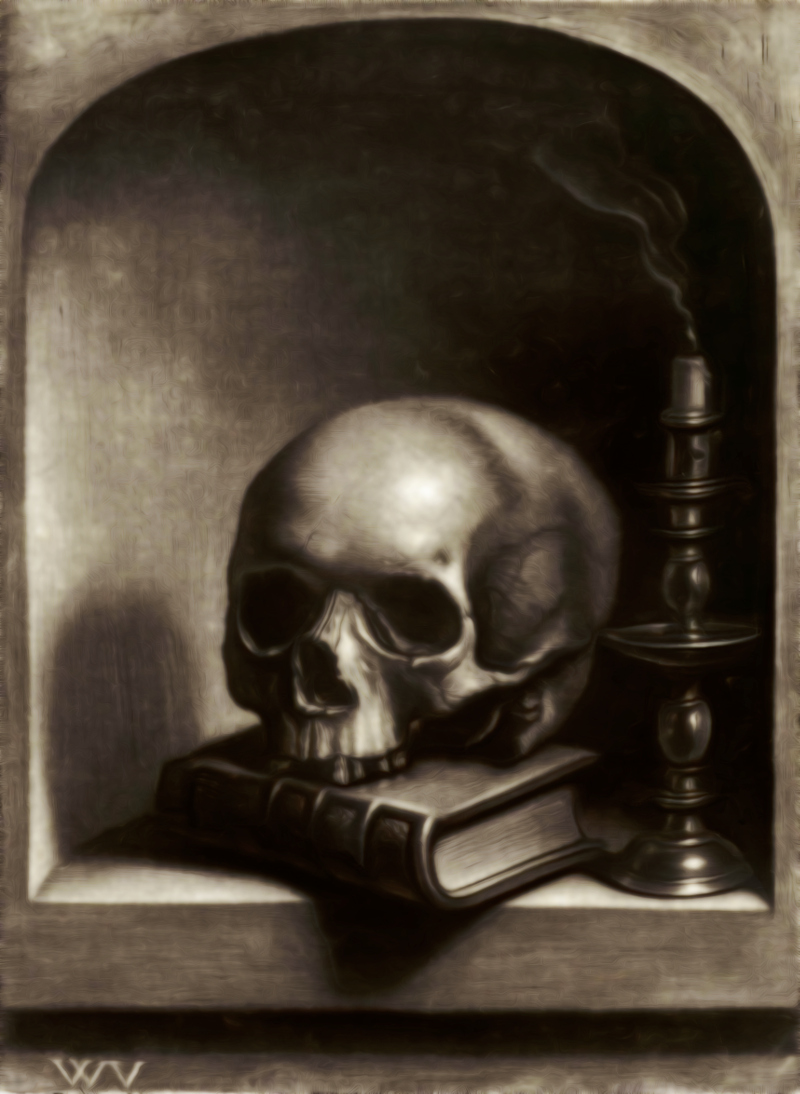
Gmic Presets used : here in this first example the first but in next example in next post i will use also the 2nd
(to use paste on a text editor and save as "gmic_faves" (no quote no extension),whatever are your gmic definition files
{Dream smoothing-pc1}{Dream smoothing}{gimp_dreamsmooth}{gimp_dreamsmooth_preview}{3}{1}{15}{0.8}{0}{1.69048}{0}
{Smooth -SharpSmooth}{Smooth [anisotropic]}{gimp_anisotropic_smoothing}{gimp_anisotropic_smoothing_preview}{60}{0.118343}{0.796954}{3.35025}{1.1}{0.8}{30}{0.766864}{0}{1}{1}{0}{1}{0}
sorry the xcf even zipped is 16MB , here the link
https://docs.google.com/file/d/0B3PfZ2r ... sp=sharing


 )
)