Seeing as my user name is He4rty (Pronounced Hearty), I thought I'd make a quick tutorial on making a heart shape in Gimp, as well as learning how to create a heart quickly and easily this tutorial will hopeful show you some of the ways in which you can use the selection tools.
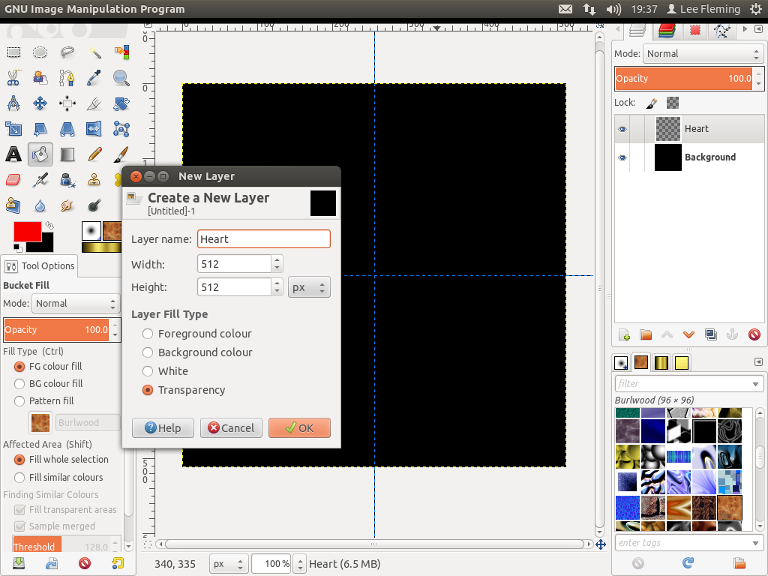
1. Create a new image in Gimp 512px * 512px and fill with Black, Go>View and just check to make sure "Show Guides" is ticked, if not click on the phrase in the menu. Then Go>Image>Guides>New Guides and add a Horizontal and vertical guide at 256px, Finally Go>Layer>New Layer and Rename Layer to "Heart" and check Transparency then click O.K.
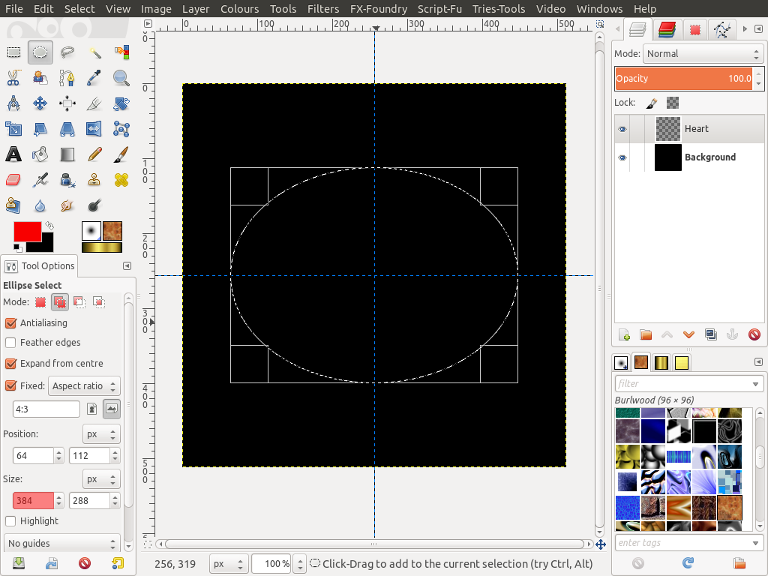
2. From the toolbox select the "Ellipse Select Tool"

and change the settings too,
"Add to Current Selection"

and Check the options "Expand from Centre", "Fixed Aspect Ratio", change the fixed ratio to 4:3, then starting from our guide cross begin to draw an ellipse selection until the first size box shows a value of 384 (I've Highlighted the box in the image below).
3. From the toolbox select the "Rectangle Select Tool"

and change the setting to "Subtract From Current Selection"

, Nothing else needs to be checked. Starting on the Vertical guide draw a rectangle selection that is larger than the top half of our original ellipse selection.
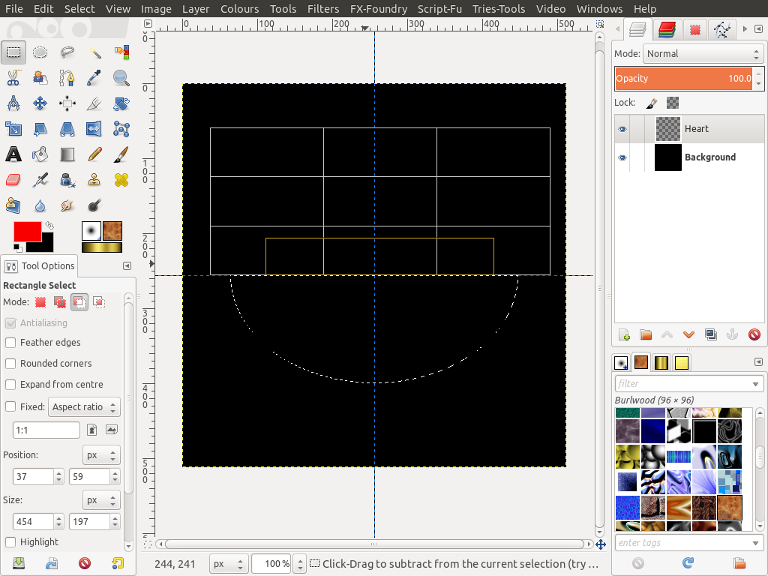
You should notice that the marching ants around our selection now only shows the bottom half of the original ellipse we created as the selection.
4. From the toolbox select the "Ellipse Selection Tool" again and just change the fixed ratio to 4:2.25, then starting from our guide cross begin to draw an ellipse selection until the first size box shows a value of 384.

You should notice that the marching ants around our selection now shows a very strange looking ellipse shape.
5. From the toolbox select the "Rotate Tool"

and change "Transform Mode" to "Selection"

. Click anywhere on the layer to bring up the "Rotate Tool" dialogue and change rotation to 45 and click rotate.

6. From the toolbox select the "Rectangle Select Tool"
and change the setting to "Subtract From Current Selection"
, Nothing else needs to be checked. Starting on the Horizontal guide draw a rectangle selection that is larger than the right side of our ellipse selection.
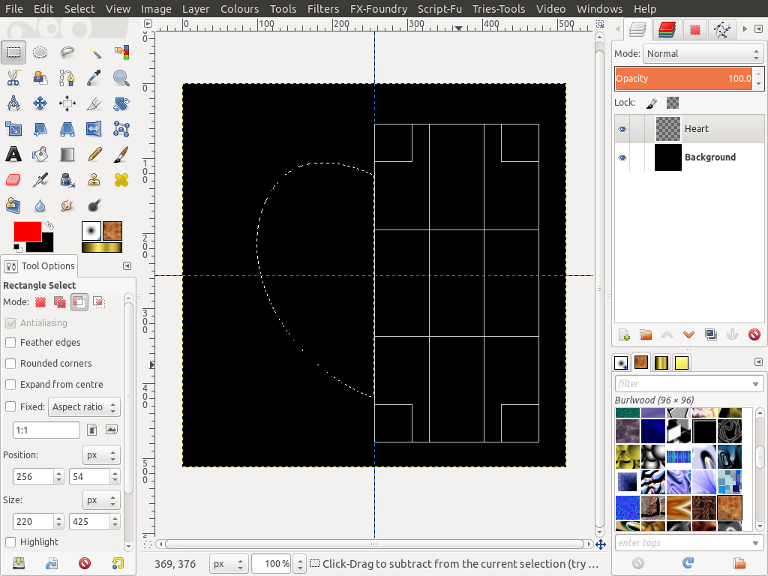
You should notice that the marching ants around our selection now shows half a heart shape.
7. From the toolbox select the "Bucket Fill Tool"

and change your foreground colour to a nice Red (I used FF0000) and fill your Selection.
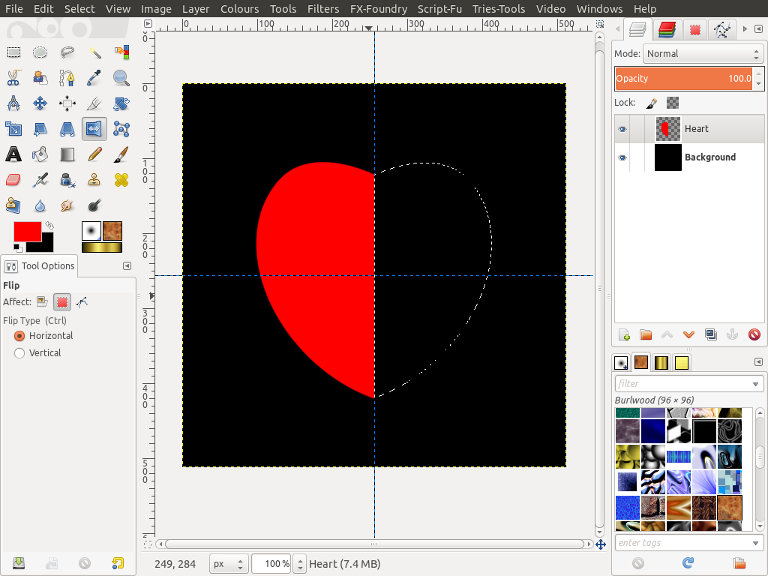
8. From the toolbox select the "Flip Tool"

and change "Affect Mode" to "Selection"
, Make sure "Horizontal" is checked, then click anywhere on your layer to flip your selection.
9. From the toolbox select the "Bucket Fill Tool"
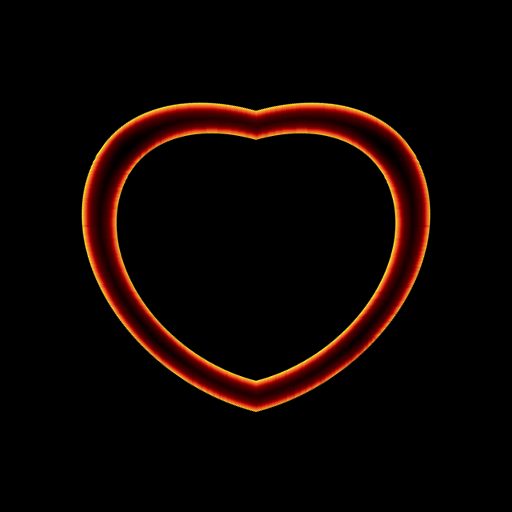
and fill your new flipped Selection. Go>Select>None to remove the Selection and Go>View and untick "Show Guides", Now sit back and admire your new heart.

Can I encourage you to experiment with the ratio sizes and the rotation amount but just remember your top ellipse needs to have a smaller fixed ratio than your bottom ellipse.