This is an explanation of how I created the smoke effect. Below you will find the Candle Image and the Gradient "Incandescent" it should be a default gradient with gimp but just in-case you don't have it you can download and install. Also you will need the Plug-in Gmic installed.
Attachment:
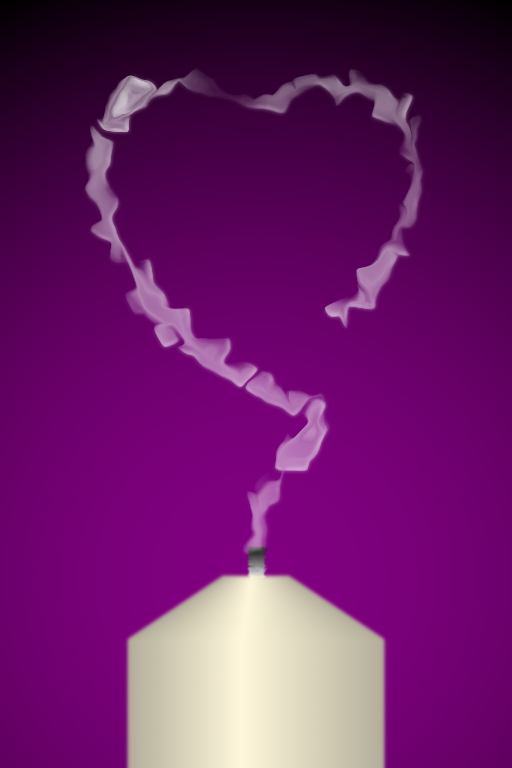
 Candle with Smoke Template.png [ 75.4 KiB | Viewed 8034 times ]
Attachment:
 Incandescent.ggr [447 Bytes]
Downloaded 365 times
Incandescent.ggr [447 Bytes]
Downloaded 365 times
1. Download the candle background and open up in gimp, Go>Layer>New Layer and rename to "Smoke".
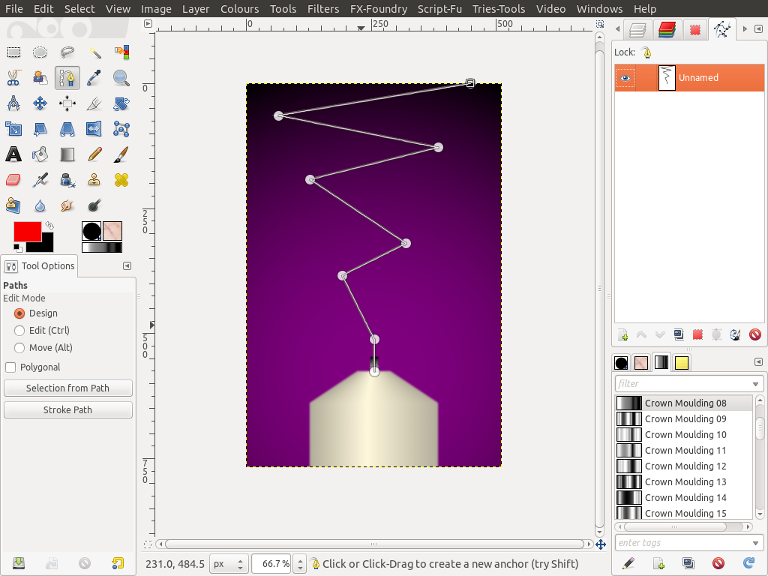
2. From the Toolbox select the "Paths tool"

and starting from the candle wick create a path for your smoke to follow.
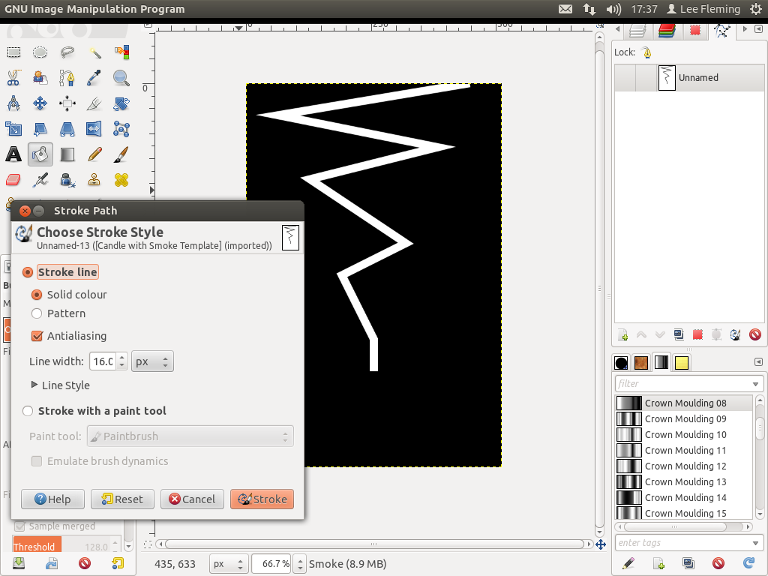
3. Fill your "Smoke" layer with Black. Then change your foreground colour to white, Go to your paths dialogue, you can find it by going Windows>Dockable Dialogues>Paths. Then select your path and click on the "Paint along Path"

icon, In the pop up window Change "Line Width" to 16 and click OK.
4. Go>Filters Blur>Gaussian Blur and change both values to 10 and click OK.
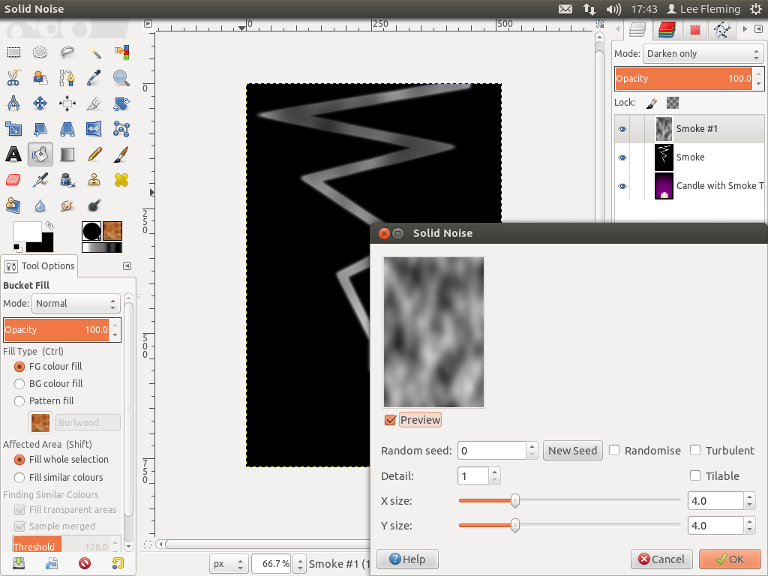
5. Go>Layer>New Layer and create a new Layer above your "Smoke" layer, Go>Filters>Render>Clouds>Solid Noise and run the default settings, Finally change the Layer Mode to "Darken Only".
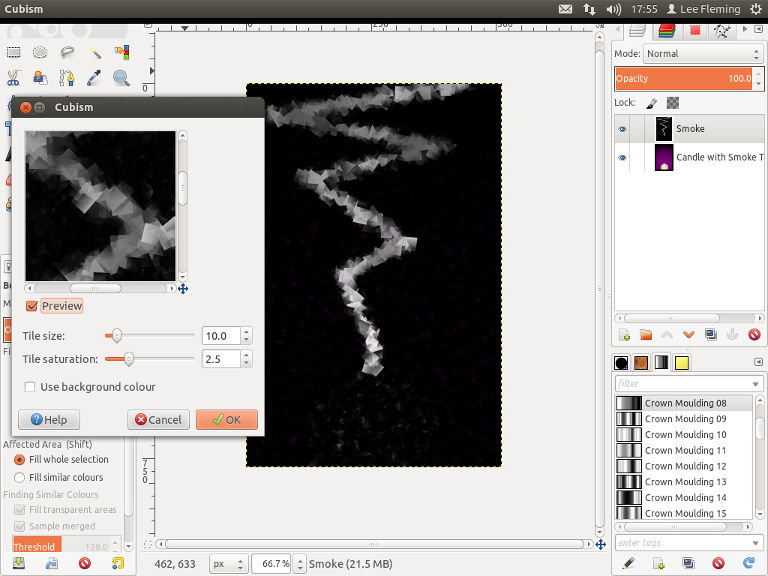
6. With your "Smoke#1" layer selected Go>Layer>Merge Down. The Go Colour>Auto>Stretch Contrast. Then Go>Filters>Artistic>Cubism and run with the default settings.
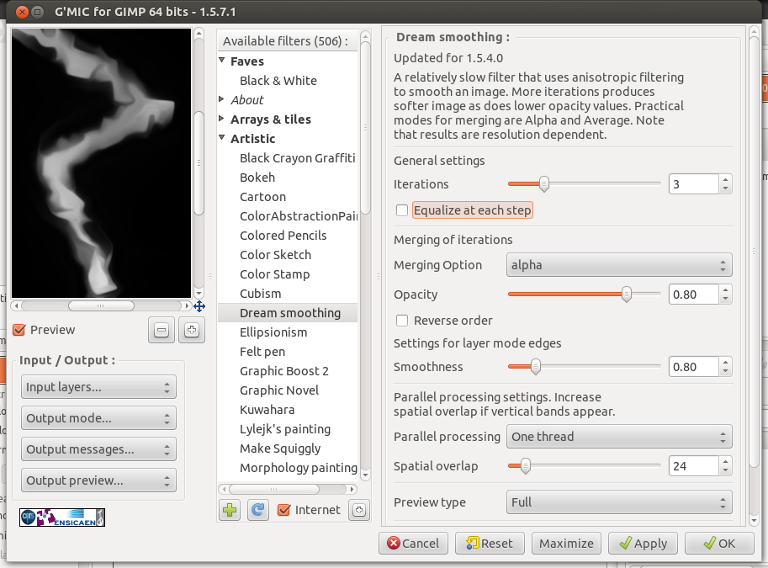
7. Go Filters>Gmic and under Artistic select "Dream Smoothing" you can use the default settings but uncheck "Equalize at each Step" then click OK. This filter can take a while to run.
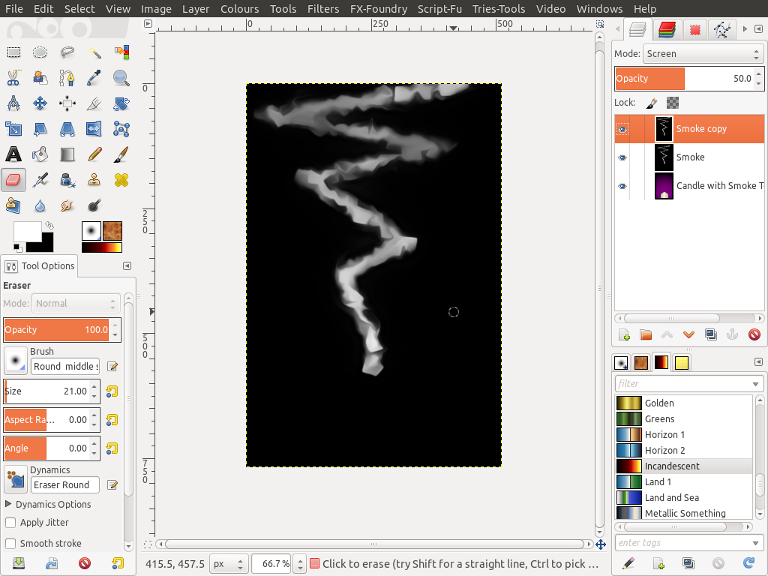
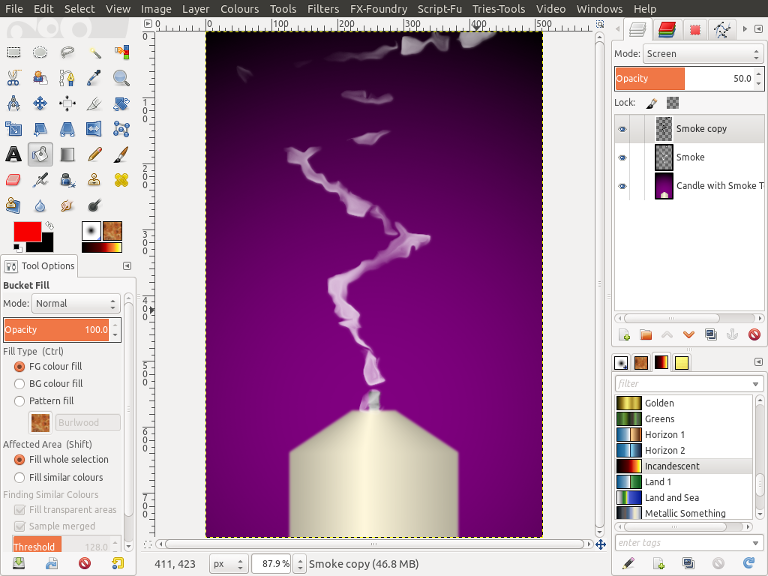
8. You could skip to the end few steps now if you wanted, Now from playing around with this effect I know the top part of my smoke from the dream smoothing is to grey and needs to be lighter but at the same time I don't want to make the bottom part any whiter. If I carry on now with the smoke as it is, then I will lose the top half of the effect and the bottom by the wick will be to white. To rectify this I'm going to go Layer>Duplicate Layer and change the duplicate Layer mode to "Screen" and reduce the Opacity to 50.
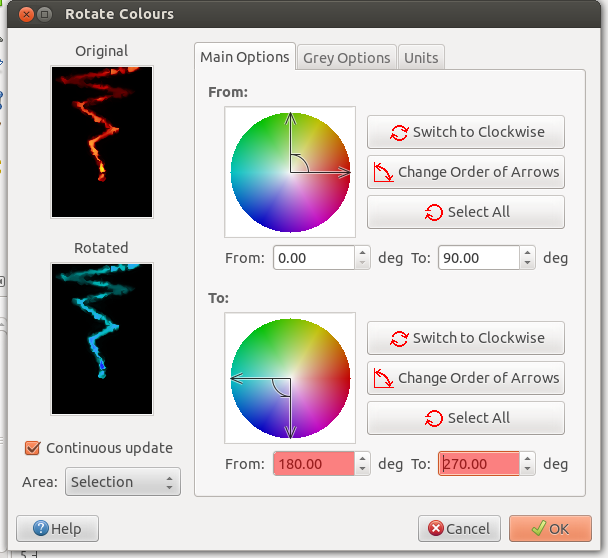
9. With the duplicate Layer still selected Go>Layer>Merge Down. From your Gradient Dialogue select the gradient "Incandescent" and Go>Colours>Map>Gradient Map. Then Go>Layer>Duplicate Layer, select the duplicate layer and Go>Colours>Map>Rotate Colours and change the bottom to settings to 180 and 270 (Highlighted in the image Below) and click OK.
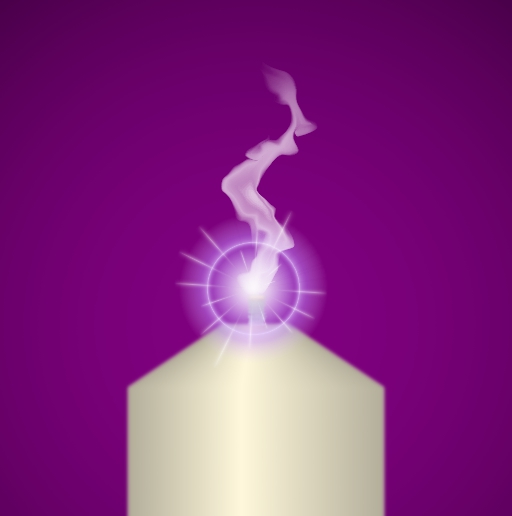
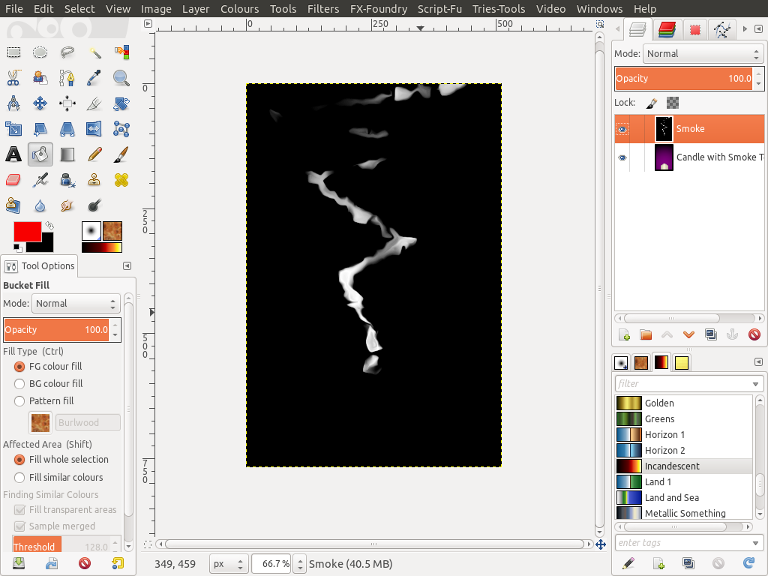
10. Still on the top duplicate layer, Change Layer Mode to "Grain Merge" then go>Layer>Merge Down. Then Go>Colours>Stretch Contrast. You should be looking similar to the image below.
11. Next Go>Layer>Transparency>Colour to Alpha and Change colour to Black and click OK. Then reduce the opacity of the Layer to 75.
12. Go>Layer>Duplicate Layer and select this new layer, Go>Filters>Edge Detect>Neon and run the default settings.
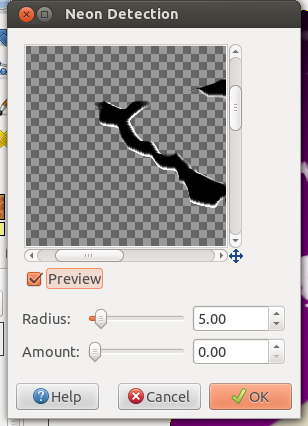
13. Still with your top duplicate Layer selected Go>Filter>Blur>Gaussian Blur and change both values to 5 and click OK. Then change layer mode to "Screen" and reduce Opacity to 50.
14. That's it, you could use the eraser to tidy up the smoke around the wick, also feel free to follow all the steps or to miss some out, the main steps are the cubism filter (Gmic has a cubism filter you could also try.) and the dream smoothing filter. Have fun.