molly, 2-ton, Graechan,
Thank you all very much for the kind comments.
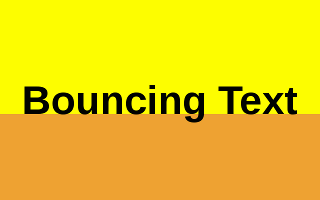
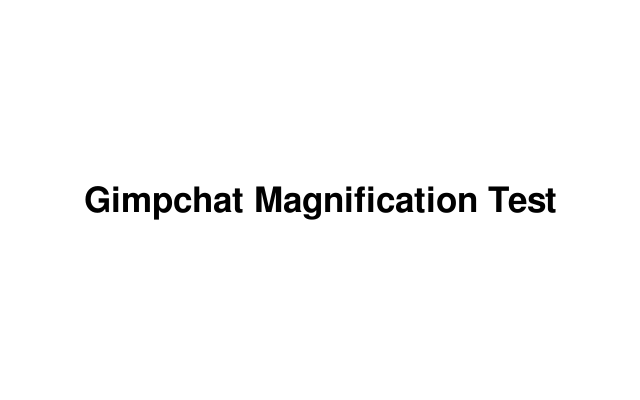
I thought I would share a bit of how the magnifying glass animation was done. First I started with a static image:
Originally I created a 90x90 square window to pass over the text and intended to use an animated layer mask to create the magnifying effect. When that effort failed, I realized another way.
I created a scrolling animation inside a 90x90 square:

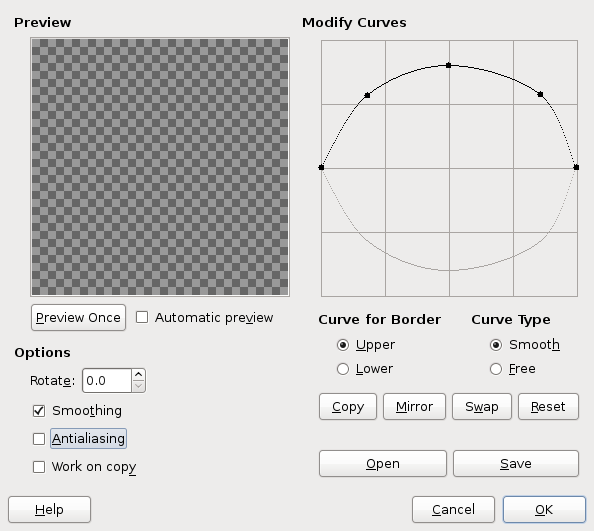
I then used Frames Modify from GAP and using Apply Filter on Frame(s) I selected the Curve Bend Filter selecting the Apply Constant button:

Using these settings:
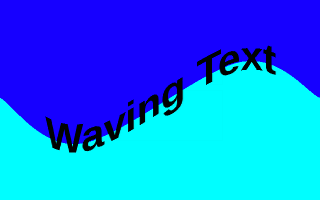
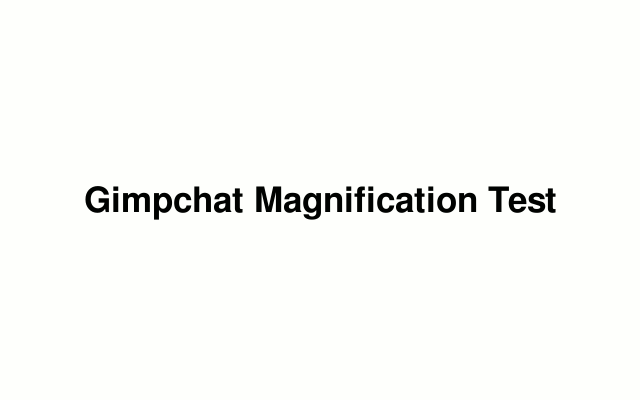
That produced this result:

Now the trick was to run the above animation over the original static background image shown above so it would look like the text was being magnified. This required some arithmetic. My text layer was 473 pixels in width. It traversed the 90x90 square layer from beginning to end, meaning it traveled 473 + 90 = 563 pixels. Since my original static image is 640 pixels wide, taking 640 - 563 = 77 pixels. That is the total empty space on both sides of the text layer in the static image. Half of that empty space is on the left side, half on the right side. 77/2 = 38.5, which I rounded to 38. So, when using Move Path to insert the curving bending animation above over the static image, I began it at X position 38 (pixels) and ended it at position 602 ( 640 - 38 = 602). The original animation I received was this:
I later used Move Path with Step Mode set to Frame Ping Pong to get the back and forth motion shown in the final animation.
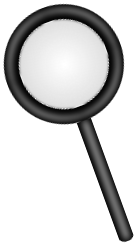
Finally, I added my homemade magnifying glass
to also move from X position 38 to position 602 and back again in Move Path from GAP to arrive at the animation shown above.
A little information for those who may be curious about understanding more about the background behind the animation. Thank you for taking the time to review this.