jamac4k wrote:
Select Out put mode as New(s) layer.
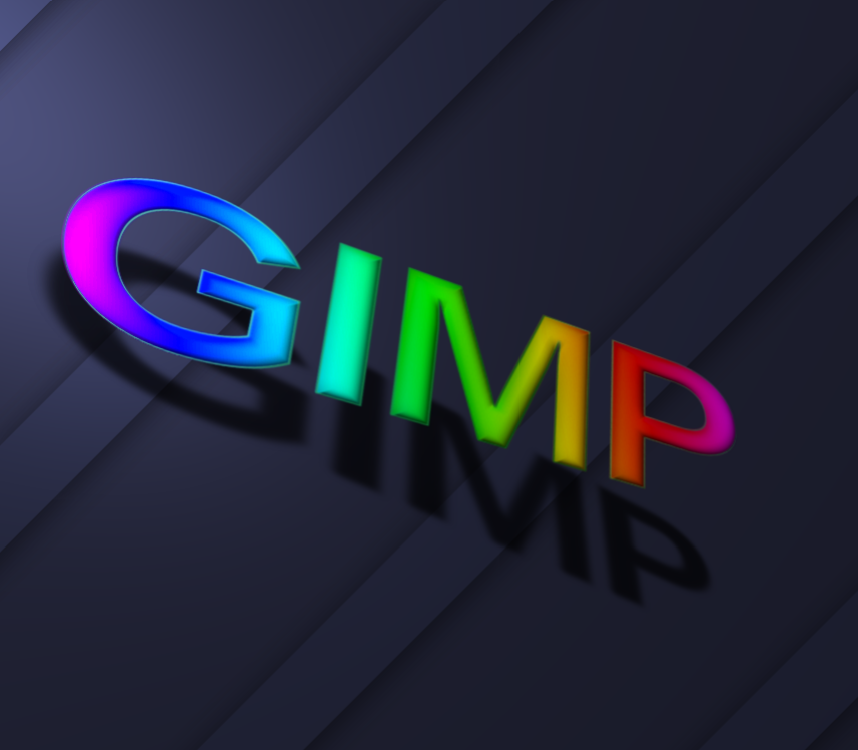
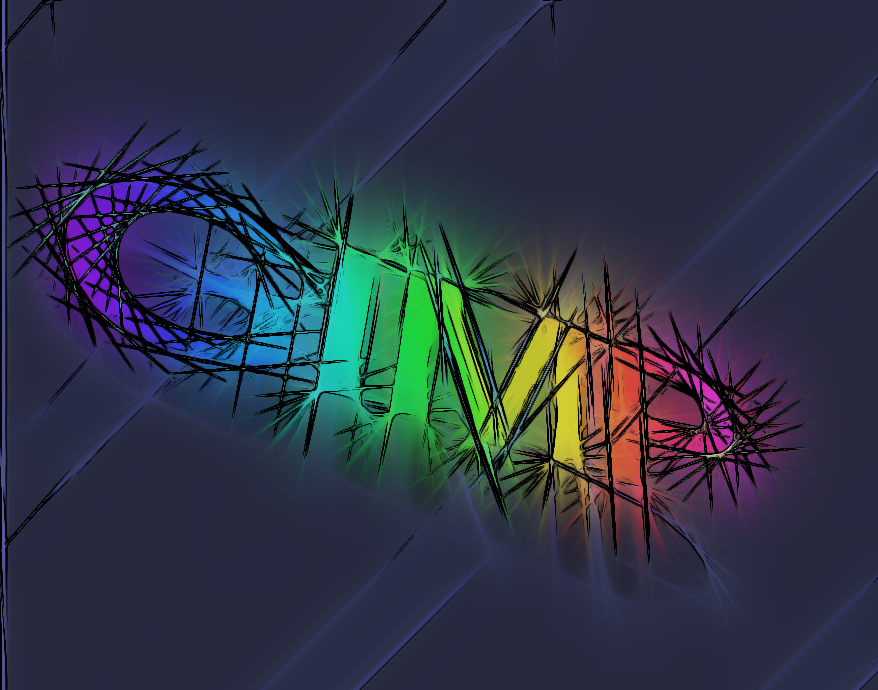
Apply on Image layer → [G'MIC] Dodge sketch : -gimp_dodgesketch (with Colorize option selected) and set this layer in Soft light mode and 73% opacity.
Apply on Image layer → [G'MIC] GMic Structure Tensors : -gimp_StructureTensors and hide it.
Select this last one layer and apply → [G'MIC] Hue Lighten/Darken : -iain_hue_light_dark with B/W selected. Set this layer in Color mode and 50% opacity.
Now New from visible → Visible
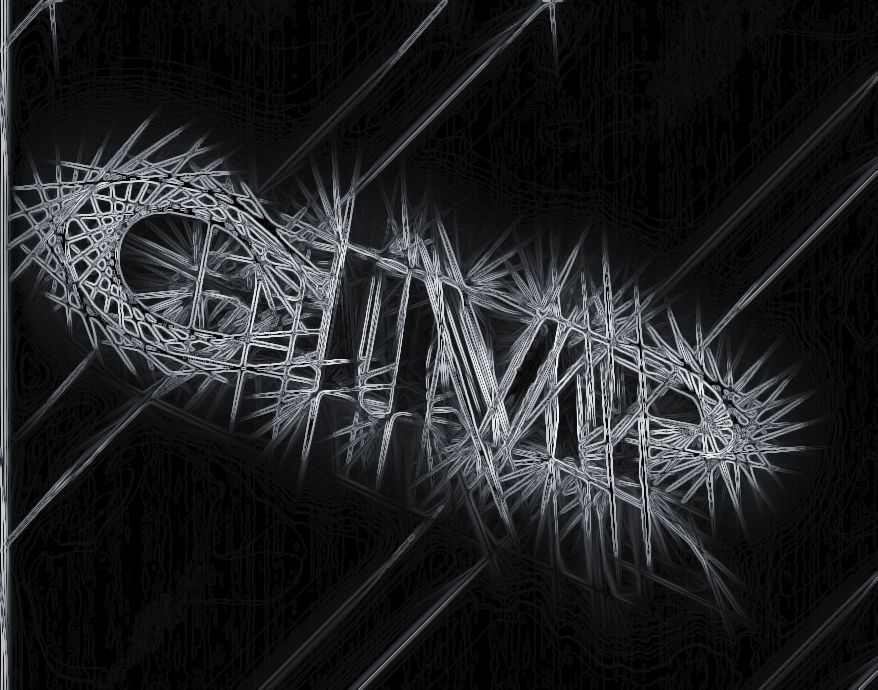
Select Visible and apply → [G'MIC] Local normalization : -gimp_normalize_local.
Select this new layer and apply → [G'MIC] High Pass : -gimp_highpass.
Add to Highpass layer → one layer mask (black) and play as you wish over the face to increase details.
Values:
[G'MIC] Dodge sketch : -gimp_dodgesketch 3,31.8182,23.1818,2,1,0
[G'MIC] GMic Structure Tensors : -gimp_StructureTensors 0.1,0
[G'MIC] Hue Lighten/Darken : -iain_hue_light_dark 0,0,0,0,0,0,0,0,0,0,0,40.8,0,0,0,0,0,0,0,0,255,100,255,0,1
[G'MIC] Local normalization : -gimp_normalize_local 0.2,6,20.28,20,1,3,0
[G'MIC] High Pass : -gimp_highpass 10,2,0,1,0
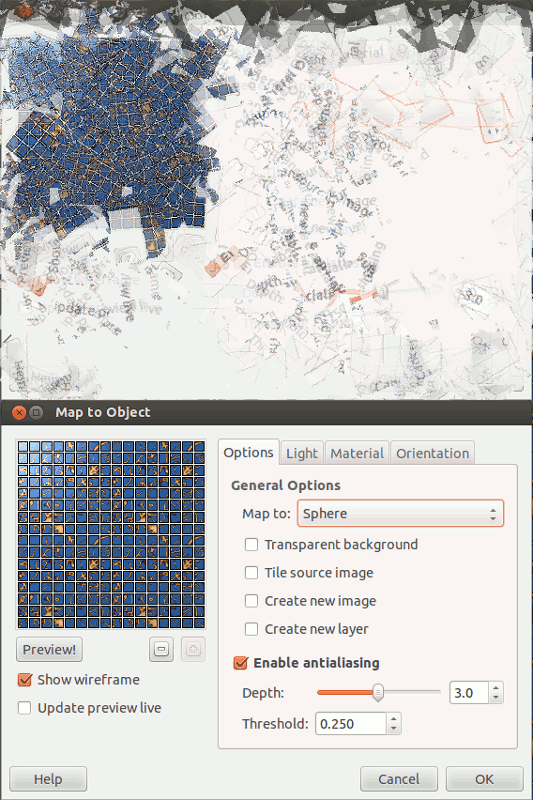
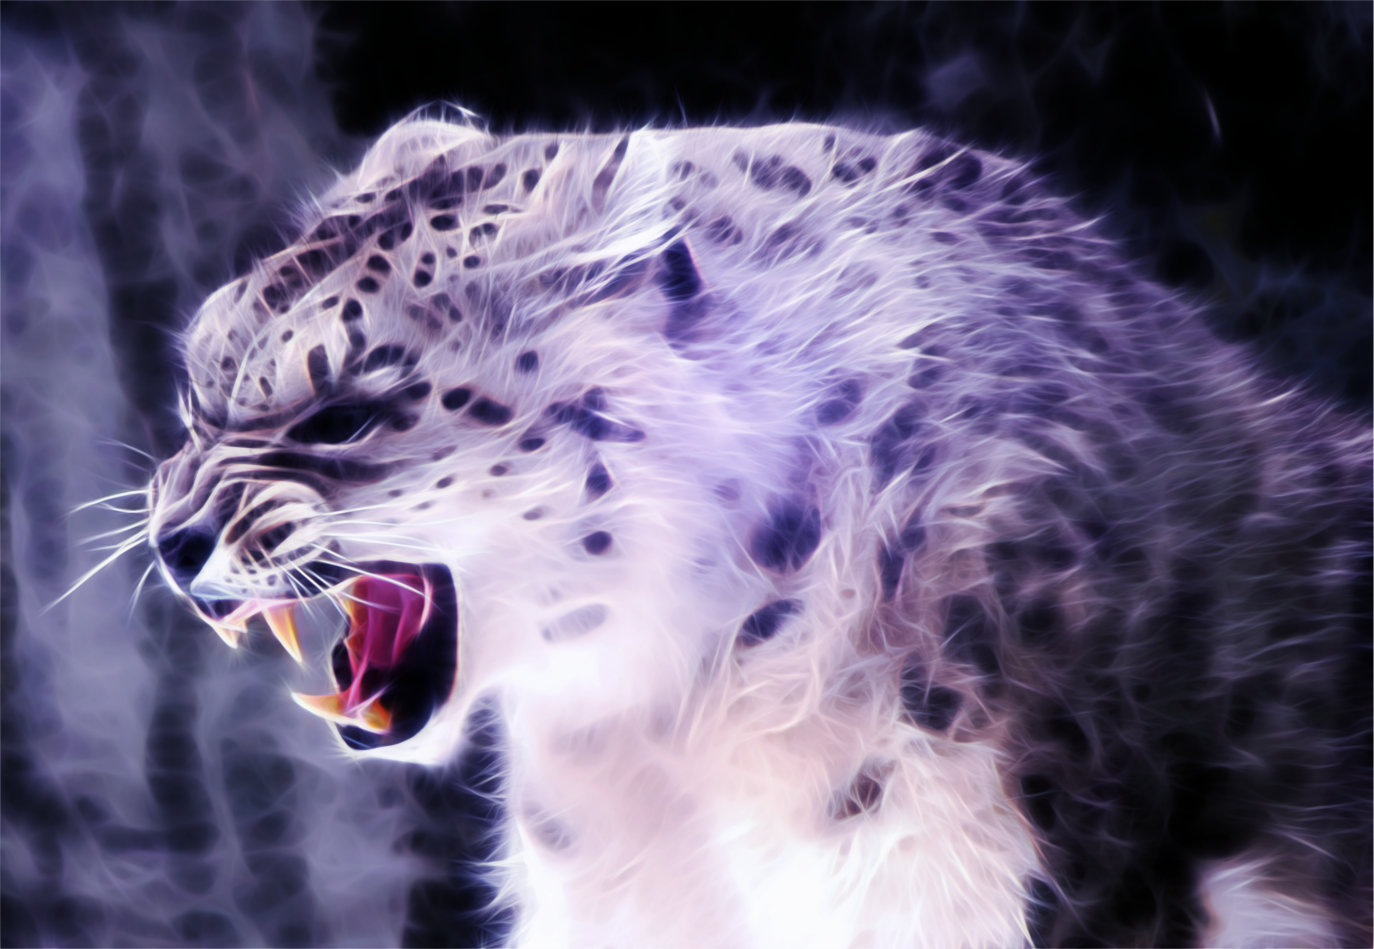
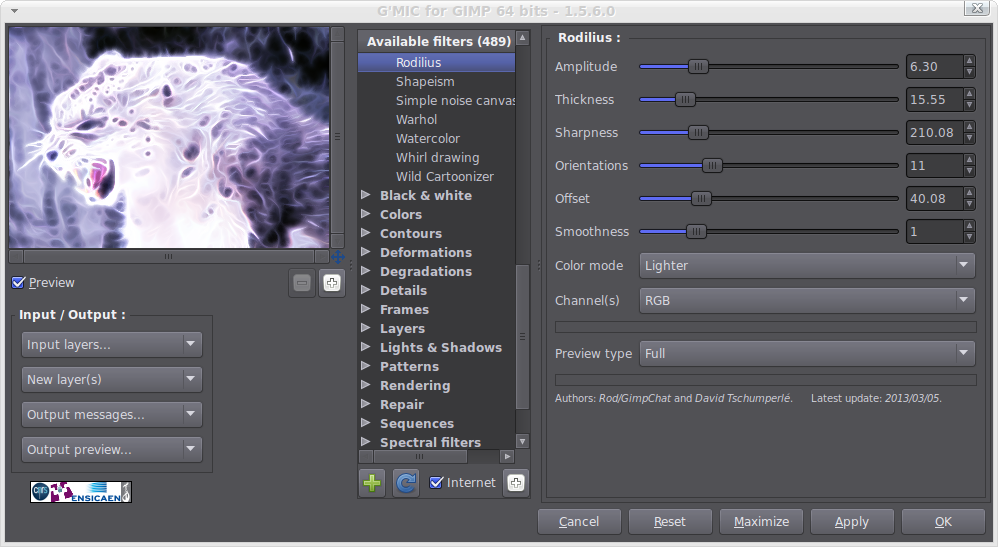
Layer and result:Very nice result and i like that you took care to copy the settings , that are also visible in the screenshoot,
use as gmic output option "new layers" is also the easiest way to grab the equivalent gmic command
That may be often insufficient to find the corresponding setting in the filter (i.e here ,
-iain_hue_light_dark 0,0,0,0,0,0,0,0,0,0,0,40.8,0,0,0,0,0,0,0,0,255,100,255,0,1 ) because several may be hardcoded values that do not correspond to any filter control (because hardcoded )
instead is cool that Gmic plugin may use that from "Local Command" and "Global Command" , just pasting there in the text field ,
and NOT necessarily one by one
you may combine in sequence :example :this part
Quote:
Quote:
[G'MIC] Dodge sketch : -gimp_dodgesketch 3,31.8182,23.1818,2,1,0
[G'MIC] GMic Structure Tensors :-gimp_StructureTensors 0.1,0
[G'MIC] Hue Lighten/Darken :-iain_hue_light_dark 0,0,0,0,0,0,0,0,0,0,0,40.8,0,0,0,0,0,0,0,0,255,100,255,0,1
[G'MIC]Local normalization : -gimp_normalize_local 0.2,6,20.28,20,1,3,0
[G'MIC] High Pass : -gimp_highpass 10,2,0,1,0
become
-gimp_dodgesketch 3,31.8182,23.1818,2,1,0
-gimp_StructureTensors 0.1,0
-iain_hue_light_dark 0,0,0,0,0,0,0,0,0,0,0,40.8,0,0,0,0,0,0,0,0,255,100,255,0,1
-gimp_normalize_local 0.2,6,20.28,20,1,3,0
-gimp_highpass 10,2,0,1,0
that is the command to apply that sequence of gmic filters automatically
As a filter with preview but not sliders or controls , that anyway will execute all that sequence as a macro
Instead if you want save the values so could be shared to be reused with the filter
1)...well or you took a screngrab
2) or you save as a fav , copy the fav code
3) I have a script (thank to pajnickj ) to convert as example " -iain_hue_light_dark 0,0,0,0,0,0,0,0,0,0,0,40.8,0,0,0,0,0,0,0,0,255,100,255,0,1" in the corresponding gmic "fav" code.
And another to export all layers using as name their layer name , so practically the setting used are preserved embedded in the exported images .