It is currently Fri Jul 17, 2026 5:02 pm


All times are UTC - 5 hours [ DST ]


Post new topic Reply to topic  [ 27 posts ]  Go to page 1, 2  Next
Author Message
 Post subject: Re: How to recreate this
PostPosted: Tue Oct 08, 2013 11:38 am  (#11) 
Offline
GimpChat Member
User avatar

Joined: Aug 30, 2012
Posts: 2174
Nice results everyone and thanks for the scripts and mini tuts.

_________________
Image


Top
 Post subject: Re: How to recreate this
PostPosted: Tue Oct 08, 2013 12:47 pm  (#12) 
Offline
Script Coder
User avatar

Joined: Oct 25, 2010
Posts: 4812
Esper wrote:
01.)
i was able to initialize that layermask from channel but i dont get what is happening
the selection seems to be the same for every channel...
what exactly am i selecting there ??

At that point there is no "selection"? At the beginning the results are fairly random because all the masks are identical, making all layers transparent at the same place...

Esper wrote:
02.)
the threshold step...
so this all applies to the right slider, correct ?
what am i doing with the left slider when im supposed to go to the 76 position ?
are both sliders supposed to be at that point ???

You move the left handle to the right. Actually you want each layer to be opaque where the original image is lighter than some threshold.
Esper wrote:
03.)
also how do you calculate these values

255 (=white) divided by 3 make 30% ???
of what ?

Might be easier to understand that way, with the thresholds half-way between the white coverage values:
Attachment:
Threshold.png
Threshold.png [ 13.99 KiB | Viewed 3706 times ]

_________________
Image


Top
 Post subject: Re: How to recreate this
PostPosted: Tue Oct 08, 2013 2:56 pm  (#13) 
Offline
GimpChat Member
User avatar

Joined: Nov 15, 2012
Posts: 949
Location: Mesa, AZ
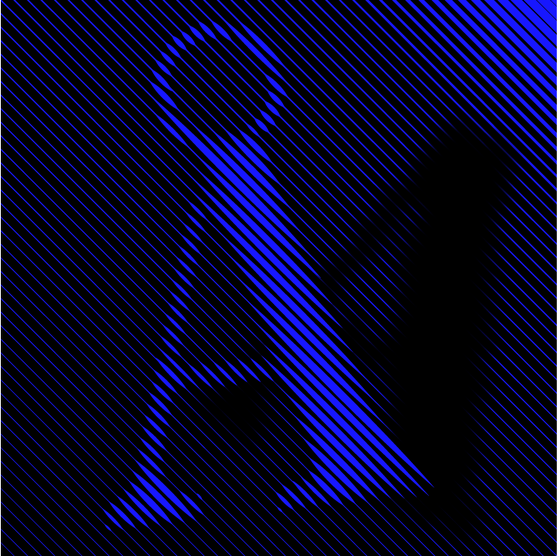
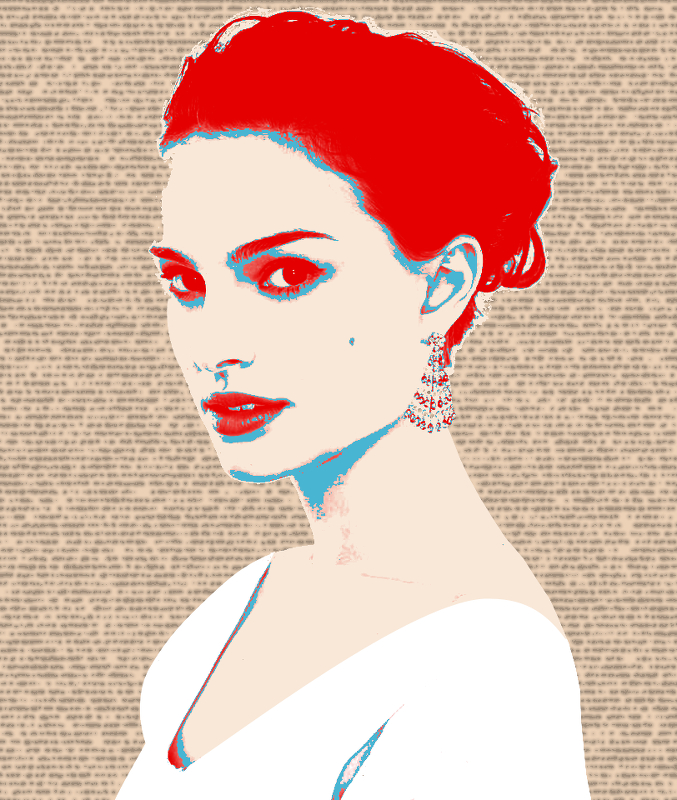
Grid lines, cut out the letter, turned the letter, gaussian blur with the chains unhooked for the letter lines. Once I had it the way I wanted it to look, I turned the whole thing. It's really just grid, dodge and burn layer modes. Needs tweaking and I could probably have done better with a larger resolution. But nonetheless, here's my try.

Image

_________________
Image

I now have a Tumblr, check it out!


Top
 Post subject: Re: How to recreate this
PostPosted: Tue Oct 08, 2013 3:45 pm  (#14) 
Offline
GimpChat Member
User avatar

Joined: Jul 17, 2012
Posts: 2769
thanks ofnuts, i think i have it now !

ofnuts wrote:
At that point there is no "selection"?

not sure what the questionmark and quotationmarks mean...
was this actually a question directed at me ?
if so, i rightclicked on one of the channels, chose 'Channel to Selection' and then 'Layermask from Selection'


Top
 Post subject: Re: How to recreate this
PostPosted: Tue Oct 08, 2013 4:30 pm  (#15) 
Offline
Script Coder
User avatar

Joined: Oct 25, 2010
Posts: 4812
Esper wrote:
thanks ofnuts, i think i have it now !

ofnuts wrote:
At that point there is no "selection"?

not sure what the questionmark and quotationmarks mean...
was this actually a question directed at me ?
if so, i rightclicked on one of the channels, chose 'Channel to Selection' and then 'Layermask from Selection'


Ah, yes, that's another way to do it... but you have to remember to remove the selection afterwards when you threshold the masks.

_________________
Image


Top
 Post subject: Re: How to recreate this
PostPosted: Tue Oct 08, 2013 4:34 pm  (#16) 
Offline
GimpChat Member
User avatar

Joined: Sep 22, 2012
Posts: 2089
Location: US
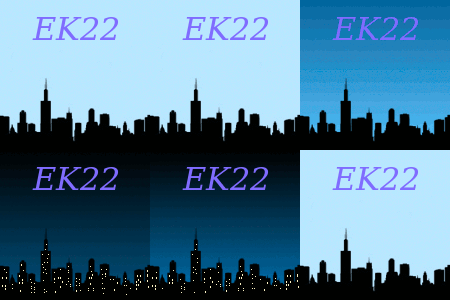
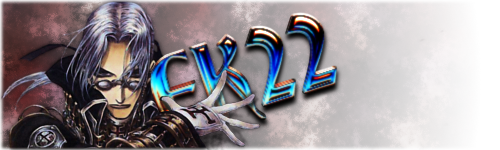
Fantastic results RobA, ek22!
@Ofnuts, RobA - if you guys could write scripts for Inkscape it would be a much better program.
Python language (ofnuts) and you're both terrific with path manipulations.


Top
 Post subject: Re: How to recreate this
PostPosted: Tue Oct 08, 2013 5:47 pm  (#17) 
Offline
GimpChat Member
User avatar

Joined: Jan 15, 2013
Posts: 133
Just Wow!
Fantastic job ek22. :clap
I have to admit I'm a little hazy on exactly what you did, but I can probably get there.
I will definitely check out your dither script RobA. I knew there would be more than one way to do this, but I never thought there would be so many. :)
I still have a couple projects on my plate before I can give this a serious go, but now I have lots of options to try.
I just wish I could get some of this talent to contribute to fanart.tv. :D
Thanks everyone!

_________________
Gimp 2.8.16
Arch Linux - XFCE 4.12
Some of my work.


Top
 Post subject: Re: How to recreate this
PostPosted: Tue Oct 08, 2013 6:44 pm  (#18) 
Offline
GimpChat Member
User avatar

Joined: Nov 09, 2011
Posts: 726
Excellent thread. Thank you all!

@ek22, your work has result quite similar to the image published by akovia. Also I have found that applying Sharpen to your image (eg G'MIC octave sharpening), you can get something similar to the vector image published by K1TesseraEna.

_________________
Image
Be patient, English is not my language.


Top
 Post subject: Re: How to recreate this
PostPosted: Tue Oct 08, 2013 8:29 pm  (#19) 
Offline
GimpChat Member
User avatar

Joined: Nov 15, 2012
Posts: 949
Location: Mesa, AZ
Yah, I didn't muck with it overly, I'm sure it can be fiddled with for better results, but basically that's how I'd go in that direction for the effect.

_________________
Image

I now have a Tumblr, check it out!


Top
 Post subject: Re: How to recreate this
PostPosted: Wed Oct 09, 2013 1:20 pm  (#20) 
Offline
GimpChat Member
User avatar

Joined: Sep 22, 2012
Posts: 2089
Location: US
Image


Top
 Post subject: Re: How to recreate this
PostPosted: Wed Oct 09, 2013 5:14 pm  (#21) 
Offline
GimpChat Member
User avatar

Joined: Nov 15, 2012
Posts: 949
Location: Mesa, AZ
That one came out nice too K1Te.

_________________
Image

I now have a Tumblr, check it out!


Top
 Post subject: Re: How to recreate this
PostPosted: Wed Oct 09, 2013 5:20 pm  (#22) 
Offline
GimpChat Member
User avatar

Joined: Apr 07, 2010
Posts: 14182
I have watched this whole thread and I must say, all of you did a fantastic job on this and all done in different methods to arrive with the same result.

_________________
Image


Top
 Post subject: Re: How to recreate this
PostPosted: Wed Oct 09, 2013 5:31 pm  (#23) 
Offline
GimpChat Member
User avatar

Joined: Jul 17, 2012
Posts: 2769
ek22 wrote:
Grid lines, cut out the letter, turned the letter, gaussian blur with the chains unhooked for the letter lines. Once I had it the way I wanted it to look, I turned the whole thing. It's really just grid, dodge and burn layer modes. Needs tweaking and I could probably have done better with a larger resolution. But nonetheless, here's my try.

[ Image ]
no idea what this all means

can we get a bit more detailed explanation please ?!

would like to try this technique


Top
 Post subject: Re: How to recreate this
PostPosted: Wed Dec 18, 2013 4:59 pm  (#24) 
Offline
GimpChat Member
User avatar

Joined: Jul 17, 2012
Posts: 2769
ofnuts wrote:
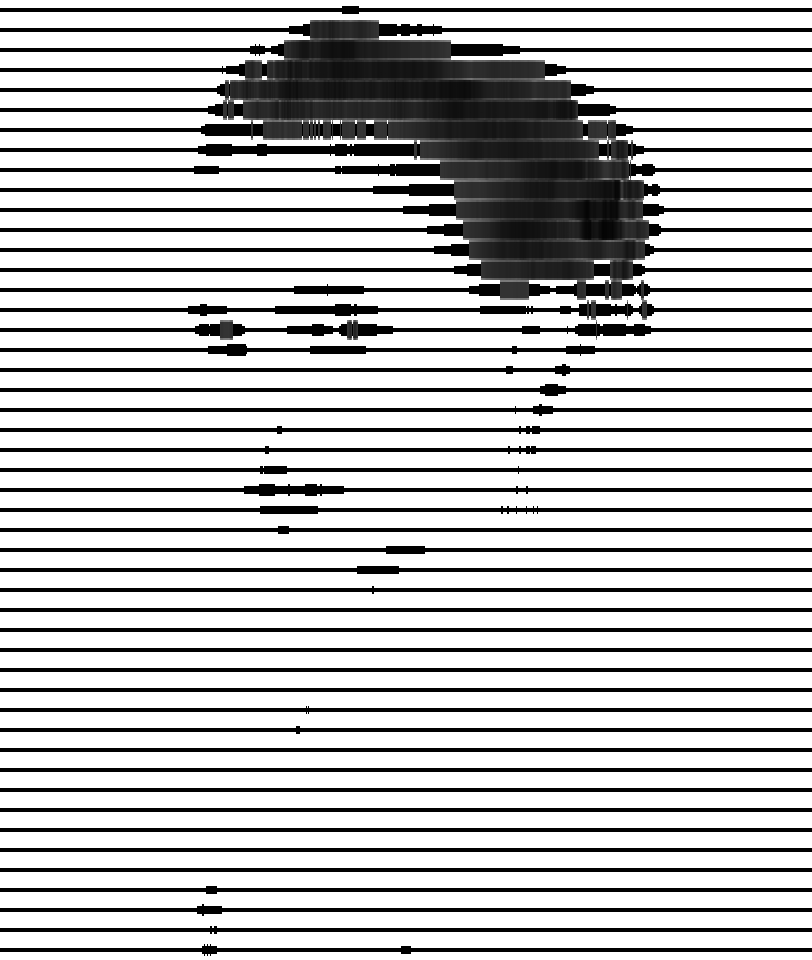
With four levels:

Attachment:
Op-art-portman-4levels.png

  1. copy image, convert to B&W
  2. Filter/Blur/Pixelize, with 1px horizontal and 20px vertical
  3. While this image is displayed, go to the Channels list and copy one of the RGB channels
  4. Using filter/render/grid, generate N layers of horizontal lines on opaque background with:
    • Spacing = 20 (the pattern width)
    • Offset=10 (half the pattern width)
    • Thickess=4/8/12/16pixels (visually, 20%, 40%,60%,80% of black on white)
  5. Make sure these layers are ordered with the thinner lines on top.
  6. Add a layer mask to all layers except the bottom one, initialize to the channel copy you did
  7. Threshold each of these masks. The 4px (20%) layer will show for everything from 30% , so it's threshold is around 255*.7= 178, the 8px (40%) layer represent everything between 50% black and 30%, so the threshold is 128, and likewise the 12px (60%) layer is around 255*.3=76.


i cant quite replicate your Portman meets pop-art image, and i dont know why
did you process the grayscale layer some more, or did you just apply desaturate on it ?


Last edited by Esper on Thu Dec 19, 2013 10:47 am, edited 1 time in total.

Top
 Post subject: Re: How to recreate this
PostPosted: Wed Dec 18, 2013 5:32 pm  (#25) 
Offline
GimpChat Member
User avatar

Joined: Jul 17, 2012
Posts: 2769
but while i tried i made this instead

Image


Top
 Post subject: Re: How to recreate this
PostPosted: Thu Dec 19, 2013 5:46 am  (#26) 
Offline
Script Coder
User avatar

Joined: Oct 25, 2010
Posts: 4812
Esper wrote:
i cant quite replicate your Portman meets pop-art image, and i dont know why
did you process the grayscale layer some more, or did you just apply desaturate on it ?
(attached the xcf)

[ Image ]


Your bottom layer (16px) should have no mask (or a mask at full opacity). Bucket-fill the mask with white or remove it.

_________________
Image


Top
 Post subject: Re: How to recreate this
PostPosted: Thu Dec 19, 2013 10:41 am  (#27) 
Offline
GimpChat Member
User avatar

Joined: Jul 17, 2012
Posts: 2769
ofnuts wrote:
Esper wrote:
i cant quite replicate your Portman meets pop-art image, and i dont know why
did you process the grayscale layer some more, or did you just apply desaturate on it ?
(attached the xcf)

[ Image ]


Your bottom layer (16px) should have no mask (or a mask at full opacity). Bucket-fill the mask with white or remove it.

ah okay

i wasnt quite sure what exactly the bottomlayer in your mini-tutorial is

thanks !


Top
Post new topic Reply to topic  [ 27 posts ]  Go to page 1, 2  Next

All times are UTC - 5 hours [ DST ]


* Login  


Powered by phpBB3 © phpBB Group