@Sallyanne:
How I did it:
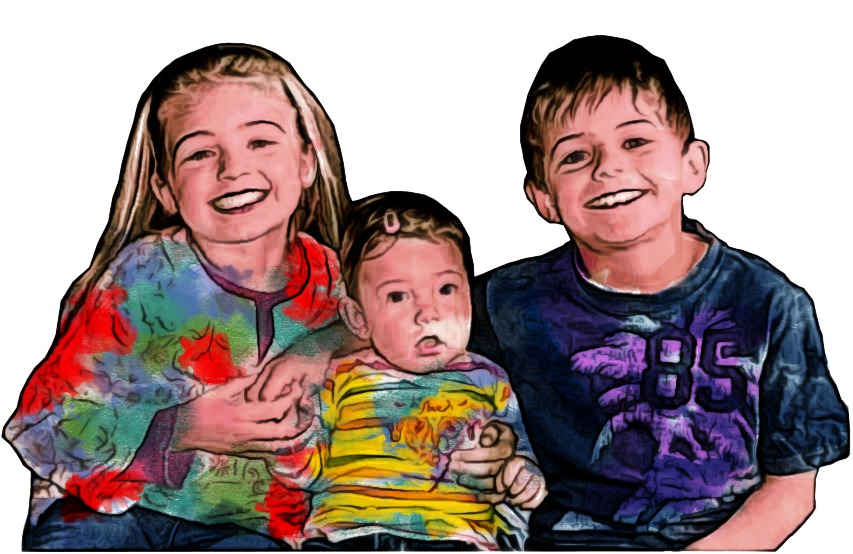
1. Use the path tool to cut-out the background thus:
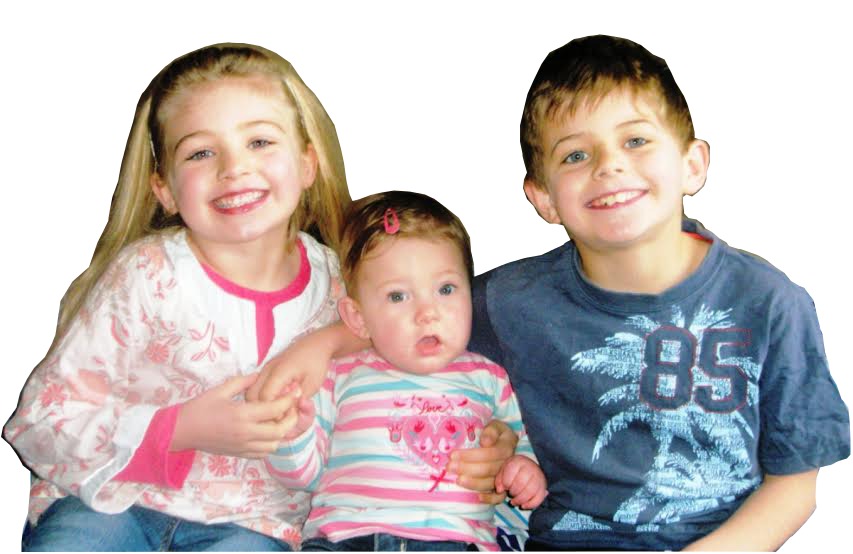
(It may seem tedious but it only takes a couple of minutes to do it roughly and it means we can then treat the foreground and background separately. The problem with this photo is the lighting - the subjects are brightly lit and rather over-exposed/washed-out whilst the background is rather dull and has deep shadows, so no one process will deal satisfactorily with both.)
2. G'MIC Coloured pencils to enhance the outlines.
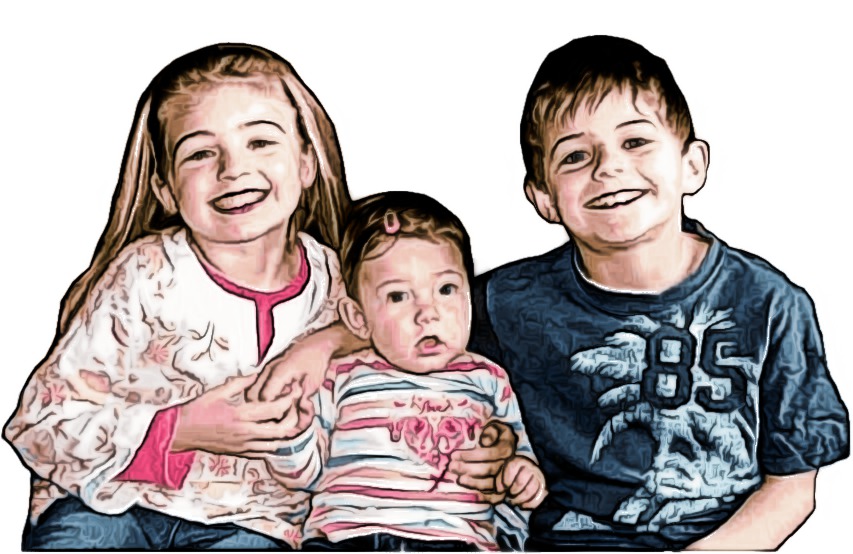
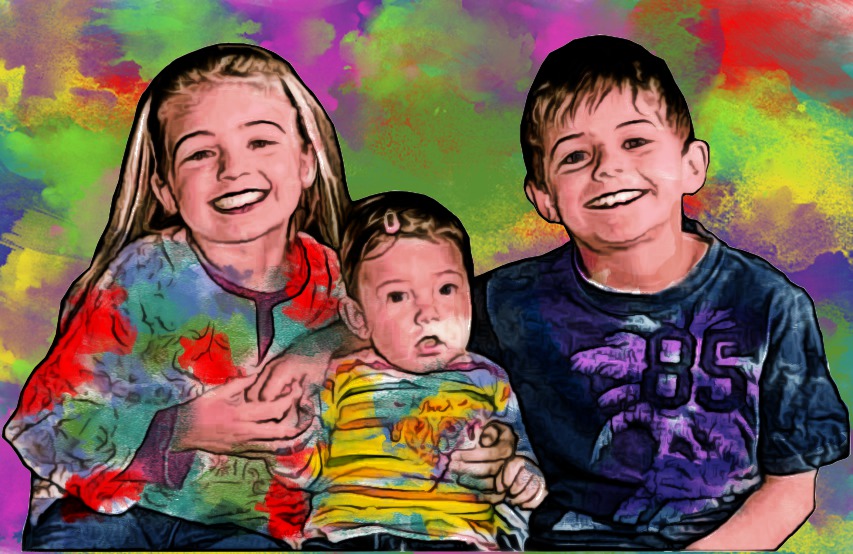
3. Make a colouring layer (New layer, white-fill, multiply mode) and fill it with pastel-shade splodges of colour using Chris F's "watercolour" brushes. The first and main splodges are just deeper hues of the original colouring in the photo, then smaller splodges of random colours to liven it up a bit.
Merge-down when complete.
4. Make a background layer (New layer, white-fill, normal mode) and fill it with large pastel-shade splodges of random colours, again using Chris F's "watercolour" brushes.
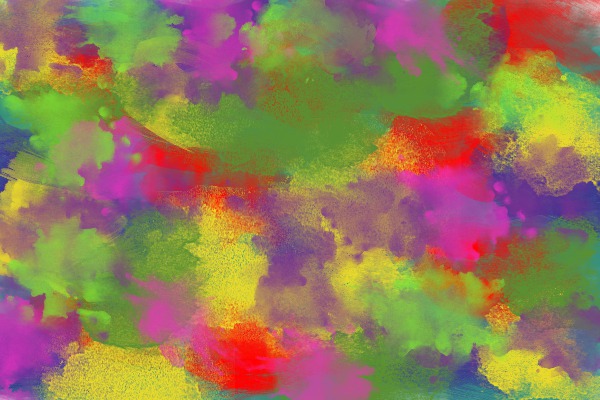
Move to bottom of layer stack when complete.
Result:
And just for fun, here's one with a Ministeck background using David's new G'MIC procedure:
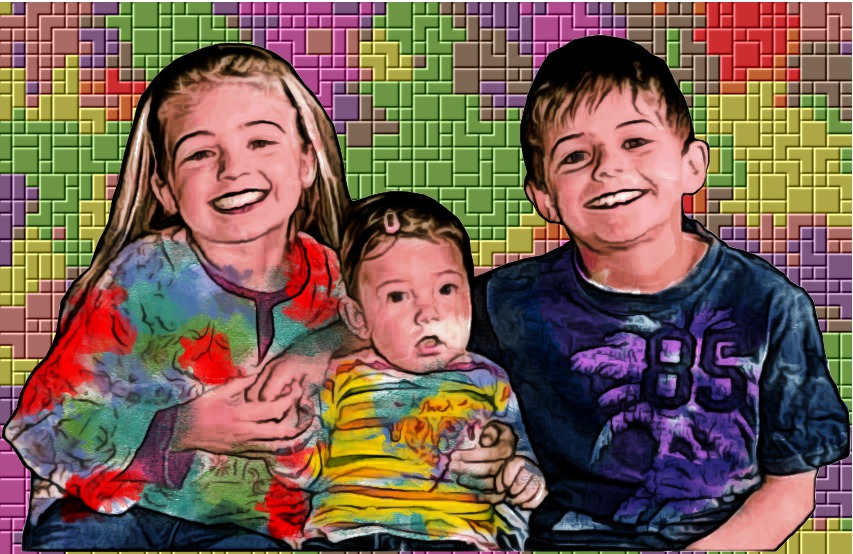
Cheers.