Finally, I got this done.
Here are two tutorials where I used the forerunner of the fuzz brush.
http://gimpchat.com/viewtopic.php?p=2105#p2105http://gimpchat.com/viewtopic.php?p=8709#p8709I've attached a Fuzz brush and a Leaf brush below in a zip file. Unfortunately I don't remember where I got the leaf brush to give credit for it. The Fuzz brush is one I made from a spider brush. Download the zip file and unzip into your gimp / brushes folder.
This is a quicky demo of making your own hat with paths and using brushes for the fuzz. If you have an image you want to put a hat on you could make the path over the image to get the right size.
This may seem like a lot to do, but it is easier than it sounds. Be sure to come back with any questions you may have because I could have left out something crucial.
Make a new image whatever size you want and fill that layer with white so you can see what you are doing.
Make a new, transparent layer.
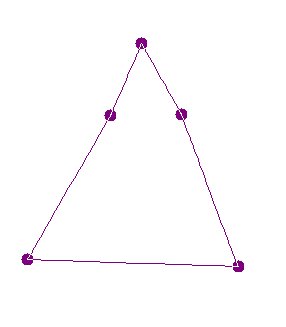
Click the Paths tool

and make a triangle using 5 anchors similar to this one. When you have all the anchors, hold down the Ctrl key to click the beginning anchor to get a line joining first and last anchors.
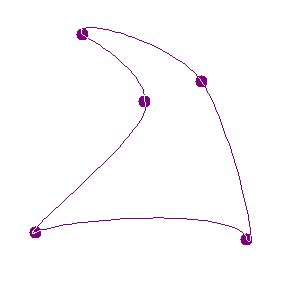
Play with the path to get more curved edges and more shape to your hat. For more information, go to the GIMP online manual
here to learn more about paths. Feel free to ask questions about them, also.
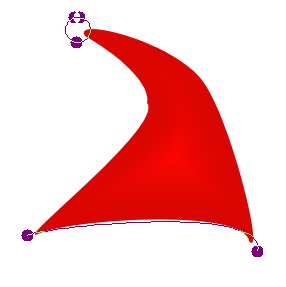
After you have made your hat, Select > From Path and fill the selection with whatever color or gradient you want.
Select > None
Click the Paths tool again and make a path at the bottom of one side of the hat to the bottom on the other side. Move the center line upward to make a curve that is close to the curve on the bottom of the hat.
Click the Ellipse tool

and draw a small circle at the pointed end of the cap. Select > To Path.
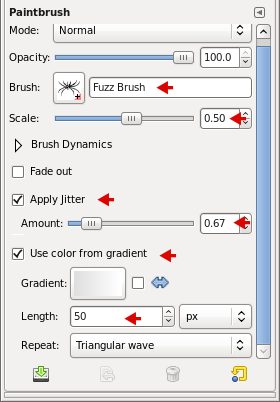
Click the Paintbrush tool

and find the Fuzz brush. Resize the brush to 0.50 size.
Check Apply Jitter and increase it a small amount. Not a lot, just to keep the brush from being too symmetrically stroked.
Make your Foreground color a very pale gray and the Background color white.
In the Paintbrush dialog check Use Color from Gradient and find the FG to BG (RGB) - It's very near the top of the gradients list. I changed the length to 50 but it's not a crucial setting.
In the Layers window, click the Paths tab and select the curved bottom path. At the bottom click the Paint Along Path icon

.

In that dialog select Stroke with a Paint Tool. Stroke.
Select the little circle and Paint along the Path and Stroke with the Paintbrush.
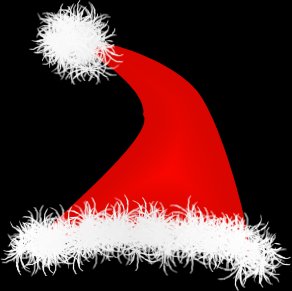
I used a black background so you could see the white fur better.
Play with any and all of the settings in anything. They are not carved in stone.
If you're steady of hand and good with the mouse, you don't need a path to paint on the fur. Just draw it on.
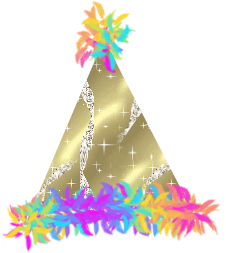
This is just another example of what you can do. The party hat was made with a simple triangle with 3 nodes and the bottom stroke was curved upwardly. I used the leaf brush.