CT-Gimper101 wrote:
Thank you trandoductin nice work. can you show me step by step how you did that please Thank you
1. Open a background image of your choice.
Create white and black layers on top of image, we'll be working with these layers

2. Select black layer. Filters/Noise/Hurl...(I used 68% for the setting)

3.Turn visibility off on background image. Right click a layer and choose Merge Visible layers to merge the black and white layer.
rename this merged layer as "Noise"

4.Select "Noise" layer. Filters/Blur/Gaussian Blur... (I used blur radius of 2)

5.Create a white filled layer on top and name it "Frosted Glass"
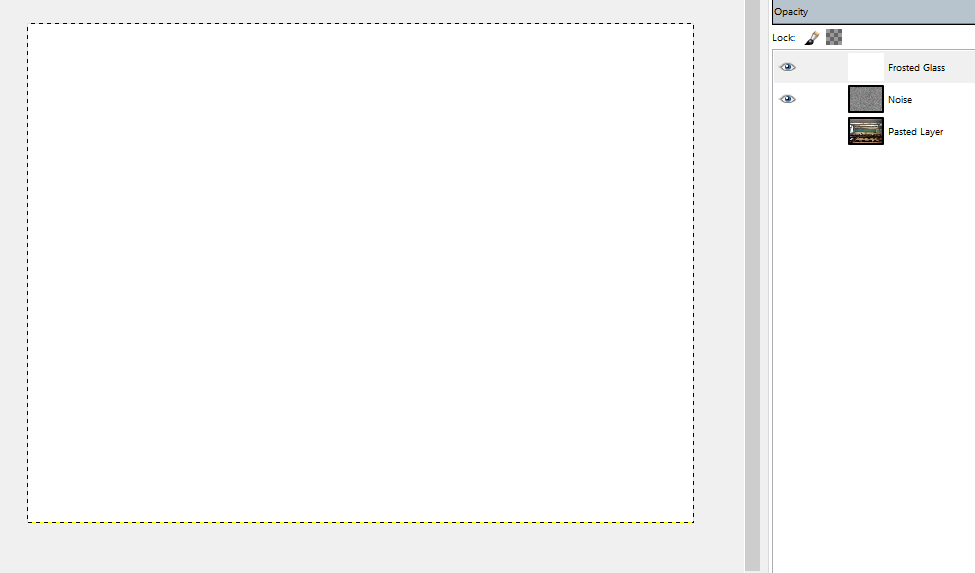
6.Select "Frosted Glass" layer. Filters/Map/Bump Map... for Bump map, select the Noise layer.
and Elevation to 30 (everything else defaults is okay).

7.Turn visibility off for "Frosted Glass" layer and "Noise" layer.
Turn visibility on for "Background" layer(if the background isn't named "Background", you might want to name it now as "Background")

8.Duplicate the background layer (by clicking the two picture icon[5 button on the bottom of layers window]).
Select the "Background copy" layer. Filters/Blur/Gaussian Blur...(I used 30 for blur radius)

9.Still have the "Background copy" layer selected.Filters/Map/Displace...Use 10 for X,and Y and select the "Frosted Glass" layer for X and Y
Cartesian for Displacement Mode, and Smear for Edge Behavior.

10.We're done with this "Background copy" layer. Rename this layer to "Frosted Background".

11.Turn off visibility of all layers.
Create two layers, call the bottom one "Clouds", call the top "Color"

12.Select the "Clouds" layer. Filter/Render/Clouds/Difference Clouds...(use any seed of your choice, I used 4)
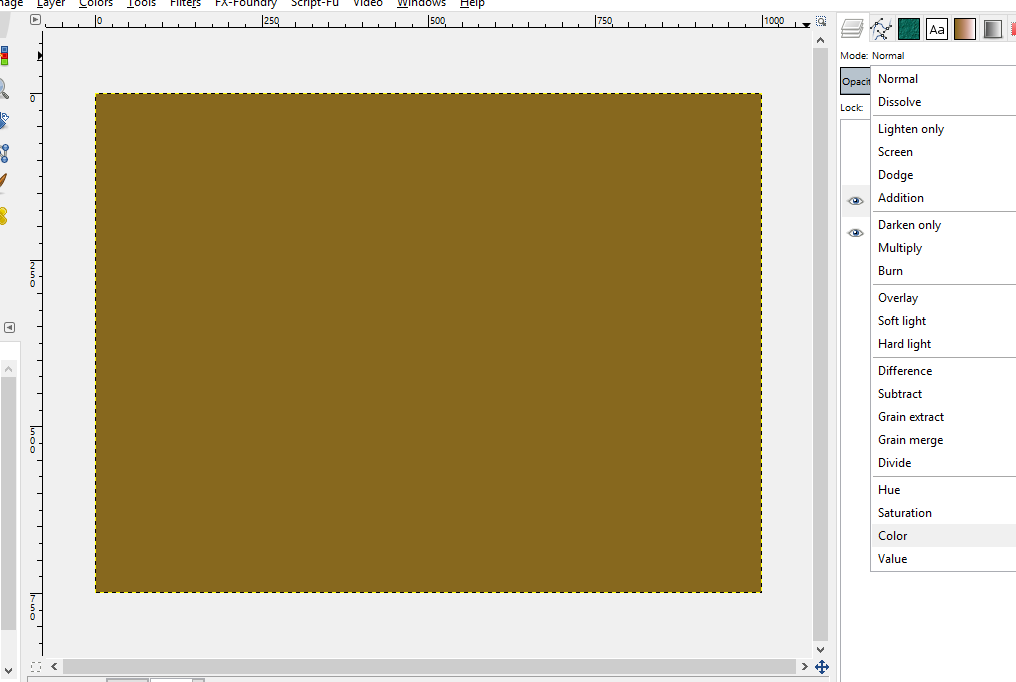
Select the "Color" layer. Change the foreground color to value 87681e. Drag foreground color onto image to fill this layer with that color.
Set the mode of this "Color" layer to Color.
13.Right click on one of the layers. Merge Visible Layers.
And rename this merged layer as "Gold".
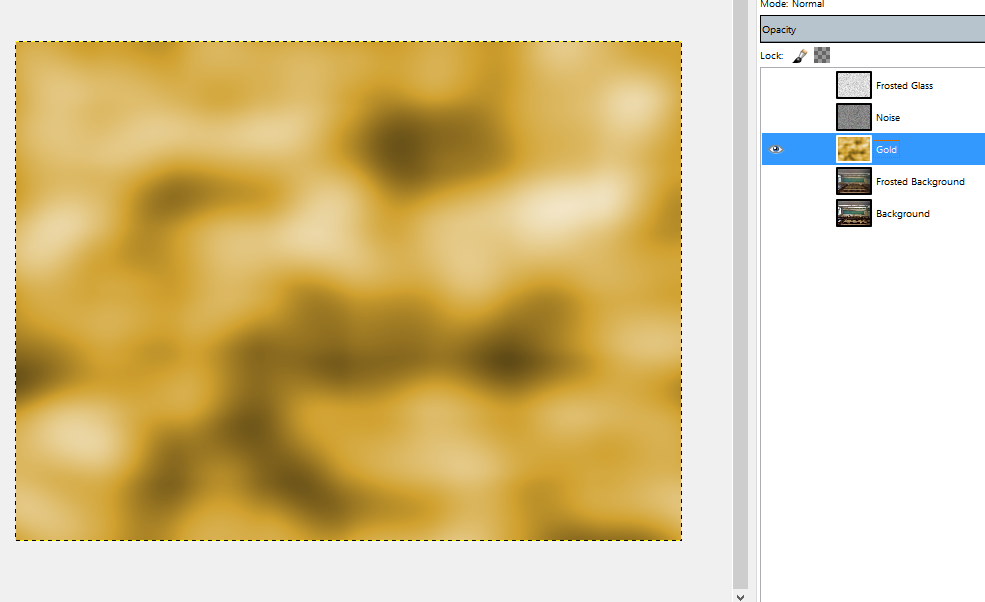
14.Select "Gold" layer. Filters/Map/Displace... use 10.00 for x and y and "Frosted Glass" for X and Y.

15.Select "Gold" layer. Filters/Map/Bump Map... for Bump map: use "Noise" layer, and elevation: of 80.00

--- The below steps is what i did but you could bring in your own image of a logo and apply it to the mask as you like.
16.Select "Gold" layer. Select Text Tool and foreground color of Pure white.
Create Text of choice. Right click Text layer, select Layer to Image Size.
Right click Text Layer, select Alpha To Selection.
Control-I to Invert. Drag a black color onto image to fill area around text with black.

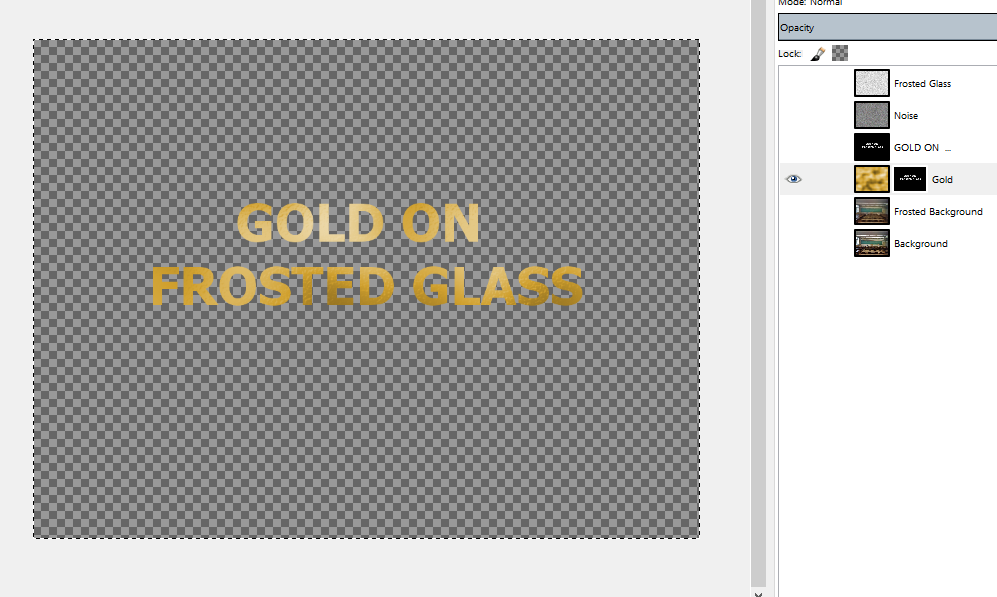
17.Select "Gold" layer. Right Click and select Add Layer Mask.
Select layer with text. Control-A to select All. Control-C to copy.
Select the mask of the "Gold" layer. Control-V to Paste the text into the mask.
Select the Floating Selection. Right click. select Anchor layer.
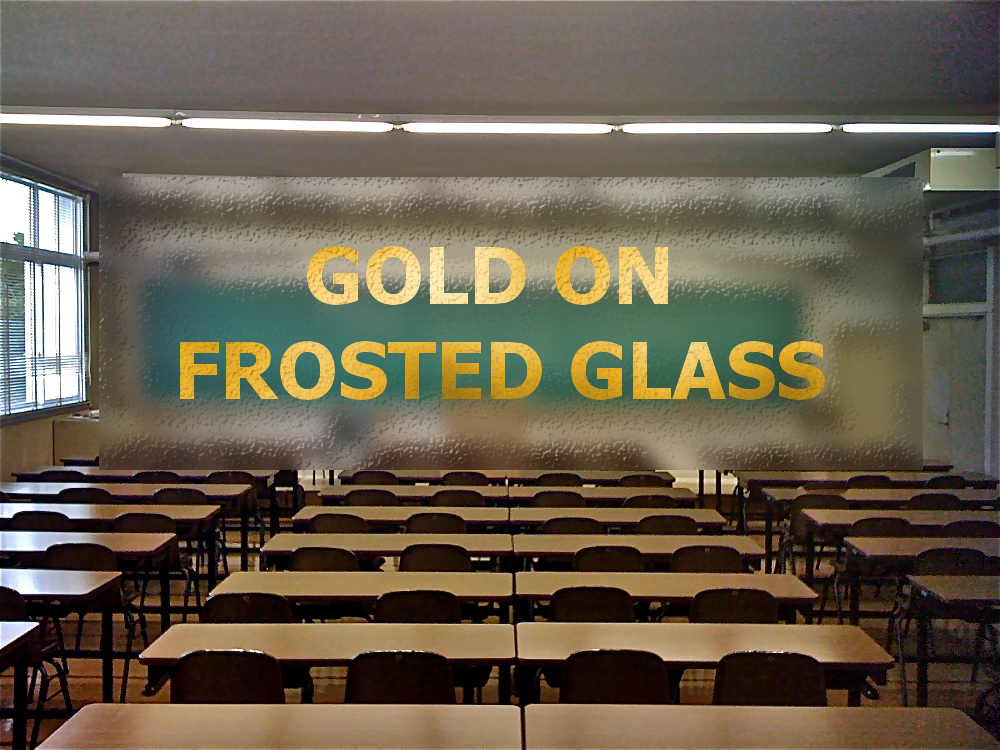
Turn off visibility of the layer with text. and you should see the Text displayed in gold like below.
18.If you like you can change the Contrast and the Brightness of the layer up a bit.
Turn on visibility of "Frosted Background" and "Background" layers.

19.If you like you could cut away whatever parts of the "Frosted Background" layer to show some of the background as un-frosted.
This step is totally up to you.
Here i cut around the words/text to make it look like the frosted glass is designed for the text.


