Custom Font Apply Selection v0.1
Fri Jul 28, 2023 7:03 am
 Apply Selection Guide.pdf
- (651.53 KiB) Downloaded 20 times
This custom font filter simply applies the current selection to the character layers in a custom font using the first two ‘décor’ (i.e. non-character) layers to copy and paste onto each character. It will complain if there is no user selection.
If no décor layers exist, the filter will add two layers, filled with the current foreground and background colours, to the layer stack.
It was originally intended to help create custom fonts with two distinctly coloured regions. The results of the filter can be further processed using other tools. This example uses a bevel effect created with Custom Font Embossible.

The second example uses two images from Unsplash to create the base image; this was then processed with Custom Font Bevel Reflect.

Download and extract the Resources folder which contains the plug-in and some part custom font test files to help you play with the filter.
Custom_Font_Apply_Selection_v01 – (plug-in file)
Testing_Custom_Font_Starter - (xcf file with four character layers and two décor layers and a diagonal selection)
Testing_Custom_Font_Starter2 - (xcf file with four character layers and two décor layers)
Put the plug-in in your user plug-in folder and save the other xcf files to a convenient location.
Open the custom font file without the selection (Testing_Custom_Font_Starter2).
File>>Open…
or use Ctrl + O
Navigate to the file location and click on ‘OK’.
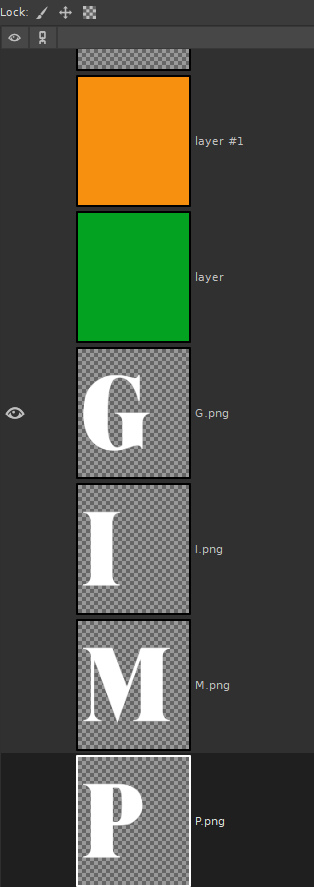
The screenshot of the layer stack shows the two coloured layers to be used for applying the selection to the character layers. Add your own décor layers if you prefer, but remember that the filter will use the top two layers available.
Add a selection to the image with one of the selection tools. I used the ellipse selection tool to add a circular selection. If you want to add a complex selection you may want to use the path tool to first create a path and then create a selection from that path (Shift+V).

Run the filter:
Filters>>Custom Fonts>>Decorating Tools>>Custom Font Apply Selection v0.1…
Use the filter default settings and click on ‘OK’.

The character layer output shows the selected area with the lower décor layer applied.

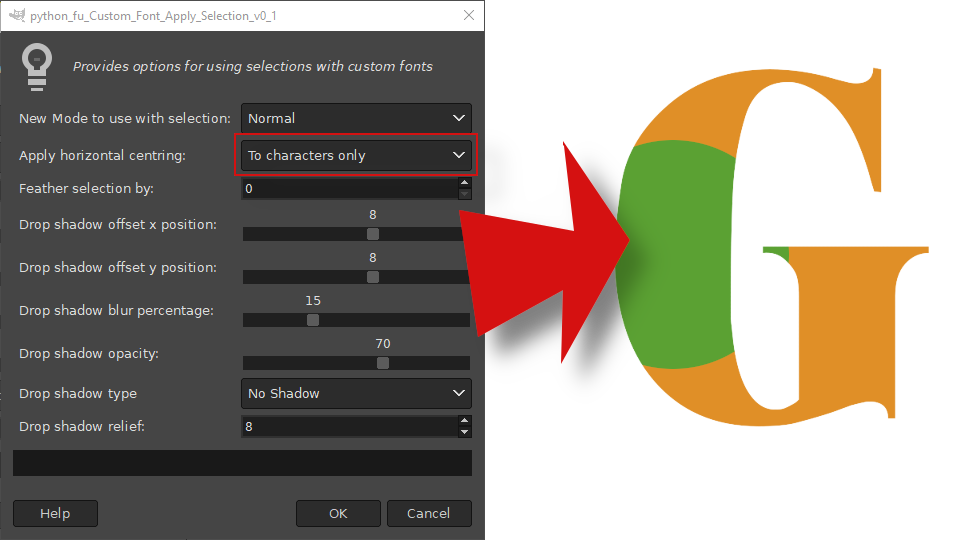
Use the ‘Apply horizontal centring’ option to position the selection and the character layers.

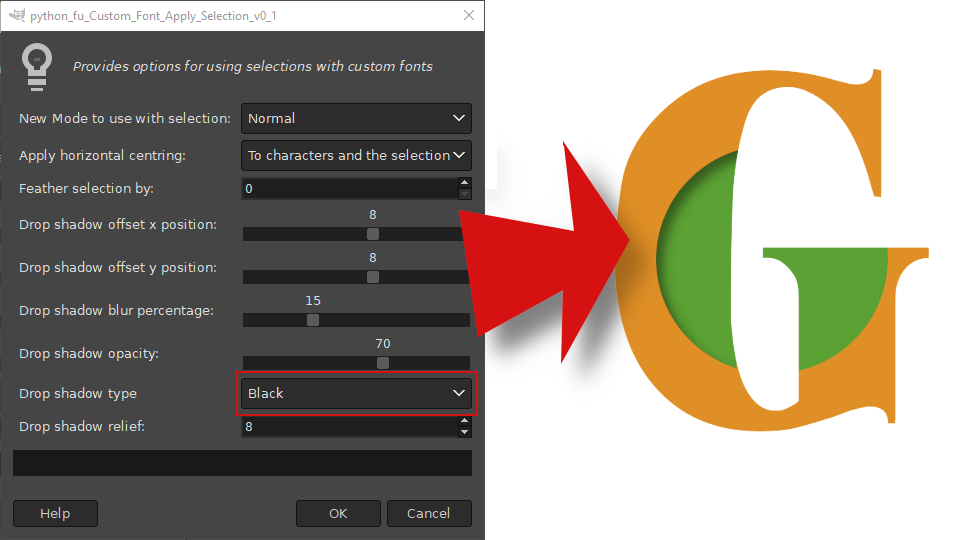
Use the ‘Drop shadow type’ options to add drop shadow effects to the selected area.
The ‘Drop shadow relief’ option can add a shadow to all of the edges of the selected area when both drop shadow offsets are set to zero.

There is also an option to feather the selected area edges (added here with the relief drop shadow – not as the dialog image shows).

Other custom filters can be now used to add further effects to this look.
Use Custom Font FaceMaker to combine output with an embossed version of the same custom font.

Or add a different bevel style using Custom Font Bevel Reflect.

Using the Custom Font Sheen N Shine filter also adds a bit of highlighting.

Lots of play opportunities with other filters – have fun.
Re: Custom Font Apply Selection v0.1
Fri Jul 28, 2023 9:38 am
Wooow, that's awesome Skinnyhouse 
Thank you!
Thank you!
Re: Custom Font Apply Selection v0.1
Sat Jul 29, 2023 2:10 am
You're very welcome Pixlab. 
Re: Custom Font Apply Selection v0.1
Sun Jul 30, 2023 3:01 am
If visitors passes by here, I would add that using a transparent layer and multiple selection (addition mode), the transparent layer will act as it cut the letters thus you can do pretty much everything on your letters if you prepare your multiple selections and add/subtract/intersect manipulate them in your channel 

If you know "Channel", you don't even need to use any select tool, just a brush on a layer, then drag and drop that channel below and then just click the "Select" button

Lovely script, again thank you so much Skinnyhouse
If you know "Channel", you don't even need to use any select tool, just a brush on a layer, then drag and drop that channel below and then just click the "Select" button
Lovely script, again thank you so much Skinnyhouse
Re: Custom Font Apply Selection v0.1
Sun Jul 30, 2023 6:24 am
Really interesting your use of channels - hadn't thought of that one. Kudos to PixLab.  and double (In the nicest possible sense.)
Normally to segment a custom font character set I would add a sectioned layer to the file and apply it with FaceMaker using Split mode.
and double (In the nicest possible sense.)Normally to segment a custom font character set I would add a sectioned layer to the file and apply it with FaceMaker using Split mode.