This version revives version 0.04 from GimpLearn that was never made available on GimpChat and uses the tabbed dialog interface devised by Arakne.
It is basically a python version of the script by Brian Hahn's first published in 2011 here on GimpChat but with a number of extras.
Download and extract the plug-in and place it in your user plug-ins folder.
Attachment:
The menu shortcut is:
Filters>>Path Scale Copy Rotate Shift Walk v0.06 Tabbed…
A pdf version of this guide:
Attachment:
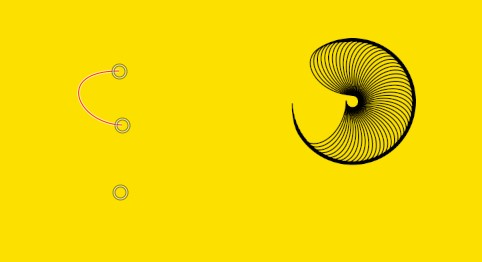
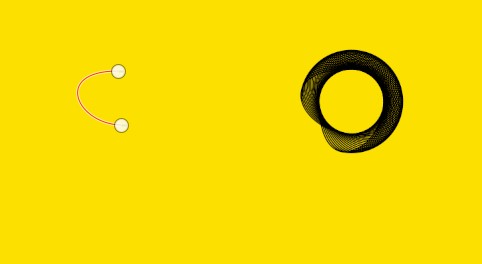
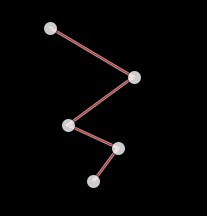
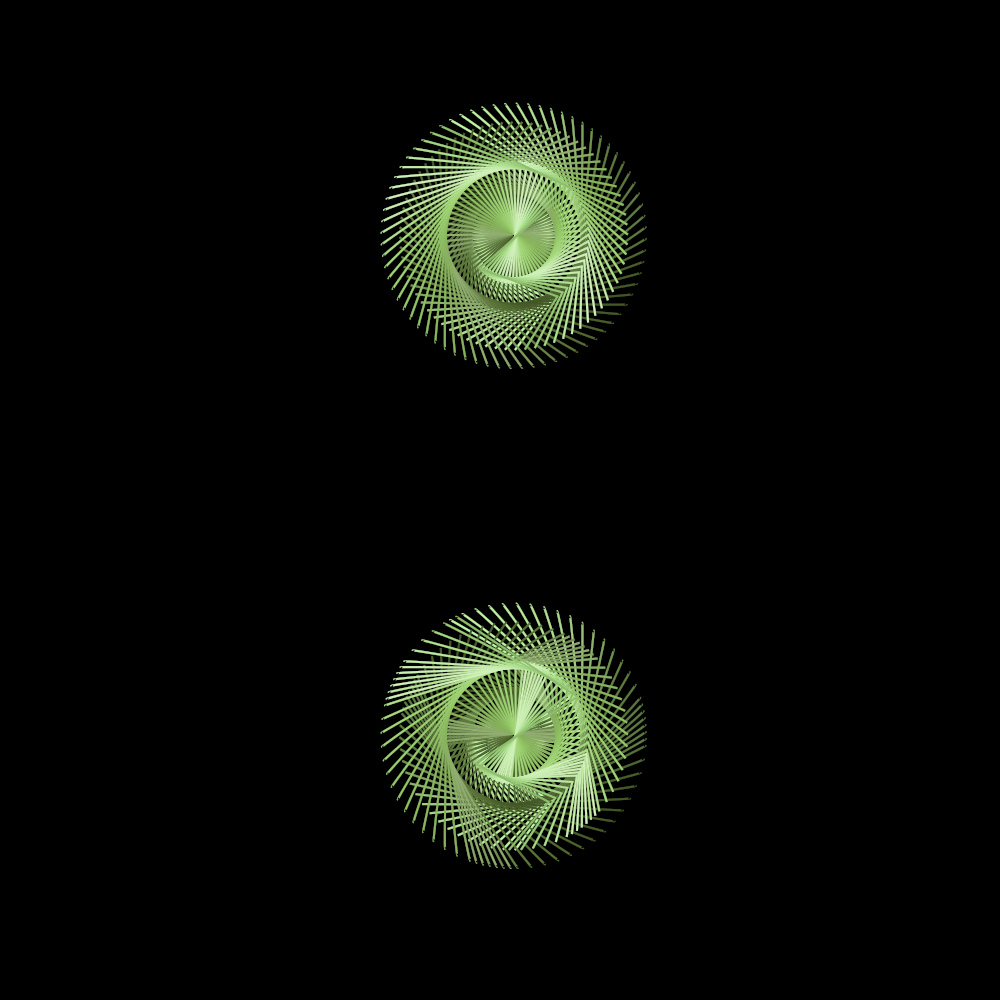
The plug-in takes a simple path like this one consisting of 4 points…
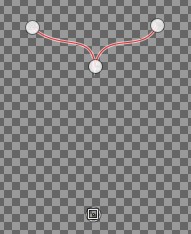
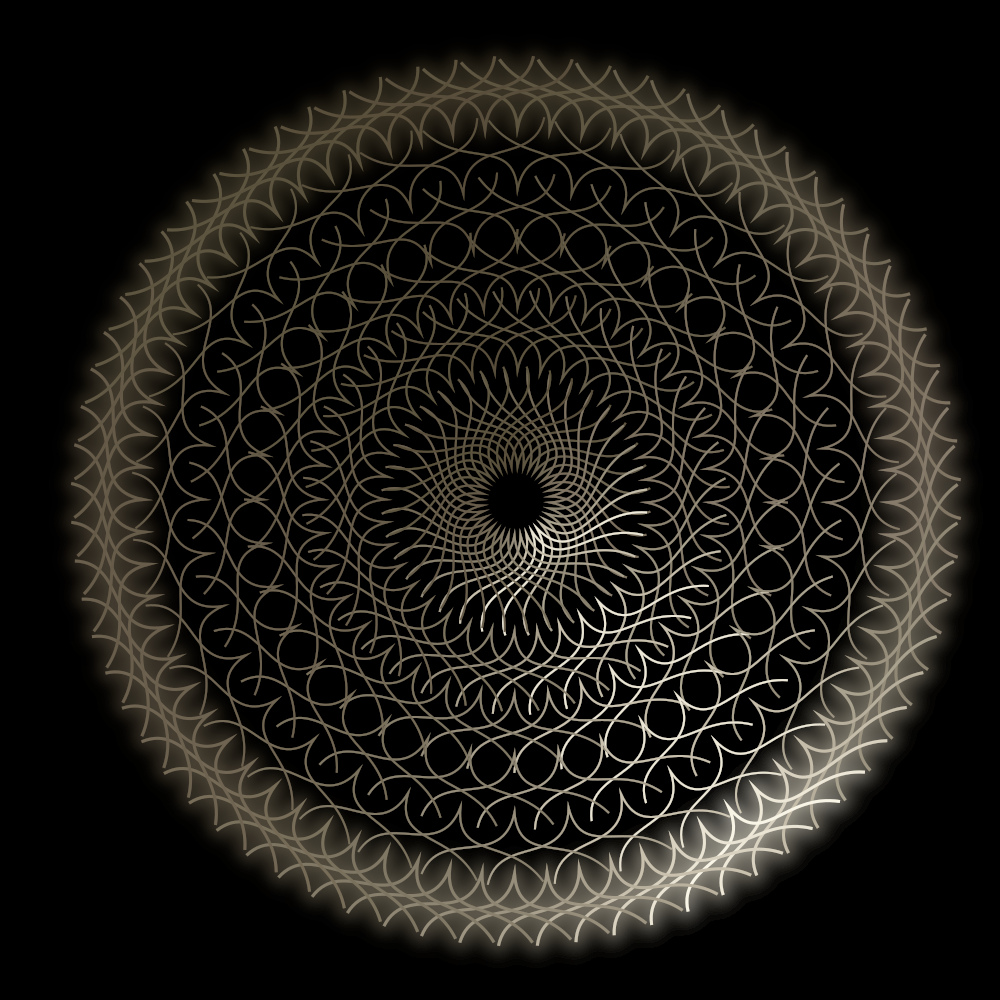
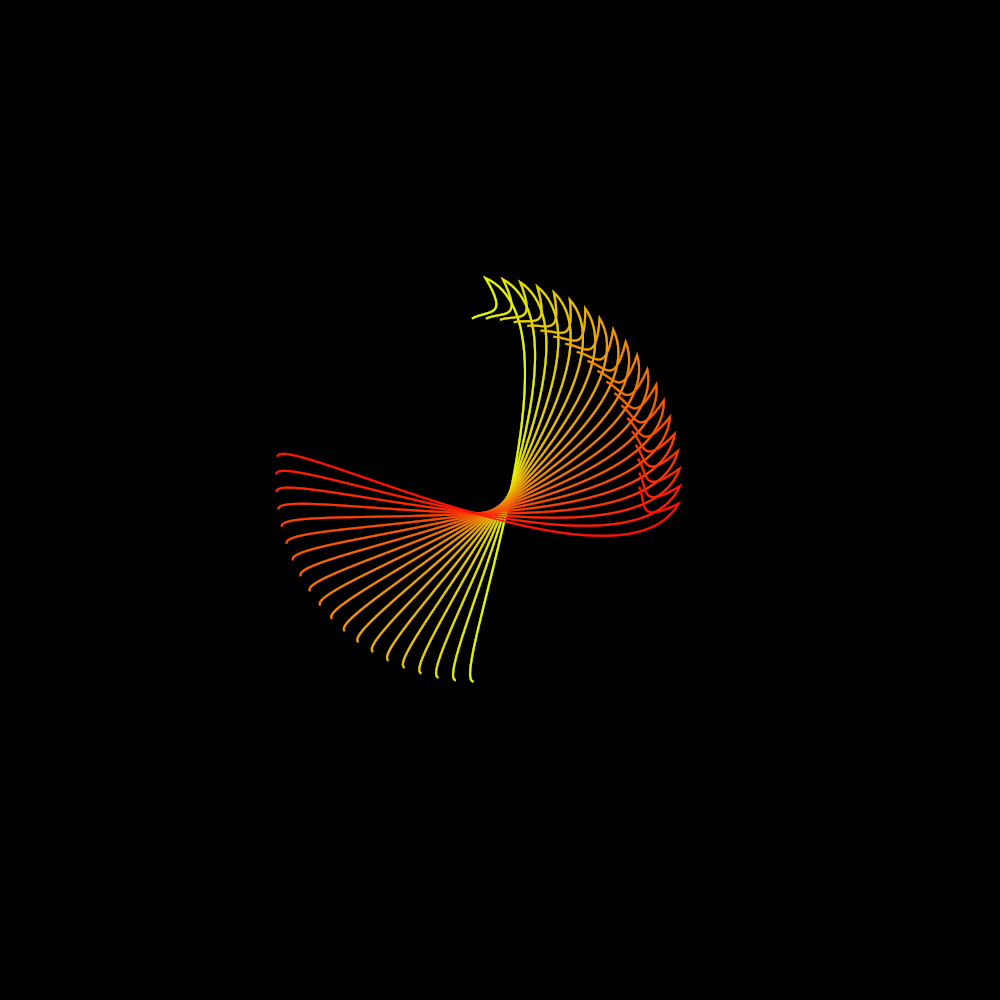
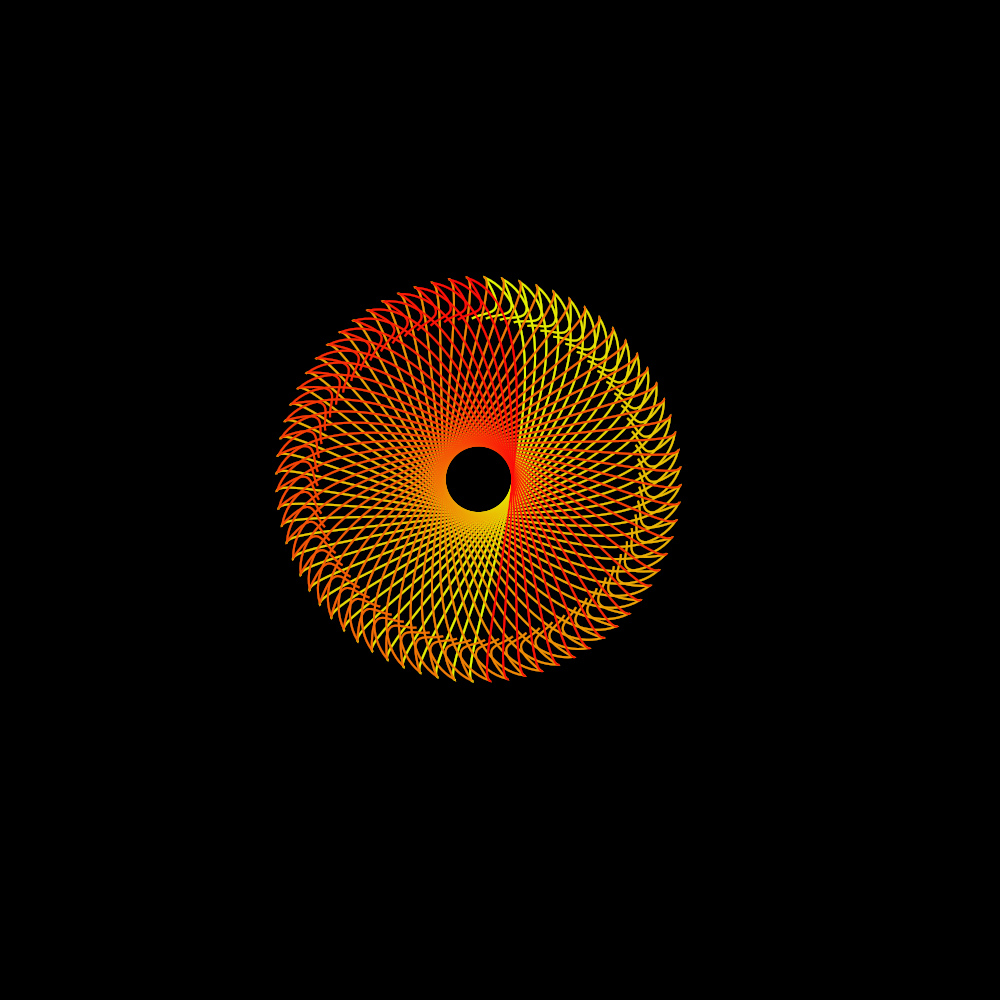
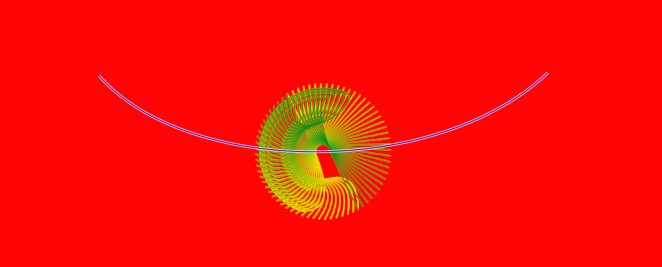
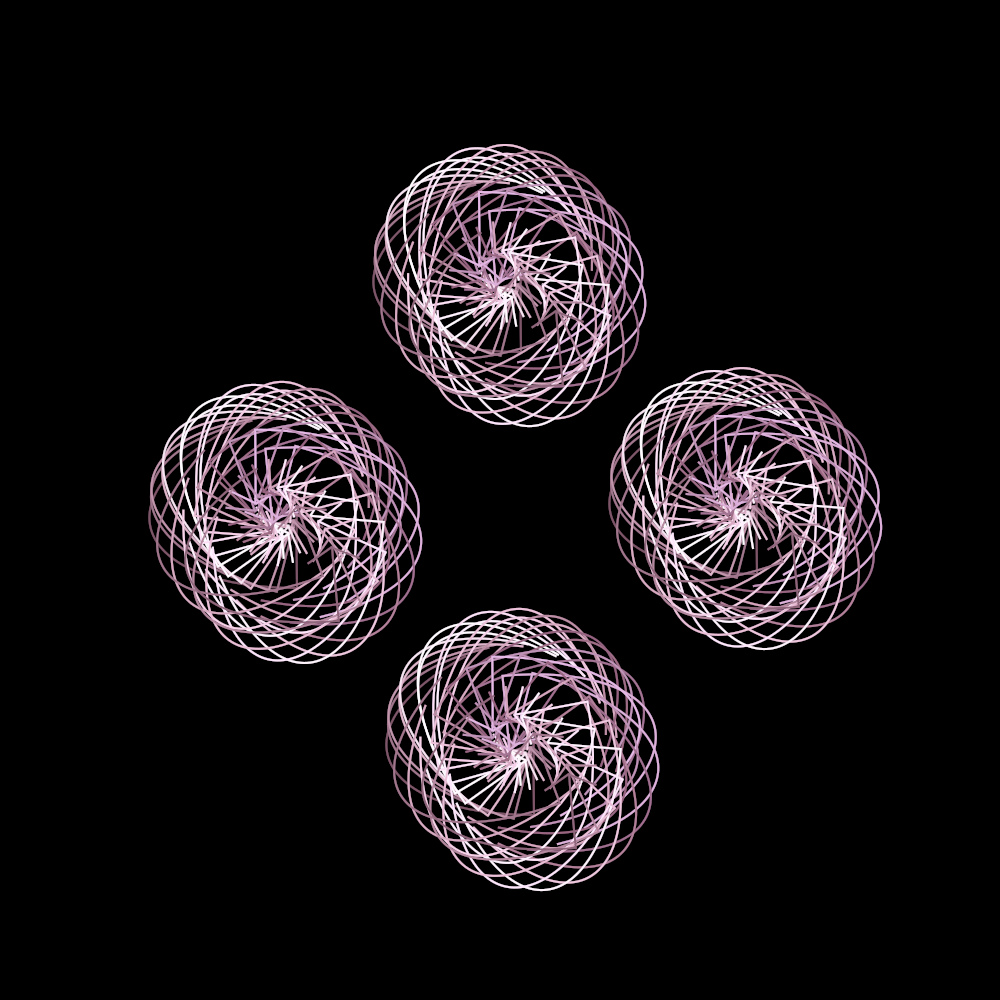
...and repeatedly transforms it to create a pattern like the outer ring in the image below. The other rings in this image were created by moving the lower un-joined point closer to the three joined points above and running the filter again.
The idea is to stroke a user path, transform the path by a small amount and stroke it again multiple times. Simple but strangely compelling to watch!
Create a new image, choose your colours and/or gradient.
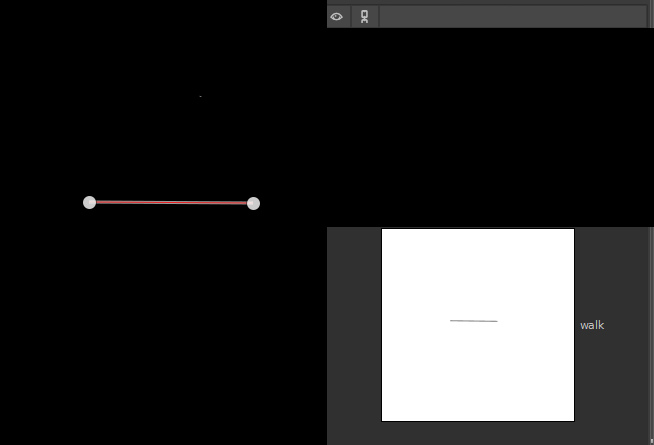
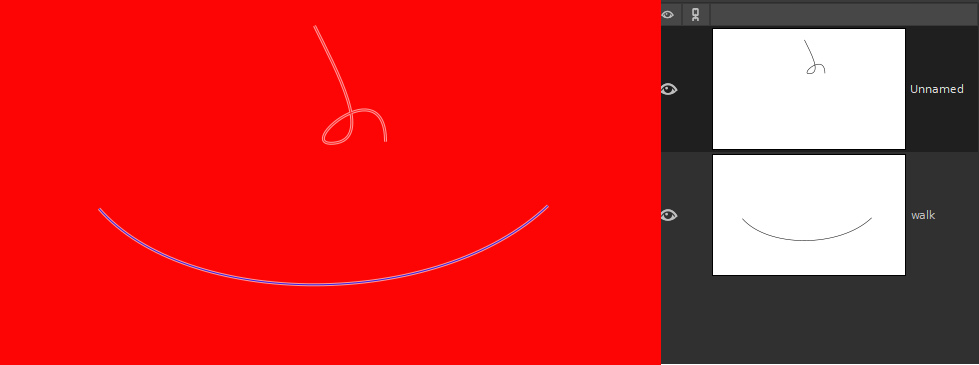
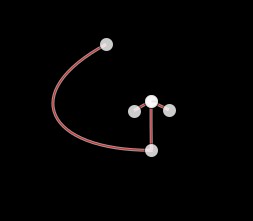
Select the path tool and create a path (see below): Rename the path ‘walk’.
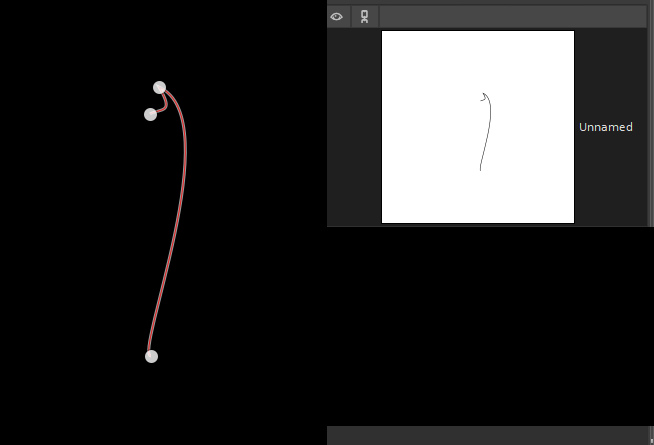
Create another simple path – this is the path that will be transformed along the walk path. The name is not important.
Optionally, you can add a background colour and add a new layer.
The plug-in will stroke the path to the currently active layer of your image.
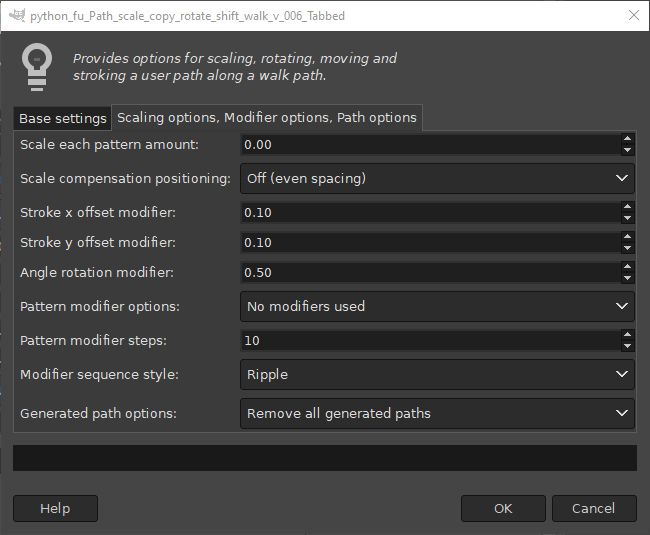
Time to play, using the basic options from Tab 1 of the filter
Call up the filter dialog:
Filters>>Path Scale Copy Rotate Shift Walk v0.06 Tabbed…
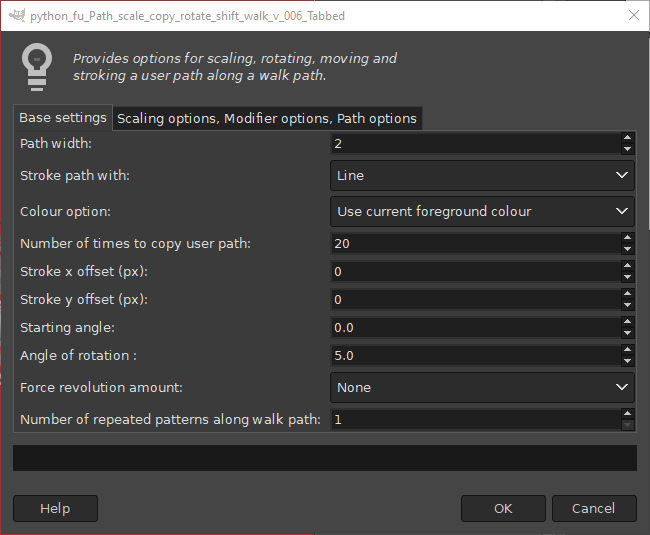
Choose a colour option to work with - I chose ‘Shade colours (FG to BG)’ - and click ‘OK’.
The default settings for the plug-in strokes the user path 20 times and rotates the path by 5 degrees for each new stroke.
Undo the filter output (or delete the contents of the layer) and call up the filter again.
Change the ‘Force rotation amount’ option to ‘Force one full revolution’ and click on ‘OK’.
Undo the filter output (or delete the contents of the layer) and call up the filter again.
Increase the ‘Stroke x offset’ option value to 1 and click on ‘OK’. As expected each new stroke is now rotated and also shifted by one pixel.

Undo the filter output (or delete the contents of the layer) and call up the filter again.
Increase the ‘Stroke y offset’ option value to 1 and click on ‘OK’. As expected each new stroke is now rotated and also moved by one pixel in both the x and y directions.

Have a play with the basic options and see what works well for your own paths. If you want to use wider paths I would also increase the angle of rotation to avoid the lines all melding into a single blob of colour.
Walking the paths (Tab1)
Make some new paths and try out some other colours or gradients.
The default option uses one repeat so that you can assess the path generated with the paths. It will position the pattern at the mid-point of the walk path.
Once you are happy with the basic pattern you can add more repeats.
Walking and Scaling the Paths (Tab 2)
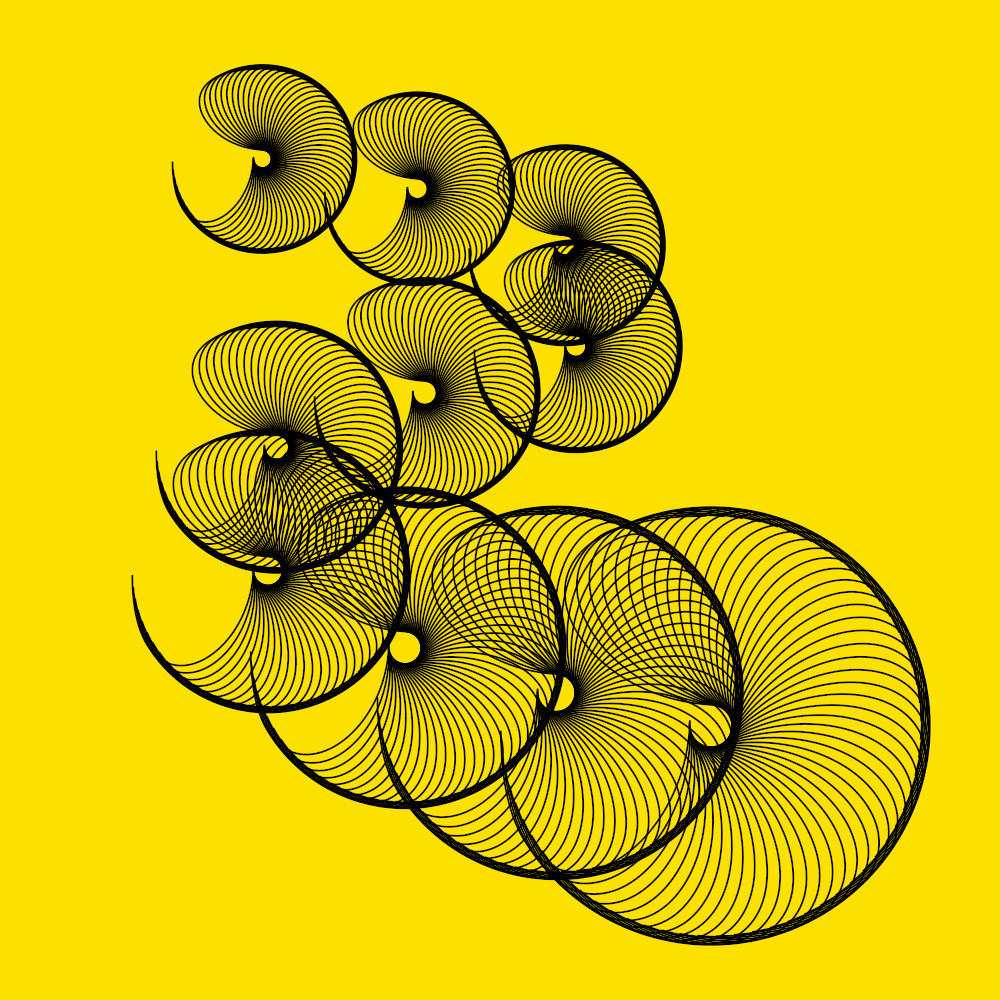
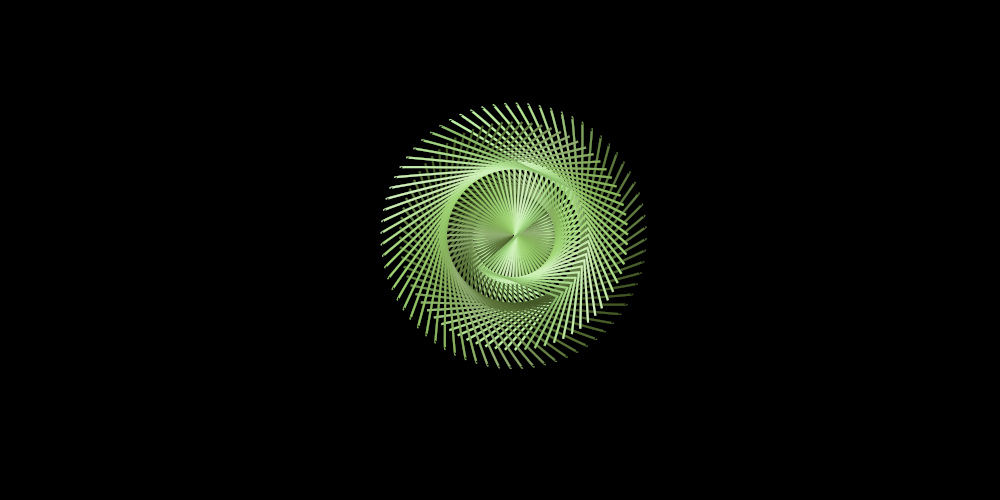
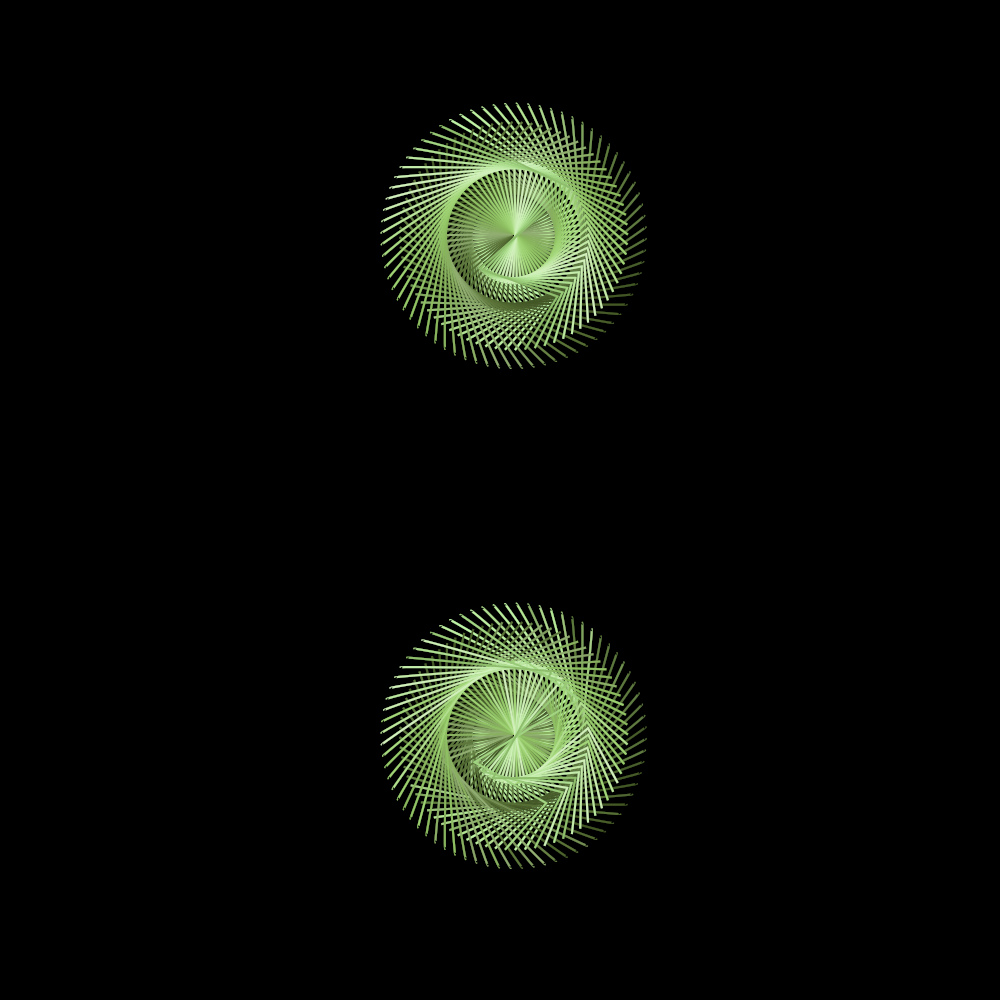
The original user path with a dead-point generated this pattern…
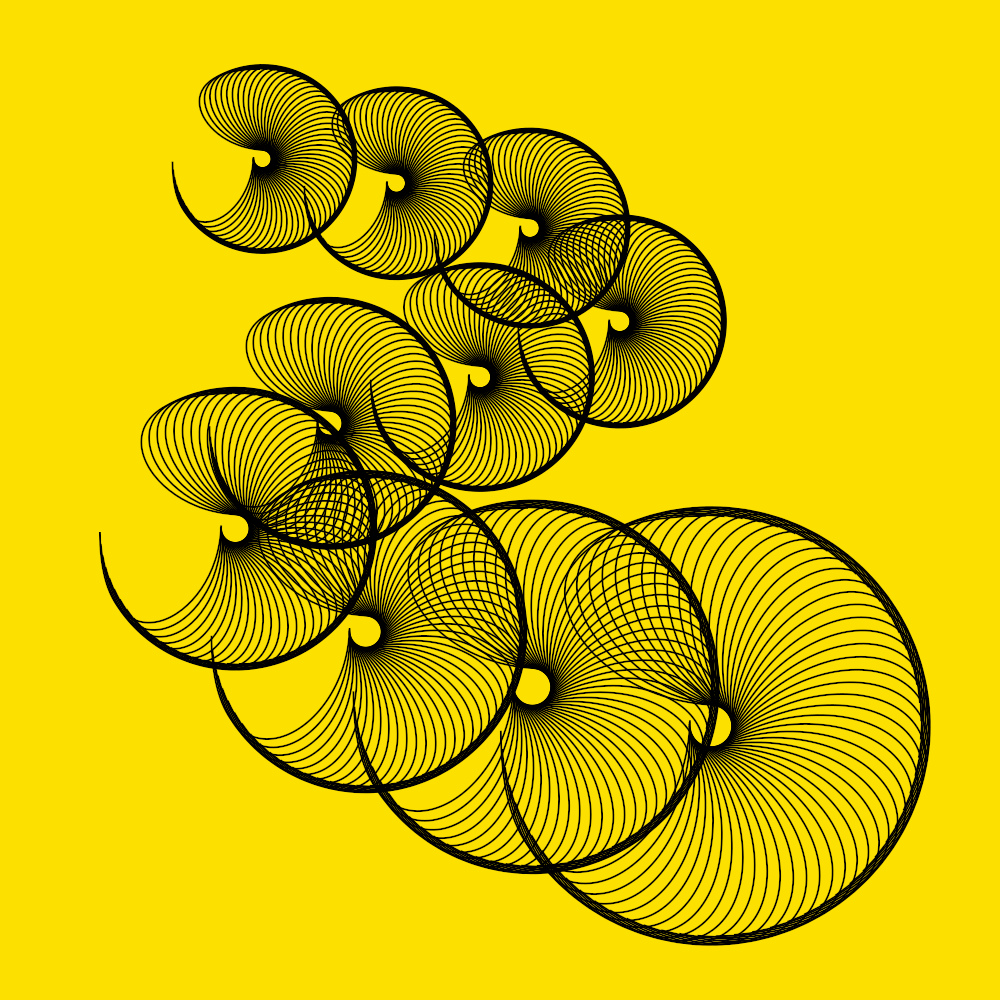
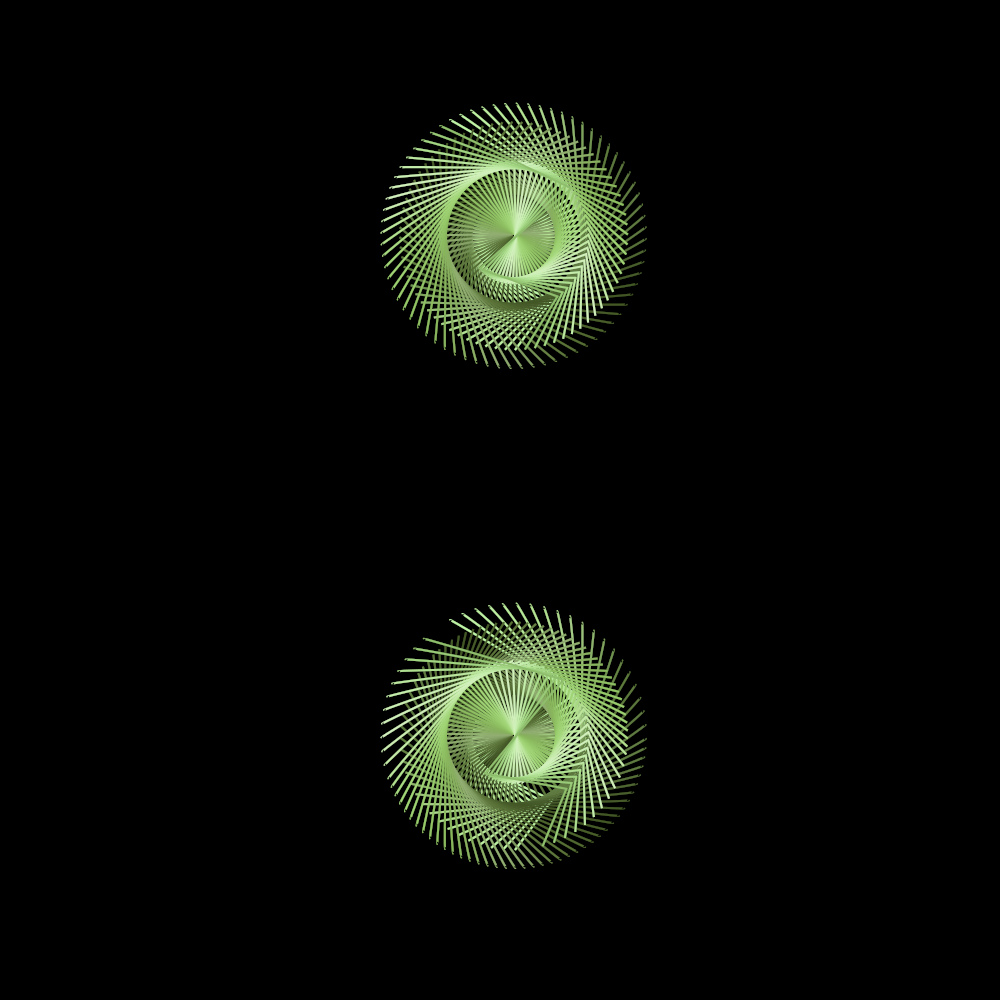
For interest’s sake, without the dead-point the pattern would have been:
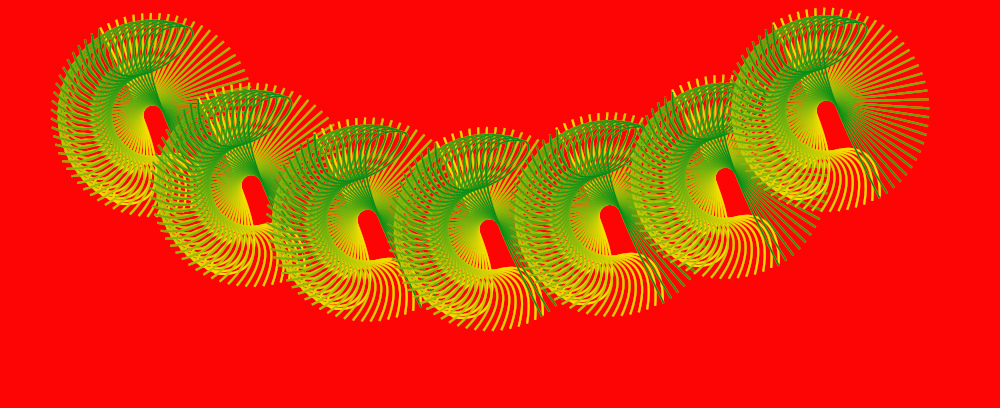
And then using a snaking walk path, ten repeats and a ‘Scale each pattern amount’ of just 0.2...
There is a ‘Scale compensation positioning’ option to try that gives a slightly different outcome...
Modifier Options (Tab 2)
I added these options on the principle that you can never have enough fun!
You can alter the stroke modifier values for x position, y position and the angle of rotation (small amounts to begin with warning) and select which of these to apply to a path from the ‘Pattern modifier options’.
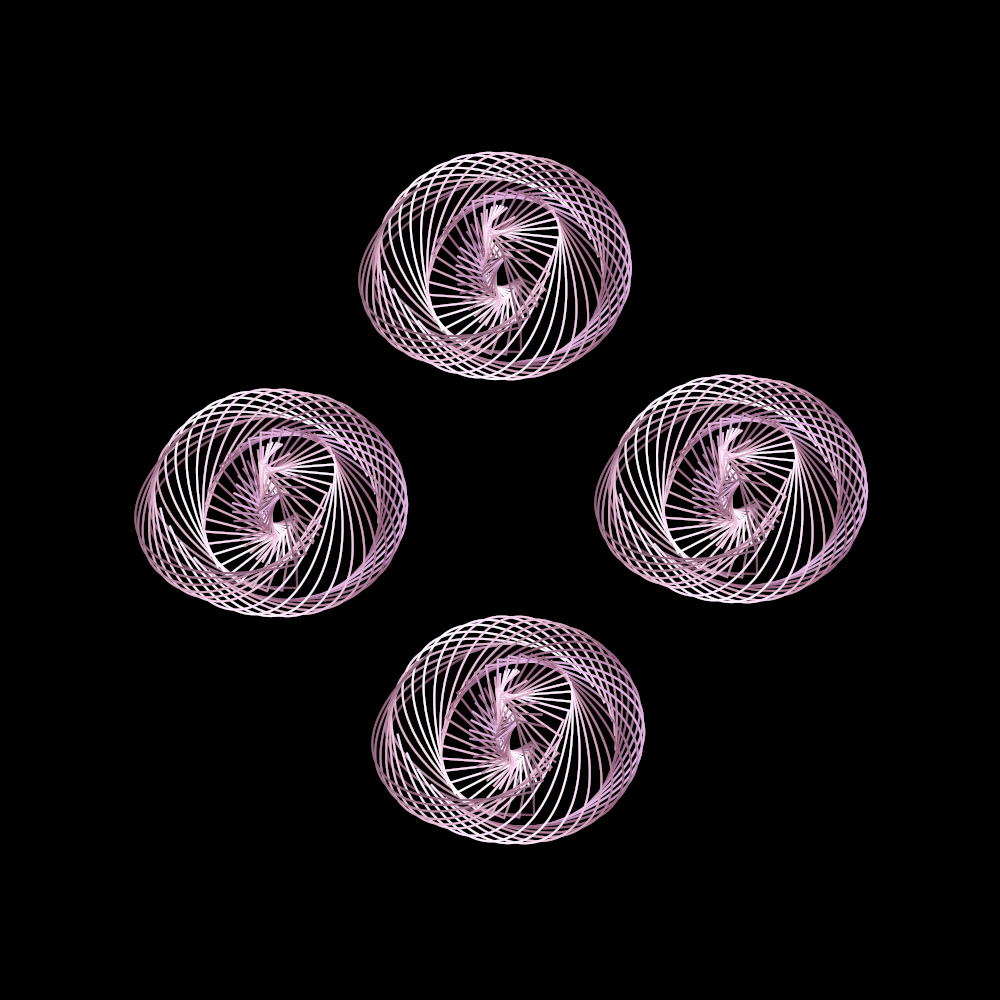
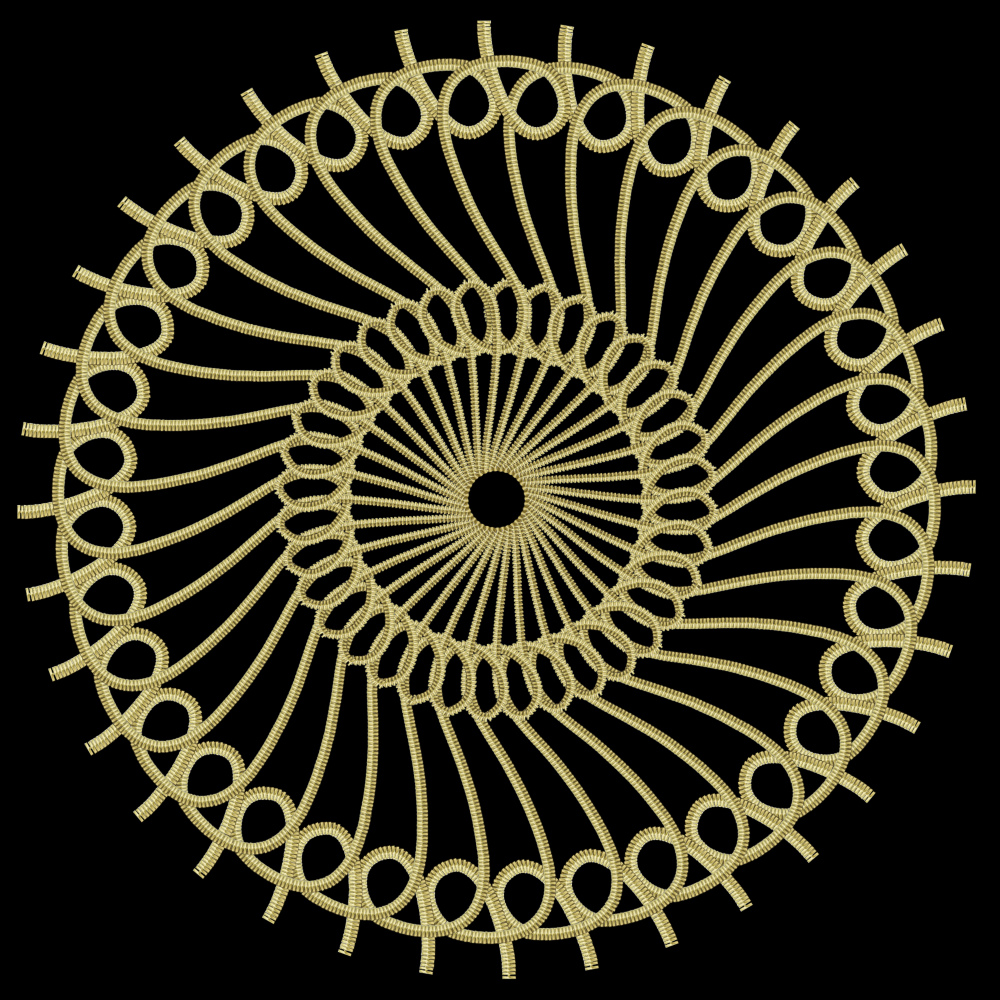
My user path to stroke along a circular ‘walk’ path using a metallic gradient.
Outcome without modifiers:

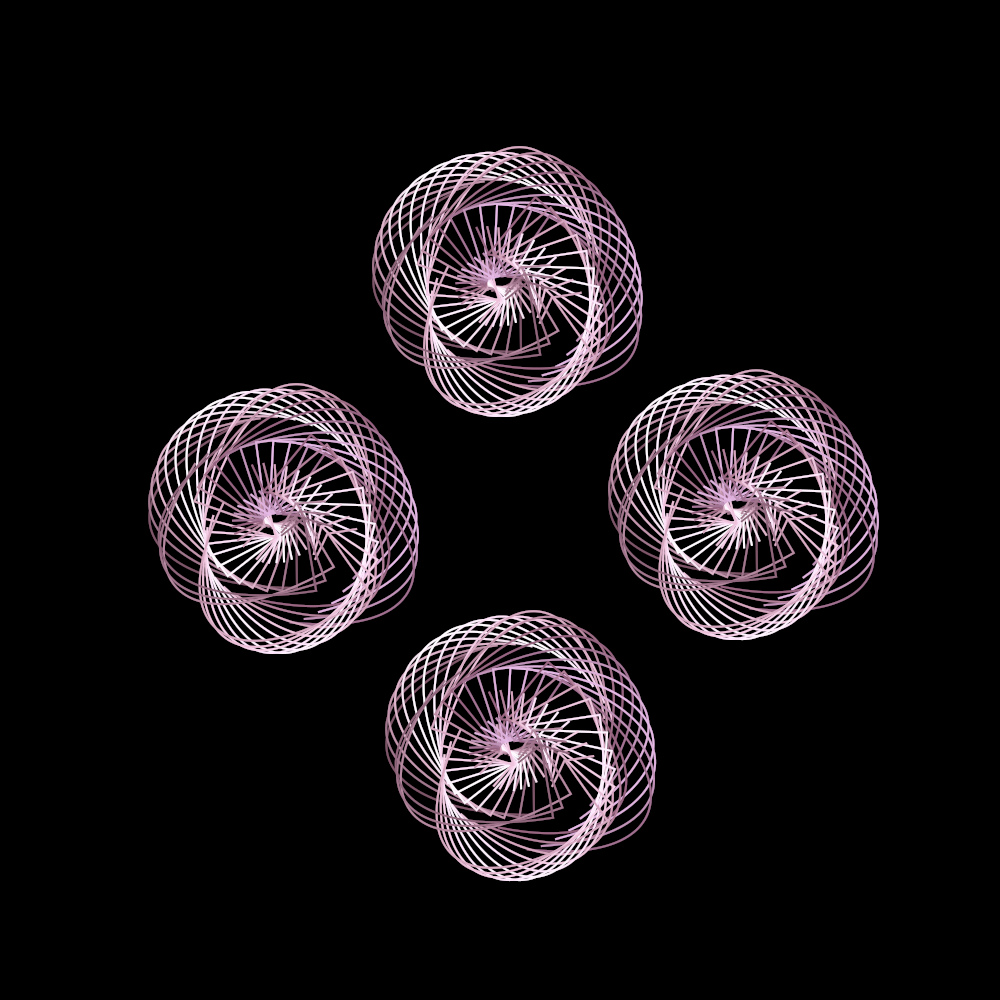
Using the default modifier values and the Ripple style:
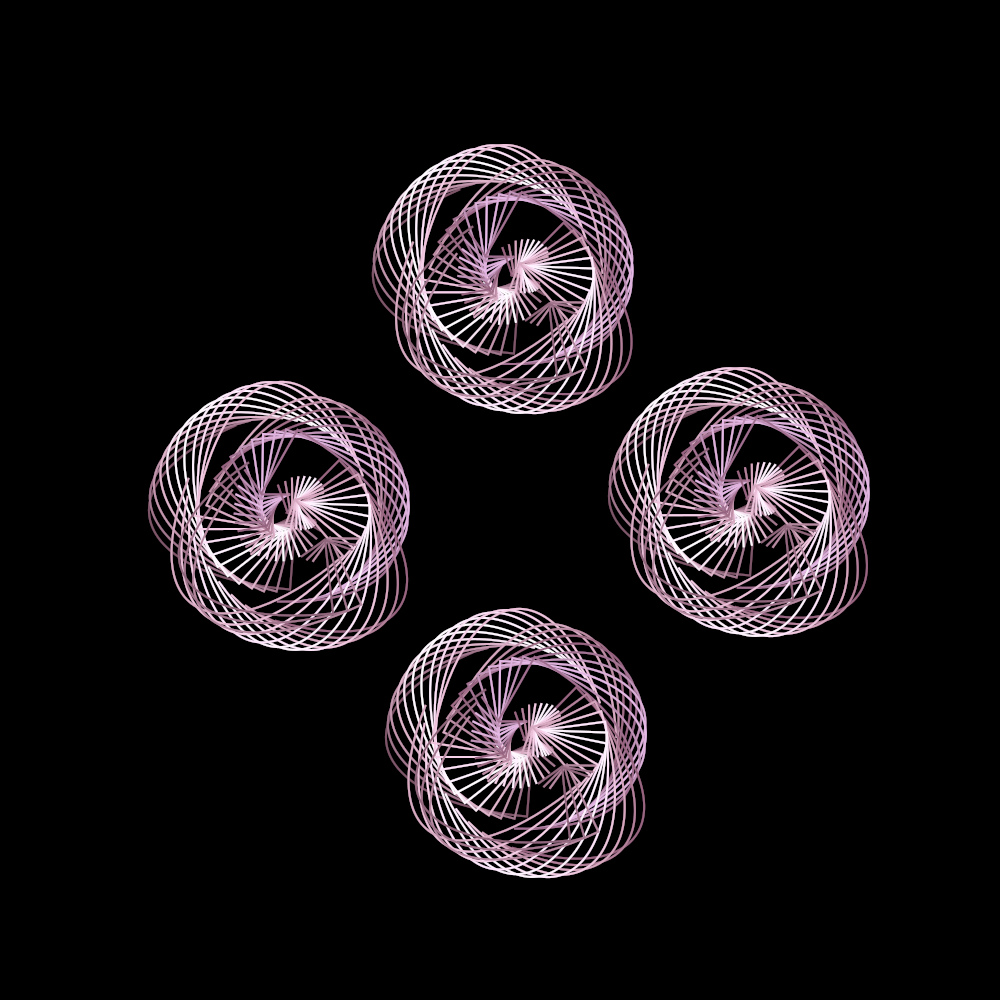
Using the default modifier values and the Ascend Jump style:
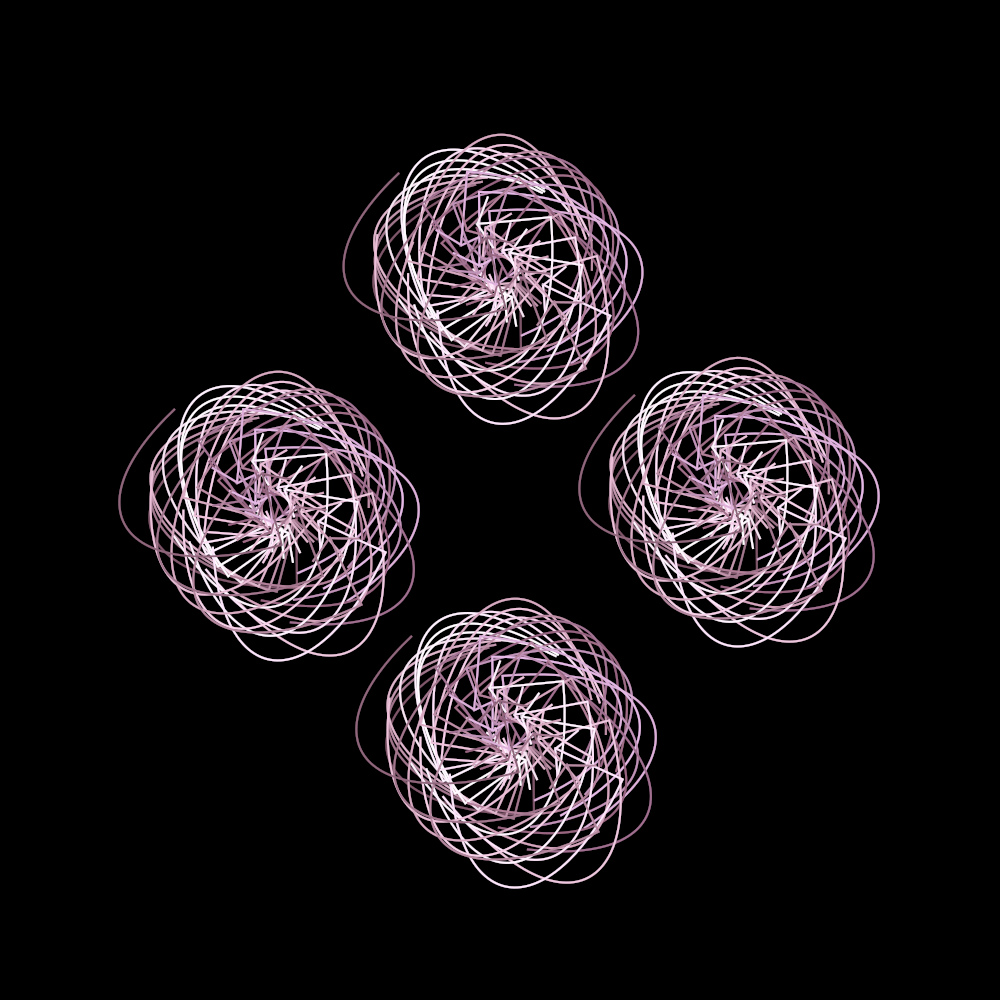
Using the default modifier values and the Descend Jump style:
Using the default modifier values and the Zigzag Large style:
Using the default modifier values and the Zigzag Small style:
Modifier Options Step Size (Tab 2)
Altering the step size can also influence the stroke pattern generated. The default value is set to 10 (before the modifier pattern begins again).
Example user path:
Using a step size of 20 and Ripple style.
Ripple and Ascend Jump styles:
Ripple and Descend Jump styles:
Ripple and Zigzag Large styles:
And finally you can always make a copy of the generated paths to use with other filters or with other programmes that can import SVG paths using ‘Merge generated paths at each repeat’ from the ‘Generated paths option’.
Edit to add an example path stroked with a brush...
Using a larger image to make it easier to use a bigger path size - which I later scaled down.
Have fun!


 and motivating me


