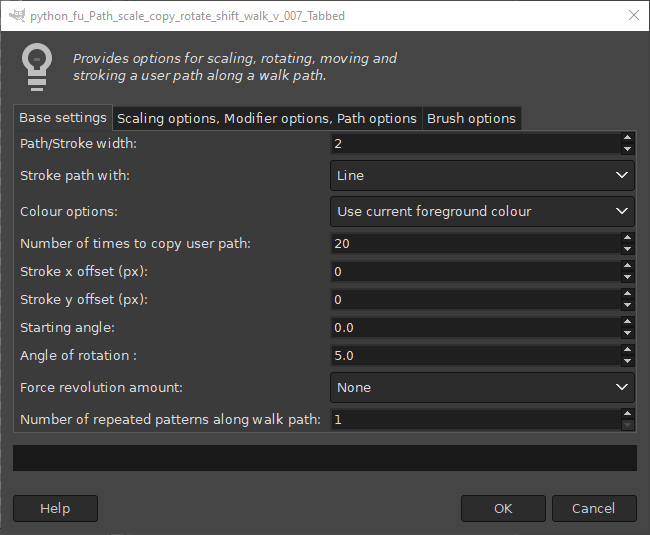
This version updates version 0.06 Tabbed and adds a new tab for stroking the generated paths with a brush.
The filter is a Python version of the script by Brian Hahn first published in 2011 here on GimpChat; the brush section of the filter uses snippets of code by Tim and Ofnuts and the tabbed dialog interface was developed by Arakne.
Download the plug-in, unzip and place it in your user plug-in folder.
Attachment:
It can be called up from menu location:
Filters>>Path Scale Copy Rotate Shift Walk v0.07 Tabbed…New users may want to read the guide to version 0.06 Tabbed which provides information about the line stroking options used.
Version 0.06 Online GuideThe pdf version of the guide below provides information about stroking the paths with both line and brush options.
Attachment:
Stroking the generated paths with a brush Tab 3 optionsBefore calling up the plug-in add a new image, set your foreground and background colours and select a brush with the main brush tool in Gimp (you may wish to add a suitable background and add a new layer to stroke the paths to).
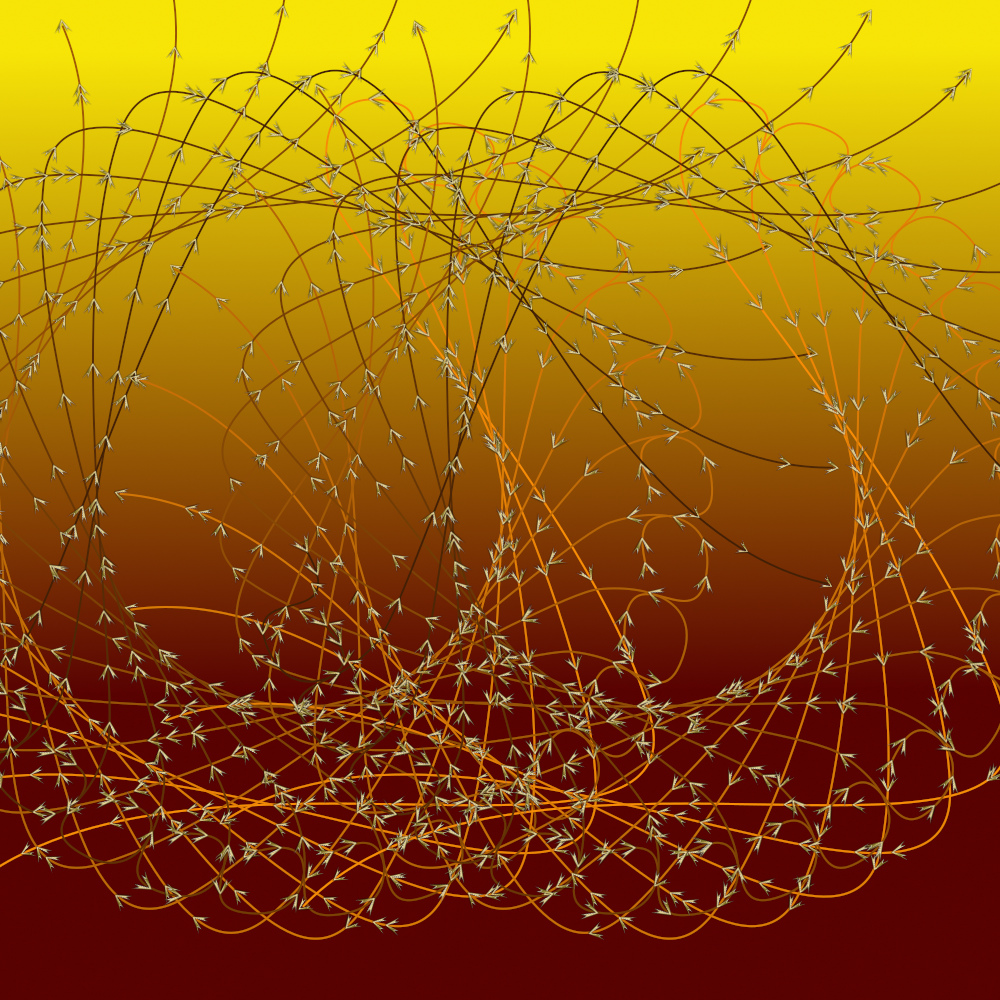
I find it easier to work with an existing path using the ‘Stroke path with’ line option before switching to a brush.
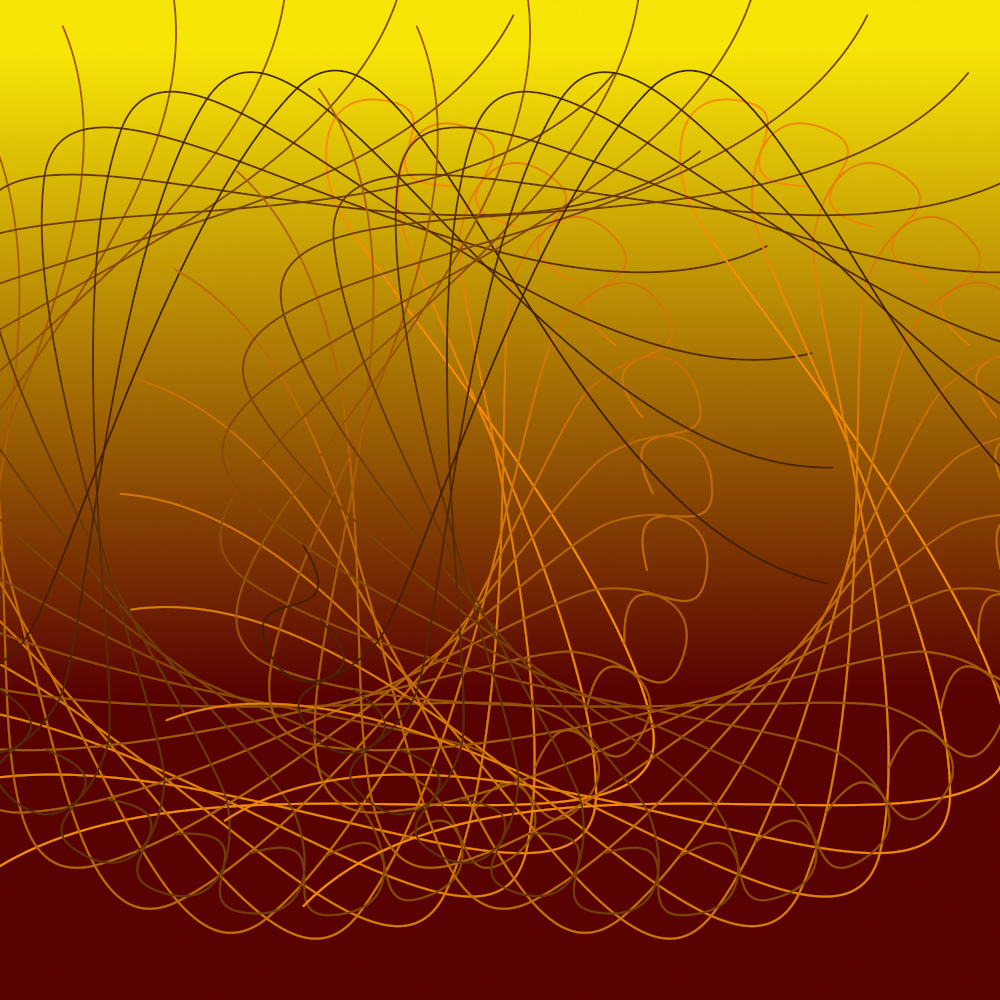
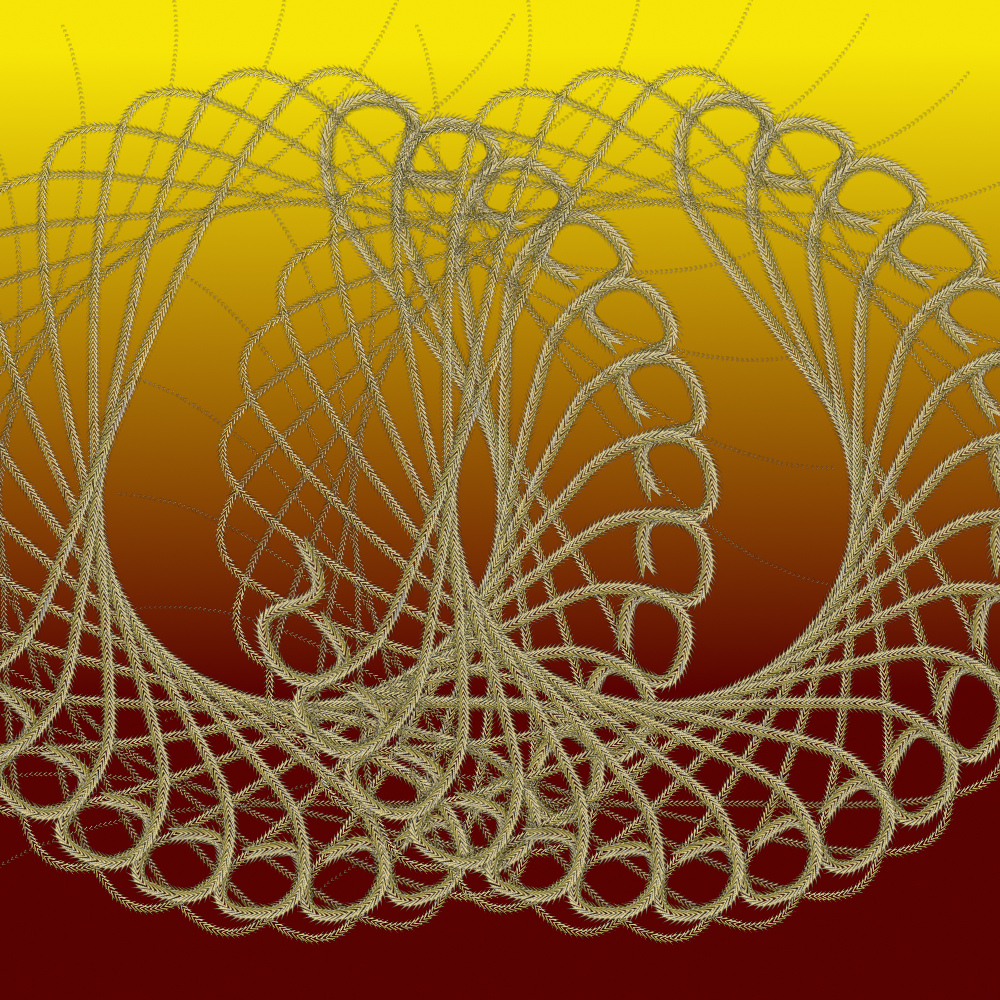
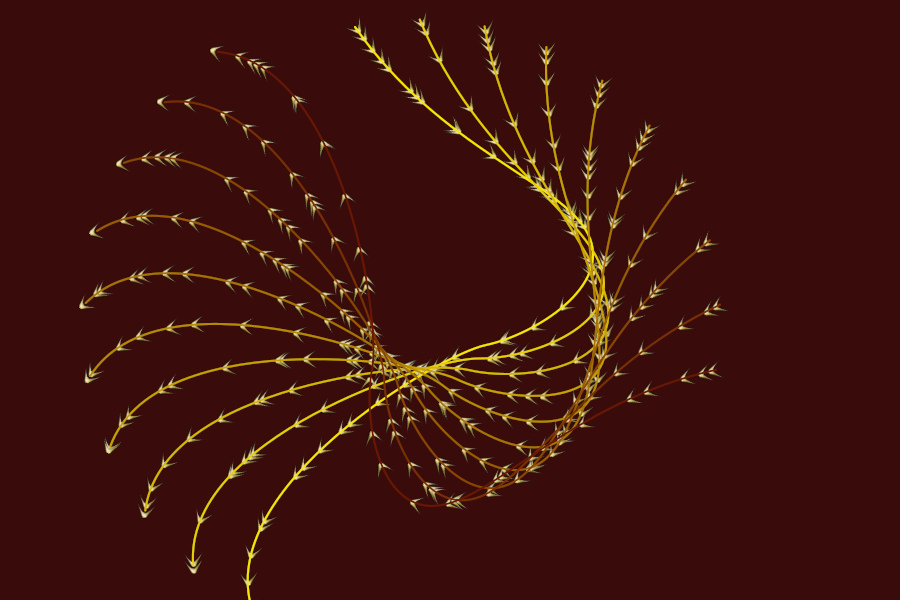
My initial image using the default values with the colour option set to use 'FG-BG Shaded':
Add a new layer (turn off the visibility for the line path layer for now) to stroke with the brush tool.
Set the ‘Stroke path with’ option to work with the ‘currently selected brush’ on Tab 1.
The brush size is based on the ‘Path width’ option. I generally use a size of between 20 and 30 to begin with.
Click on dialog Tab 3:
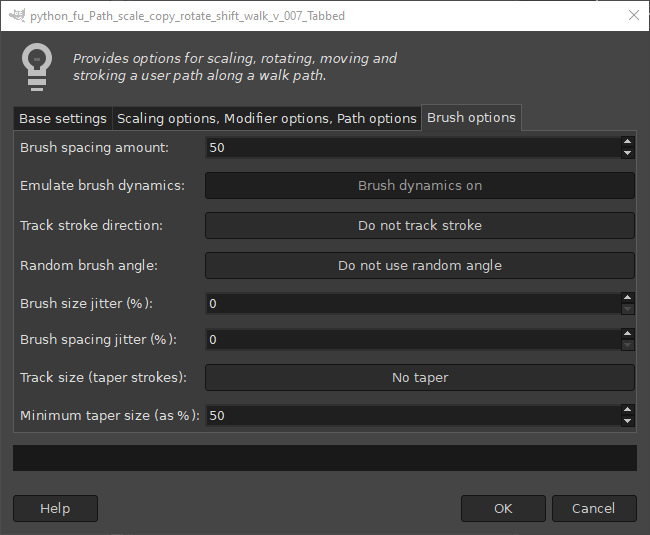
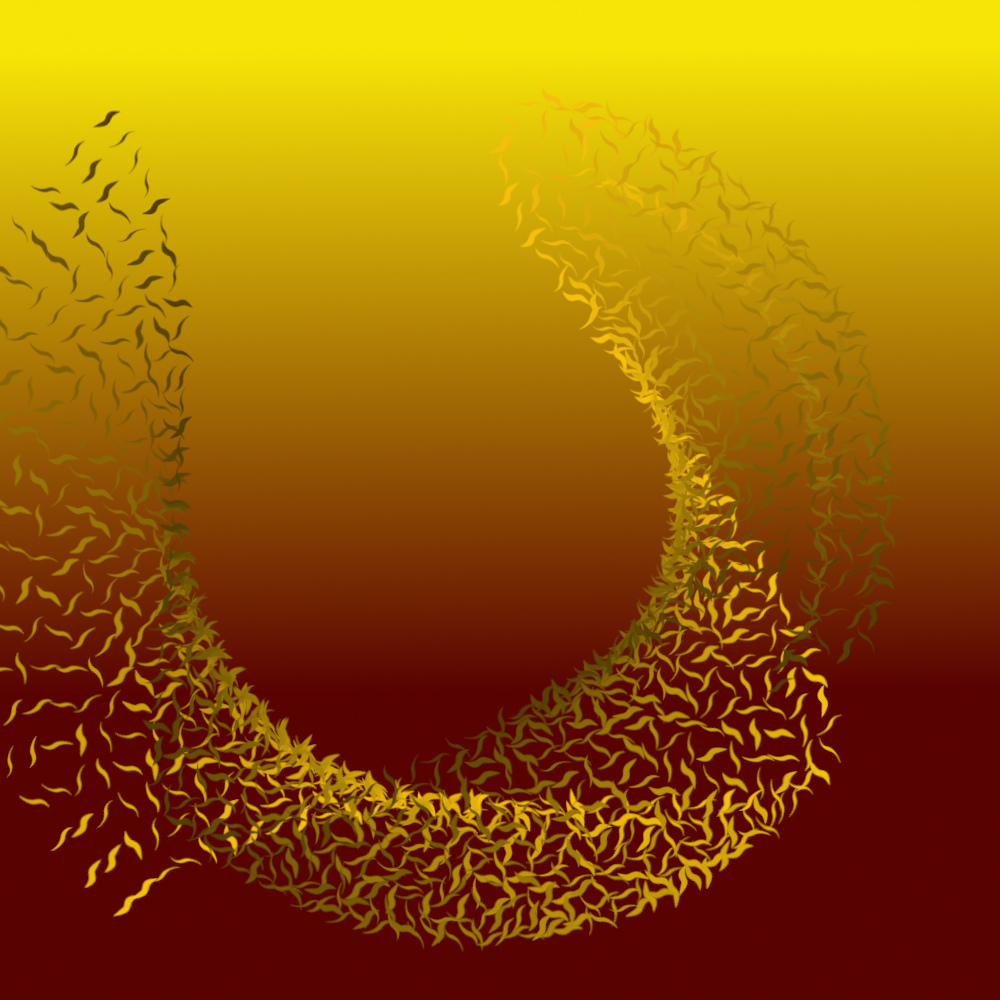
I reduced the spacing to a value of 20 and set the ‘Track stroke direction’ and the ‘Track size’ to 20% to use with my golden animated brush before clicking on ‘OK’.
Be aware that it can take some time to stroke each path (before becoming visible on the screen) when you reduce the spacing below 10.
You can of course use a combination of lines and brush strokes on separate layers since the filter strokes the currently active layer.
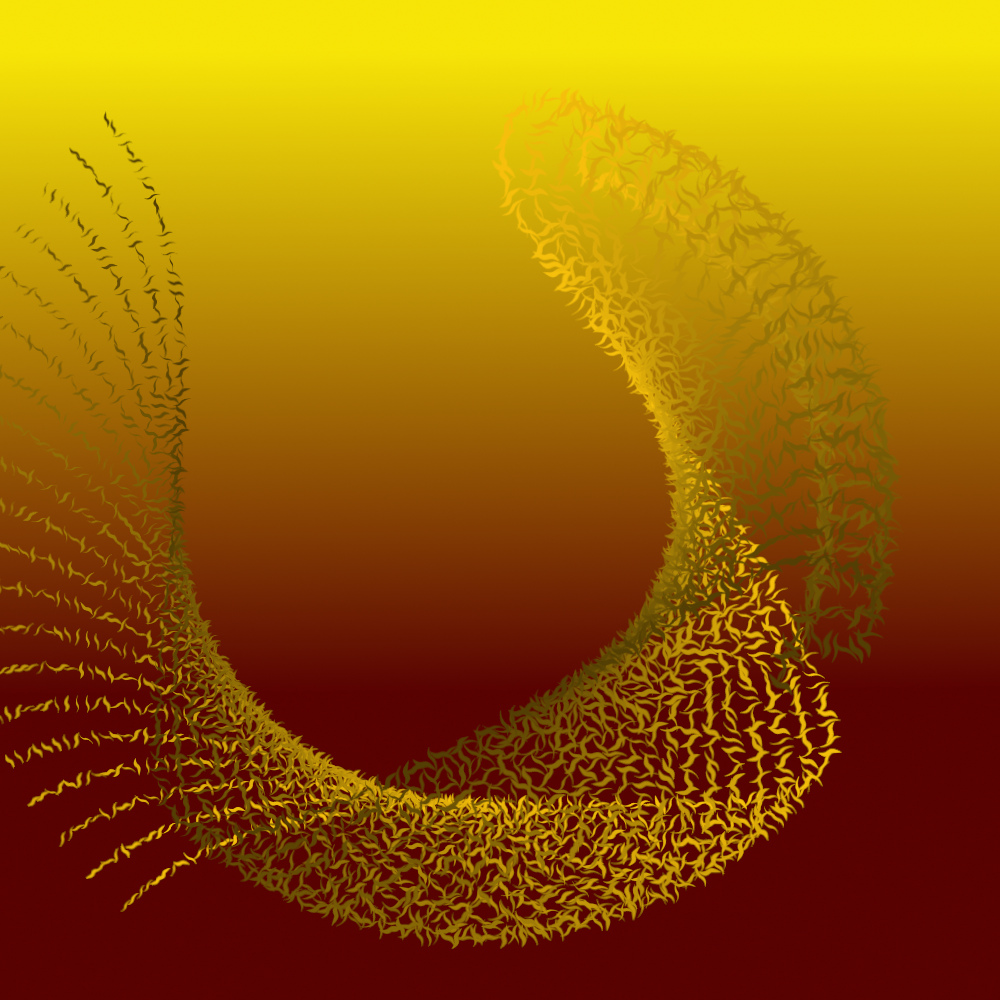
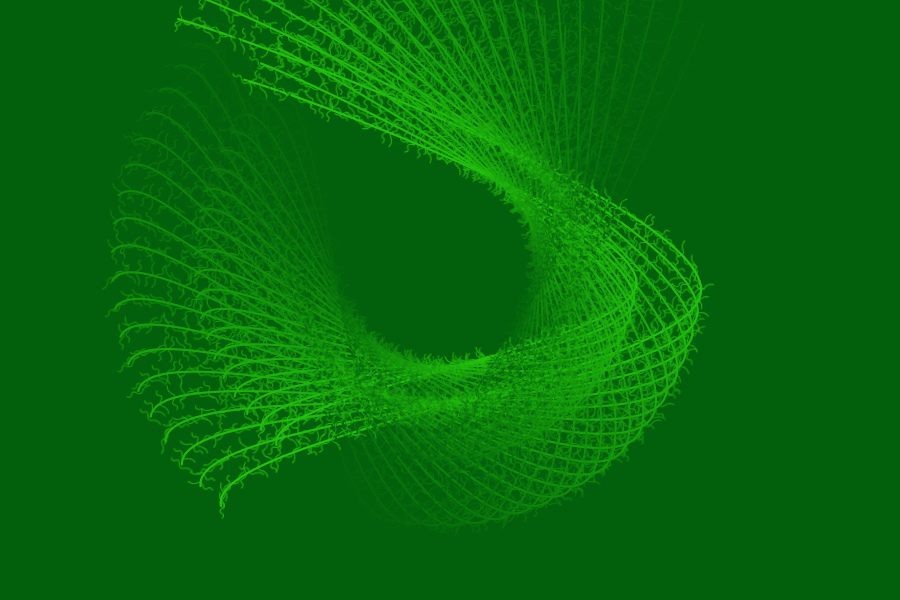
I increased the spacing to 50, set a value of 50 for the ‘Spacing jitter’ and used a ‘Track size’ of 50% on a new layer to obtain the result below.
You can apply colour if you use a normal (grayscale) brush from the Gimp brush tool. If you choose the option to use gradient or shade colours each stroke will use either a new colour or shade.
The brush options in the image below were set to ‘Track direction’ and ‘Random angle’ with a ‘brush spacing’ of 50.
And in the image below the ‘brush spacing’ was reduced to 20 and the ‘Track size’ was set to 50%.
Play with the options to find those that best suit your particular style of brush.
Some recent test examples combining line and brush strokes...
Have fun...
_________________
"Let no one steal your dreams."
Paul Cookson
Latest plug-in update: Paragrapher v.1.4
Custom Font Links
Tools
Character Paths
White Bases