Just a quick tip on making screw heads easily.
Create a new doc and then a new transparent layer. Select the new transparent layer.
Using the ellipse selection tool create a perfect circle any size (smaller looks more realistic IMOH). Select to PATH but keep the selection.
Using the gradient tool, apply a radial gradient (reversed) from about 10:00 down to 4:00 (according to clock numbers) to the selection
That's the head. Now just use a black pencil line across it and another 50% gray line right next to the black one.You can add an optional white line in the center if you wish (very thin).
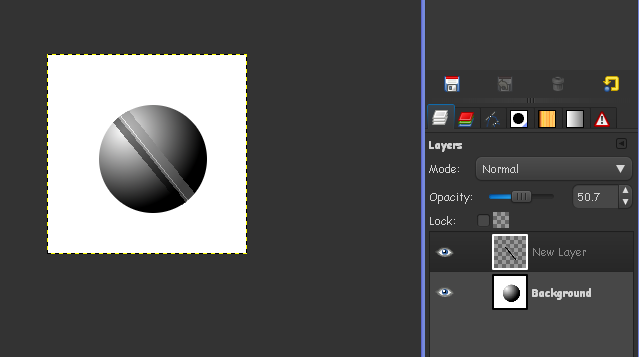
Now select the PATH and do right click path to selection then select invert and select the line layer and hit delete.
Set the lines layer to 50% opacity.
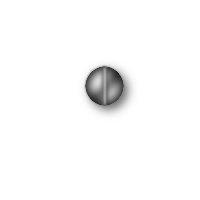
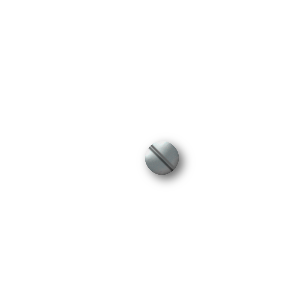
Results