^ That looks pretty cool.
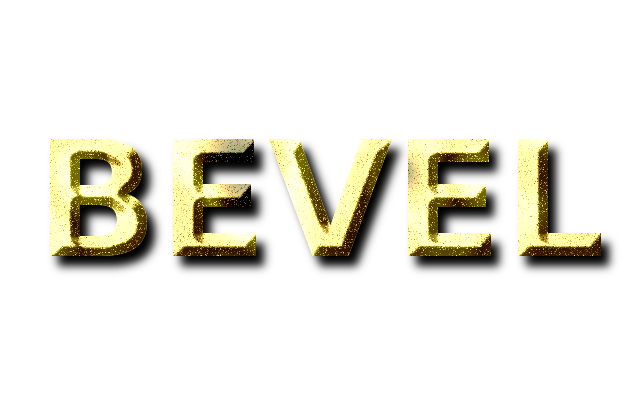
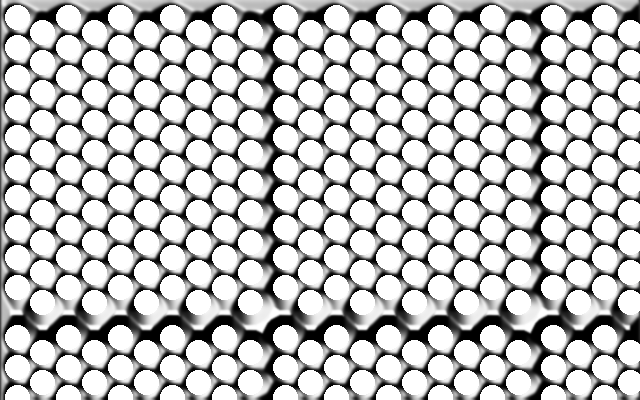
Here's a little example I made, illustrating how you can use these scripts to variate the "hardness" of objects:

The text texture here is made with the Additional noise setting high, and Pre-blur at 0. The texture on the background object has less noise, but higher pre-blur, so you can see the difference there... a crisper texture with no blur makes for harder looking objects, while more blurred and less detailed textures look softer.
As for bevels... I set the background object to have a high inner feather, so it makes the bevel very soft and rounded (this works pretty well with the spherical setting and high blurs), which makes the object look softer. The text bevel has no inner feather, and the shape setting at Steep, which gives a very crisp and well defined bevel, making the object look harder.
Some explanations on how the scripts work:
The texture script works by applying solid noise, then if additional noise >0 it adds hsv-noise, and if pre-blur>0 it adds a gaussian blur. Lastly it embossess it all with the lower settings (azimuth etc.) so basically, the first 3 settings control the main contours & detail level of the texture, additional noise adds very fine detailed rubble, and pre-blur smooths things out (so they kind of cancel each other, but not exactly... play around with them and you'll see how they interact).
The bevel basically works by using the blend tool, then applying some effects, then embossing. The pre- and post-blurs are blurs applied before and after embossing.


 to Gimp Chat, too.