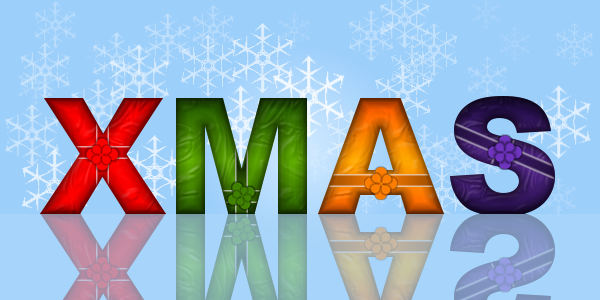
Here´s the final image before I write some text.
edit: this might look bit like a mess. I promise my second tutorial will look better and be in pdf.

Ok, I presume you downloaded the snowflake brush from the original, and know your way around Gimp. So I´m using the abr that was in the original PS tut.
1. Create 600x300 canvas.
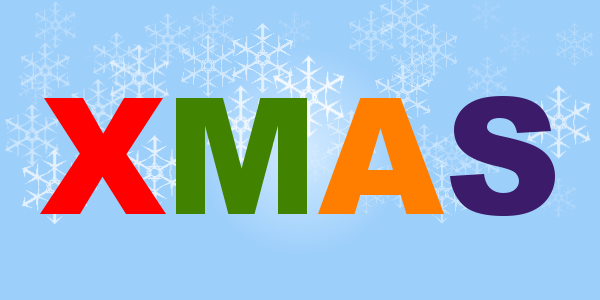
2. Let´s make the XMAS text before BG. Arial Heavy 162px, use align tool to center it to image. Color each letter with following codes:
X = fe0000
M = 418200
A = ff7e00
S = 3c1b6a
3. Below text layer comes Background gradient. Use radial gradient from D2EAFF to 9DCFFB from center point and drag half way to any corner.
4. New layer for snow flakes, pick one you like from the abr you got. Brush size 90, Dynamics: Velocity tapering.
Then just point-and-click over the place and You´ll have different sized flakes. Don´t create them under the text (if you do however you can clean them in the end)
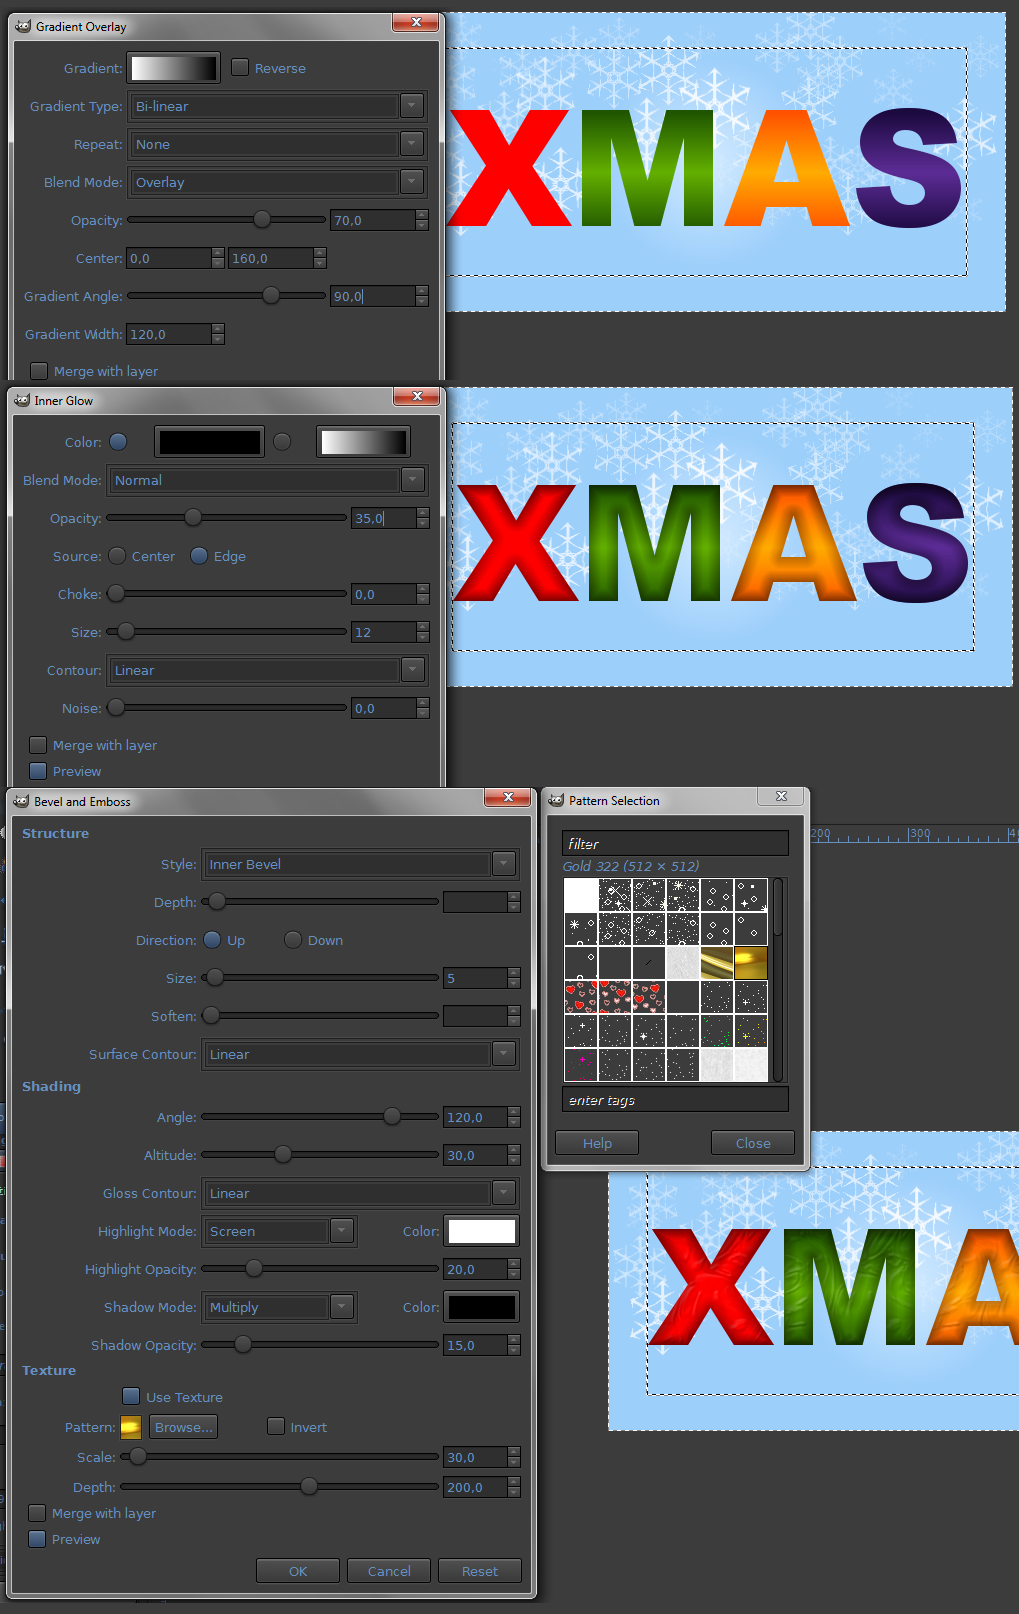
5. Gradient Overlay, Inner Glow & Inner Bevel setting. Use gold pattern for the inner bevel at 25-30 scale.
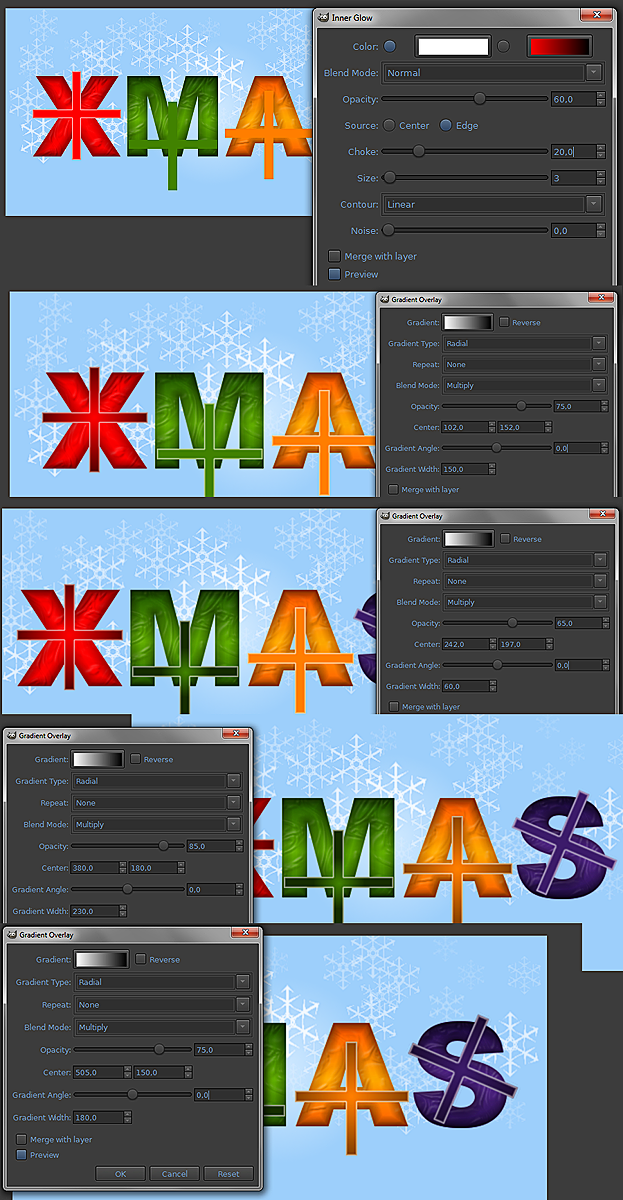
6. These ribbon crosses are super easy right?
Use path shape creator (py plugin) or do them with rectangular selection + fill. Same colors as the letters.
Duplicate, rotate 90 and you have a cross. Rotate blue for the S.
Place them in corectly, use inner glow and gradient overlay with settings from image. Remember to change the gradient center point with each one!
Group the stripes with their gradient shadows and inner glows and merge to 1 layer. Do same with text layer and all its effects.
I use AnimStack script to pack the linked layers, and then from Layers Toolbox ->Merge Layer Group. You may know that simply merging down one by one
will screw up the effects.
Using same method, merge all the stripes together and go to your XMAS layer below it.
Layer to image size, check.
Alpha to selection, selection shrink 1px. Select feather 2px, invert selection.
Change to your stripes layer and hit delete. Deselect all.
Use your preferred tool to remove the excessive crap from M, A and S. Merge down the stripes with XMAS.
I´ll give a final touch to this layer with Inner shadow and merge it down.

7. Ribbon ties. This is where I didn´t want to follow the PS tut at all...I hardly did at all. if You are familiar with PS the settings don´t differ that much,
and why would it have to be exactly one to one? I just wolfed down 2 pounds of XMAS pork.
I did these ties quickly with "Zapf Dingbats" font. Letter D, 1 for each color, duplicated all rotated and shrank about 50%. Tiny drop shadow to each.
There´s lot of good fonts you can use to make these, WMShapes (can find it from dafont) or some rosette. Use slightly brighter colors than with letters to make them stand out.
Or do it like in the original tut. You didn´t stick into that part?
Hide snowflakes, BG layer and merge visible layers.
Make a duplicate of the XMAS, flip it vertically and move it right below the original (for a reflection)
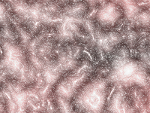
One more layer, the overlay part that looks like ice. I put it on top, it can be behind the main text too. Just make sure the flipped one is below it. Colorcode is acd7fa.
You can fill whole canvas and delete the upper part right from between the texts. Or simply use rectangular selection and fill it. Drop the opacity to 65.
That´s it. Add more bling or whatever you want, these can always be tweaked to death.