It's a very old topic and an old plugin.
Thanks to little progress in Python learning, I've simplified the plugin a little by reducing 5 Steps to one.
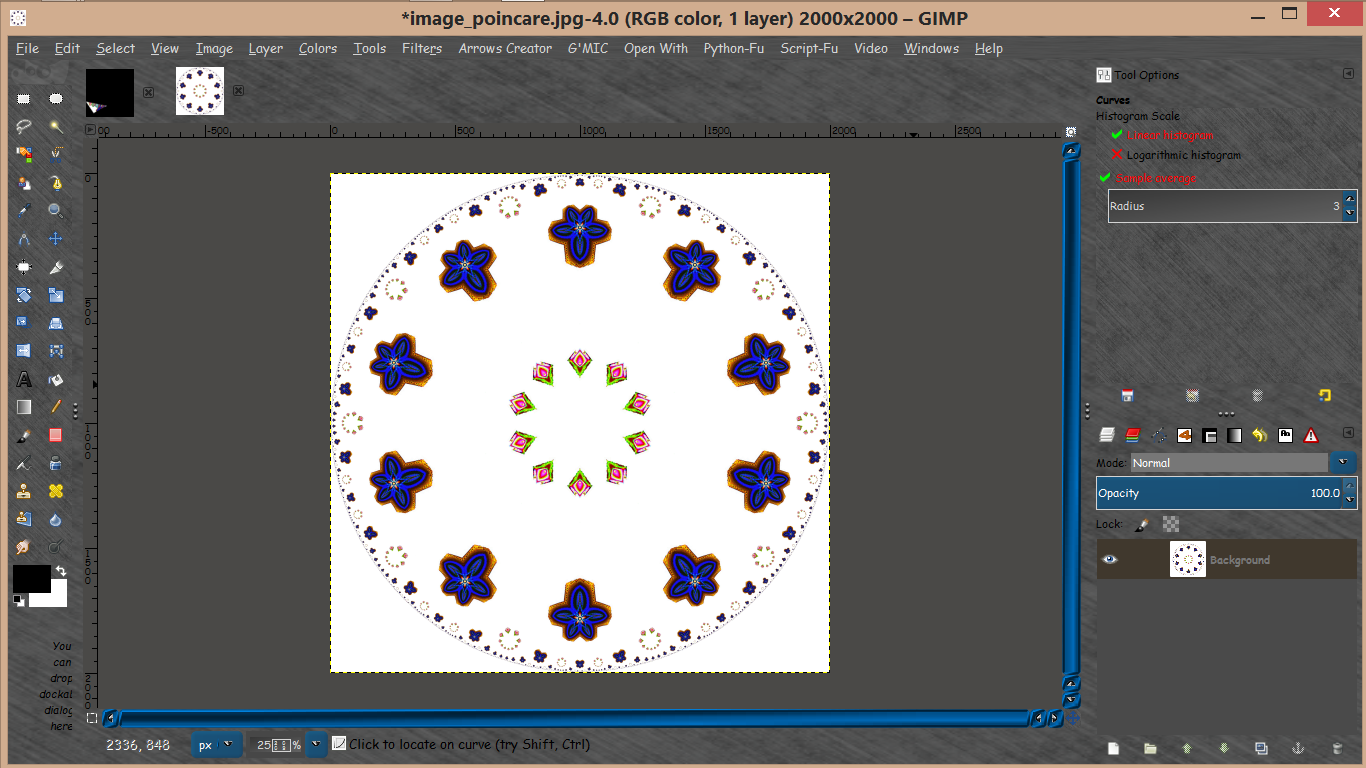
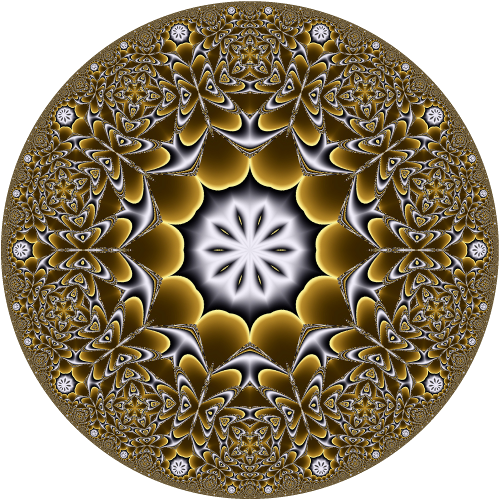
Poincare disc Ver. 2Still only for Windows and Gimp 32bit.
Annex contains:
- poincare.exe
- FreeImage.dll
- poincare.py
- mask.txt
- Notepad2.exe
- doc (description parameters.pdf)
- COPYING licenses GPL
In menu Gimp: Filters -> Render -> Poincare disc...
Everything in the Poincare catalog which after unpacking should be placed in the plug-ins catalog.
After launching the plugin, the mask.txt file will open in Notepad2 and here, in addition to the parameters, you must edit (once) lines 7 and 8 by entering the correct path to the Poincare location, e.g .:
infile = "c:\Users\YOR NAME\AppData\Roaming\GIMP\2.10\plug-ins\Poincare\image_orig.jpg"
outfile = "c:\Users\YOR NAME\AppData\Roaming\GIMP\2.10\plug-ins\Poincare\image_mask.jpg"
or for the portable version:
infile = "d:\GIMP-2.10.12_Portable-32bit-Win-V2\Preferences\plug-ins\Poincare\image_orig.jpg"
outfile = "d:\GIMP-2.10.12_Portable-32bit-Win-V2\Preferences\plug-ins\Poincare\image_mask.jpg"
(image_orig.jpg and image_mask.jpg will be created from the active layer by the plugin in the Poincare directory.
While the plugin is running, the Poincare window will appear (do not close it) - it will close itself after rendering.