There have been some amazing animations produced lately which reminded me that I did a guide on this subject over on GimpLearn that is, sadly, no longer accessible.
pdf for all three styles for those who prefer that format...
Attachment:
Please remember that I am only dealing with the text here – assume that you have already created a wonderful background that will replace my example.
I rarely have need for animations and I always have to start learning the technique all over again so forgive me if I make any obvious errors in the animation process itself. So, to reiterate, this is not a guide about how to create animations but about how to use the text elements with custom font tools as part of the animation process.
Attachment:
 Grow_Text.gif [ 360.53 KiB | Viewed 3087 times ]
In order to do this you will need to use the FontSlab plug-in; this tool gives much greater control over the sizing, positioning and orientation of custom font characters along a path.
Attachment:
 Font_Slab_Tabbed-v0_17.zip [39.07 KiB]
Downloaded 38 times
Font_Slab_Tabbed-v0_17.zip [39.07 KiB]
Downloaded 38 times
Download, extract and place in your user plug-ins folder.
Link To Expanding Text Style at post#4
Expanding Text StyleLink to Rotating Style at post#7
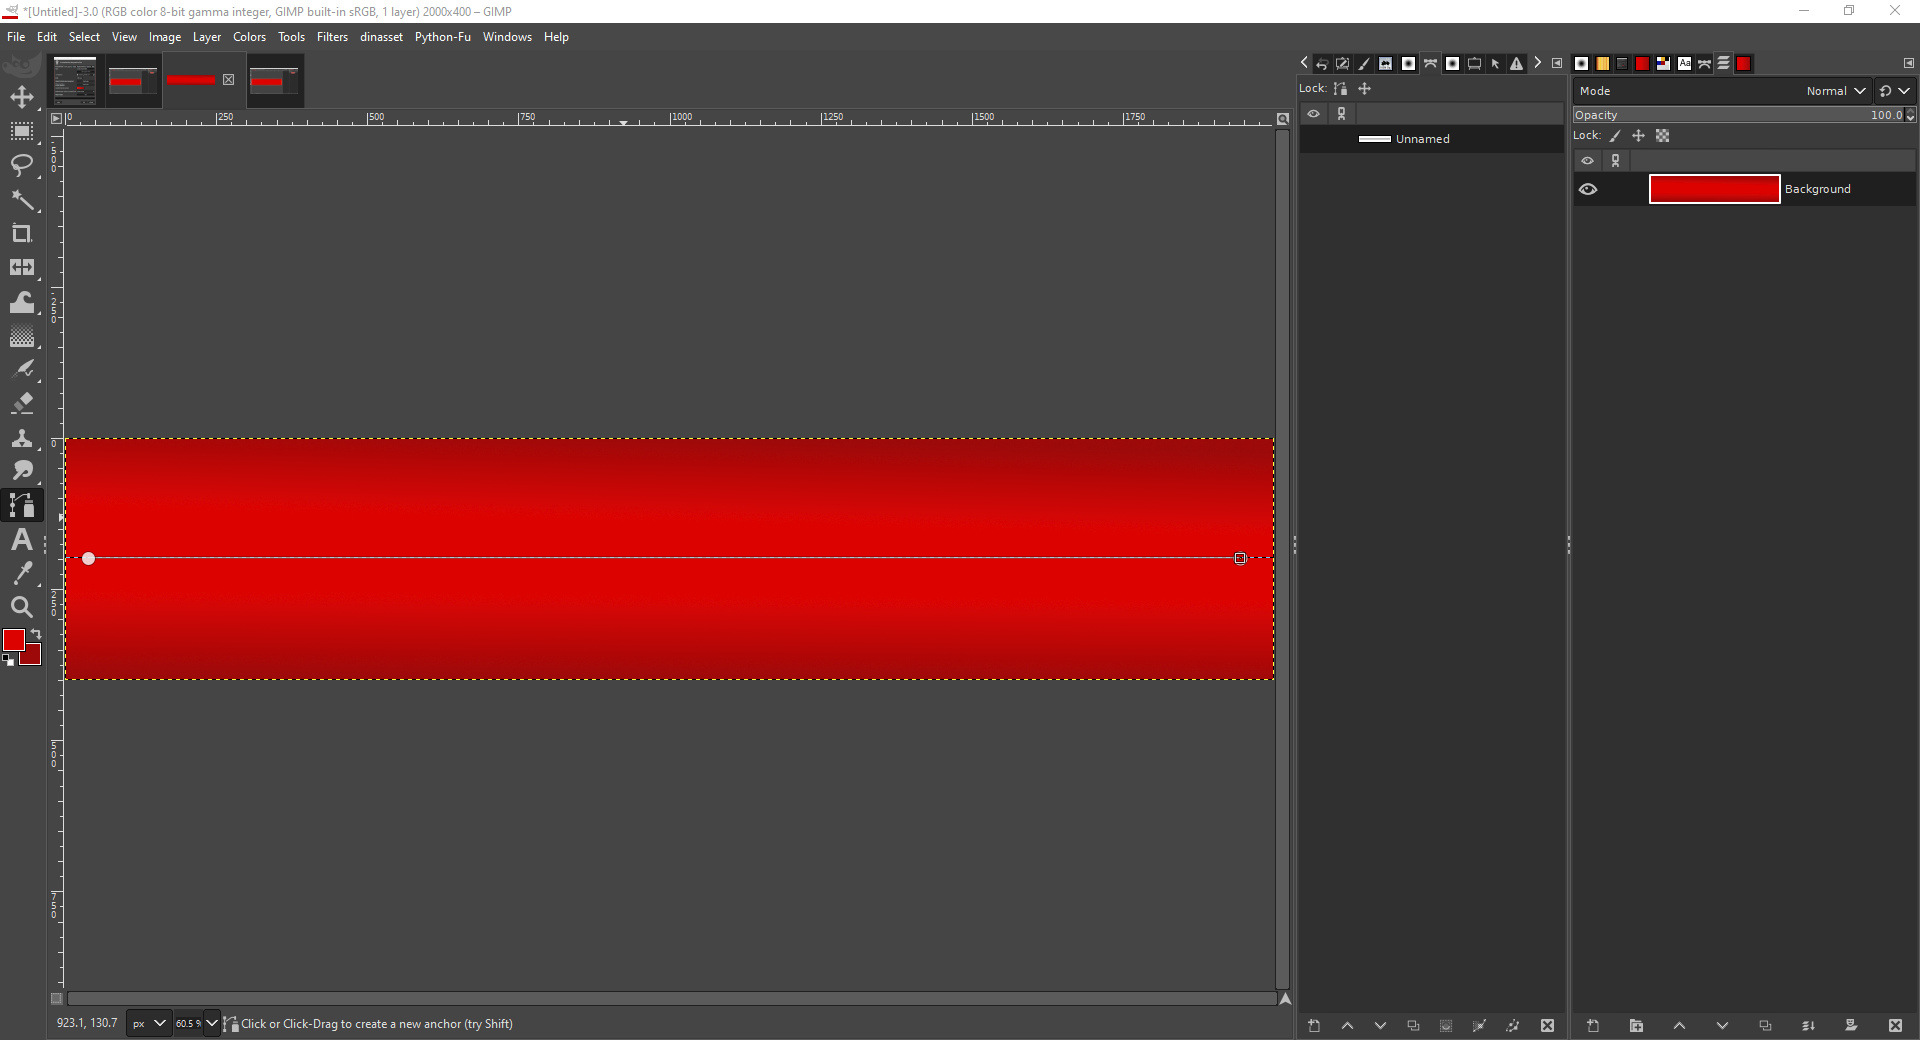
Rotating Text StyleUsing FontSlab to create characters that grow along a pathAdd a new image to Gimp (mine is 2000x400 px).
File>>New… (Ctrl + N)Create a suitable background but bear in mind the colour of the characters that you wish to add.
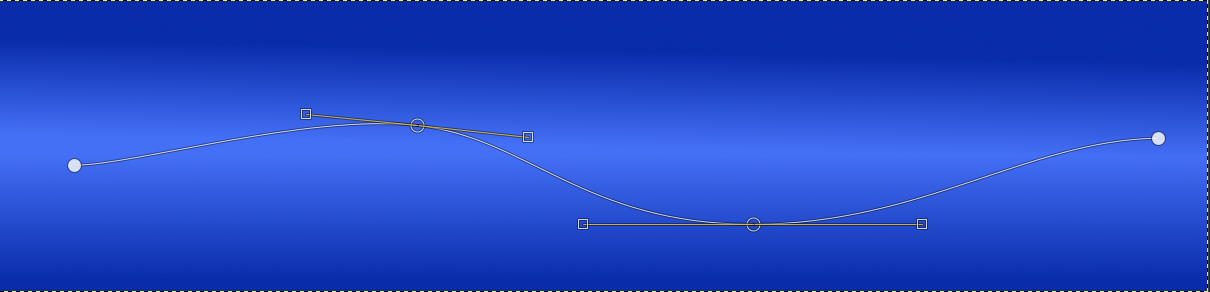
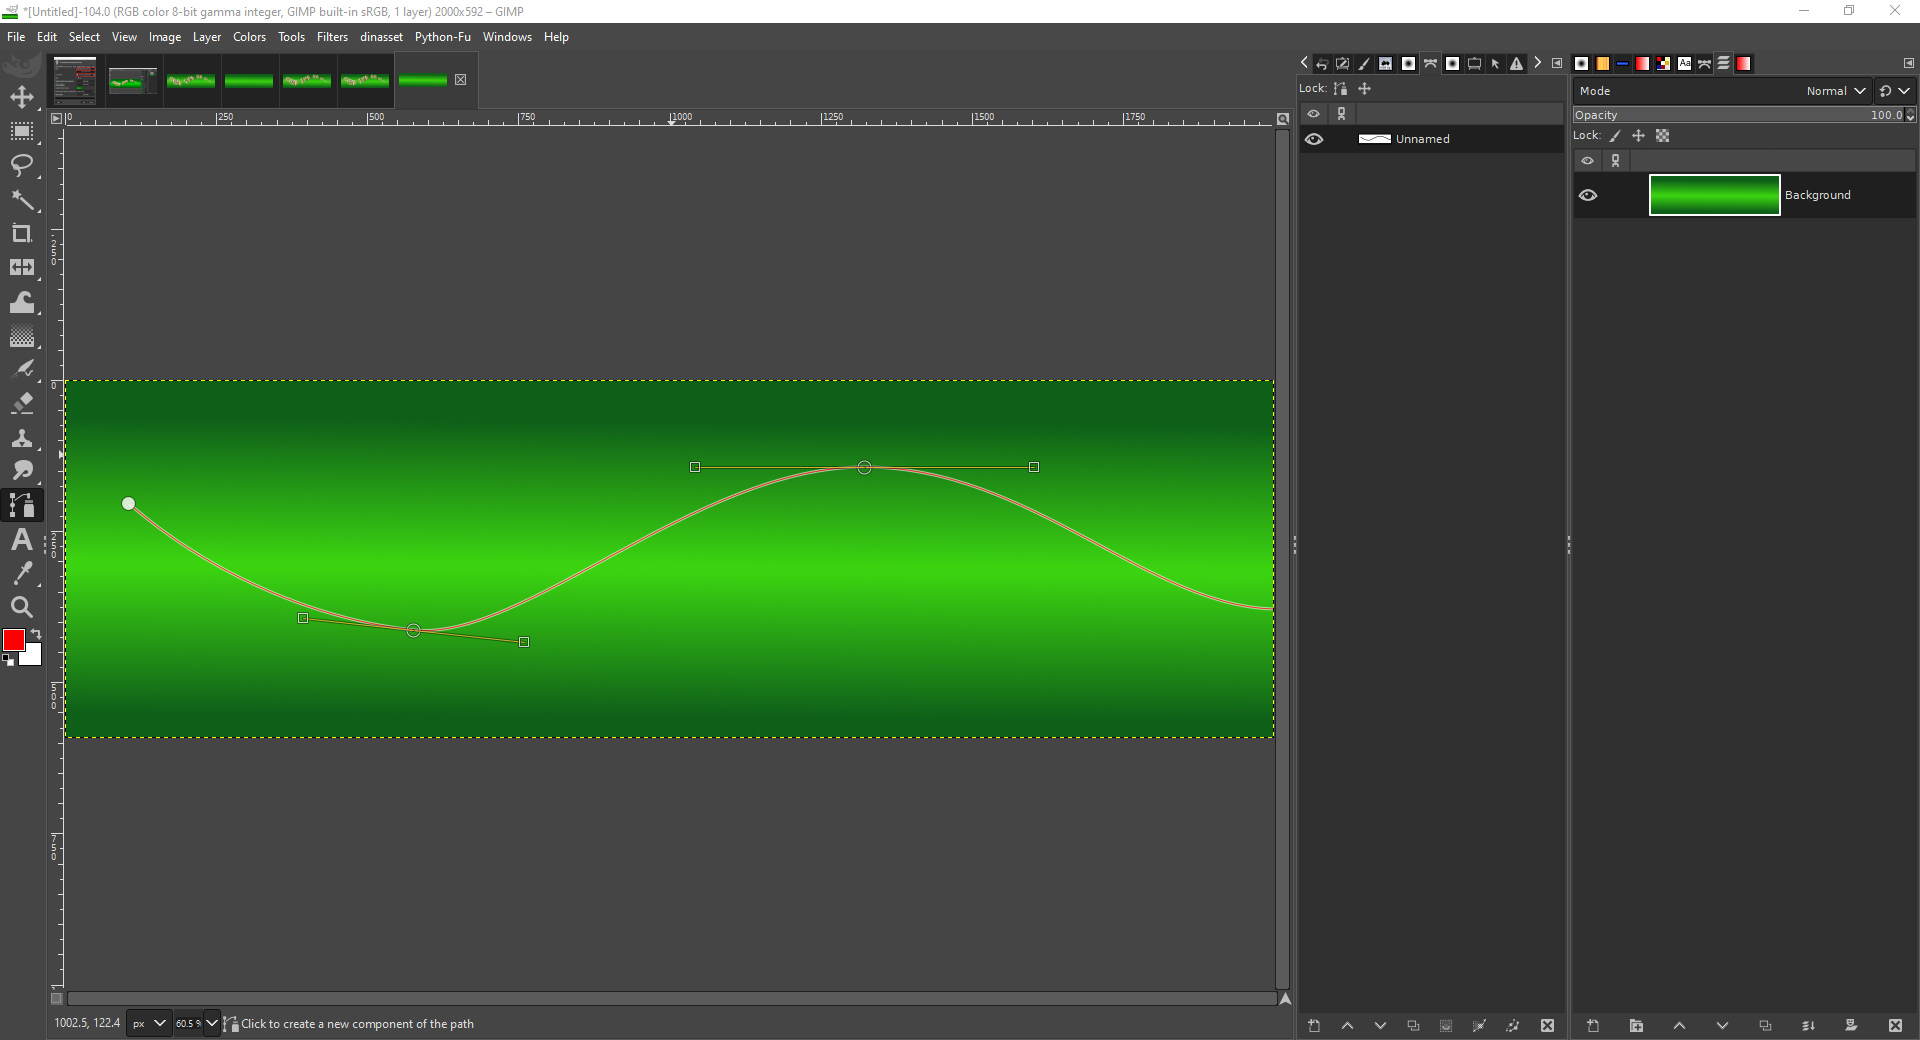
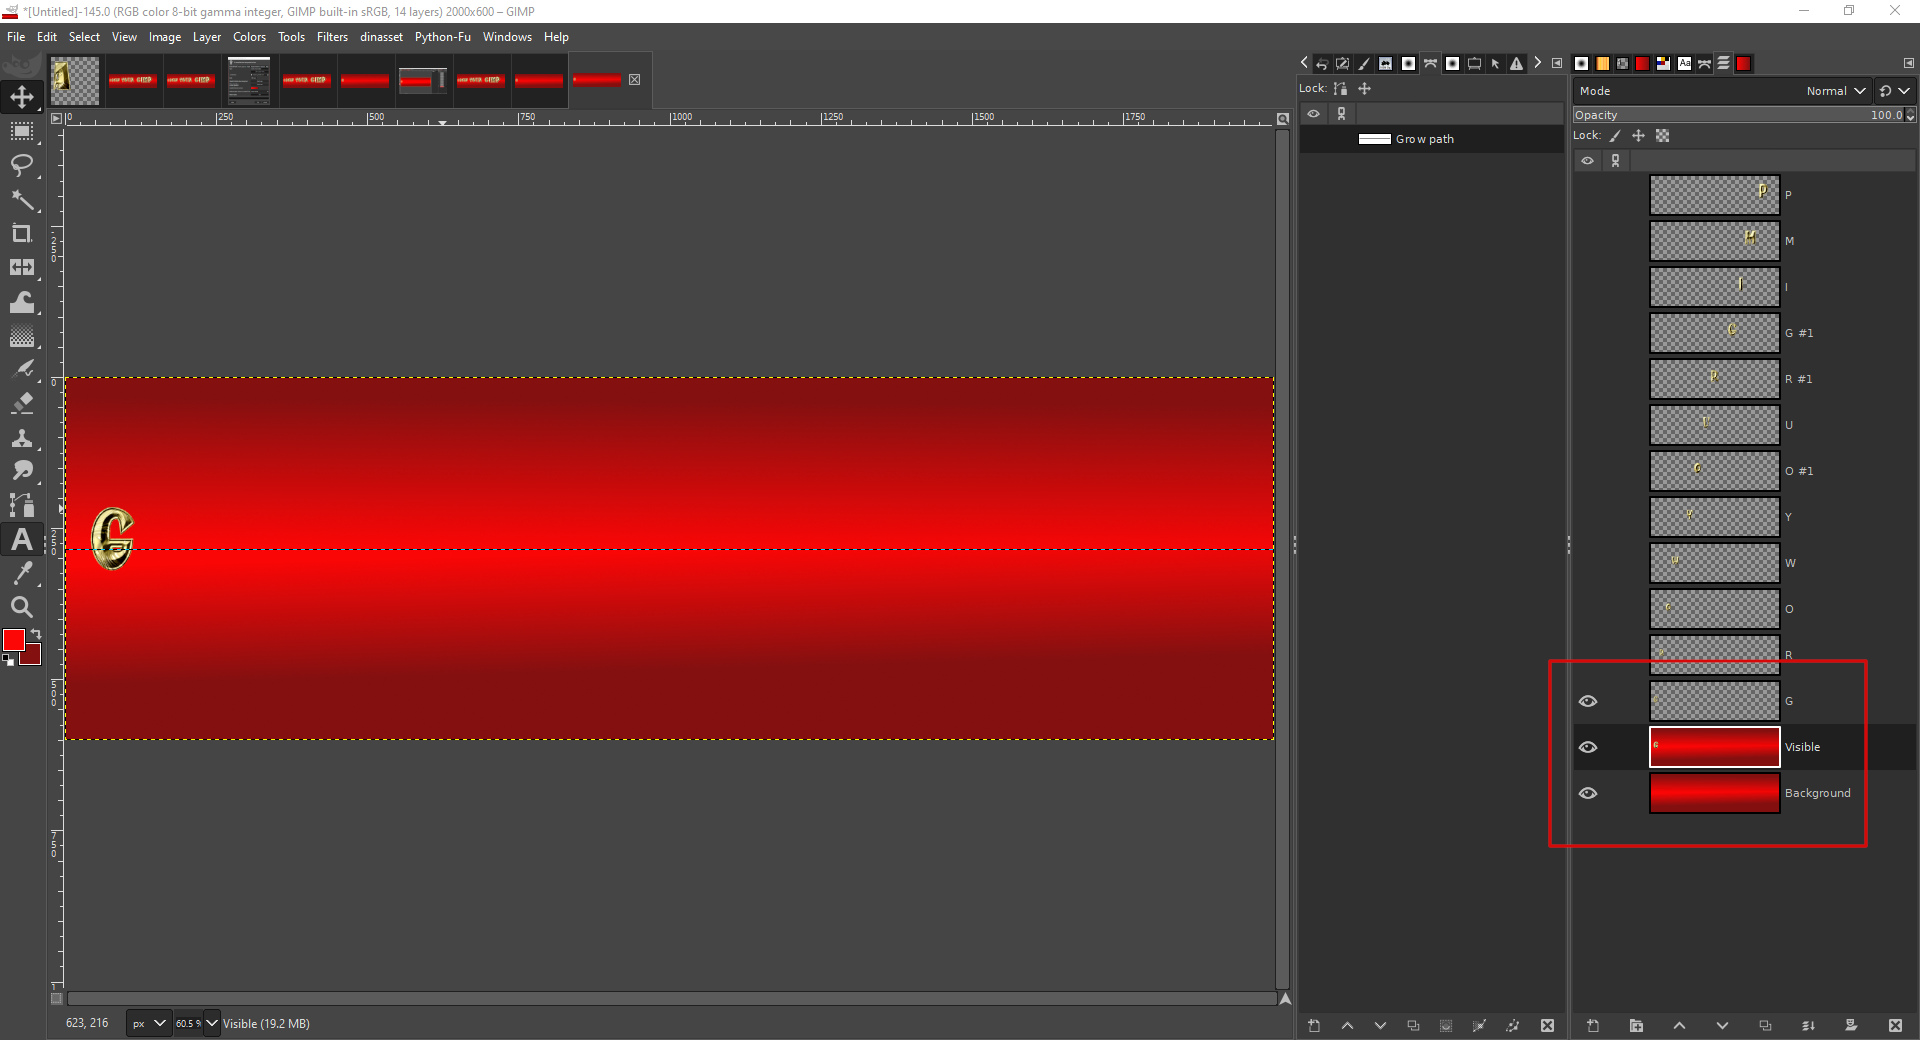
Add a path to the image
(Ctrl + B); you can add a gently curving path if you wish. I added a guide and used this to help create a straight path.
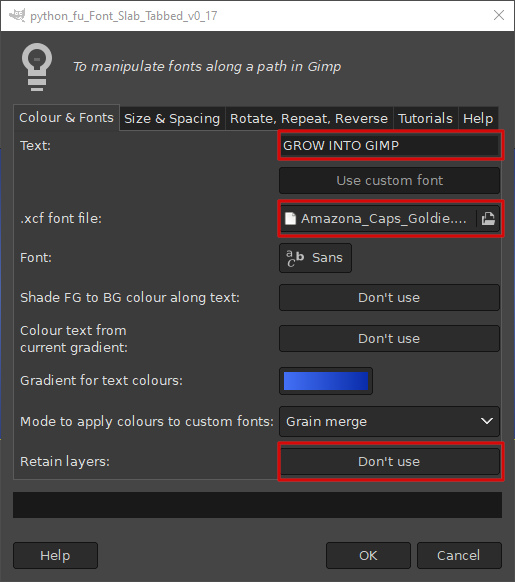
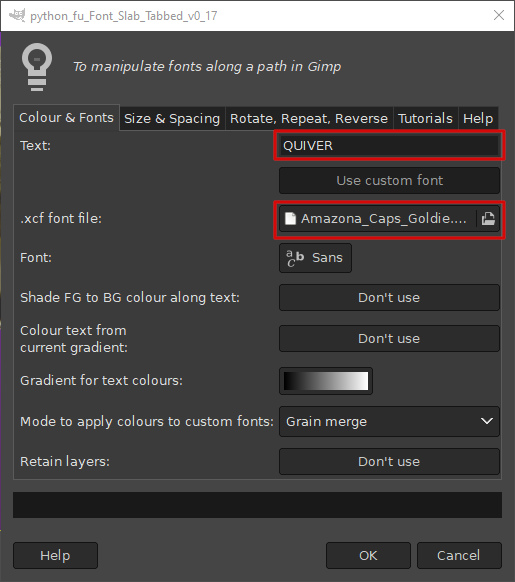
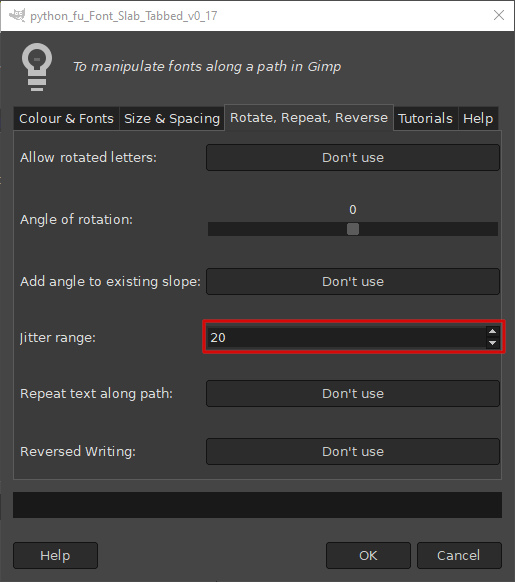
Call up the FontSlab plug-in:
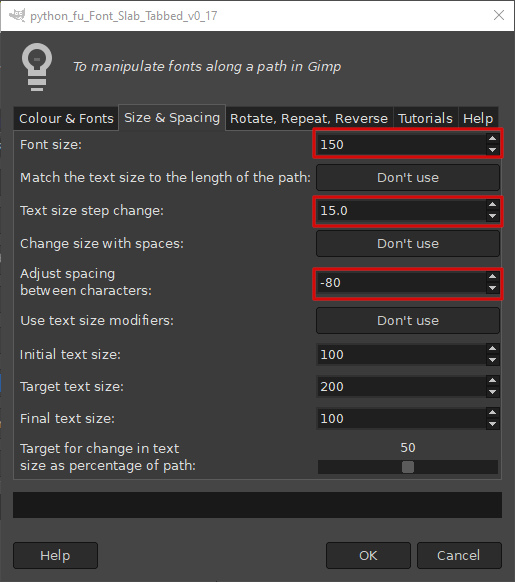
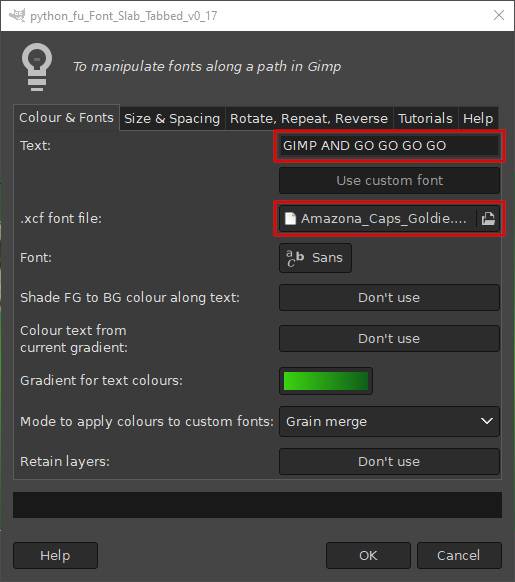
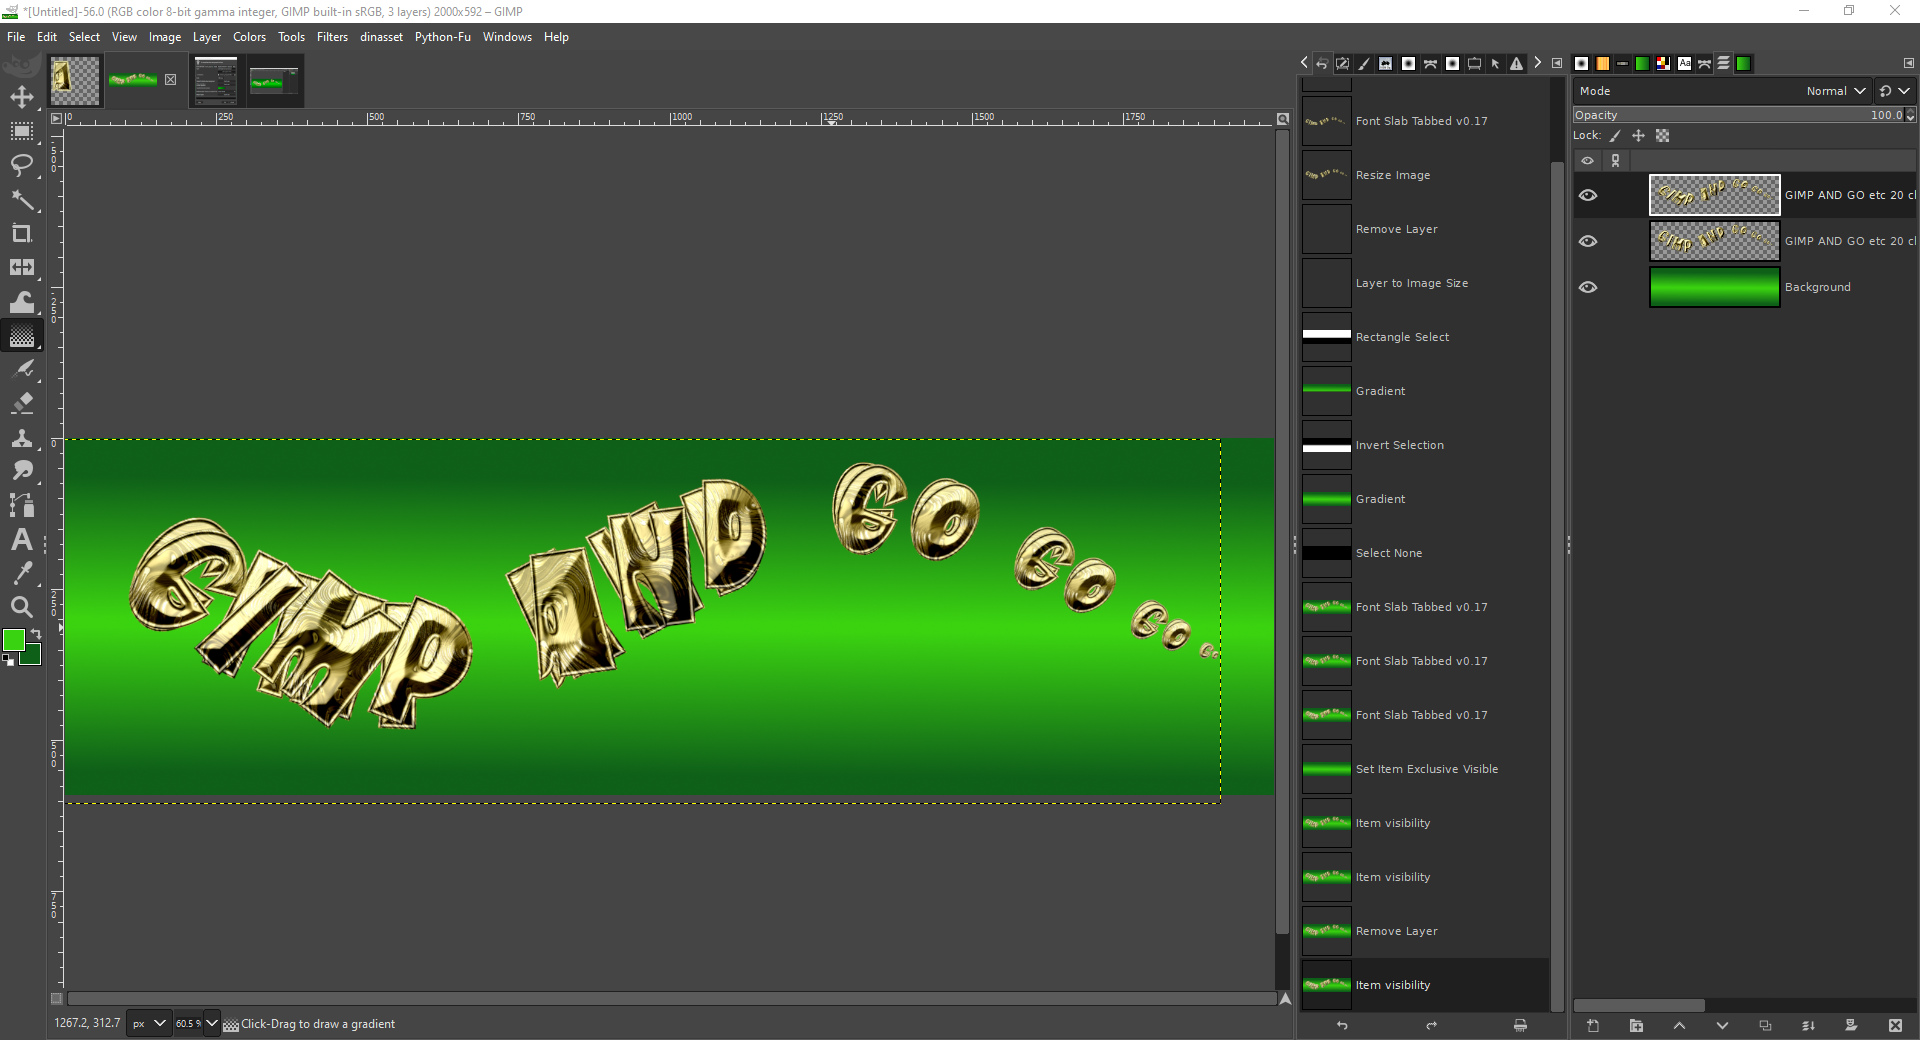
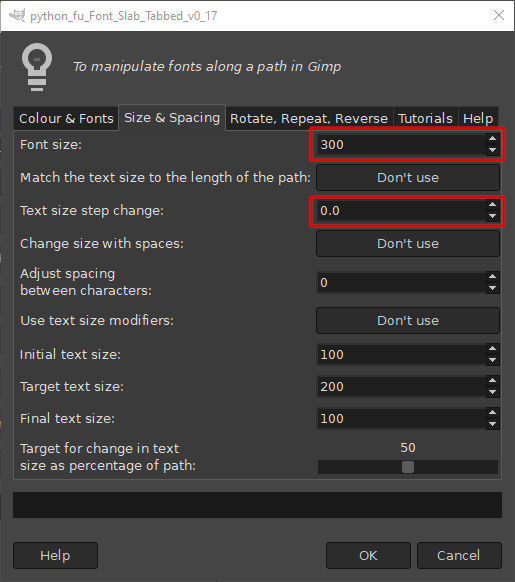
Filters>>Custom Fonts>>Using Tools>>Font Slab Tabbed v0.17…Use the first tab to select the custom font (you could use a normal font) to use and enter your text. Set the ‘Retain layers:’ option to ‘YES’.
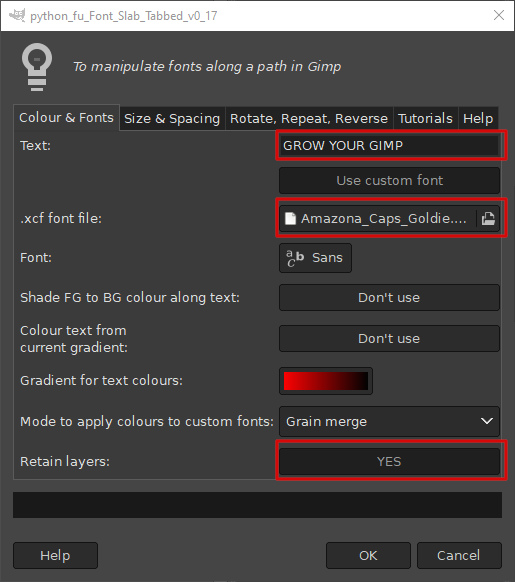
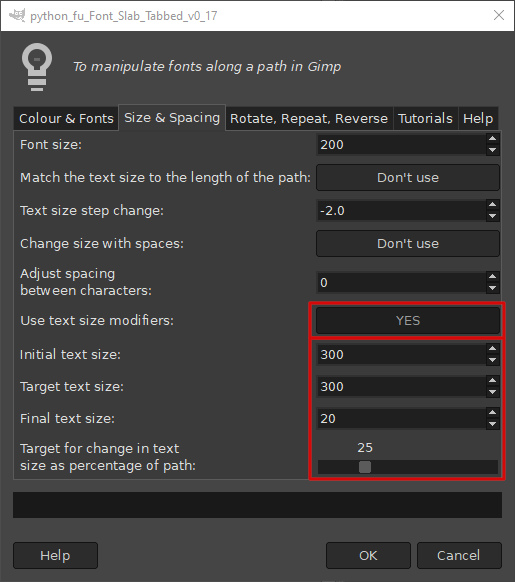
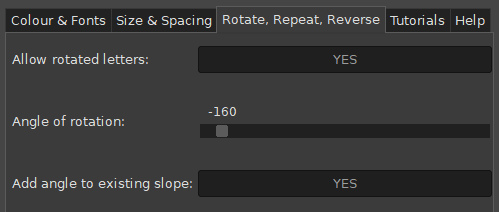
Use the second tab to set the initial font size and the size step change.
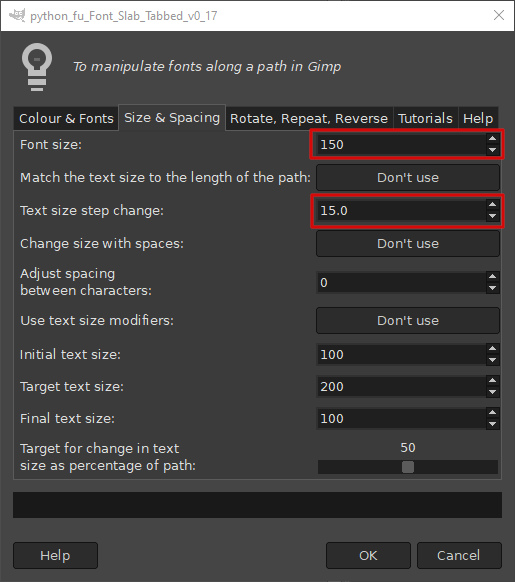
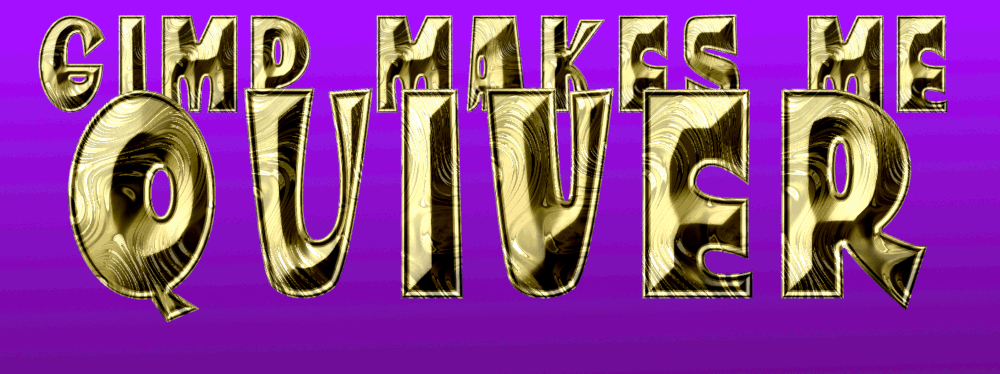
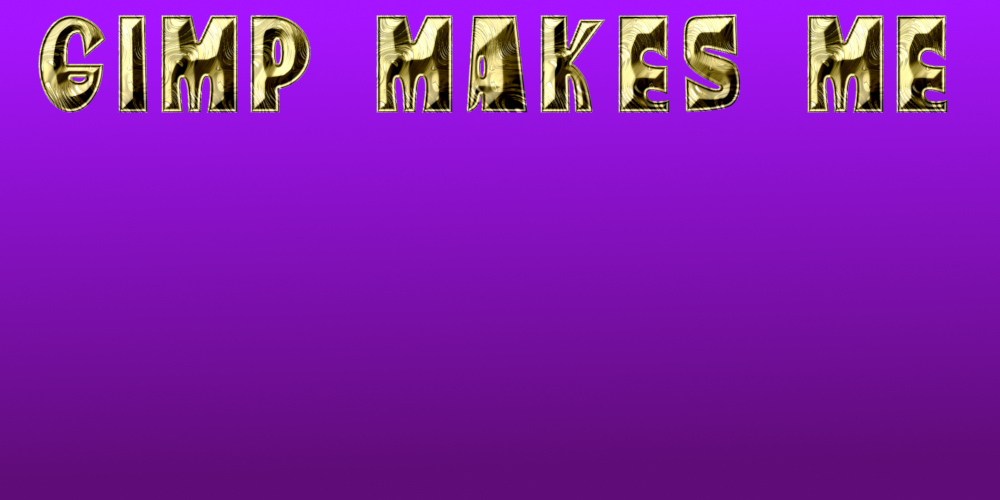
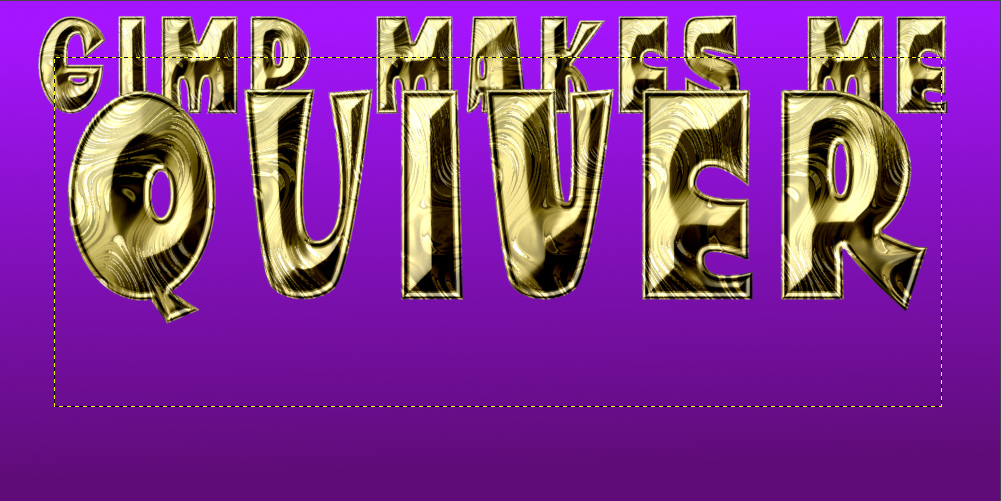
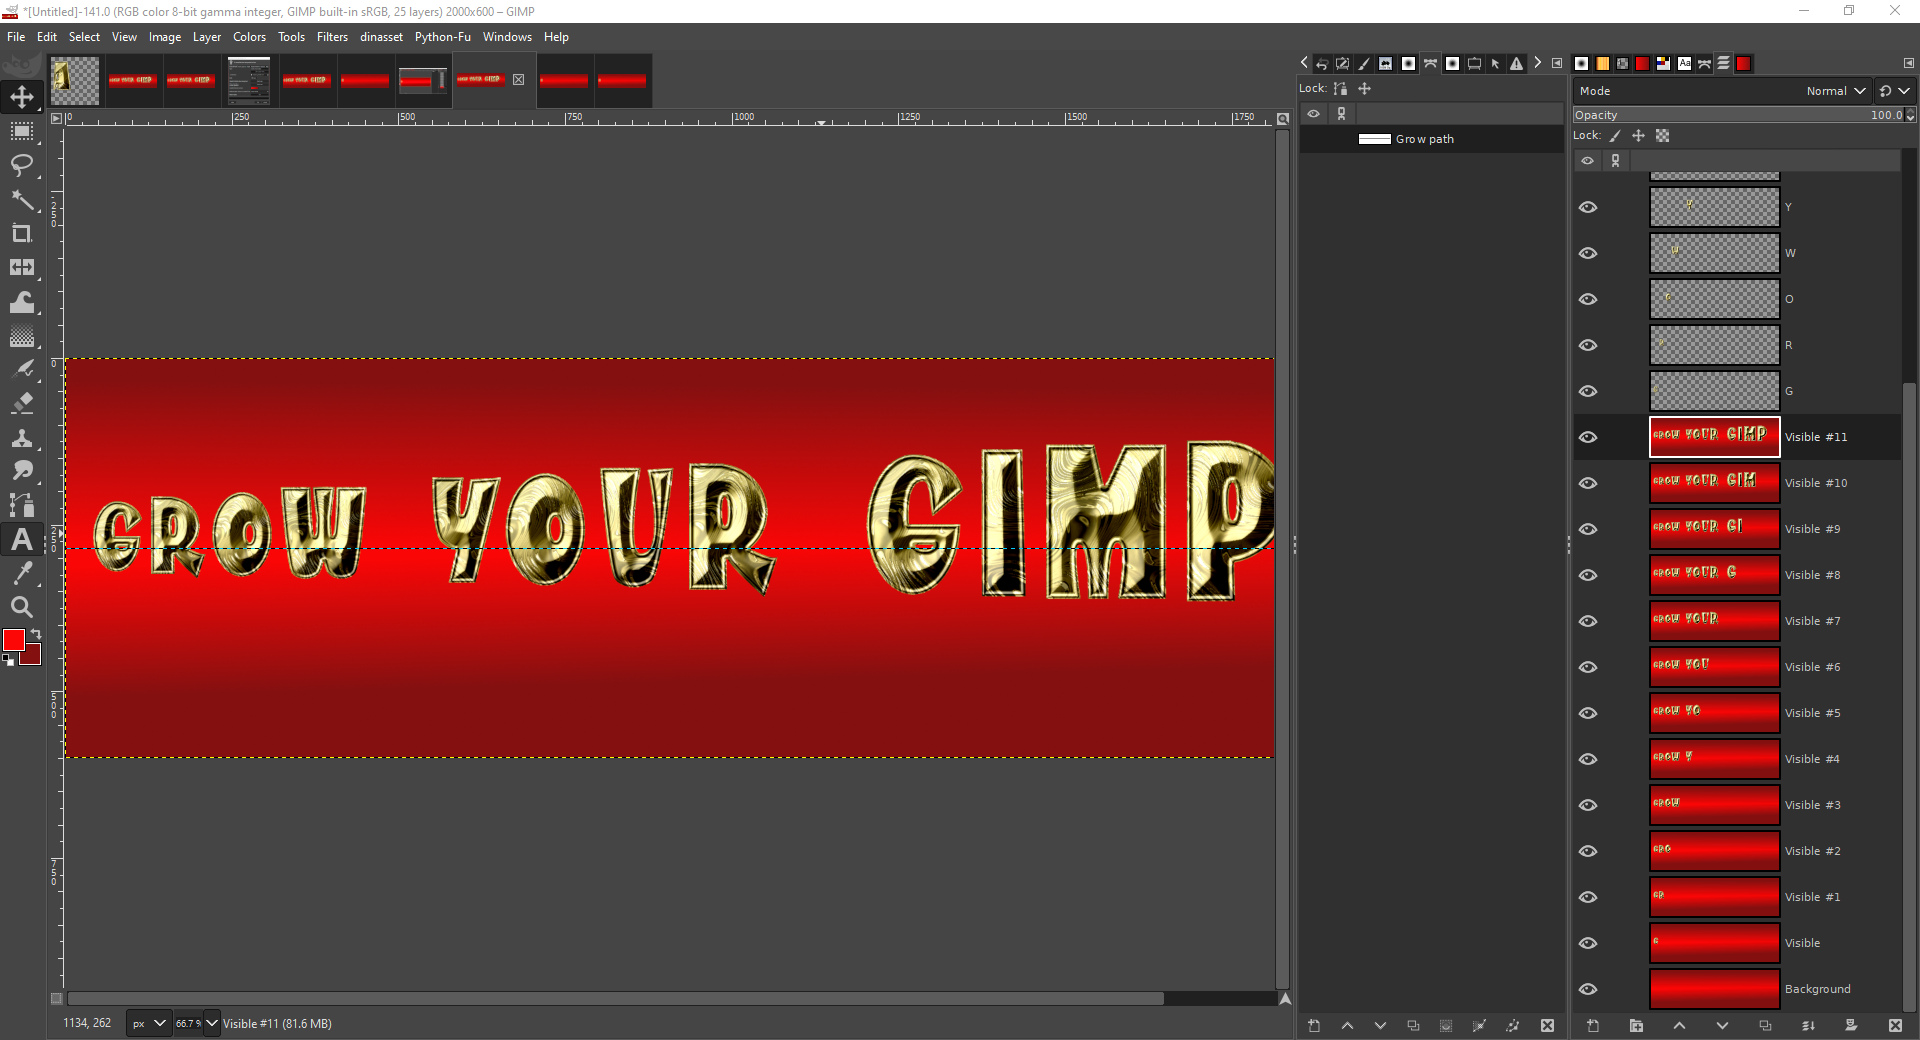
I want to place my custom font text (‘GROW YOUR GIMP’) along this path so that the characters will increase in size from left to right.
Click on the dialog ‘OK’ button to test out the settings.
NB You could also leave the ‘Retain layers’ option set to ‘NO’ to see the effect of your choices and then undo the filter results before re-applying the settings with the option set to ‘YES’.
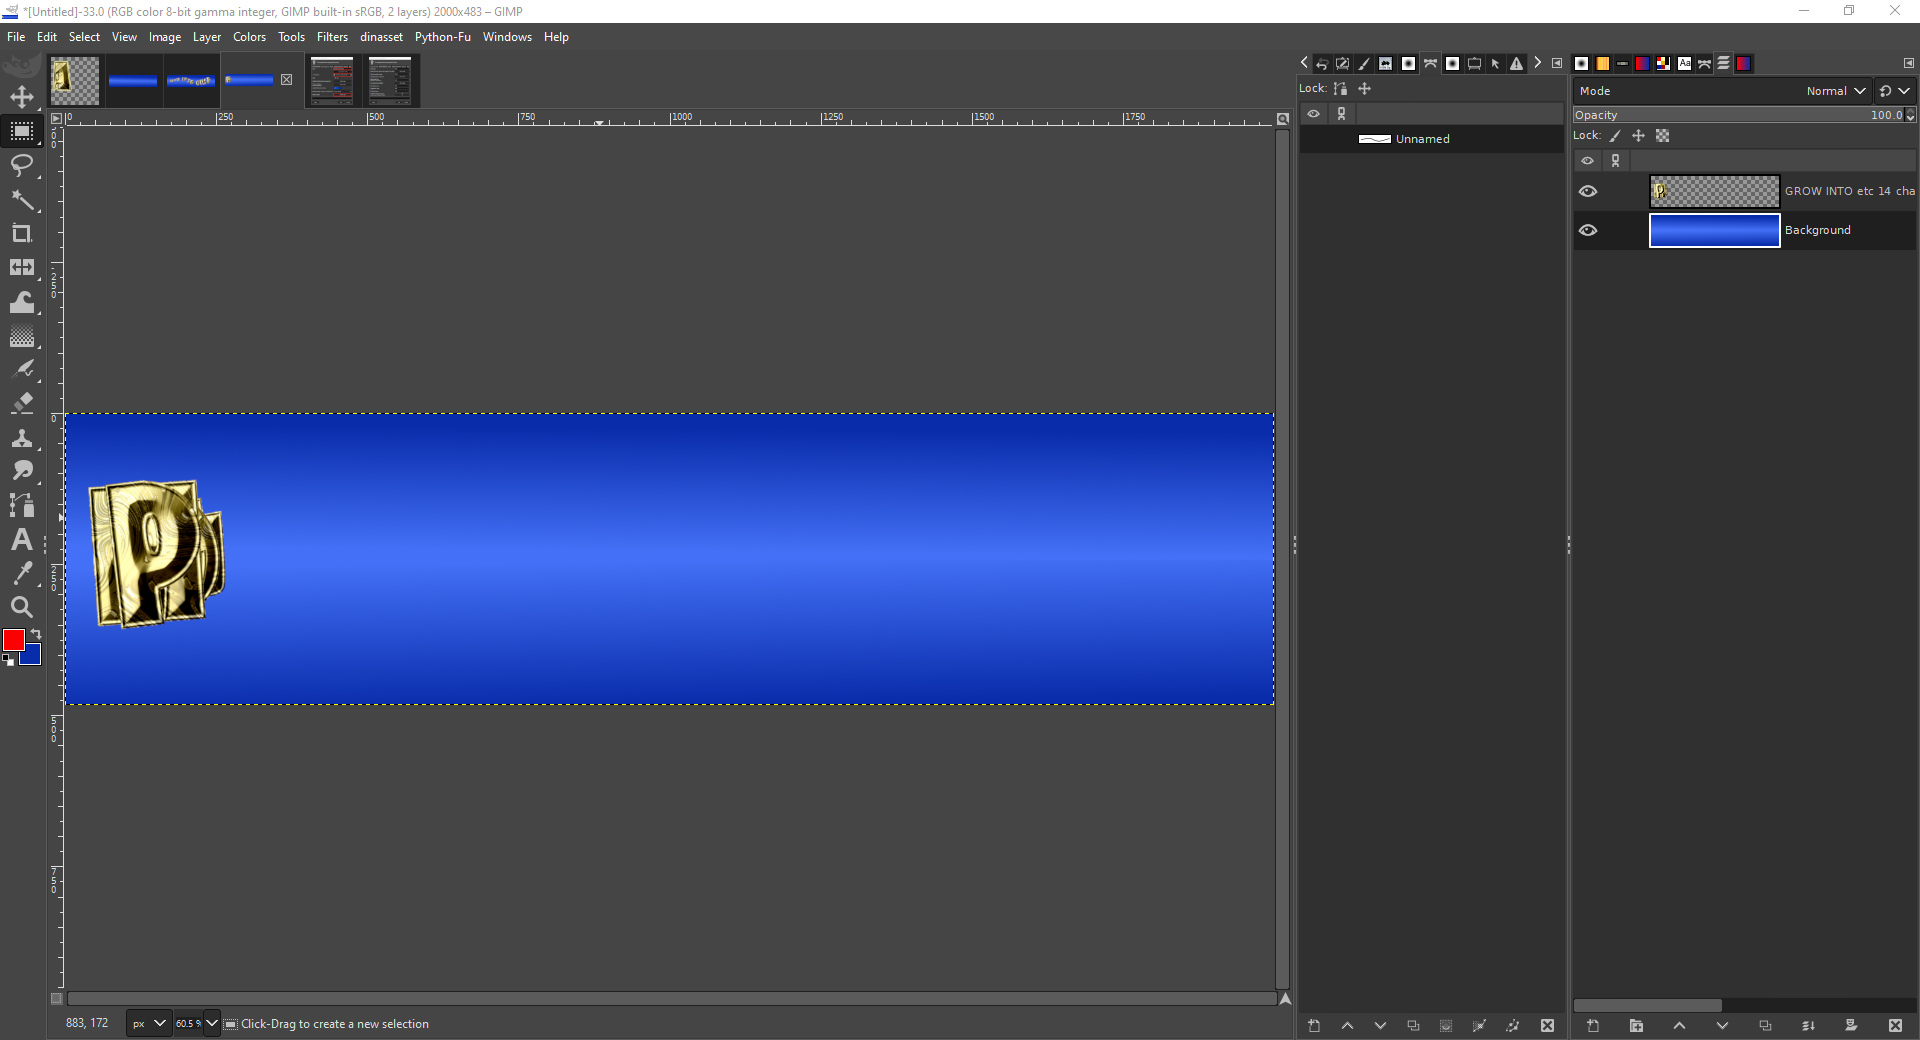
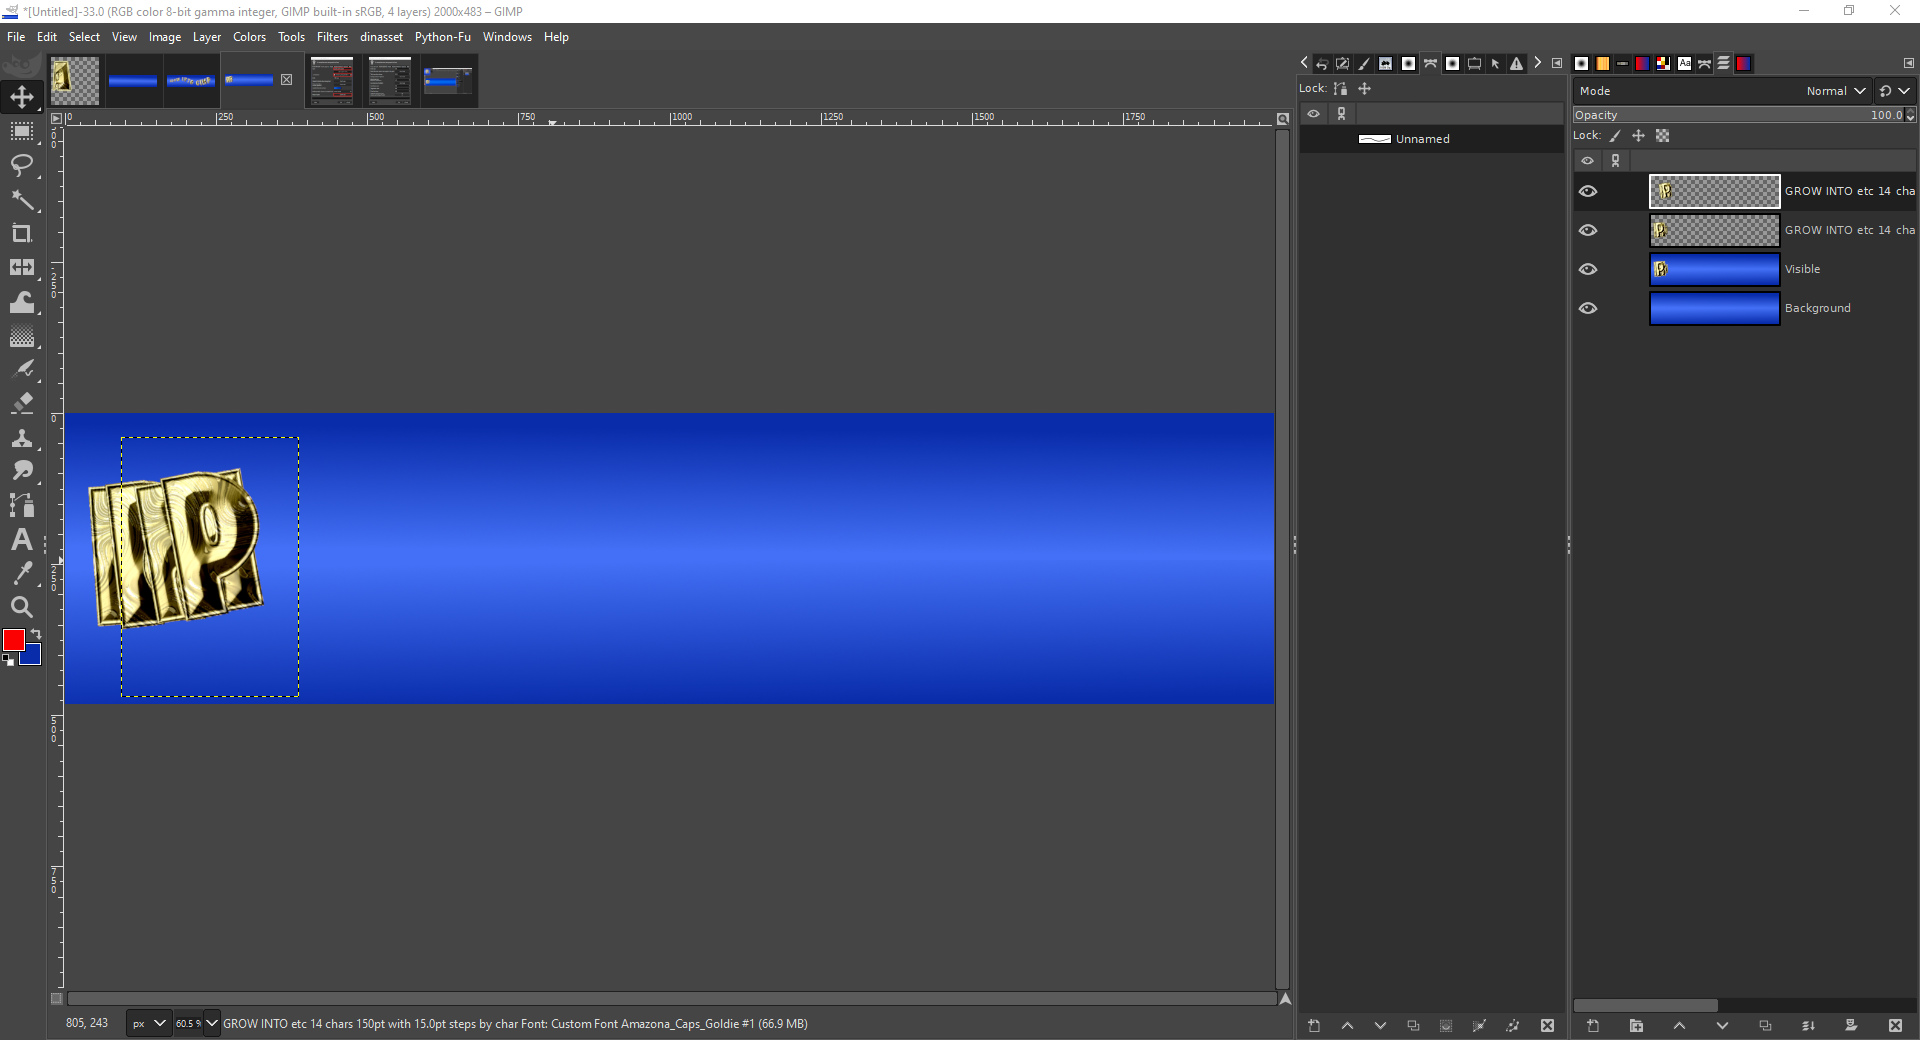
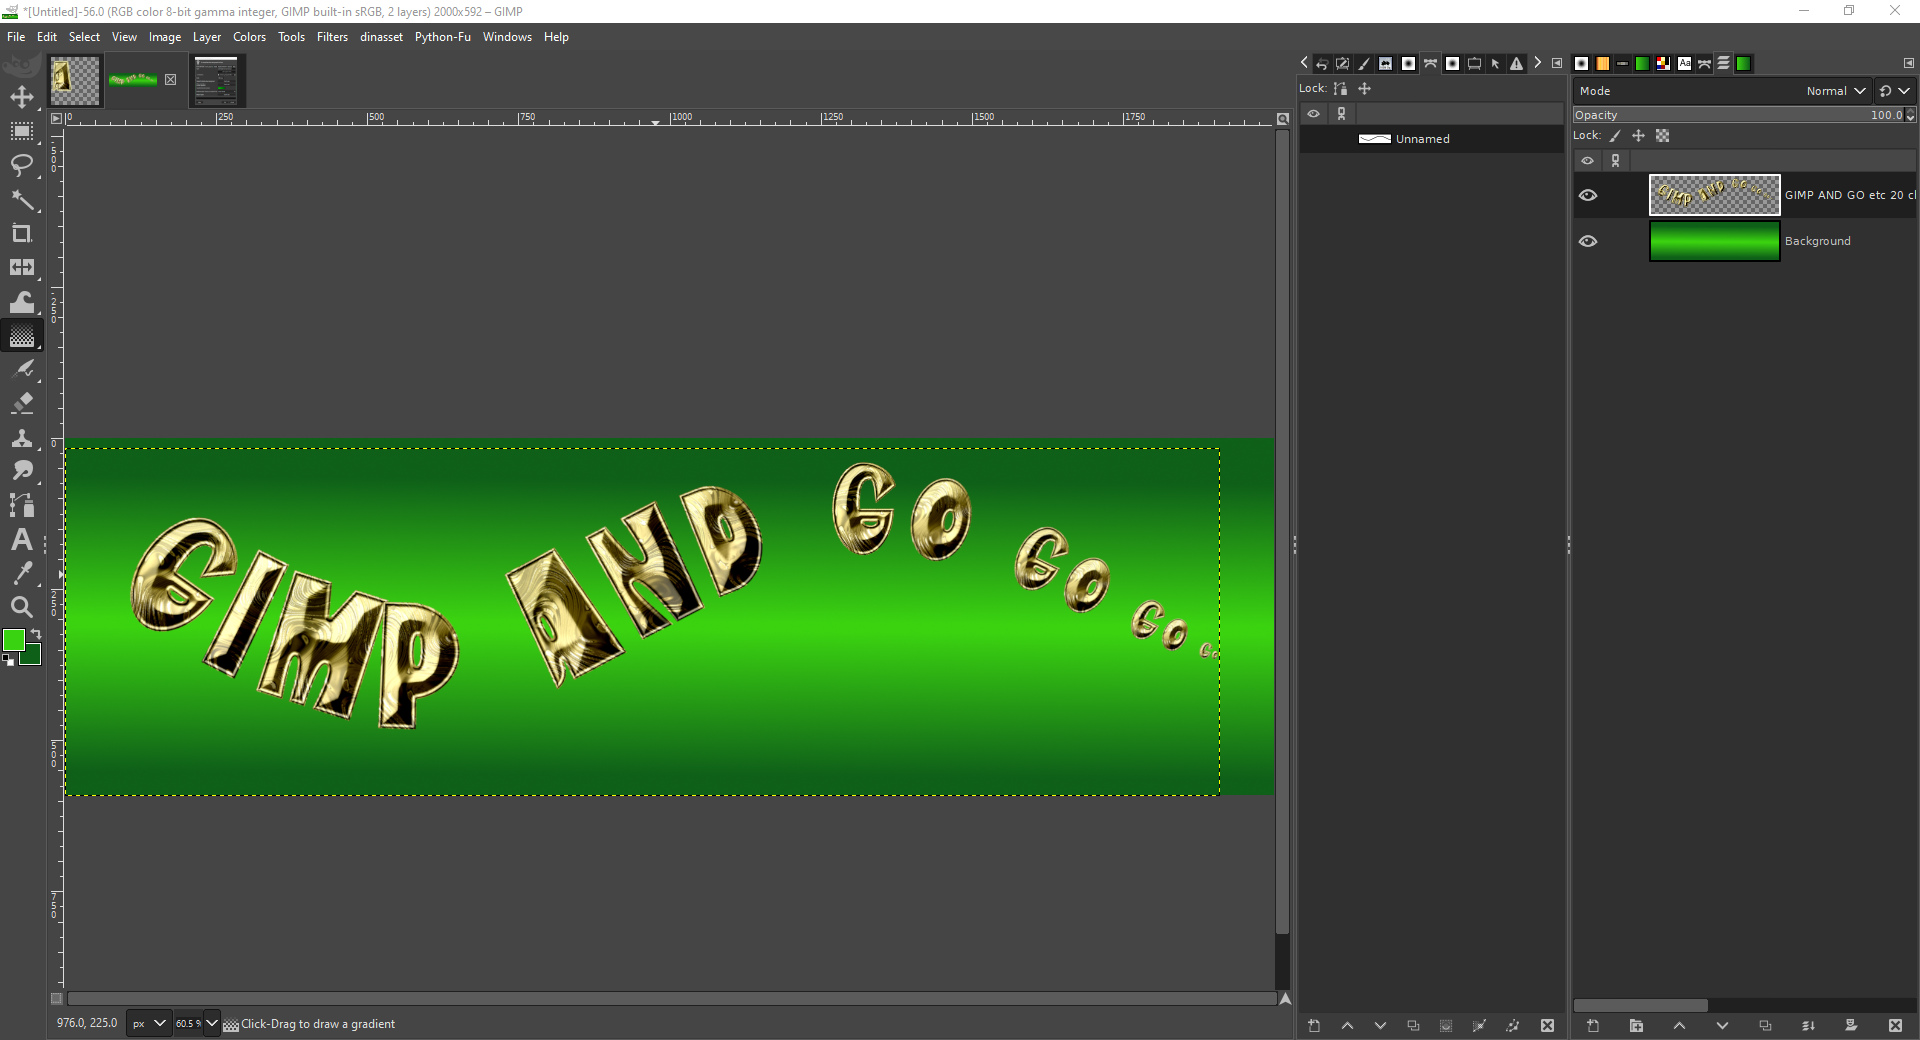
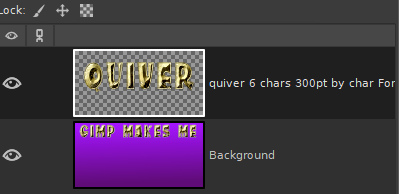
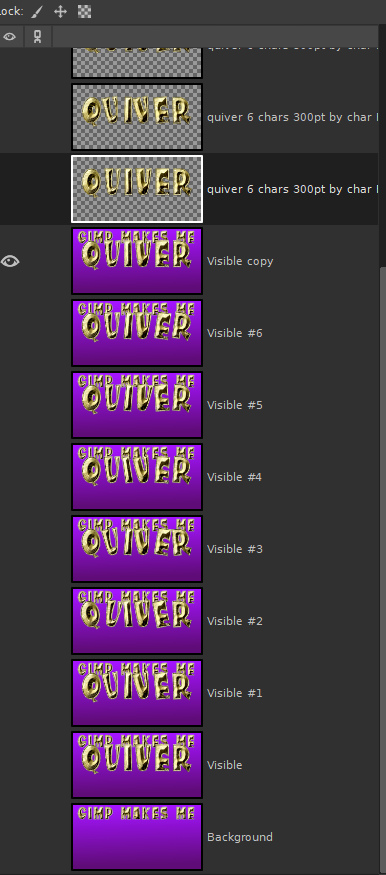
The results of the filter with my settings; you can see the background layer and all twelve distinct character layers (Fontslab obviously doesn’t render the space character).
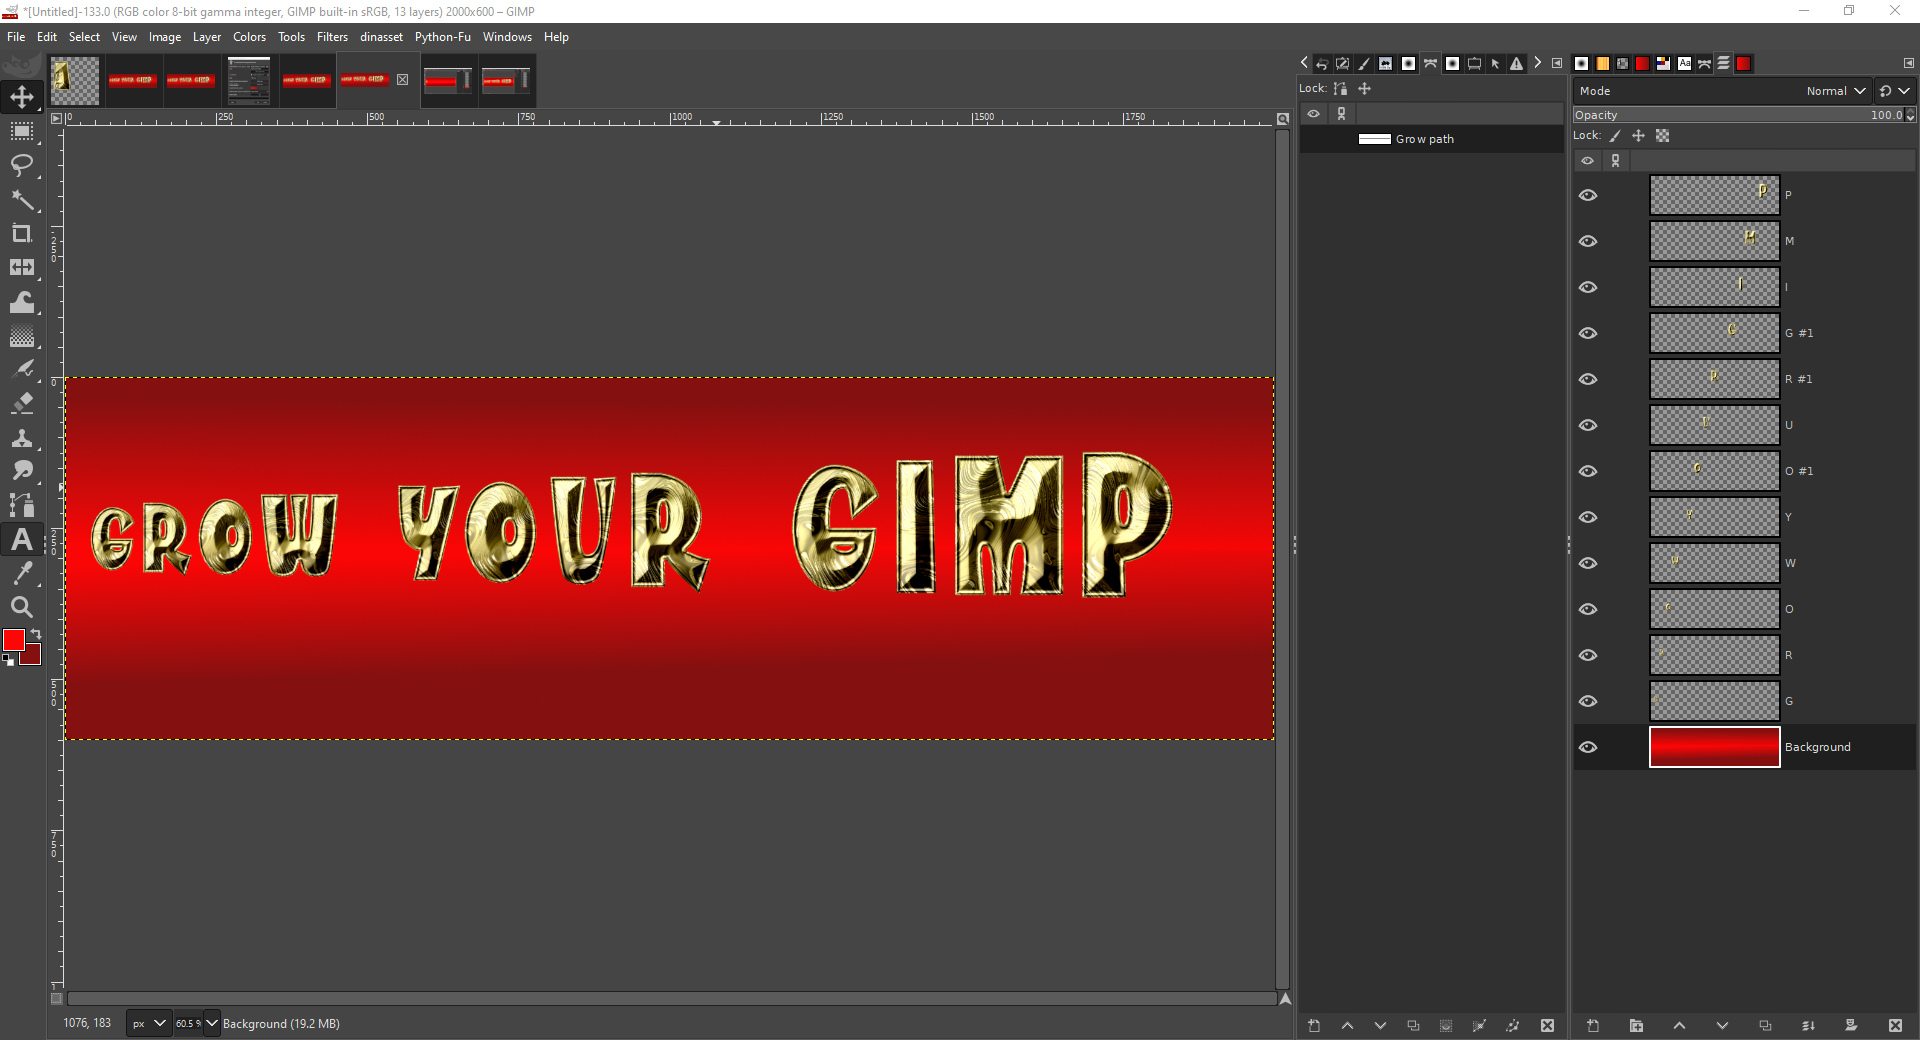
Since I am going to use these layers to create a Gif animation, I need to combine a copy of the background layer with each of the character layers before running the animation.
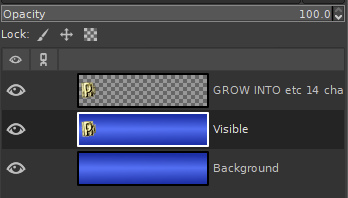
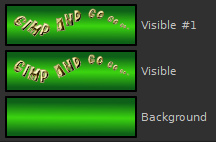
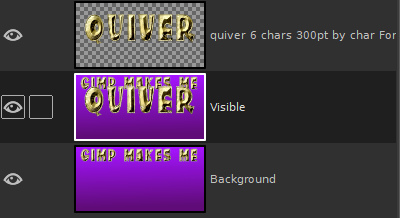
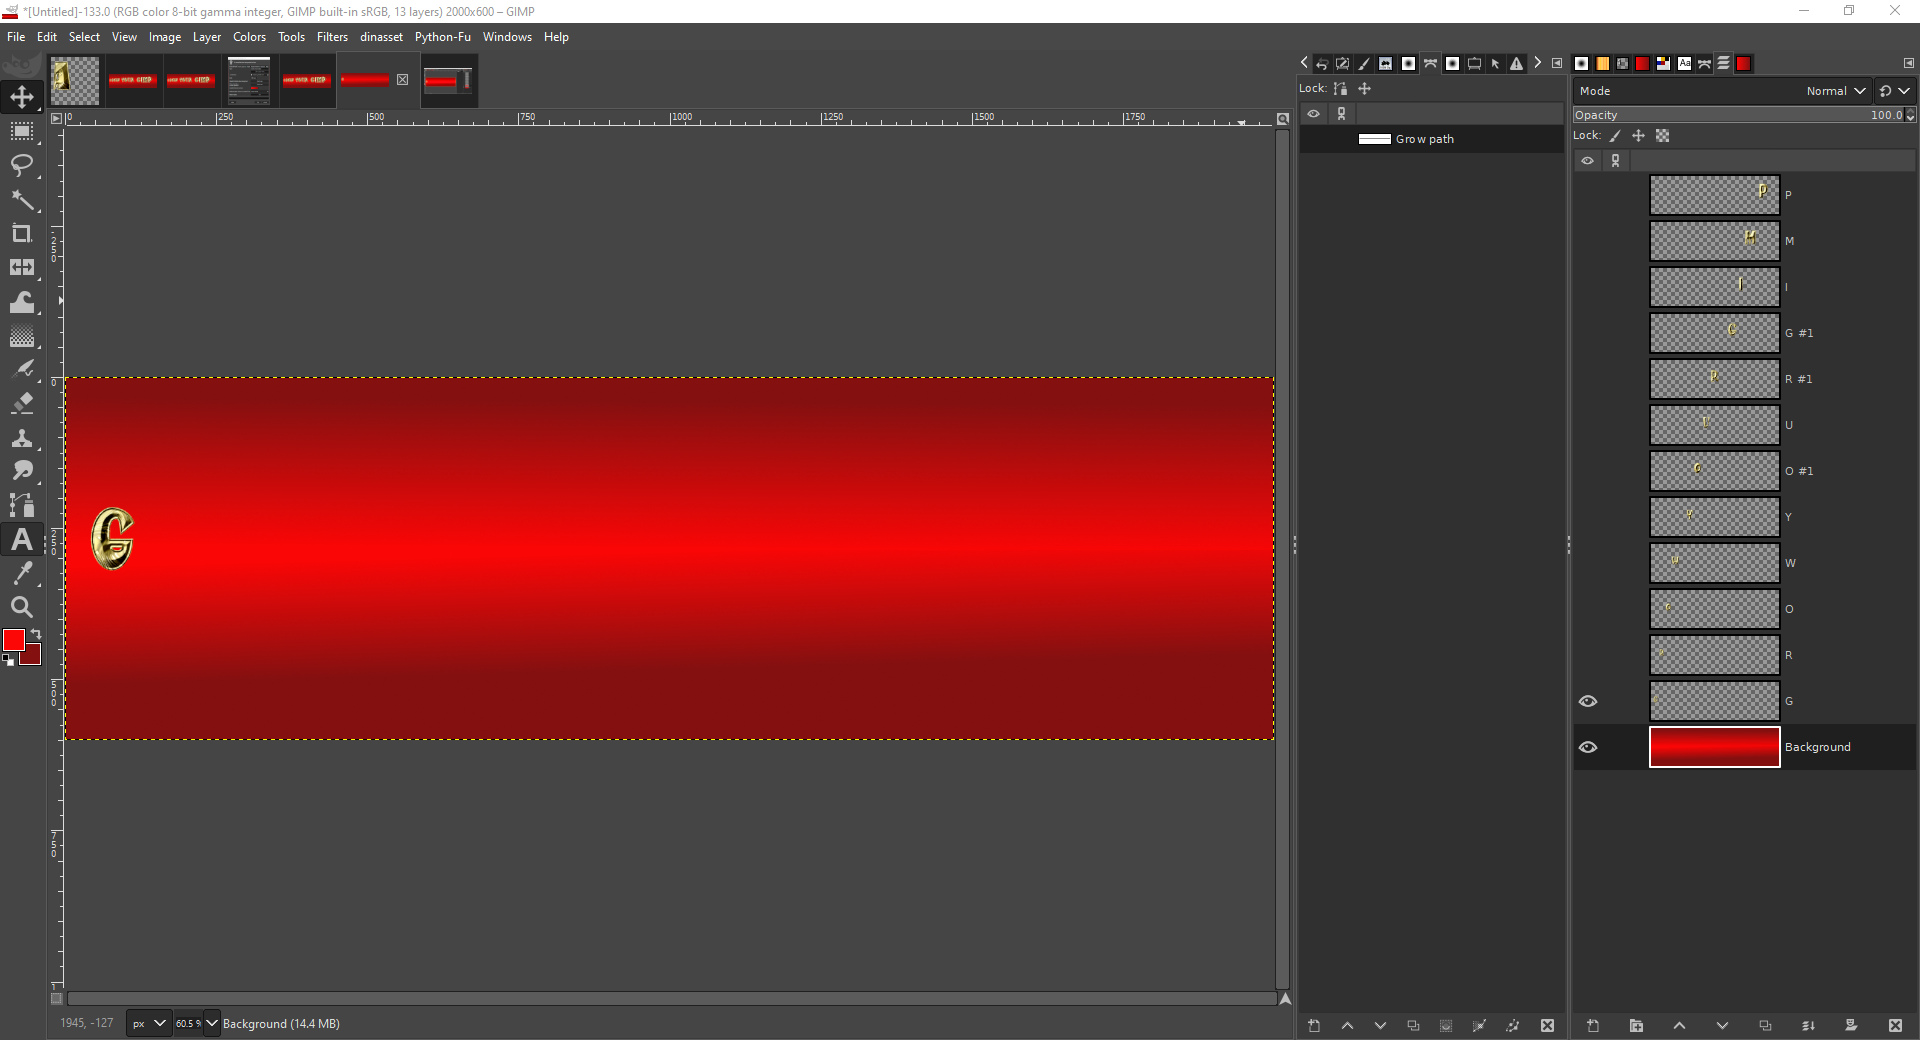
SHIFT select the background layer over its ‘eye’ to make it the only layer visible.
Make the first character layer visible by clicking over that layer’s eye in the layers tool dock.
Select the first character layer by calling the menu with the pointer over that layer
Select ‘Copy visible’ from that menu.
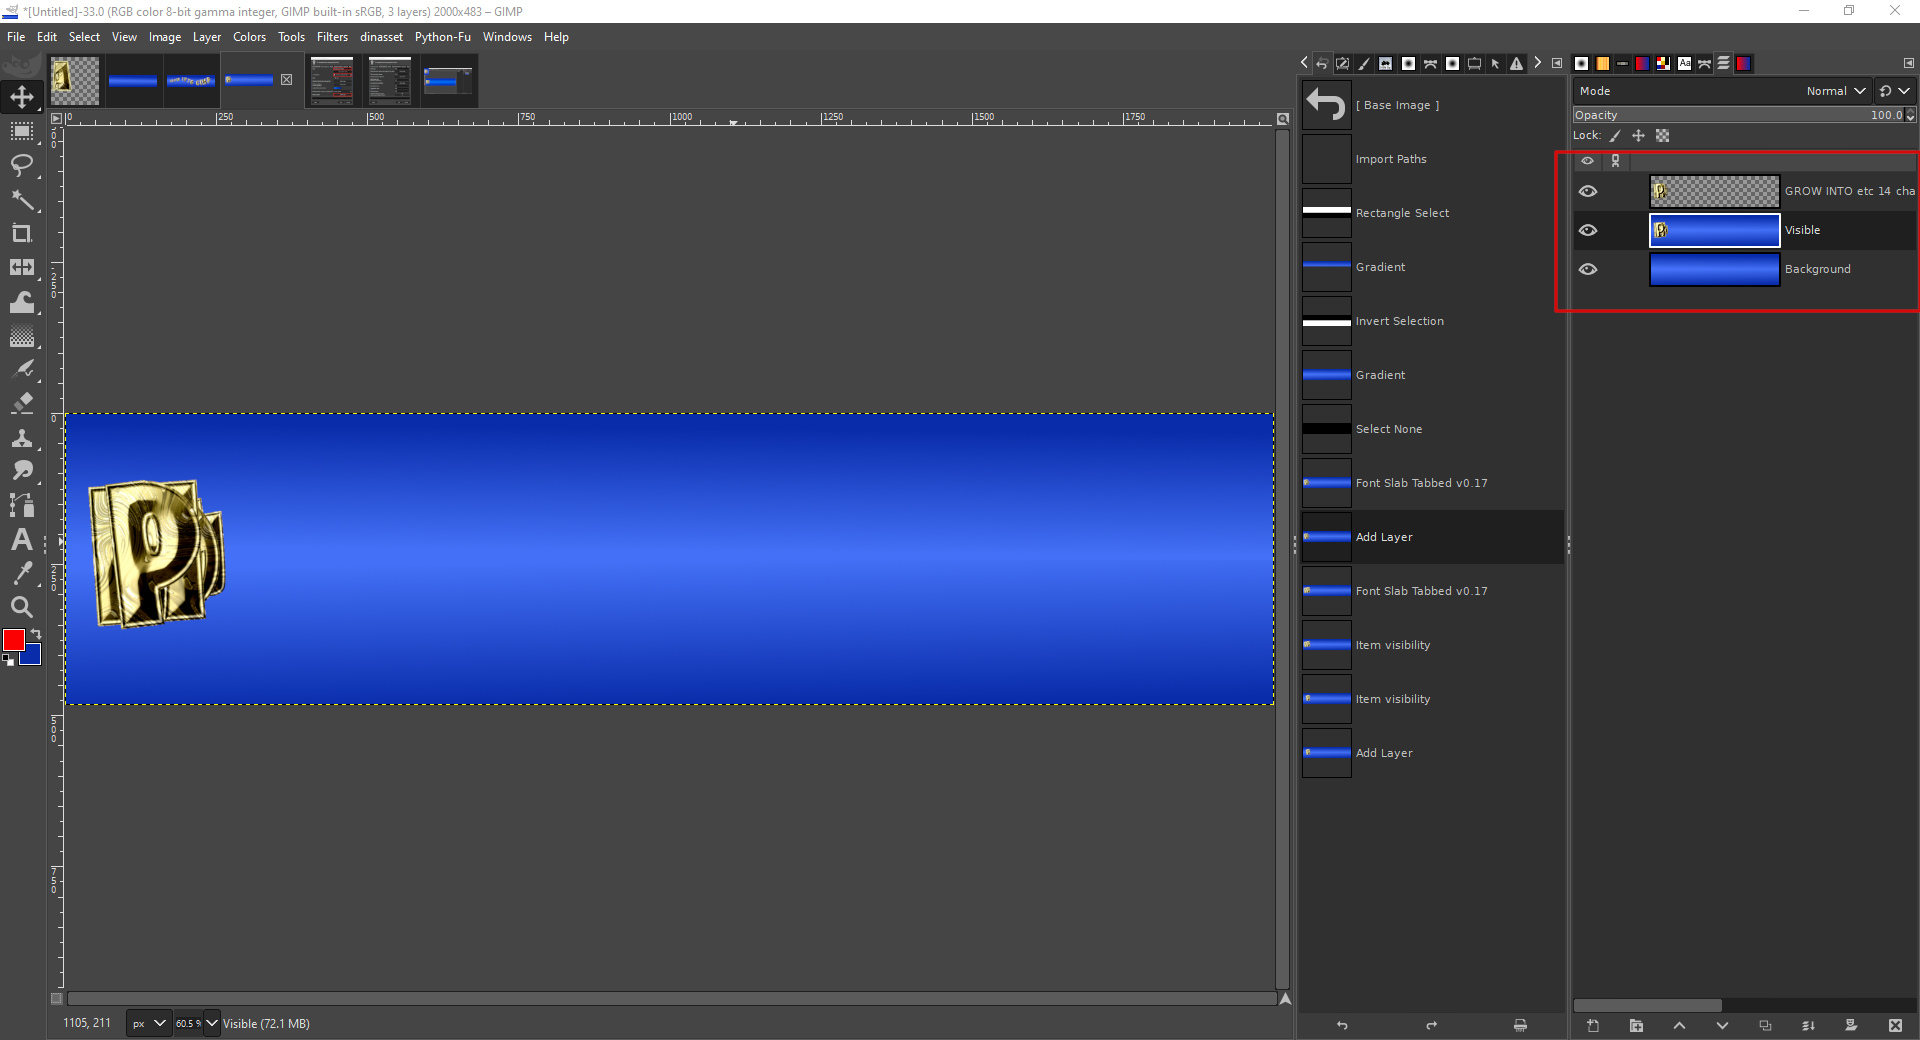
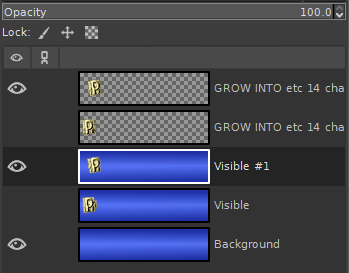
You can speed up your workflow by using a keystroke combination to create a new layer from the visible layers.
Turn off the visibility of the first character layer by clicking on its ‘eye’ and make the second character layer visible instead.
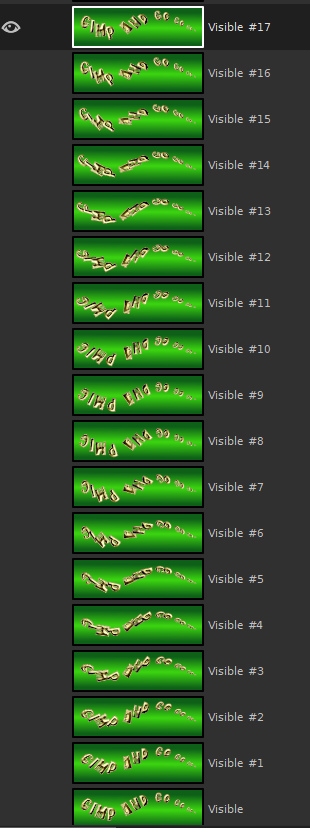
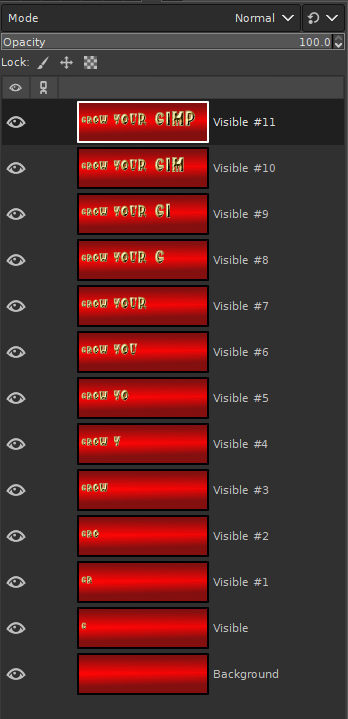
Use this process to add a new visible layer for each character and the recently created visible layer. The idea is to create a new layer that shows one more letter than the previous layer.
At the end of the process I had my twelve layers containing the characters and the background layer.
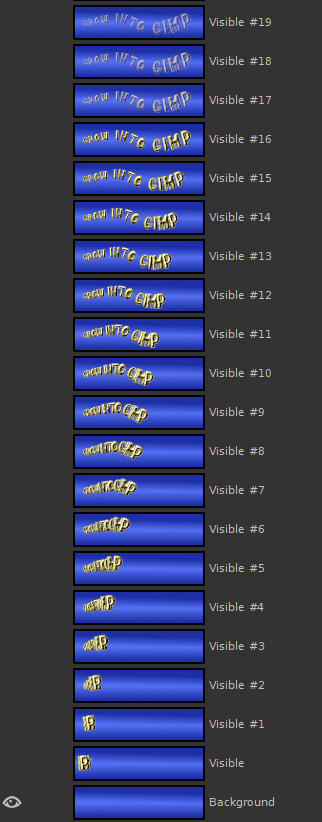
The next step is to delete the unwanted character layers without a background and end up with a more manageable list of layers to work with.
If you prefer to work on a copy of the file, just in case of mistakes, you can always do this with:
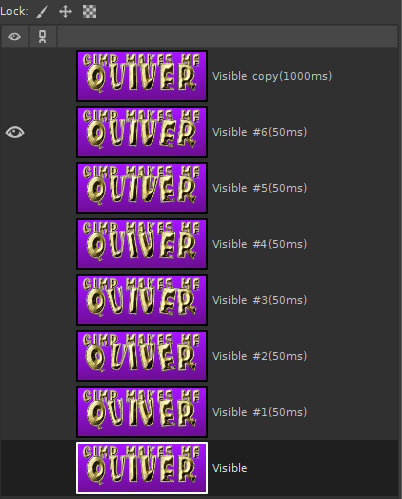
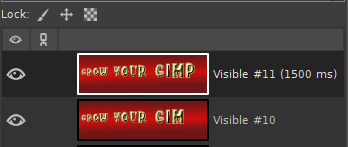
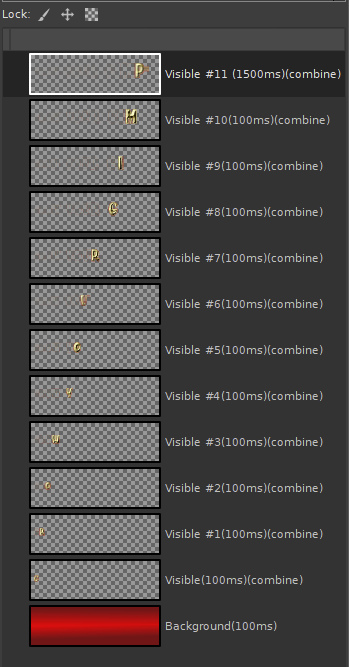
Image>>Duplicate (Ctrl +D)Note the renaming of the top layer by adding (1500ms) to the layer name in order lengthen the playback time used for this frame layer:
Time to play the animation with:
Filters>>Animation>>PlaybackThis provides an idea of how the animated banner will run, although the file really needs optimizing to reduce it in size, before saving as a gif.
To reduce the filesize of the gif use:
Filters>>Animation>>Optimize (for GIF)The layer dock below gives an idea of the changes made by optimizing.
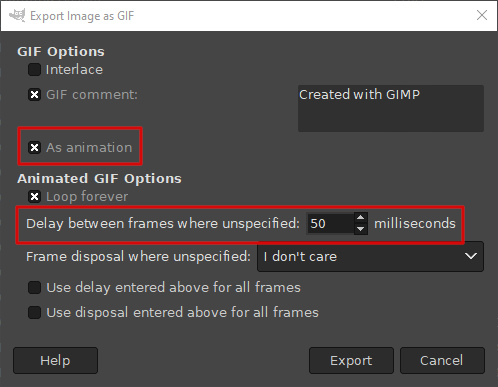
Finally you can save the file as a gif by using the
File>>Export As... option using the gif extension. Remember to check the 'As animation' option on the save dialog.