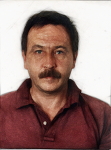
Another way to make a pencil portrait.We start with the following photographic portrait of Esmee Denters

downloaded from
http://www.a-gc.com/images/2012/10/blondes-women-eyes-faces-esmee-denters-portraits-HD-Wallpapers.jpgDuplicate the layer twice L1 and L2. To L2 layer we apply Gaussian Blur about 33 px both in x and y. Then set the layer mode: Divide

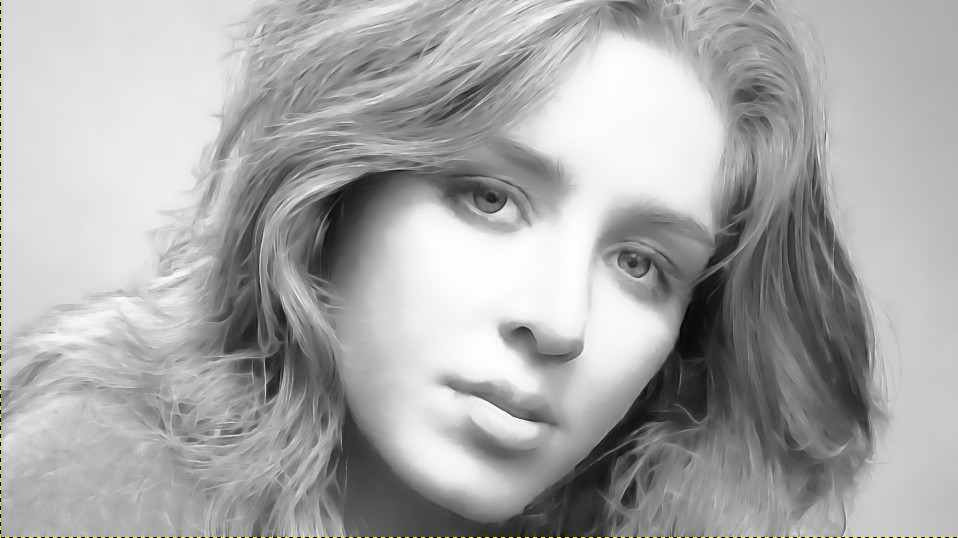
With L2 selected, create New from visible, and desaturate it (mode: luminosity), getting this one:
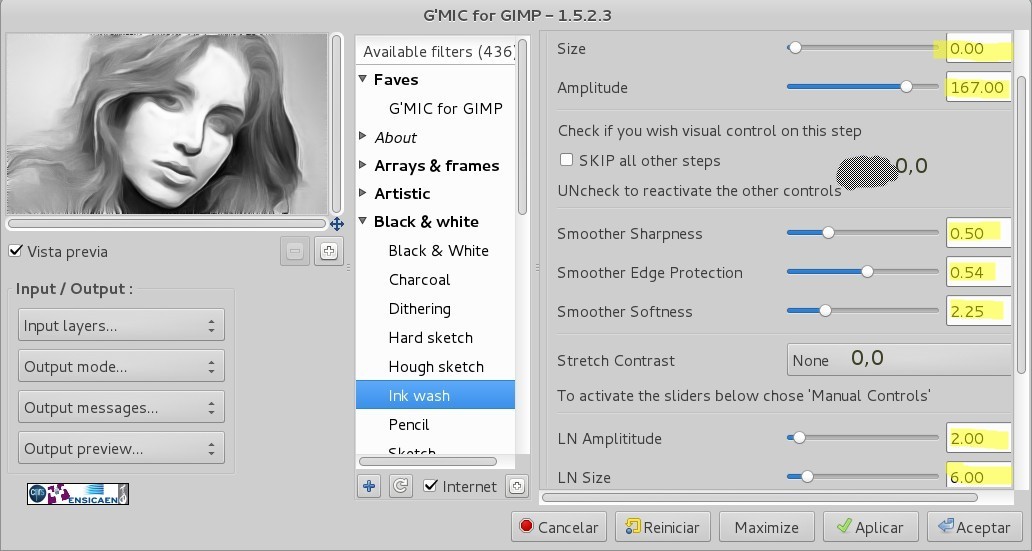
Now we'll select the Background layer, or the layer L1, and go to G'mic, where we select, in Black & White, filter Ink Wash and apply the values:
[G'MIC] Ink wash:-gimp_ink_wash 0,167.164,0,0.5,0.54,2.25,0,2,6,5,20
to obtain:
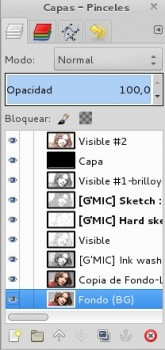
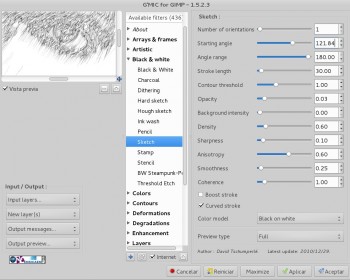
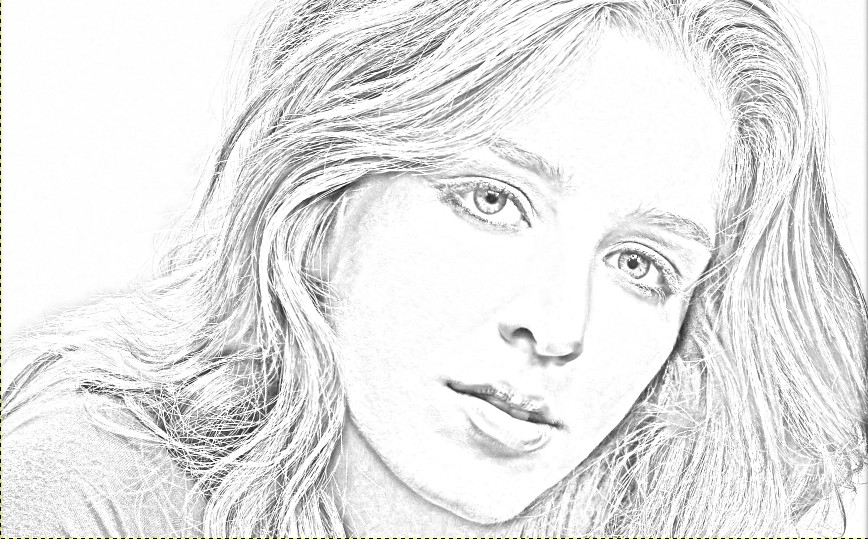
Then, place this layer, Ink Wash, under Visible layer. Selecte now Visible layer, we'll apply the following G'mic's filters:
Hard Sketch, with current values: [G'MIC] Hard sketch:-gimp_hardsketchbw 86.2069,32.7586,1.89655,0.211207,31.4655,0,0,0
Sketch, with current values: [G'MIC] Sketch:-gimp_sketchbw 1,121.846,180,30,1,0.03,0,0.6,0.1,0.6,0.25,1,0,1,0,0
Now will set in the layers:
Ink Wash: mode Normal, 100% Opacity
Visible : so Burn , 100% opacity
Hard Sketch : Mode Multiply , 50 % Opacity
Sketch : mode Lighten only , 50% opacity
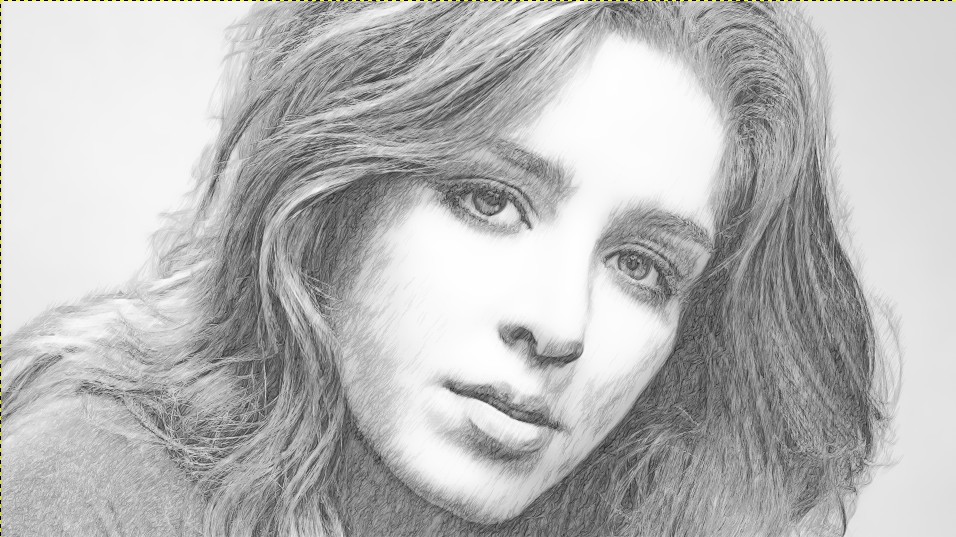
Must be, the output, something like this:
We create another visible layer (Visible # 1), New from visible, and apply it Brightness and Contrast in our opinion:
We add new transparent layer and fill it with black (# 000000),
layer mode:color and
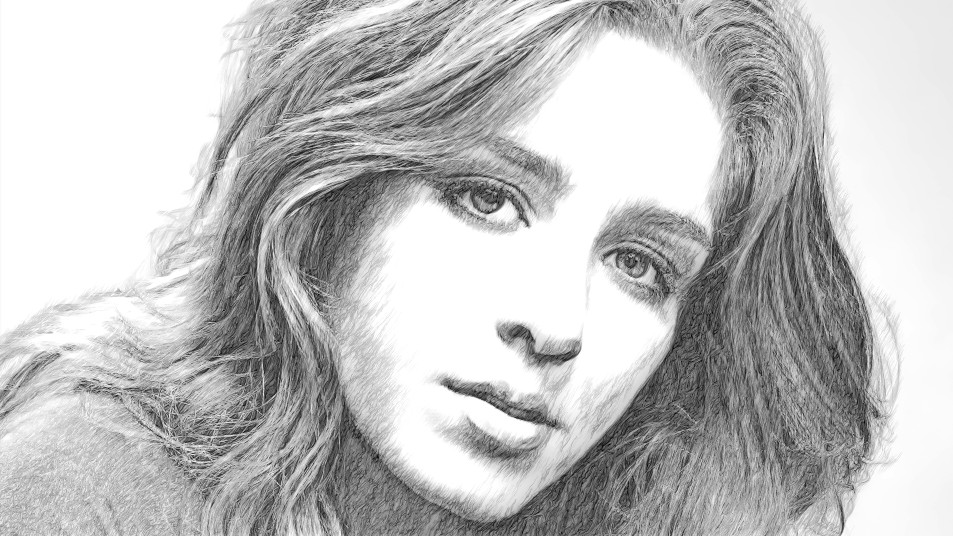
opacity:100%. And now,we'll create, again, New from visible (Visible # 2), and in Colors select Color Balance and give the following values:
Points of light: Red (12) Yellow (- 13)
Midtones: Red (12)
Shadows: Red (61)
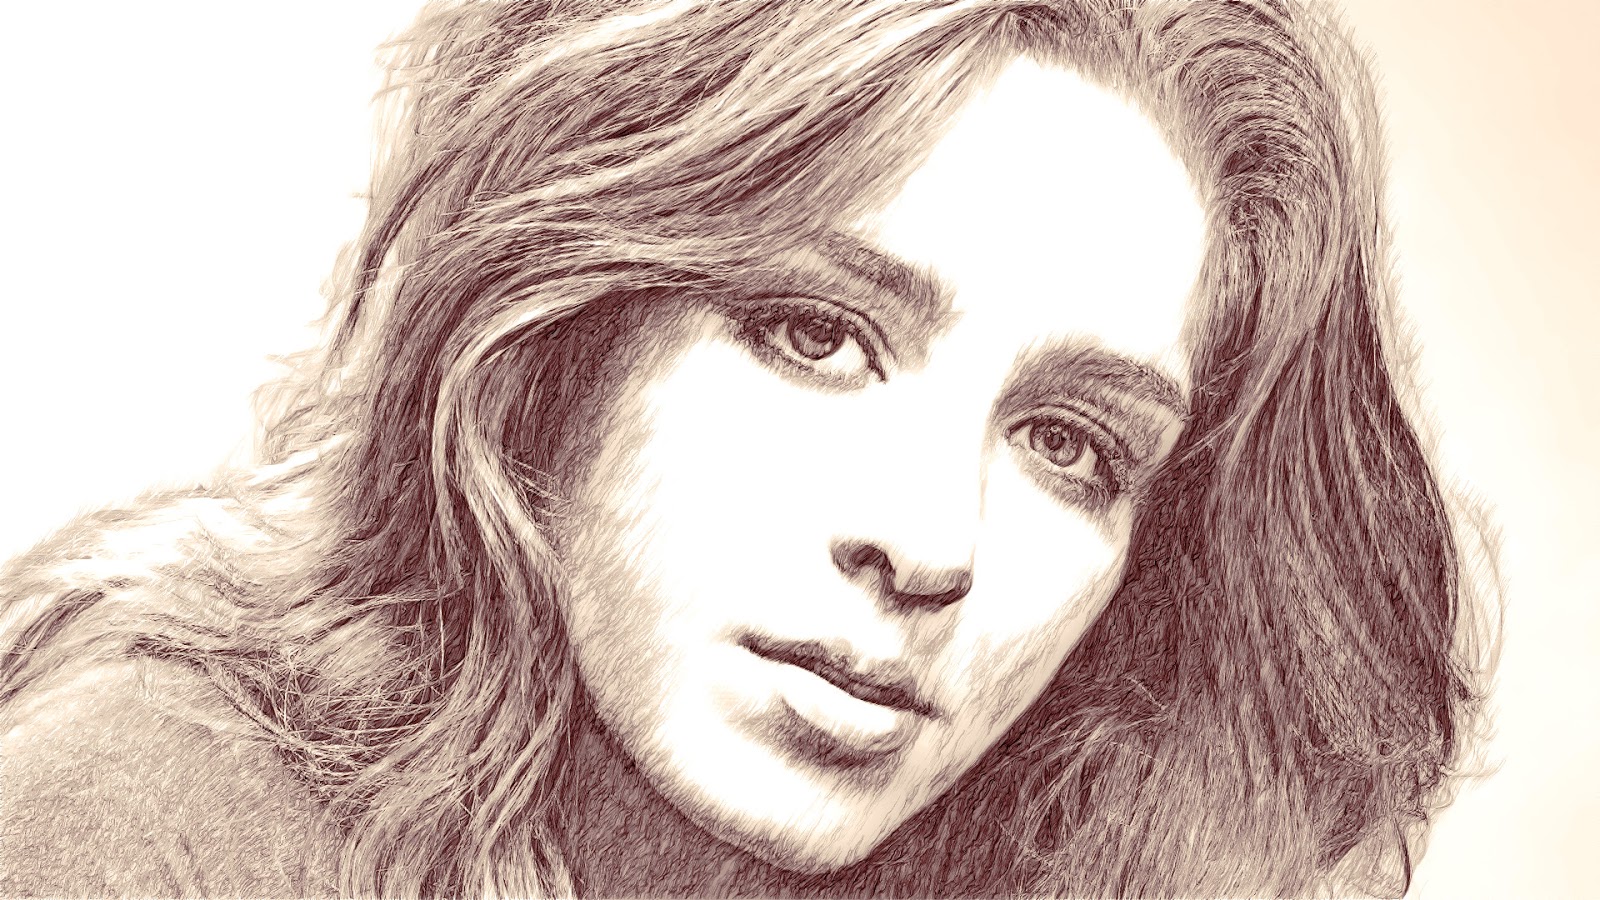
and we should get a picture like this: