@Rod - I'll add those to the to-do list, Rod.

@Gino D - Thanks Gino. My CS college professors pounded the need for well documented code into my head back in the 80s and it has served me well over the years. Also, thanks for reporting the typo. It has been corrected for the next release.
@sallyanne - The key to getting a fill stoke (or offset fill stroke) is to run the script twice.
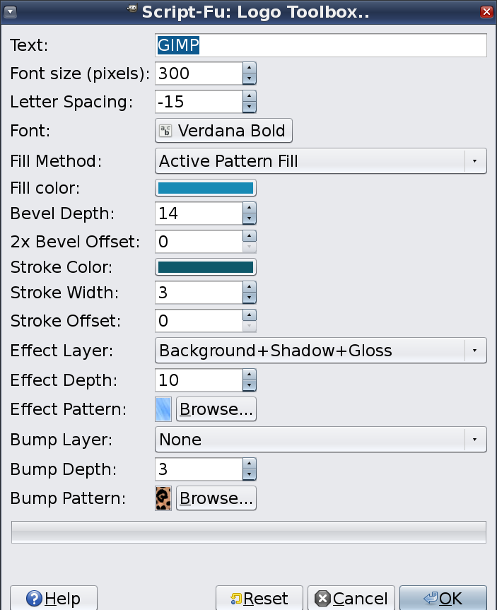
Start out by running the File/Create Logo, keeping in mind that the script's fill type will end up being the stroke you're after, so select the gradient or pattern you want to become the fill stroke. Optionally, you can turn the bevel offset and bump layer off.
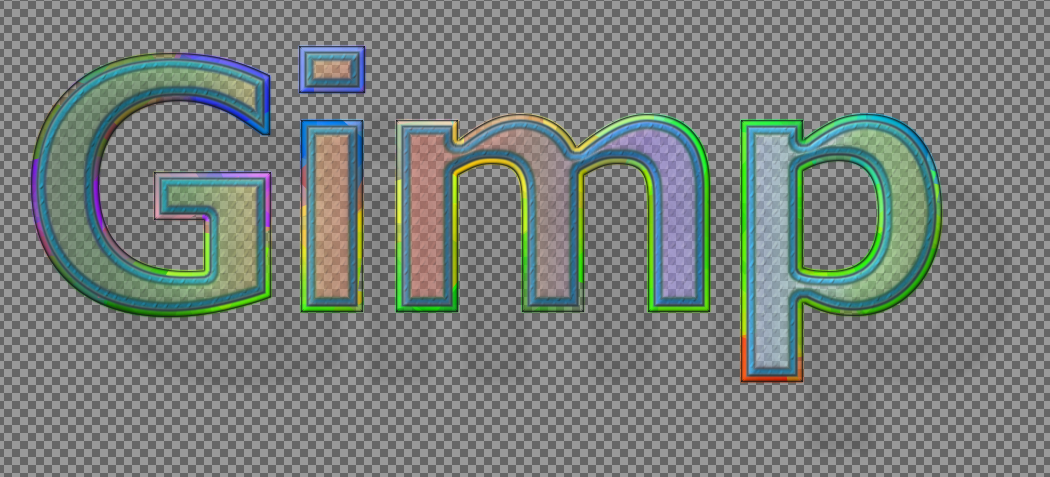
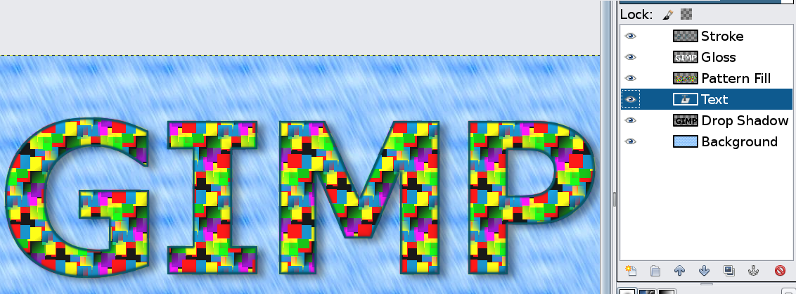
You'll get something like this, with the base text layer selected.
Next, run the script from the Alpha to Logo menu. Ensure the 2x Bevel offset is set to the fill stroke width you want (+ the width of stroke layer you specified in Create Logo, if any). Set the stroke width to 0, effect to none and set the Bump layer to "Pattern Bump 2nd bevel only".
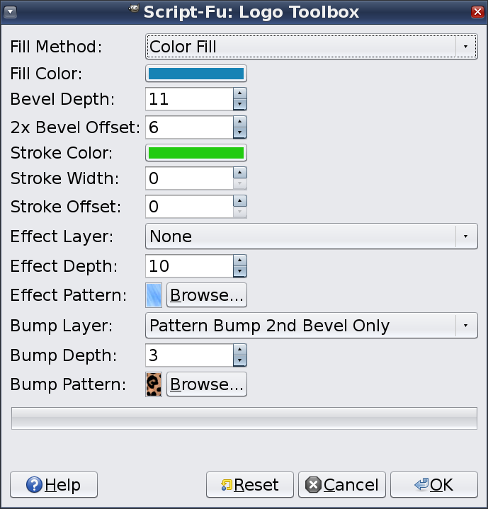
After running the script, click off the new fill layer (color fill in this case) to allow the first fill to show through, which gives you an offset fill stroke.

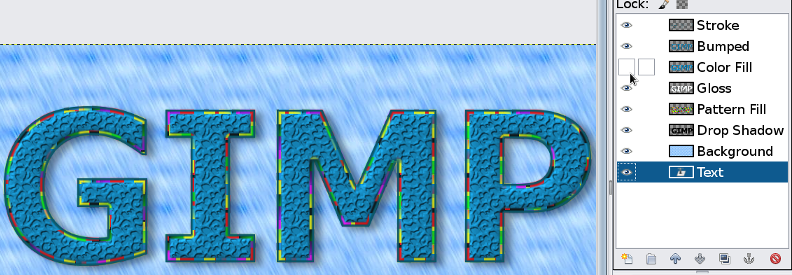
For those who are interested, I actually never run a "stroke" command in this script. Strokes are done by allowing the layers underneath to show though. Stroke layers are created by cropping of the areas of the image I don't need. This technique works well and has its advantages but I might add an alternate "selection to path" stoke, at some point, when needed.