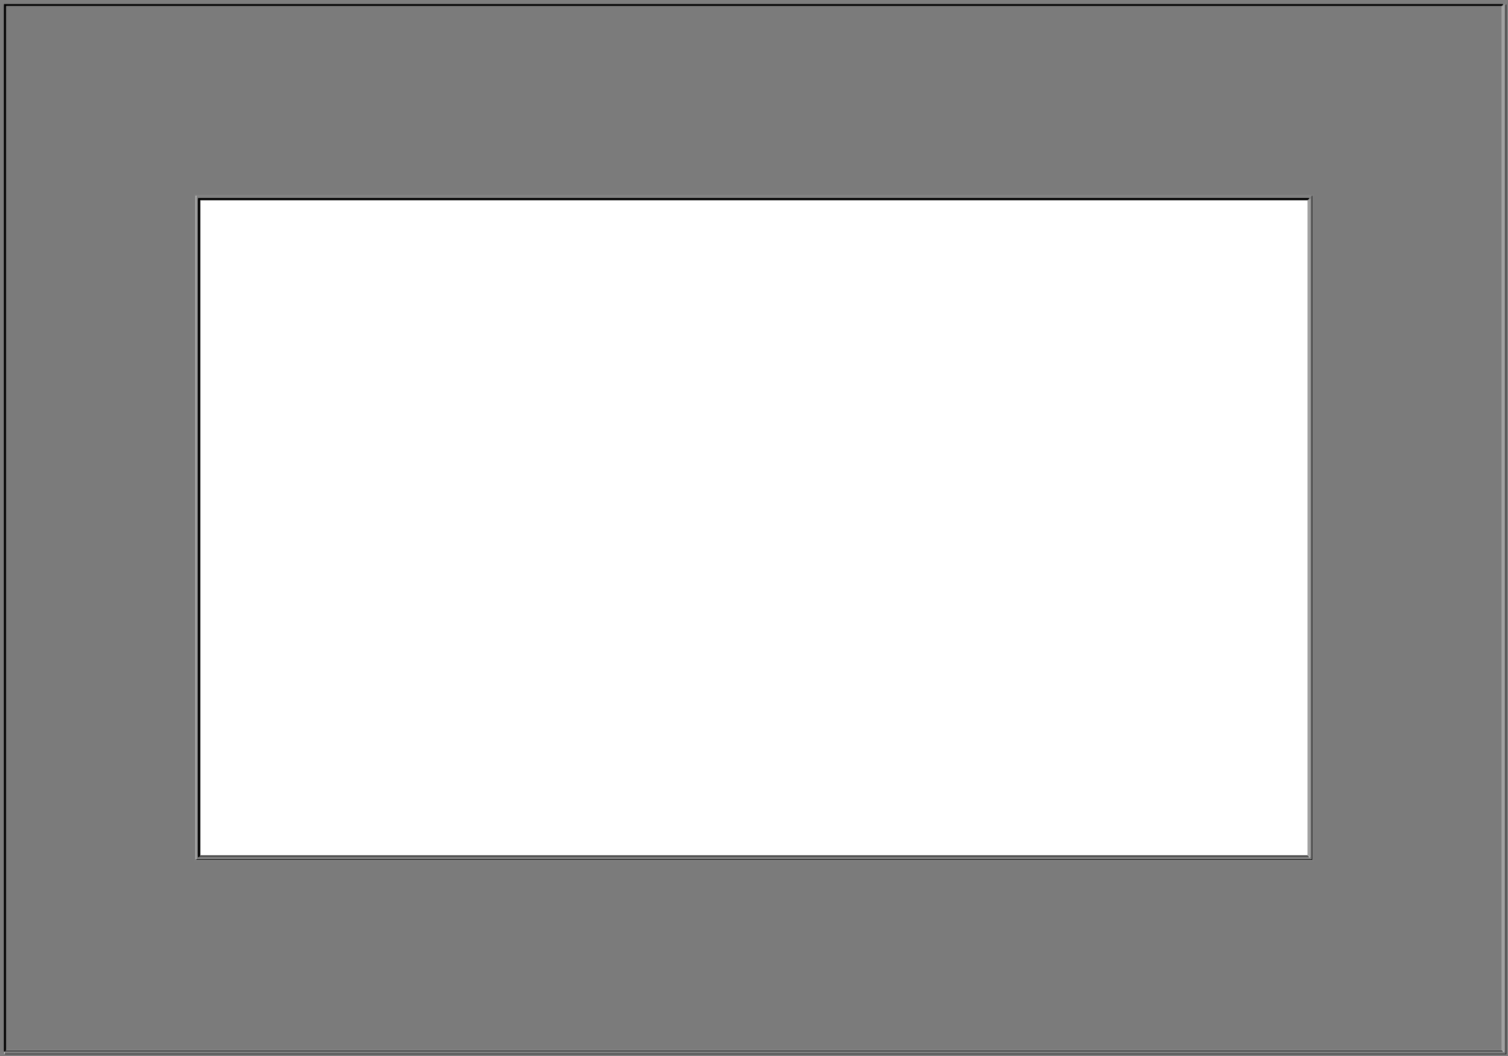
Custom Frames for GimpTeapot has made some amazingly wonderful resources as frames so that folk can make their artwork look even better,
I have added a file containing a number of customisable frames, borders and edges for you to play with in landscape orientation. If you want portrait then rotate the image by 90 degrees.
If the size is not to your liking then scale the image – but obviously the ratio between the sides will remain the same.
Once downloaded and unzipped, open the Frame_Template file in Gimp.
Attachment:
 Frame_Templatev2.7z [3.4 MiB]
Downloaded 5 times
Frame_Templatev2.7z [3.4 MiB]
Downloaded 5 times
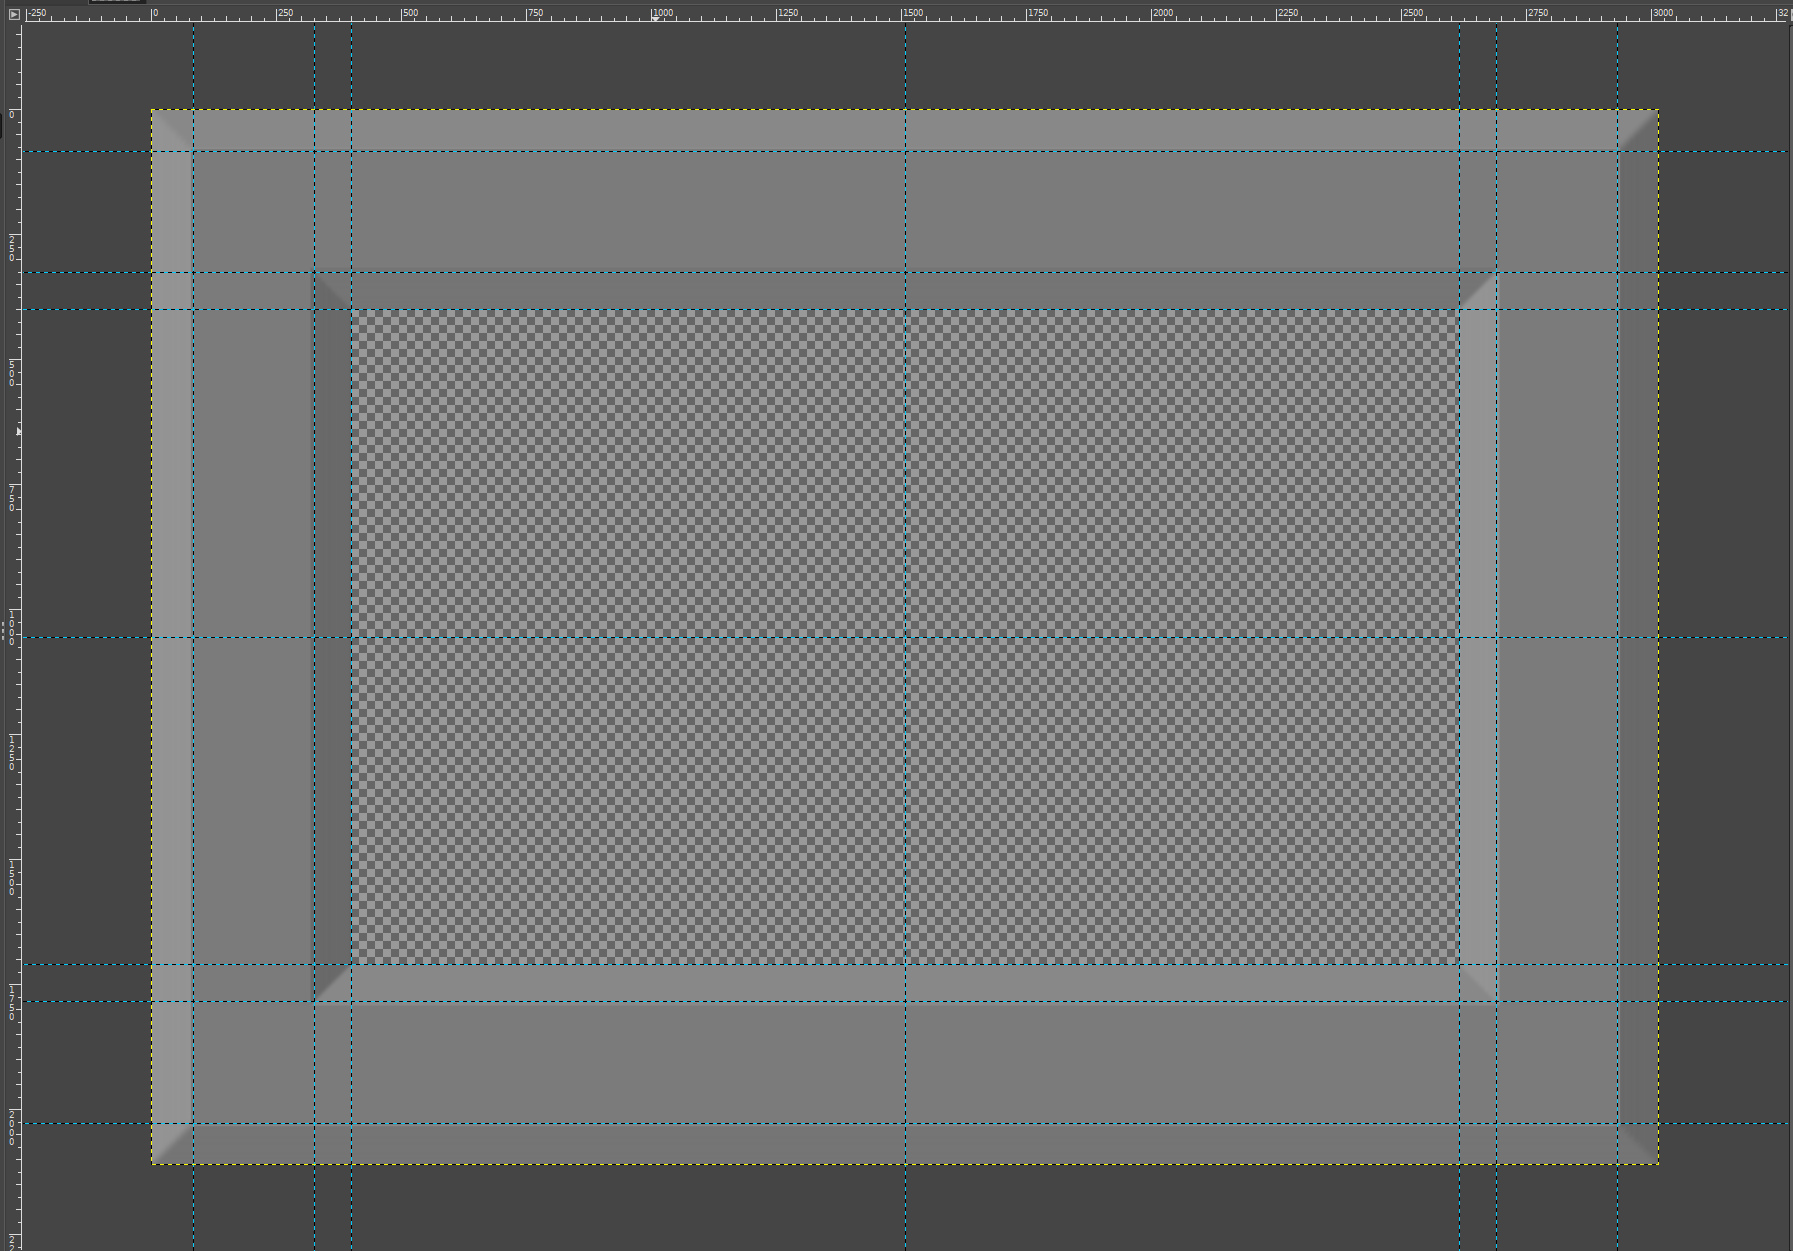
The default image view shows a grey frame ready for you to add a decorative layer effect.
You should be able to see some guides which can be very useful when adding effects but you may want to turn them off for now by using the relevant option on the View menu.
The Layer Dock contains an empty layer ready for you and two layer group folders that contain further resources that you will be able to use when you click on the layer group plus icon.

The Paths Dock will show a number of paths that may be of some use when creating decorative layers.
 Using the Frames Layers
Click on the plus sign next to the ‘Base Frames’ layer group to reveal the hidden layers.
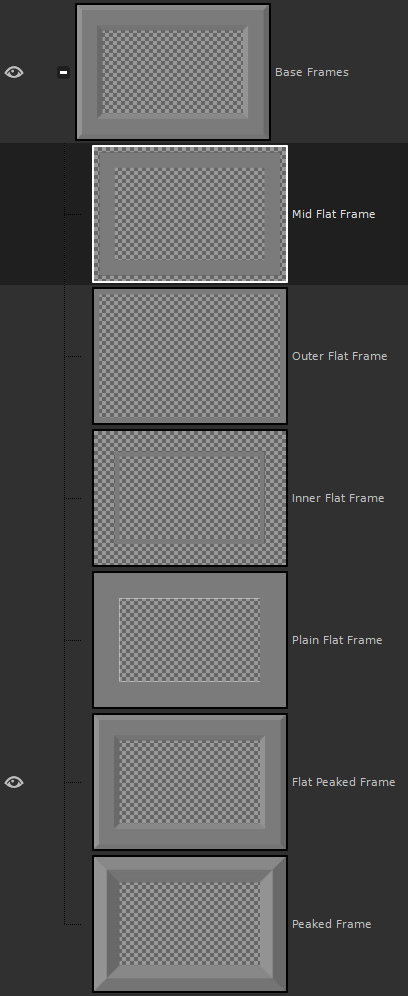
Close the eye for the Flat Peaked Frame (bevelled edge would probably have been a better name) and click on the eye for the Peaked Frame layer.
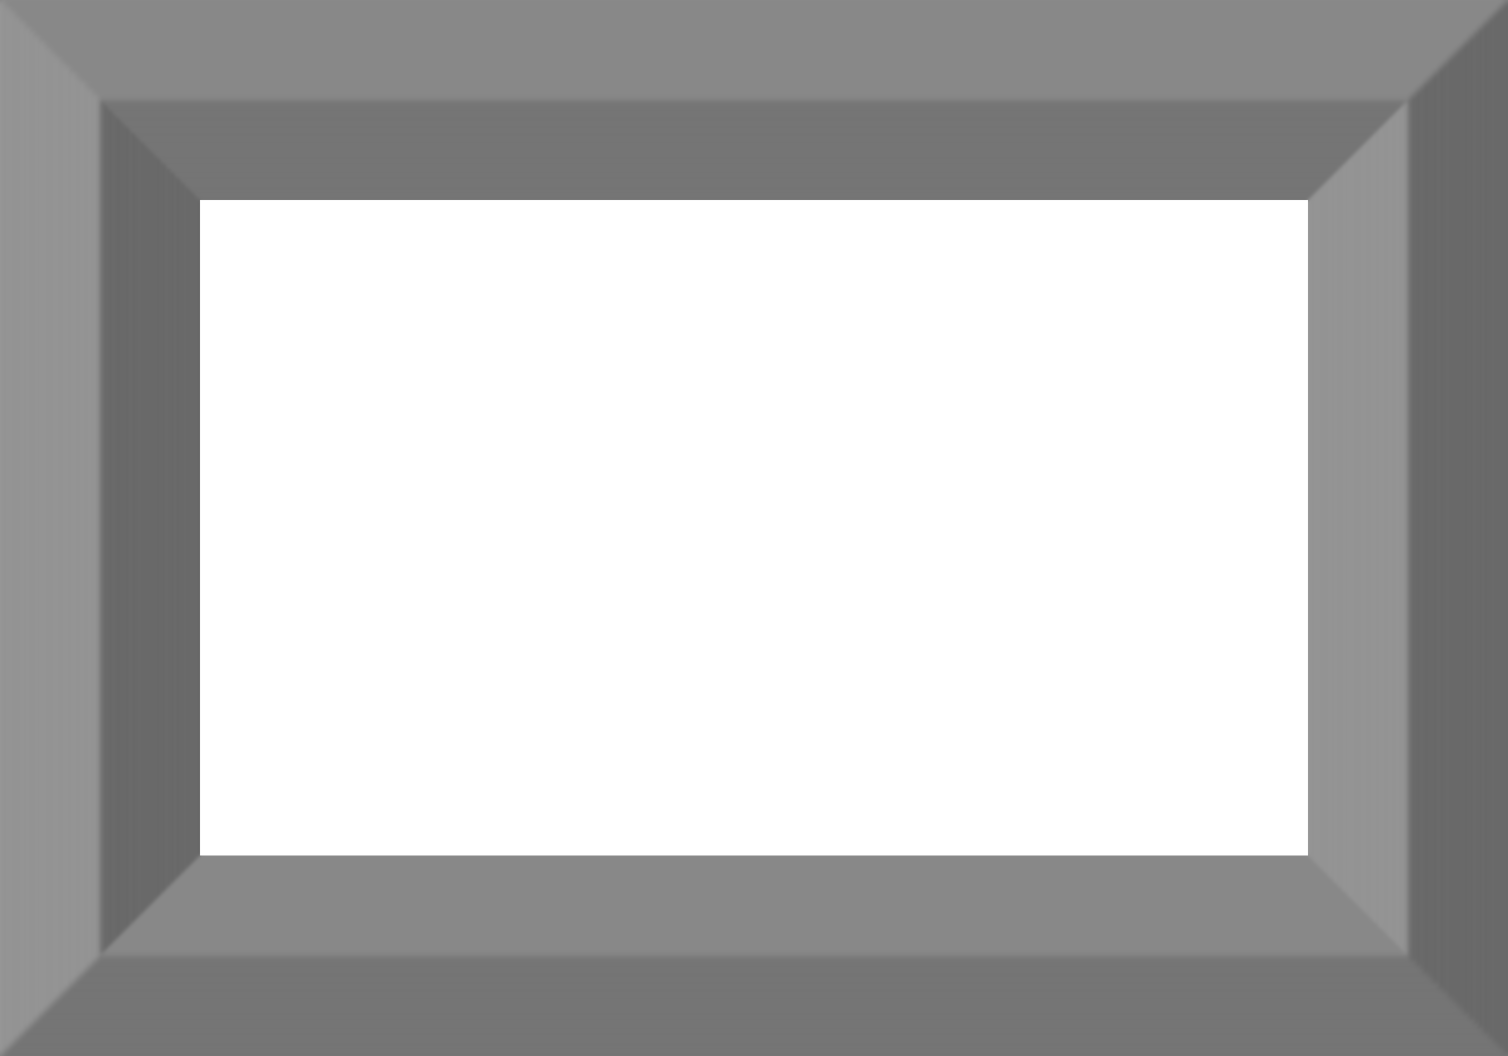
Feeling impatient – well add some colour to the top layer with the gradient tool. To get the full range of colour, use the top and bottom of the image to place the beginning and end points of the gradient.I used a Red-Yellow-Green gradient that gives a good splash of colour.

Now change the layer mode from Normal to Grain Merge or Overlay to see the effect.
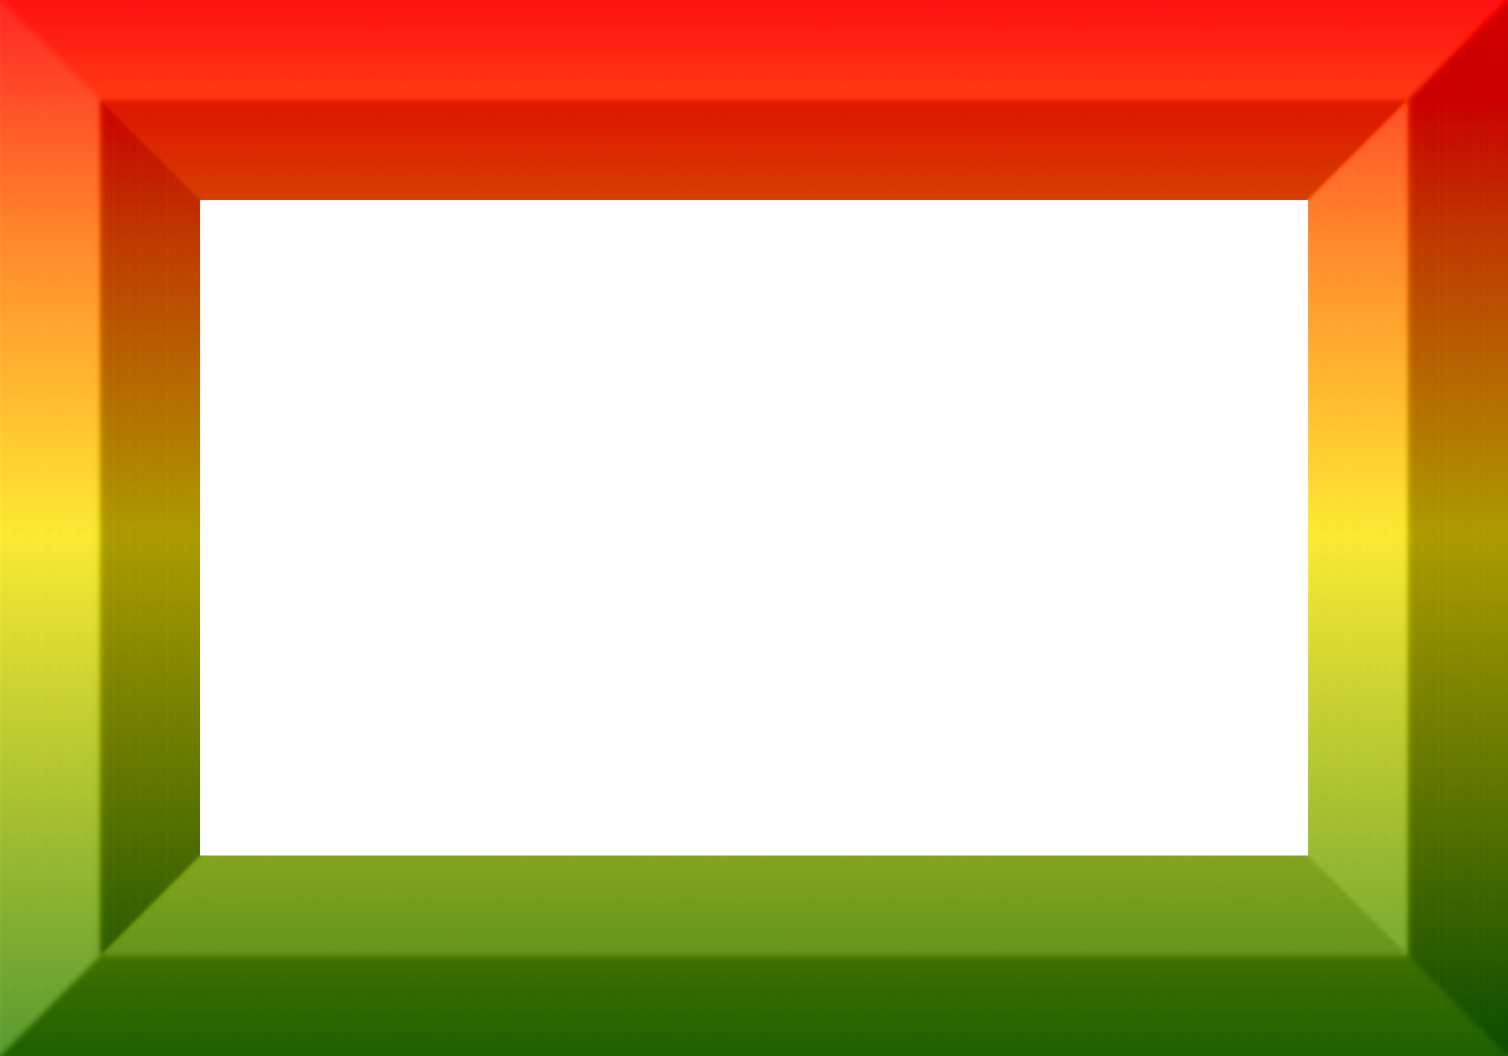
If you’re feeling greedy and want more contrast, you could duplicate the gradient layer or duplicate the actual frame layer and set the layer mode for that layer to grain merge (or whatever layer mode you want to use).
For a more realistic framing effect use the paths to add selections to the layer that you can then fill with the gradient tool.
Right-click with the mouse pointer over the path called ‘Right Side’ and from the menu click on the ‘Path to Selection’ option to create a selection for that side of the frame. With the selection active switch to the gradient tool and use the canvas edge and a guide to add the gradient more precisely.
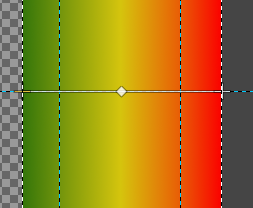
If you cannot see the result on screen, make sure that the layer mode has been set back to ‘Normal’.
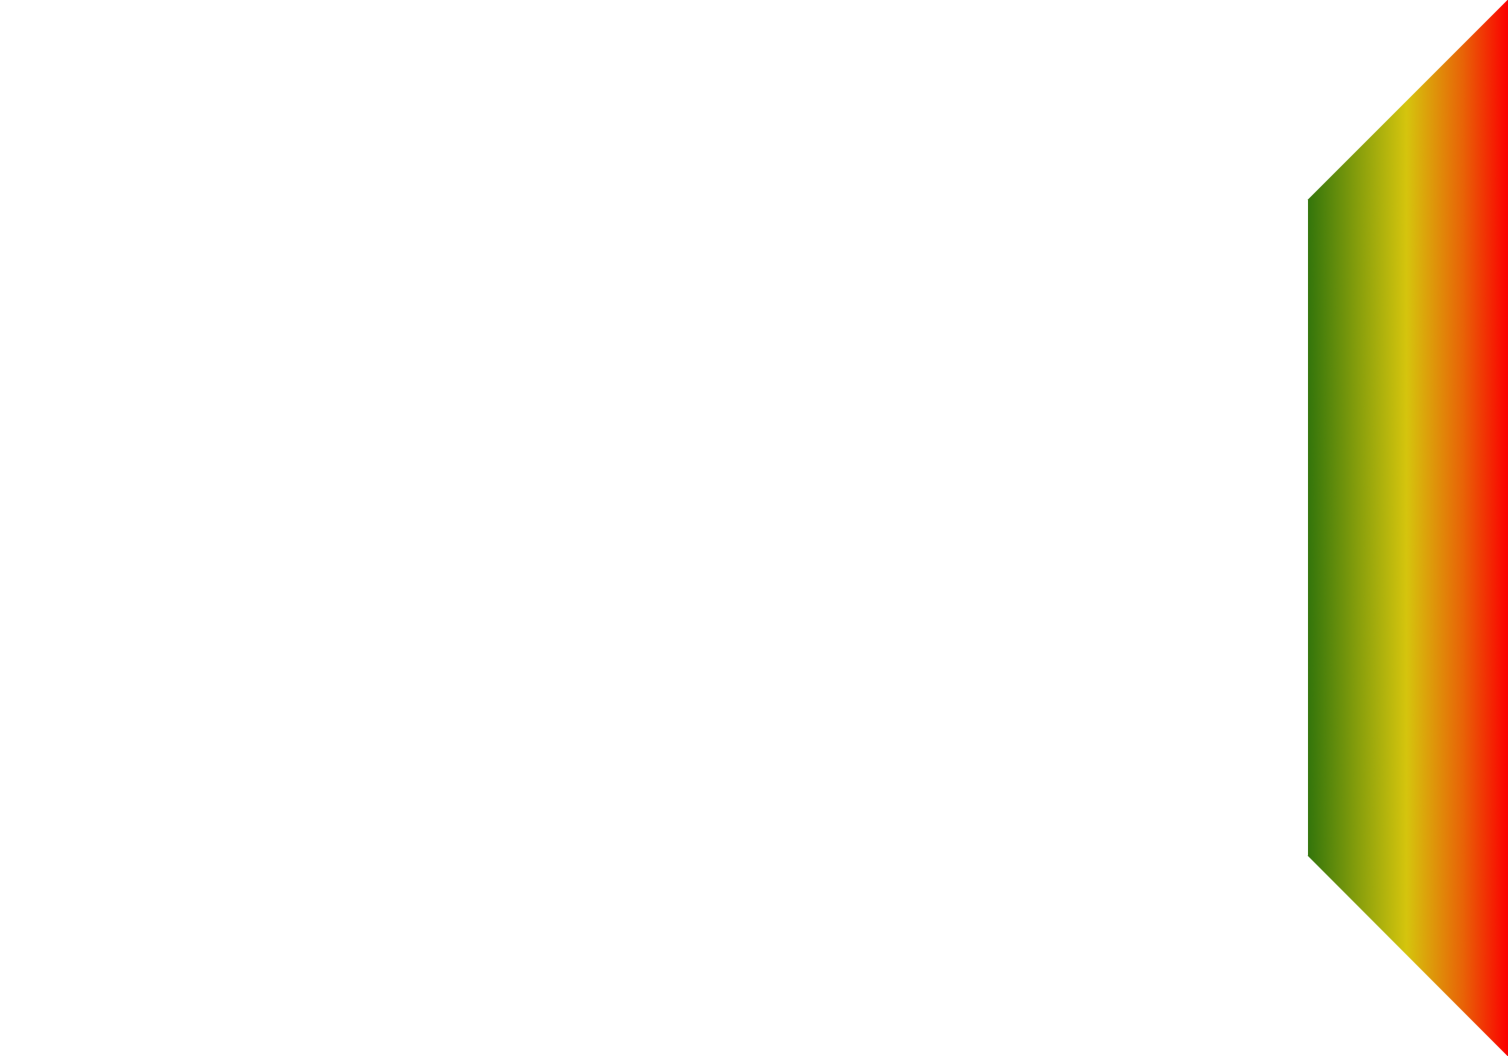
Add the left hand side of the frame by right-clicking over the ‘Left Side’ path in the Path dock and reselecting the ‘Path to Selection’ option. Use the gradient tool in the same way to add the new side of the frame.
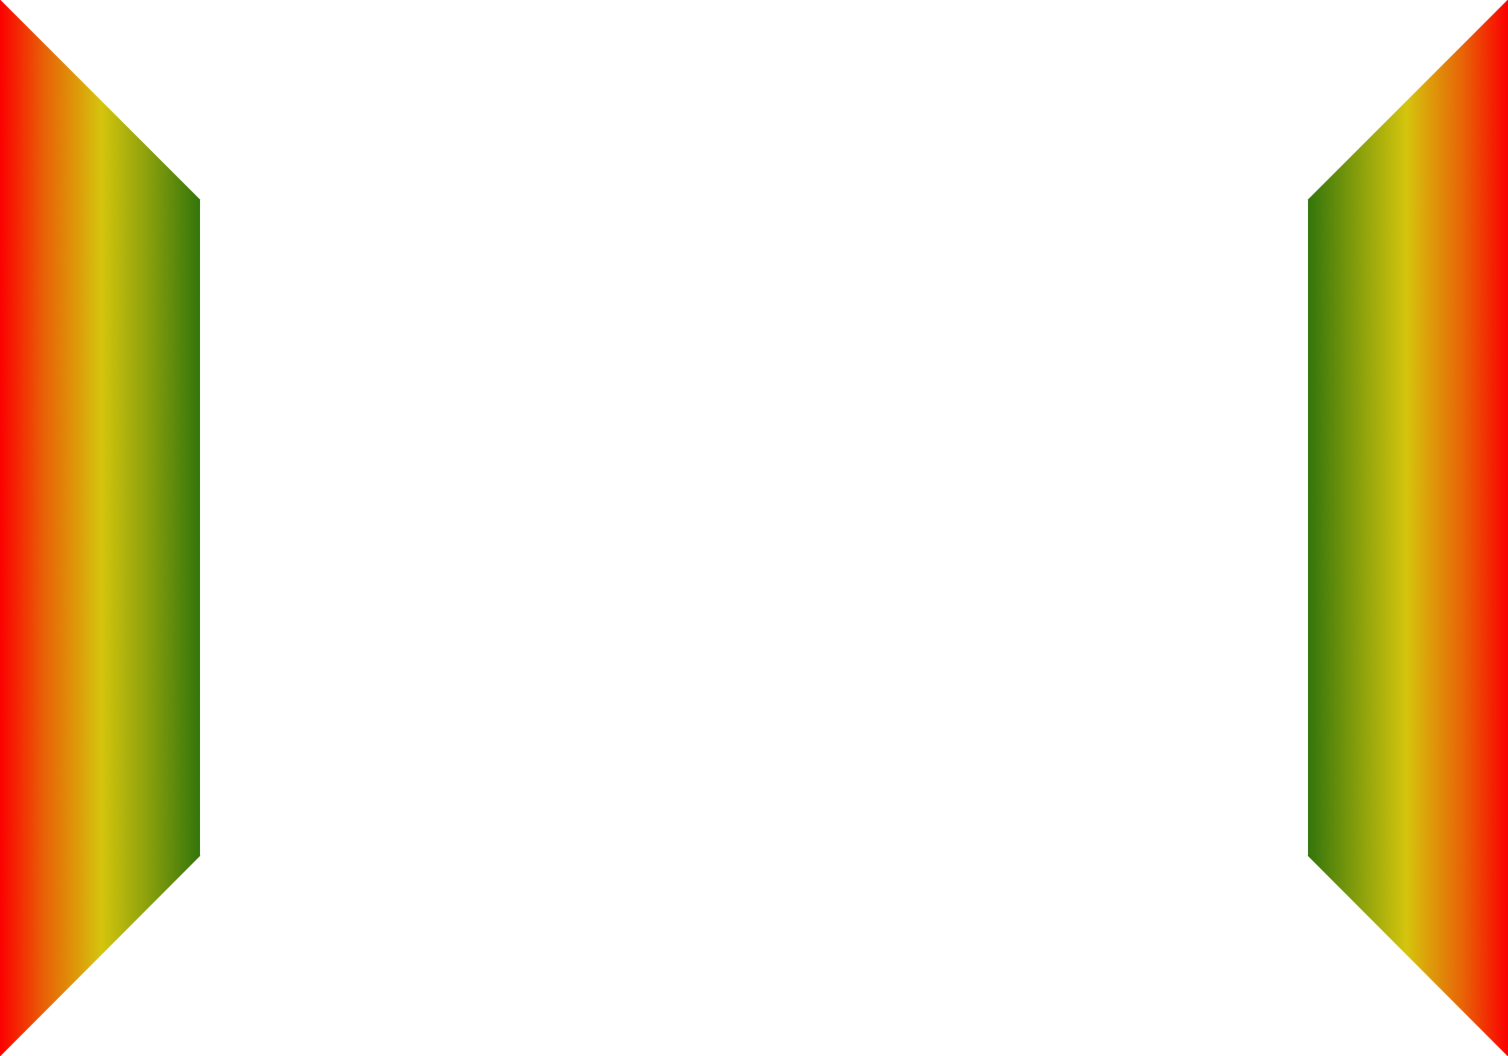
Repeat this process for the remaining top and bottom paths…

This method can be used to copy from image layers to the sides of the frame:

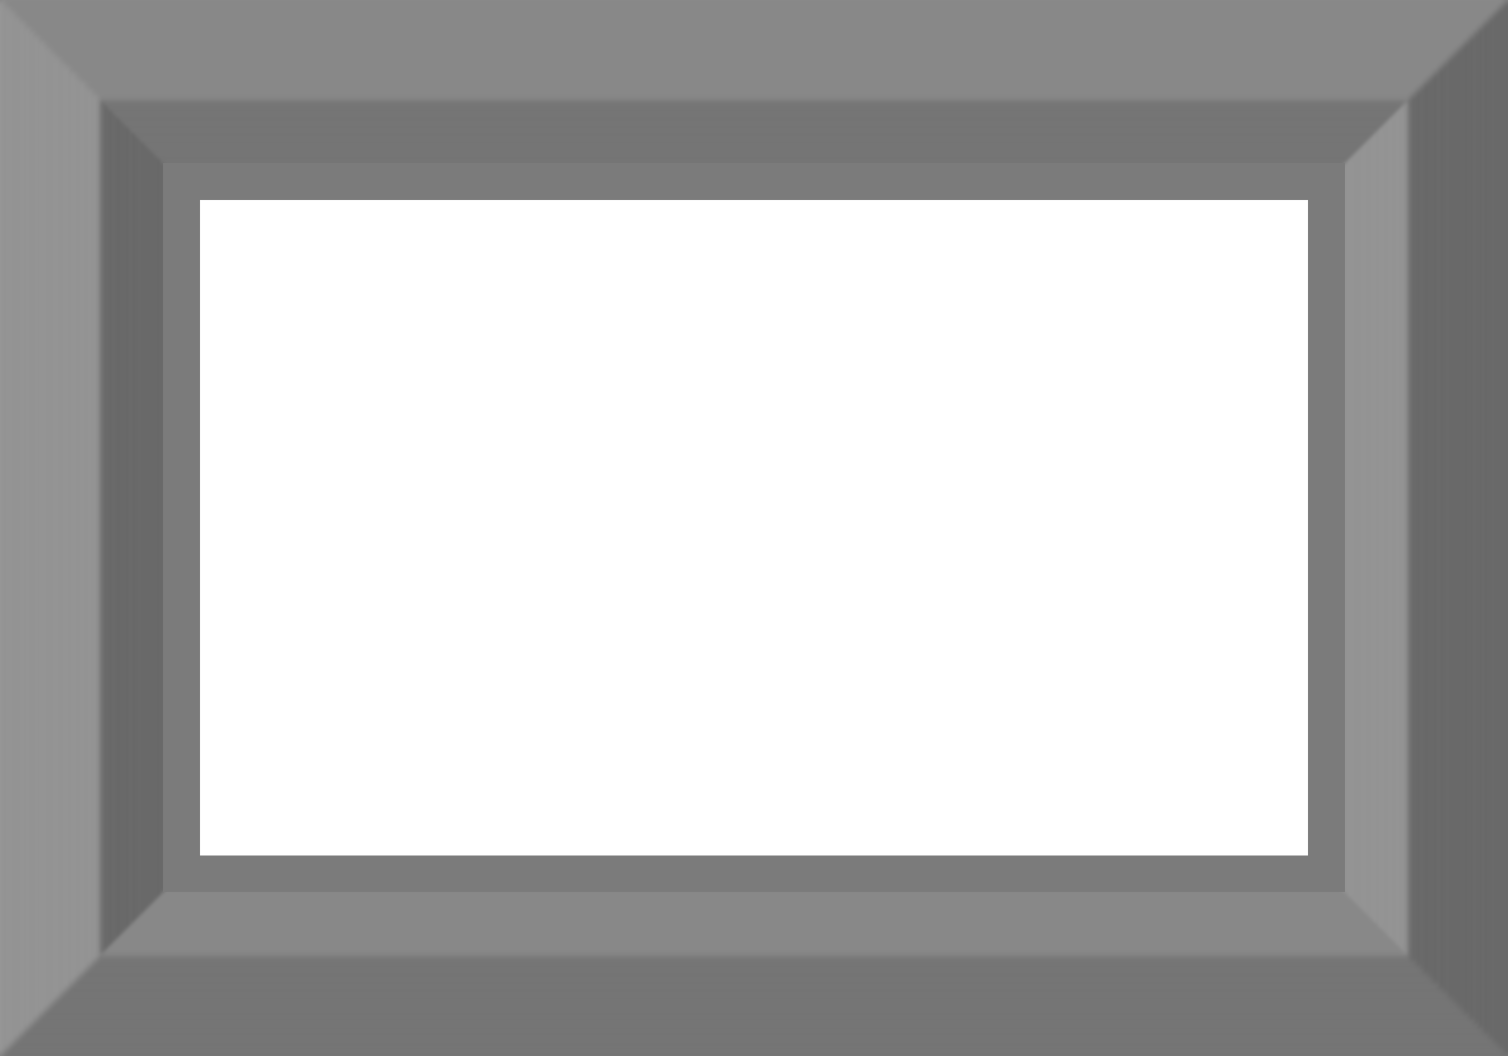
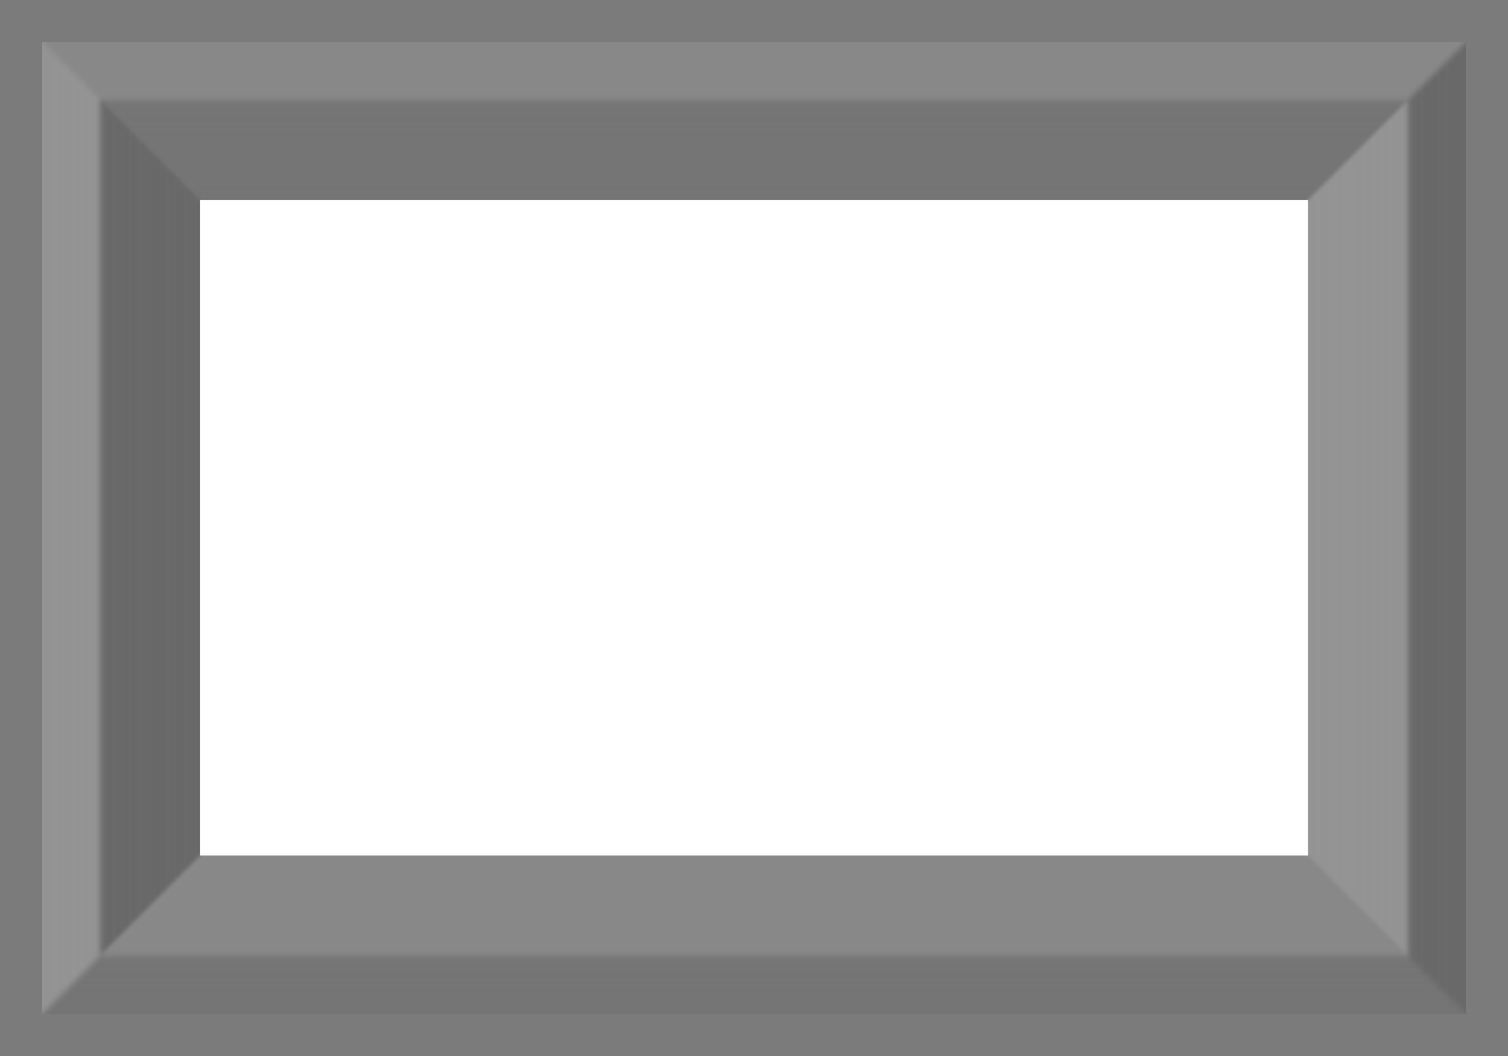
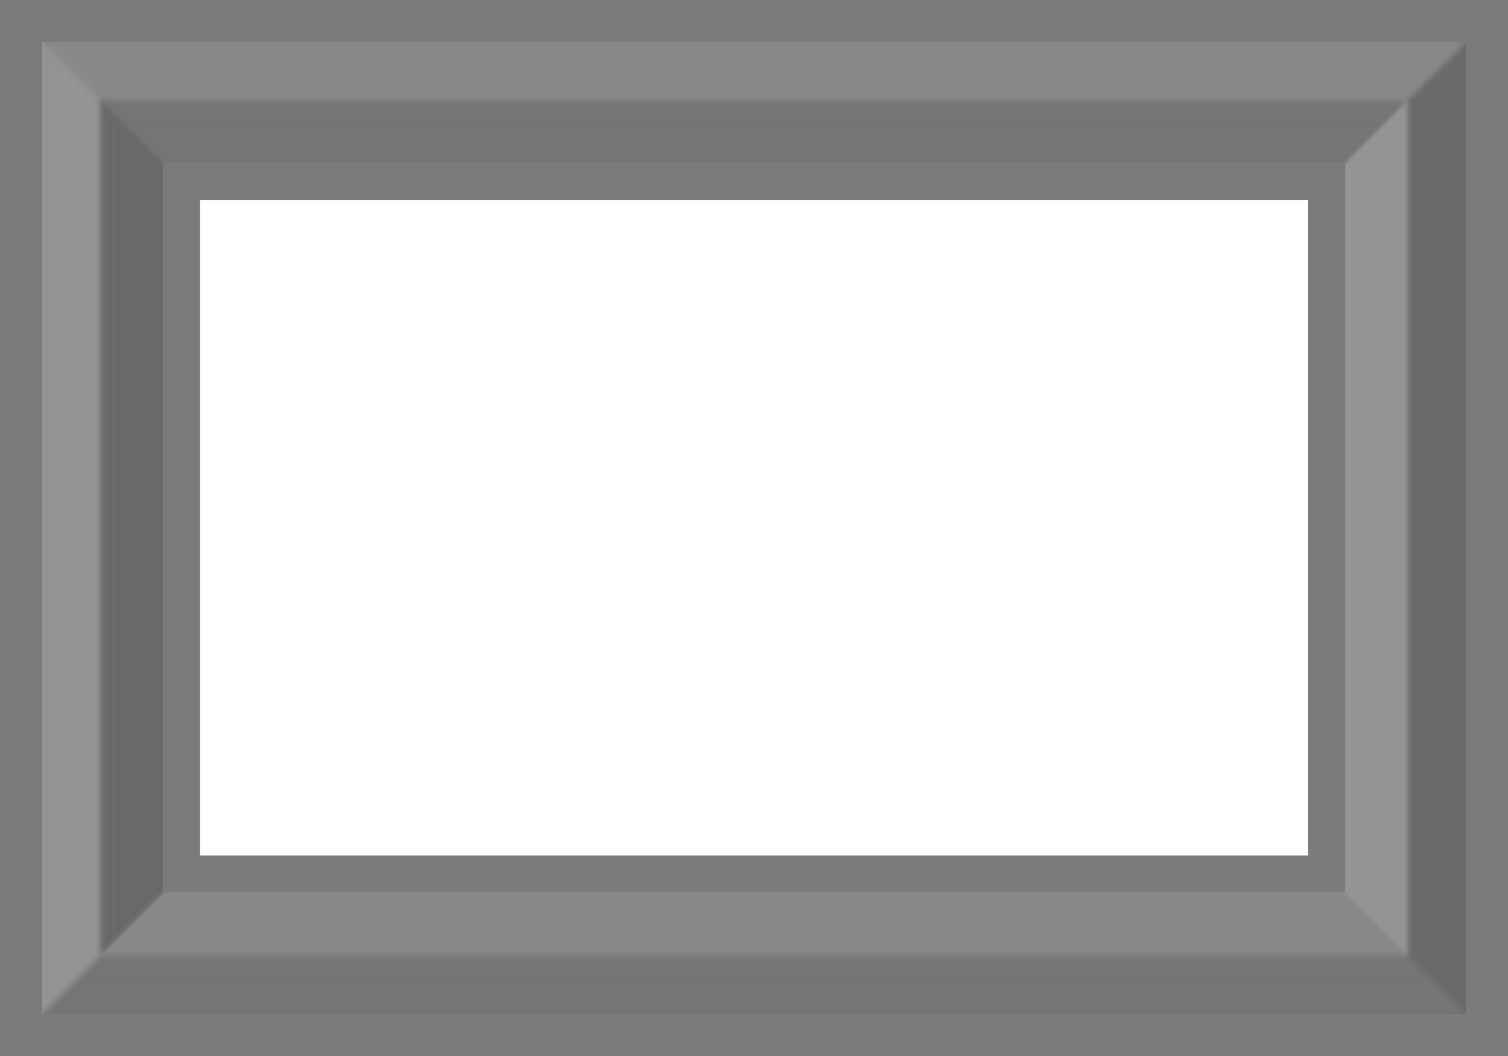
There are also a couple of differently sized flat frames that can be made visible to alter the profile of the Peaked Frame layer.
The Inner Frame and the Peaked Frame:
The Outer Frame and the Peaked Frame:
The Inner Frame, the Outer Frame and the Peaked Frame:
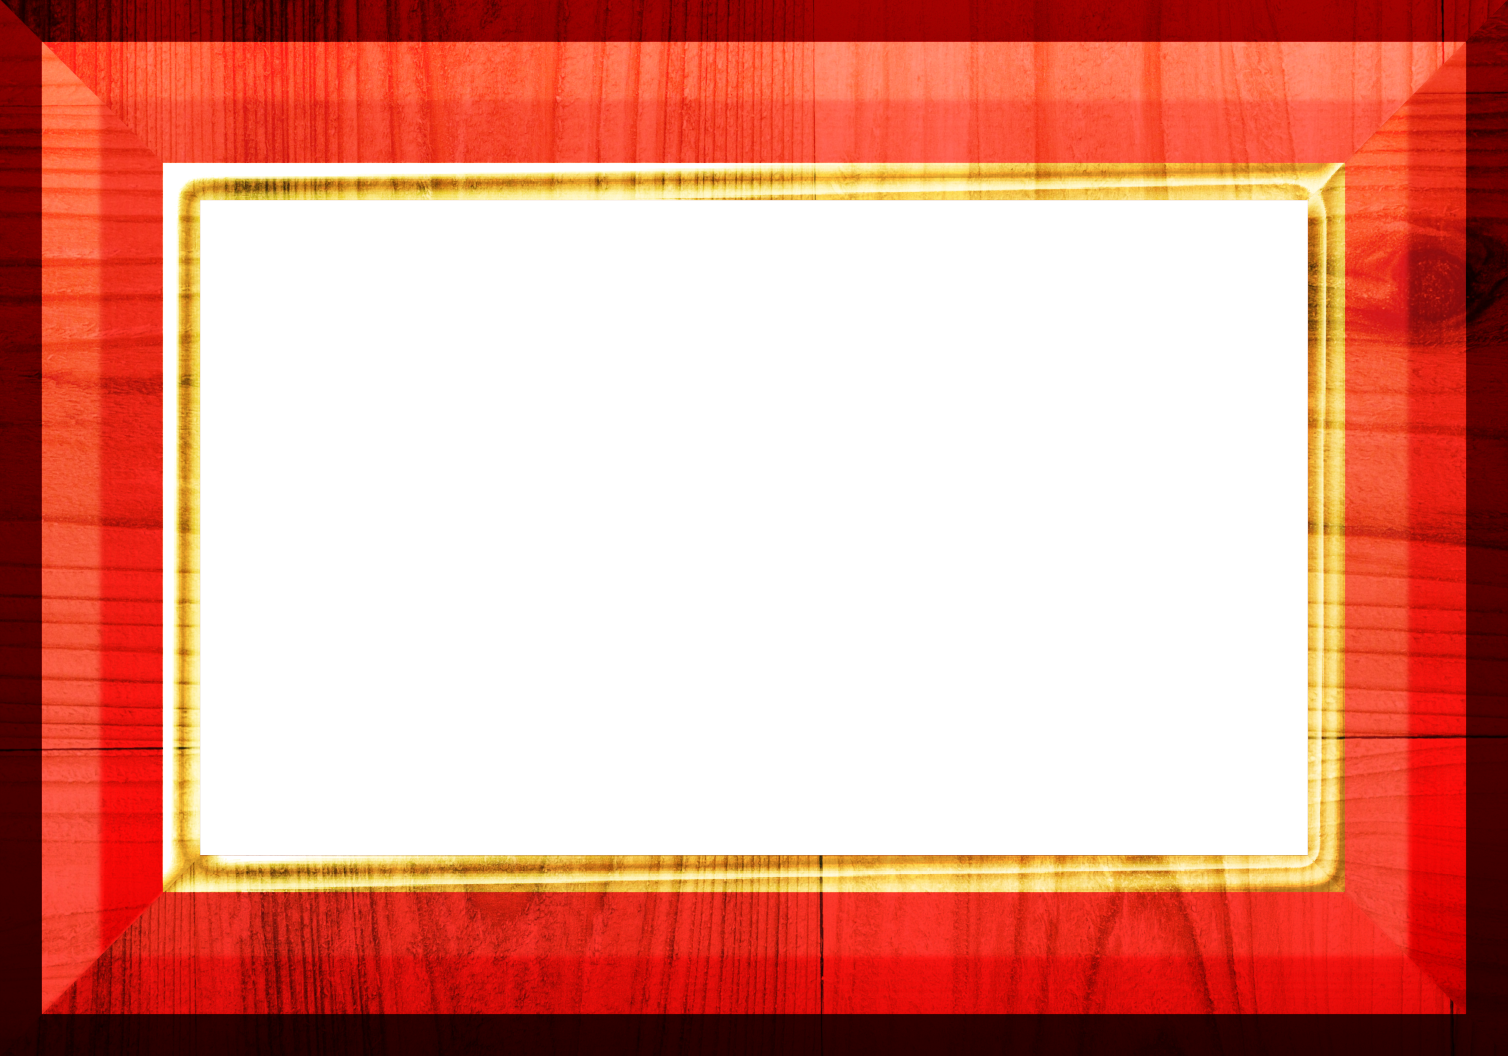
The advantage of using separate layers is, obviously, that it makes it easier to apply different colours and/or textures to these areas of a frame.
Using Edge Layers to follow in Part 2...
 Login
Login Register
 Tweets
 FAQ
FAQ Advanced Search