msruth: welcome to gimp chat! good thing you posted that picture, i see it's sparked a lot of nice ideas

.
here's what i did:
i also used g'mic for what i did, it's a very useful and versatile plug-in, but if you don't want to download it you can come a long way with just the online version of it (
g'mic online) - just make a lower resolution copy of your original image to work from.
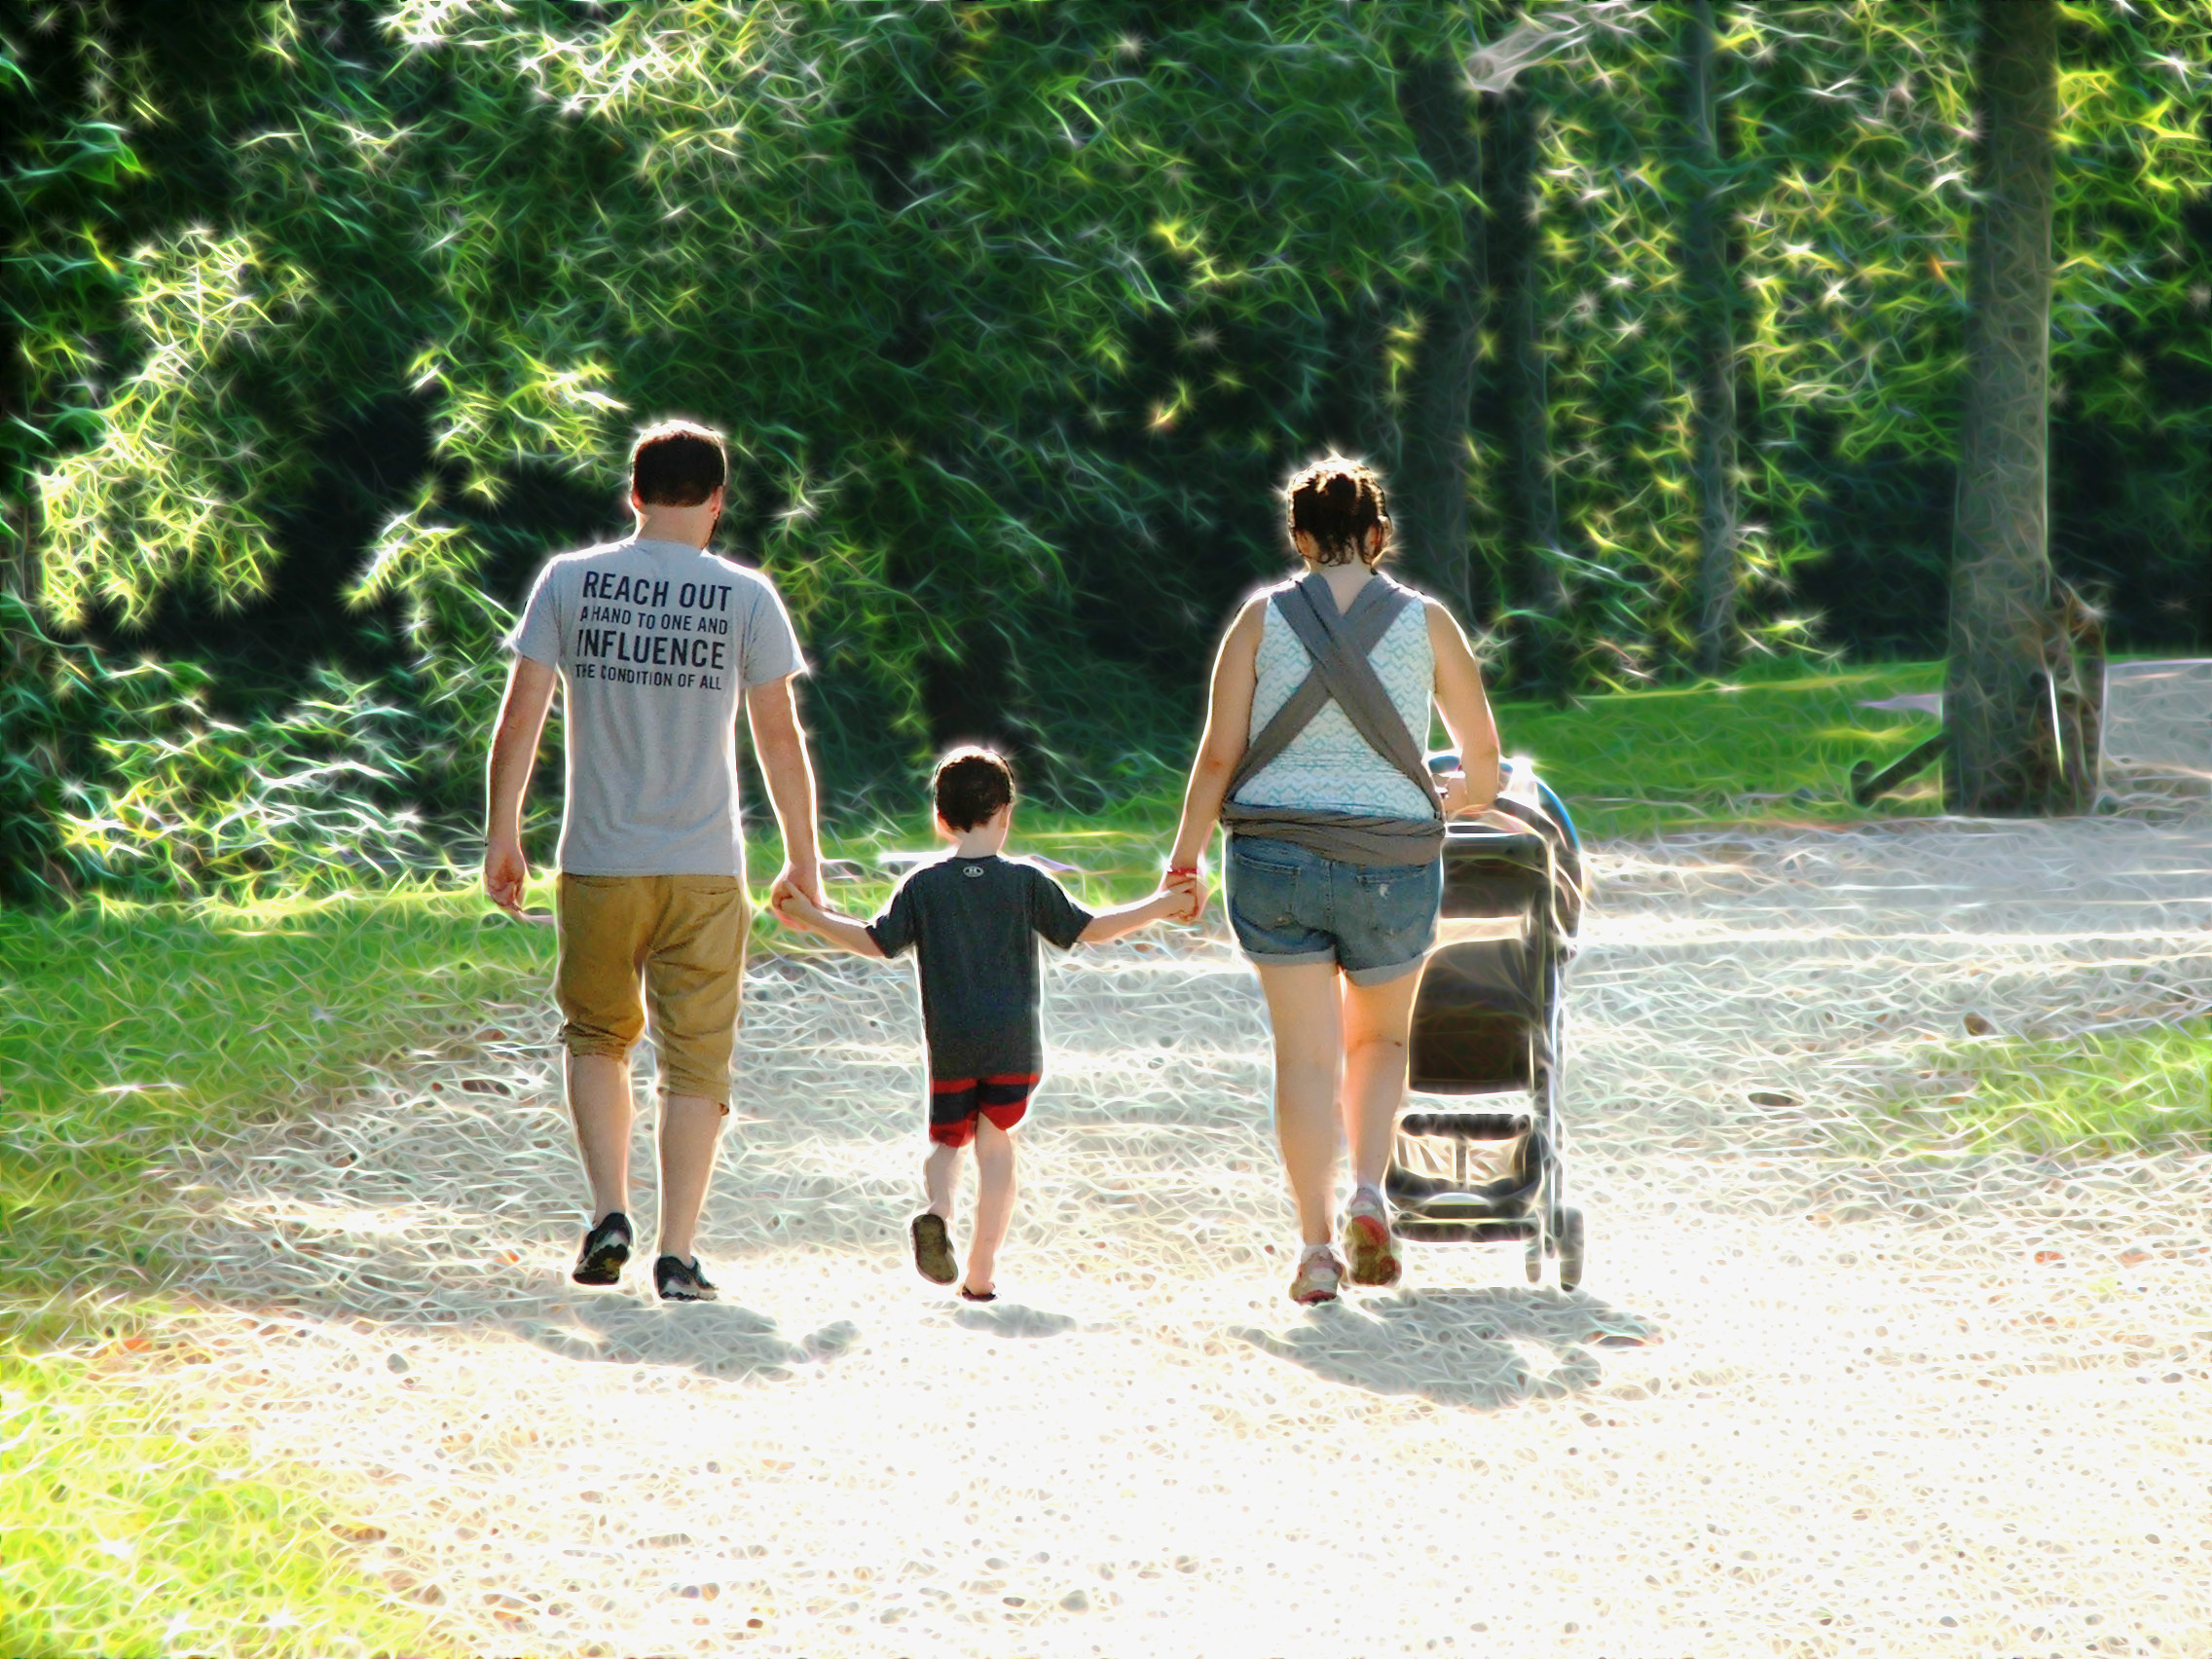
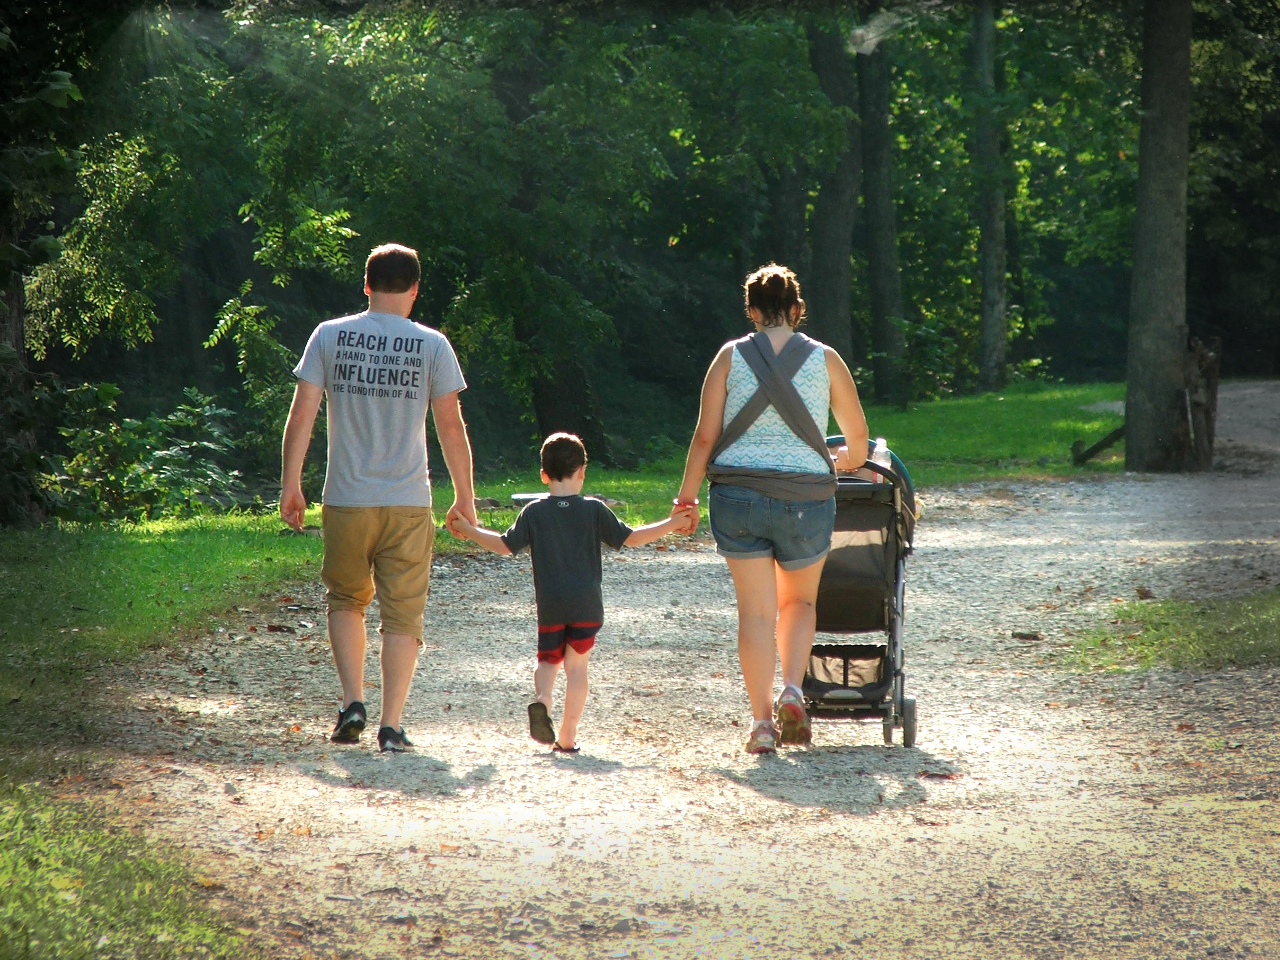
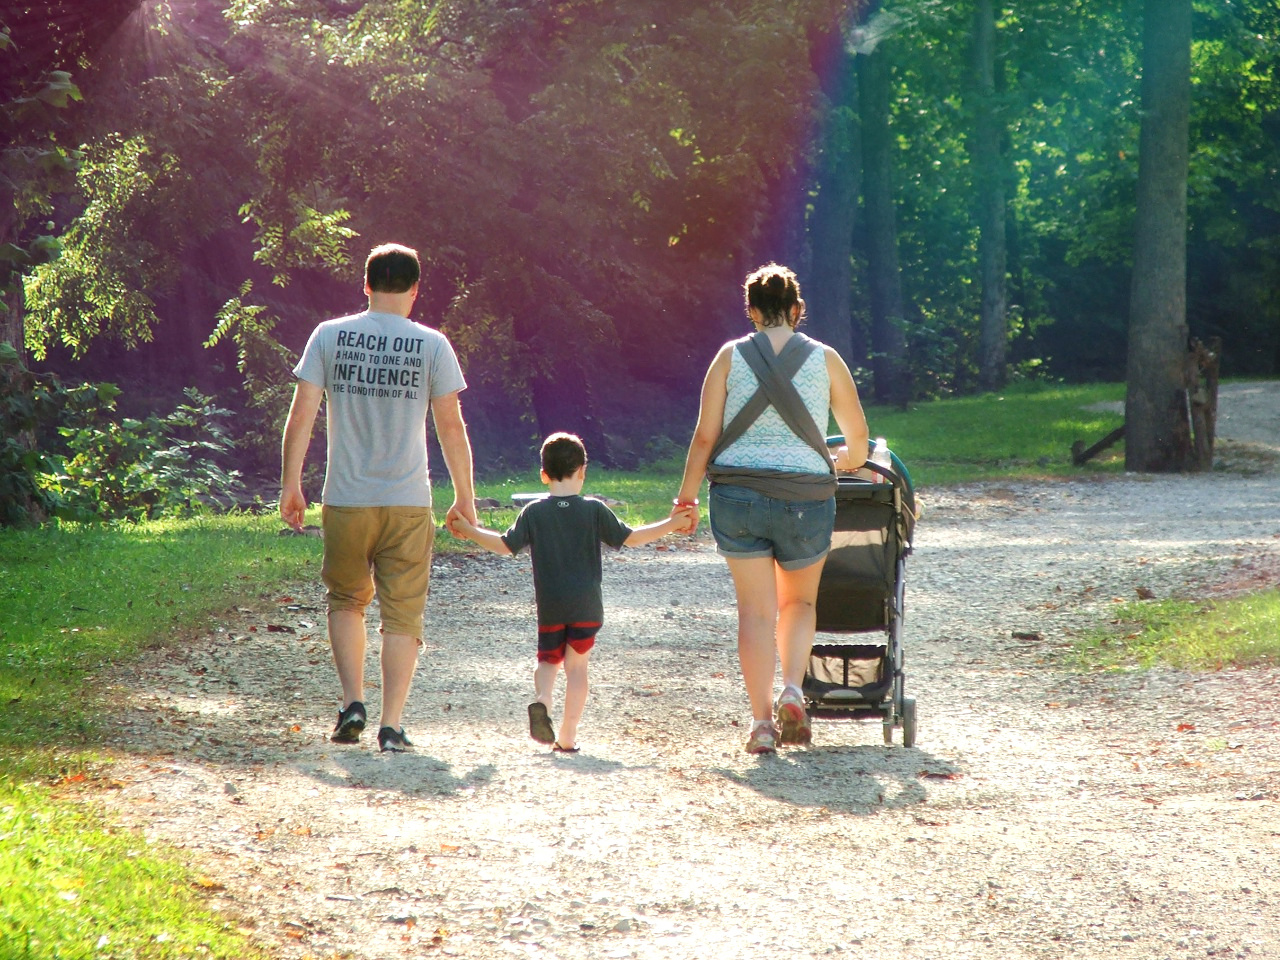
for the left image i only made sun rays and a very discreet vignette edge. i started by duplicating the background layer with your image on and using the g'mic filter "light rays" under "lights and shadows". i had to set y center setting down to 0% and x center setting to 24%, but changed nothing else. that gave me a black layer with white rays on it.
i then went to gimp's colours menu and chose "colour to alpha". in the dialogue box i changed the colour from white to black and then clicked ok. this gave me a transparent layer with white rays on it.
i made a black layer mask on that layer (and like rod said above black on layer masks give transparency, white give opacity) and picked the gradient tool. in the gradient tool options i picked radial gradient and the gradient called "FG to transparent", then i set the foreground colour to white and placed the cursor right at the point where the light rays start and drew the gradient all the way from there to the strollers wheel. that gave me light rays that fade nicely.
i also put the layer mode of the light ray layer to grain merge and then set the opacity of the layer down a bit, to 80%. that's another way of making sun rays!
for the discreet edge vignetting, i duplicated the background layer once more and moved it to the top. i set the layer mode to darken only. then i made a black layer mask for it and picked the gradient tool again. this time i set it to linear gradient, but kept the "FG to transparent" gradient i used earlier. then i placed the cursor right at the top and drew it down a very short bit (about 50 pixels, but you might prefer a broader vignette). i repeated around all the sides (i made it twice as broad along the bottom). then i set the cursor in the top left corner and drew the gradient diagonally down about 200 pixels and repeated that in all four corners.
for the middle image i kept the sun rays, but i also added some light glow in g'mic. the light glow filter is also under "lights and shadows" and it gives some of the lighter areas of the image a glow effect. i duplicated the background layer and ran the light glow filter at the default settings. then i set the layer mode of that layer to lighten only and pulled the opacity down to about 50%. since the sun ray layer is placed on top i get the sun rays too, of course, but if you prefer light glow without sun rays you can just delete or turn off that layer.
i wanted a more pronounced vignette effect on this one, so i duplicated the background layer and moved it to thee top. then i went to g'mic again, to "lights and shadows", and used a filter called "equalize shadow". this takes down the contrast in the image a bit. i ran it at default settings.
i then went to gimp's colours menu and to "hue, saturation...". i pulled down the saturation and lightness quite a bit. then i made a black layer mask on the layer and drew the gradients on it just as i did in the left image, using linear gradient and making small strokes along all the edges and in all four corners.
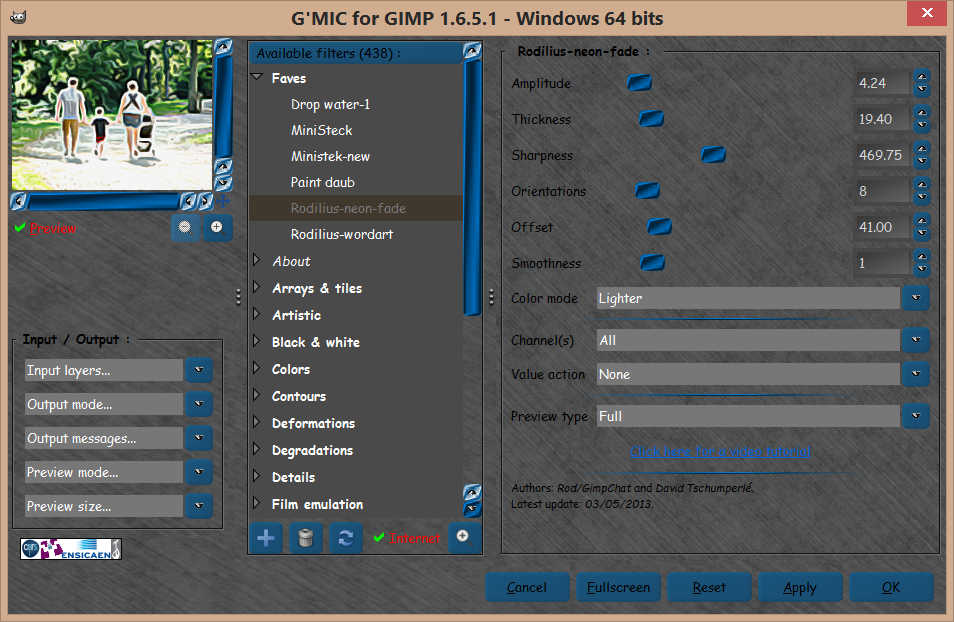
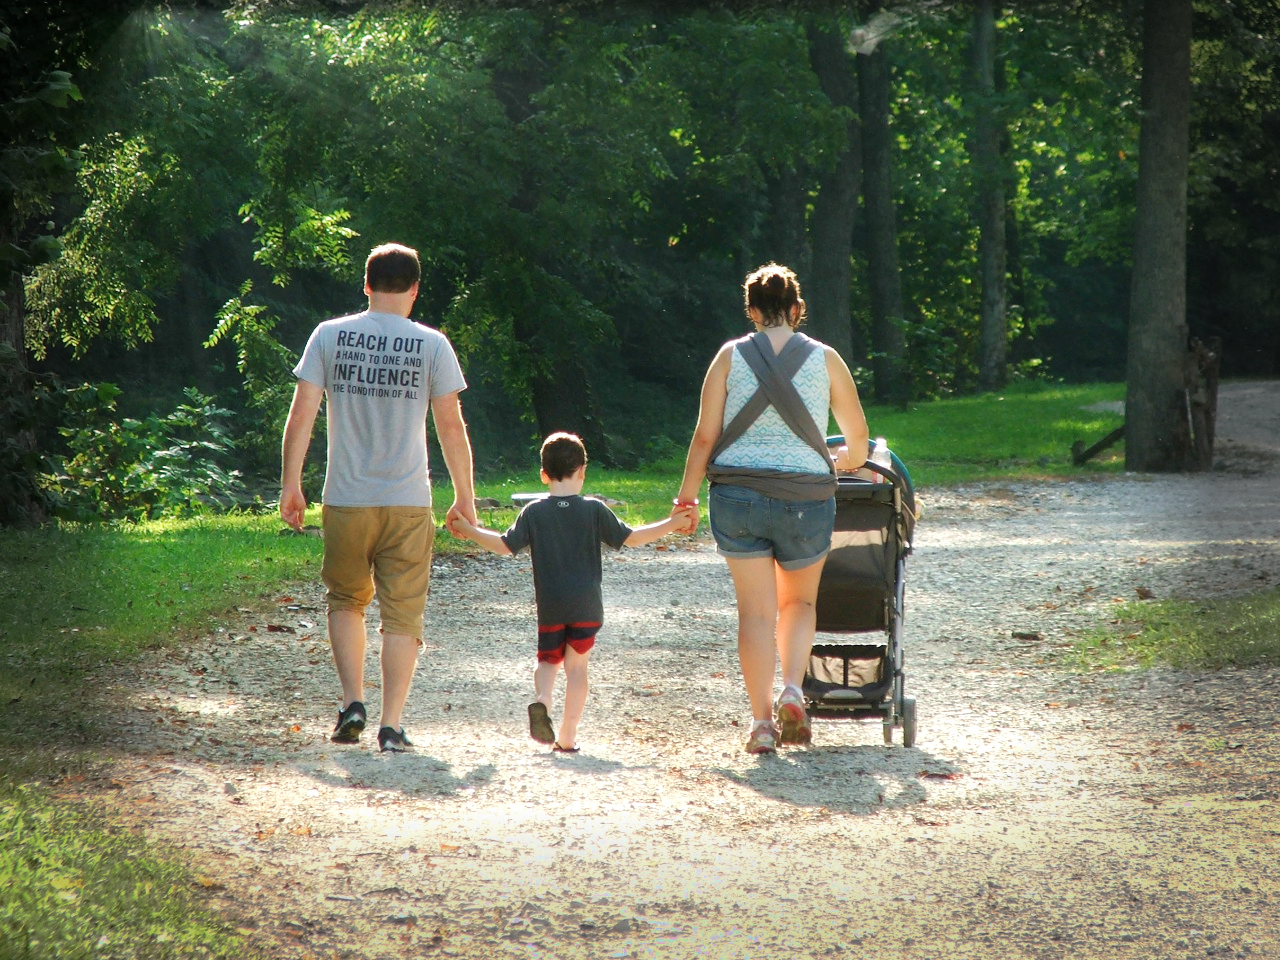
for the right image i also kept the sun rays, but i added a light leak effect. for that, i used another filter found under "lights and shadows", it's simply called light leaks. you can change the leak type with a slider, and i usually just experiment until i get one i like - i think the one i used here was 4. i duplicated the background layer and ran the filter on the duplicate layer.
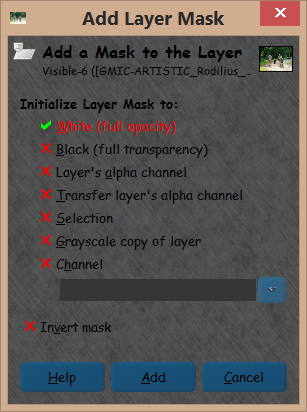
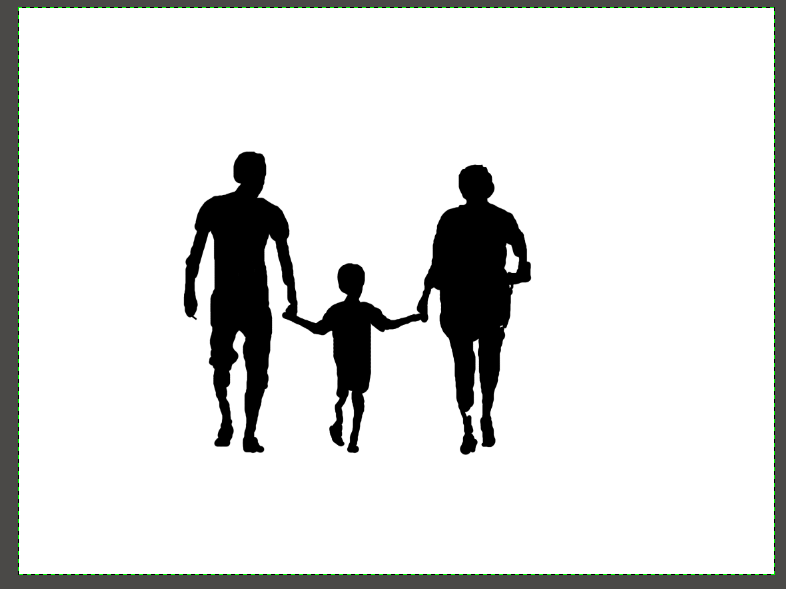
i wanted to bring out the people , so i masked them off with a layer mask on the light leaks layer, just like rod showed in his post. then i set the mode of the light leak layer to lighten only and pulled the opacity down low (35%, but i thought both more and less opacity worked fine too, just a matter of what you're after
). i tried a vignette edge on this one too but thought it looked better without.
 Login
 Register
 Tweets
 FAQ
 Advanced Search