Attachment:
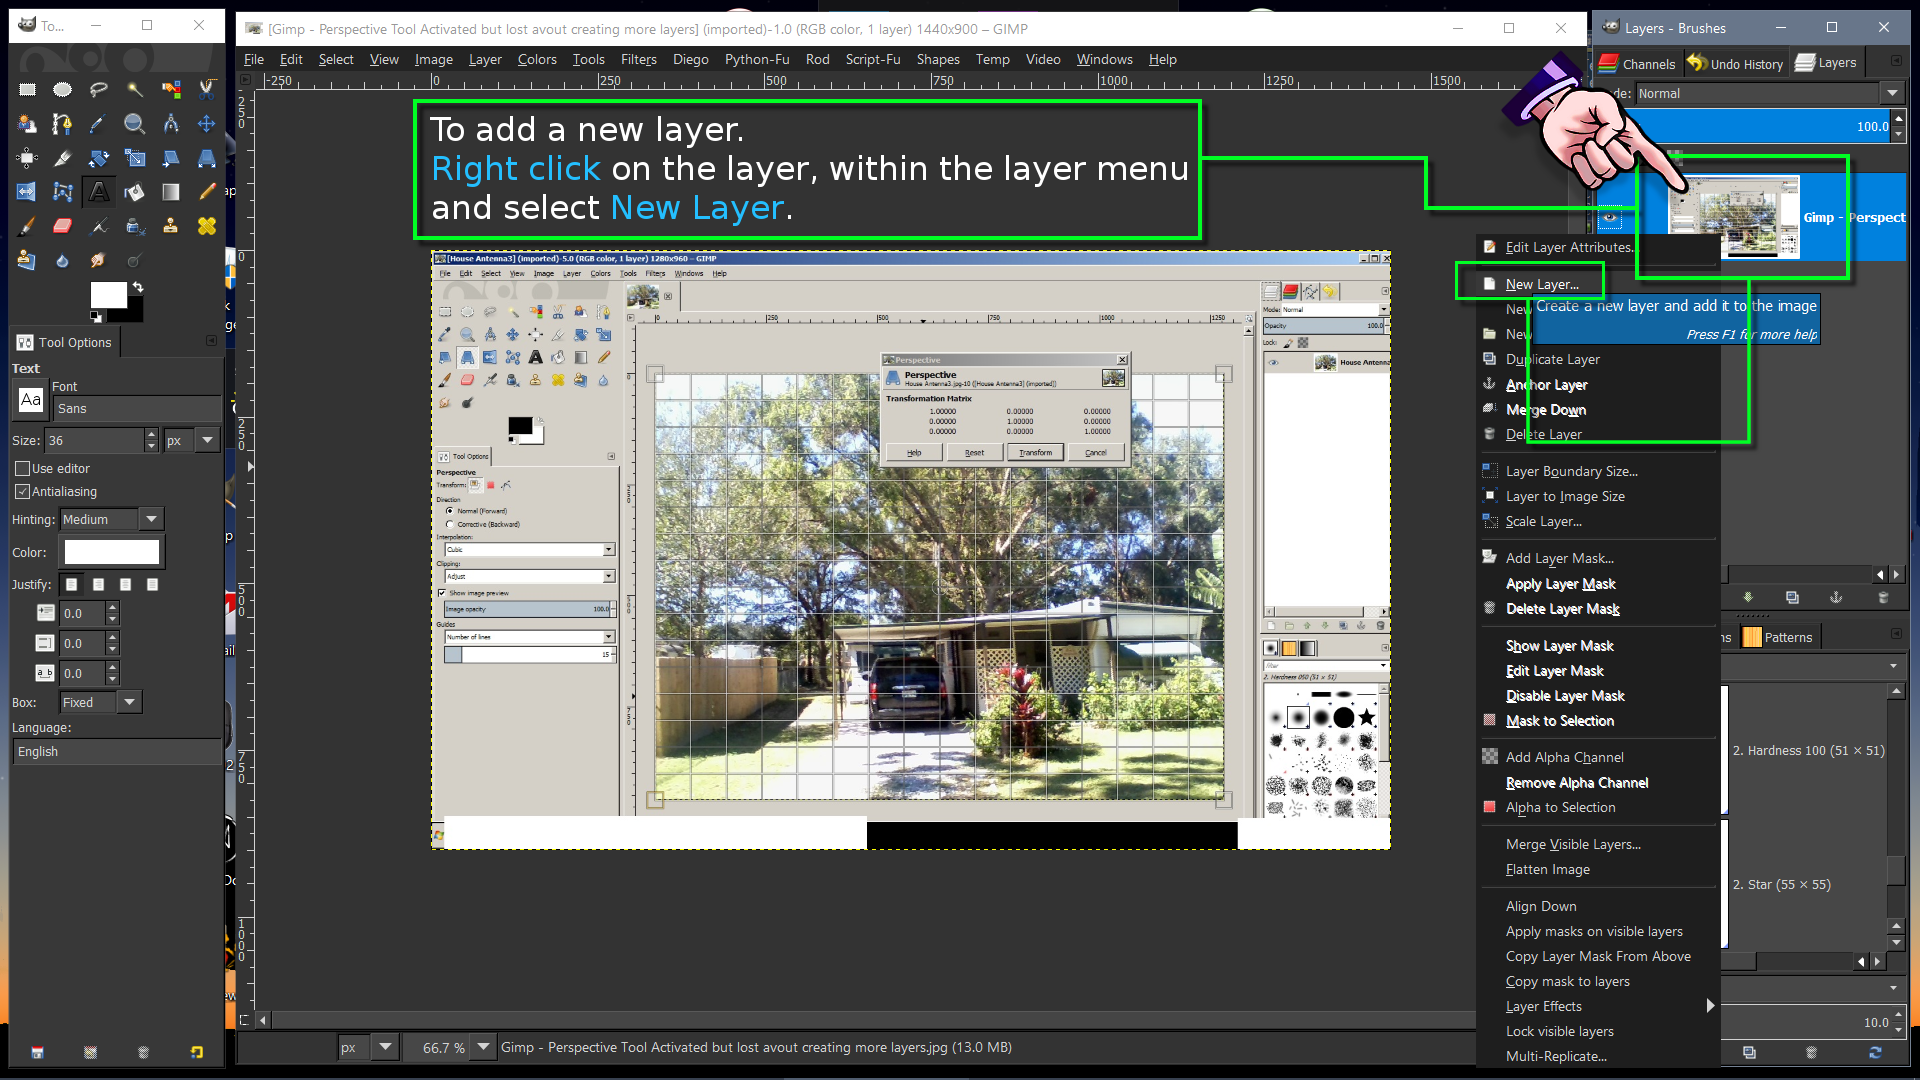
 Gimp - Perspective Tool Activated but lost avout creating more layers.jpg [ 477.4 KiB | Viewed 1260 times ]
Hi Wallace,
My apologies but I’m kind of getting list at the beginning of your video.
I opened a jpg in Gimp, the clicked the Perspective Tool (large capital, blue A character) so I’m given a transparent graph in screen with a Perspective Toll pop-up box with settings.
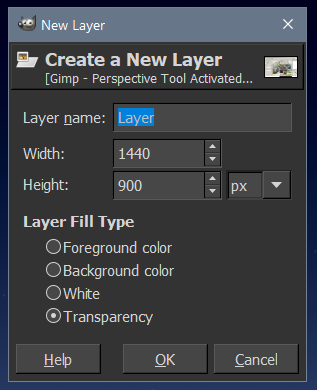
I see an icon resembling a stack of papers which displays Layer when I hover the mouse over it but when I click on it I don’t see another layer on screen.
You’re very adept using these tools so sometimes I lose how you reach certain functions because it happens so fast and it’s unfamiliar terrain for me.
Ex. I looked on the Colors tab but didn’t see a large selection of colors to choose from – just about 5-6. I chose Colorize but that just transformed the entire photos as shaded by the color, not replacing an area in the photo filled with nothing but my newly chosen color.
I watched the whole video so it looks like GIMP can replace subject areas in all shapes and sizes as you fit them into those places on your photo using the Perspective Tool and the eye and dragging the geometric shapes around.
I’d very much like to master those skills but I’m afraid I need to slow it all down so I can better understand step by step where to find the way to activate a specific function.
I’ve uploaded what I see when I open the Perspective Tool on a photo in my Gimp version.
Thanks so much for all your kind help and patience!
 Login
Login Register
 Tweets
 FAQ
FAQ Advanced Search