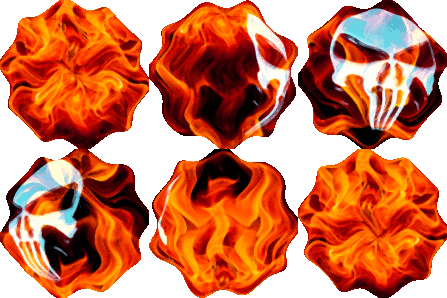
Here's a simple way to add some realism.
First, resize your motif like the skull in my example to fit the shirt.

There are two important things, blend mode is the first.
The wrinkles and shapes have to be see-through, grain merge and hard light usually work well.
But it depends on colors, sometimes you have to tweak. You can also play with opacity.
Note! Gimp 2.10 added more blend modes, I did this with 2.8
Changed the blend mode of skull to grain merge.

Second step is warp or displacement, which shapes the motif.
The layer size of the background (shirt) and your motif must be same.
Use "Layer to image" filter on the motif layer.
Then you can use Filters->Map->Displacement.
I'm just using 12x vertical displacement.
Make sure the background layer is selected on both layer drop-downs.


That's basic, you could add white base and also cracks/wearing to make it more realistic.
T-shirt prints wear out quite fast with frequent use and washing.
If I made something on the jeans, I would rather make a fabric patch, sweatpants have similar prints than shirts.
To shape the motif for butt, displace does not work that good, you can use Filters/Distort/Curve Bend or iWarp.
Will try out with 2.10. I can't remember what new tools it had but it may have a better mesh warp tool.
Edit: Duplicated the displaced skull layer, and changed blend mode to color:

 Login
Login Register
 Tweets
 FAQ
FAQ Advanced Search