This plug-in will probably replace my current FontSlab filter. It does not yet have all the planned options so please consider it as an interim measure.
Use it to write custom font text along a path; personally I like a good flowing line of characters with reduction in size – but hey, we all have our foibles!
A pdf version of this guide:
Attachment:
 Custom Font Trailing v0.1.pdf [1011.8 KiB]
Downloaded 68 times
Custom Font Trailing v0.1.pdf [1011.8 KiB]
Downloaded 68 times
Download the plug-in and install it to your user plug-ins folder as in Gimp 2.10.
Attachment:
Open up the Gimp and add a new image. Use the path tool to create a new path (the filter will add a straight line path if you do not do so).
Call up the tabbed filter dialog:
Filters>>Custom Fonts>>Using Tools>>Custom Font Trailing v0.1 Tabbed…
Use Tab 1 of the filter:

Click on the folder icon of the first option and navigate to, and click on the custom font xcf file that you want to display your text in.
Use the second option to enter your own text.
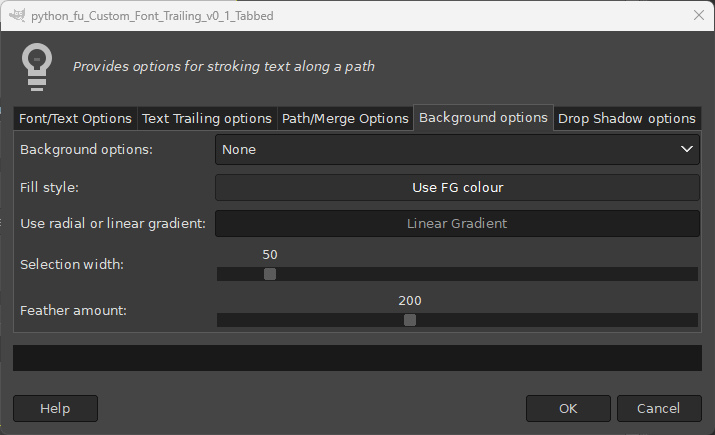
If you want to add simple background you can use the options on the 4th Tab of the dialog. They are self-explanatory.
Click on ‘OK’ when you are ready.
The text will be displayed as separate layers (default option on Tab 3) and the size of the characters will be automatically scaled to fit the length of the path.

I used one of my own recent custom fonts which has a set of alternative lower case characters. Using the appropriate option from the menu of the alternative character option on Tab 1 allows me to draw a reasonable version of a joined-up italic script.

This works nicely along a gentle, curving path but it may be necessary to nudge individual layers into position with the Move tool when the curve has sharper bends.
Tab 2 of the dialog allows you to specify changes in the size of the characters along the path; these can be applied after each character or after each word in the text.

If the value used by the first option leads to an illegal text size, the filter will throw up a message to warn you; small changes are probably the best way.

Here I used a value of -5.0 for the text trail size.

Here I used a value of 5.0.

Ordinary custom fonts, as opposed to those intended to look joined-up, are much more forgiving when following sharper curves in paths.
In the example below you can see how the characters fill the entire length of the path:

When using a closed path, such as a circle or oval, the filter will add a space character to the user’s text so that the first and last characters do not sit tightly next to each other.
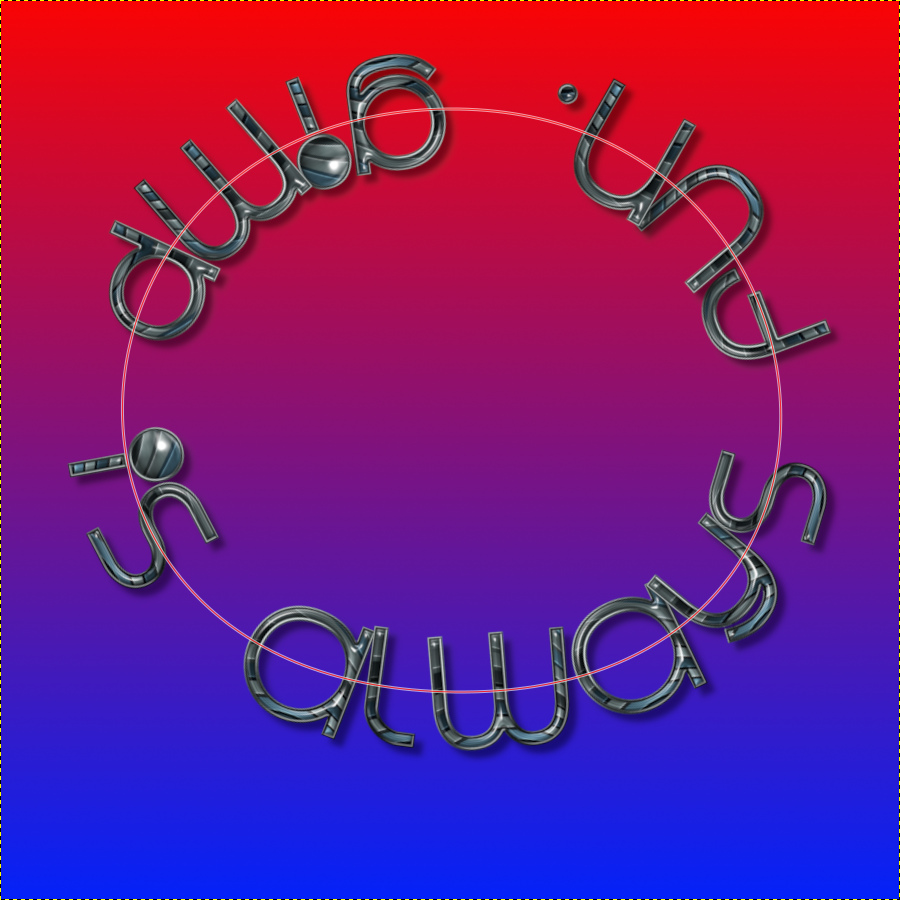
You can, of course, adjust the size of the trail with closed paths too.
Below uses an adjustment size of -3.0:
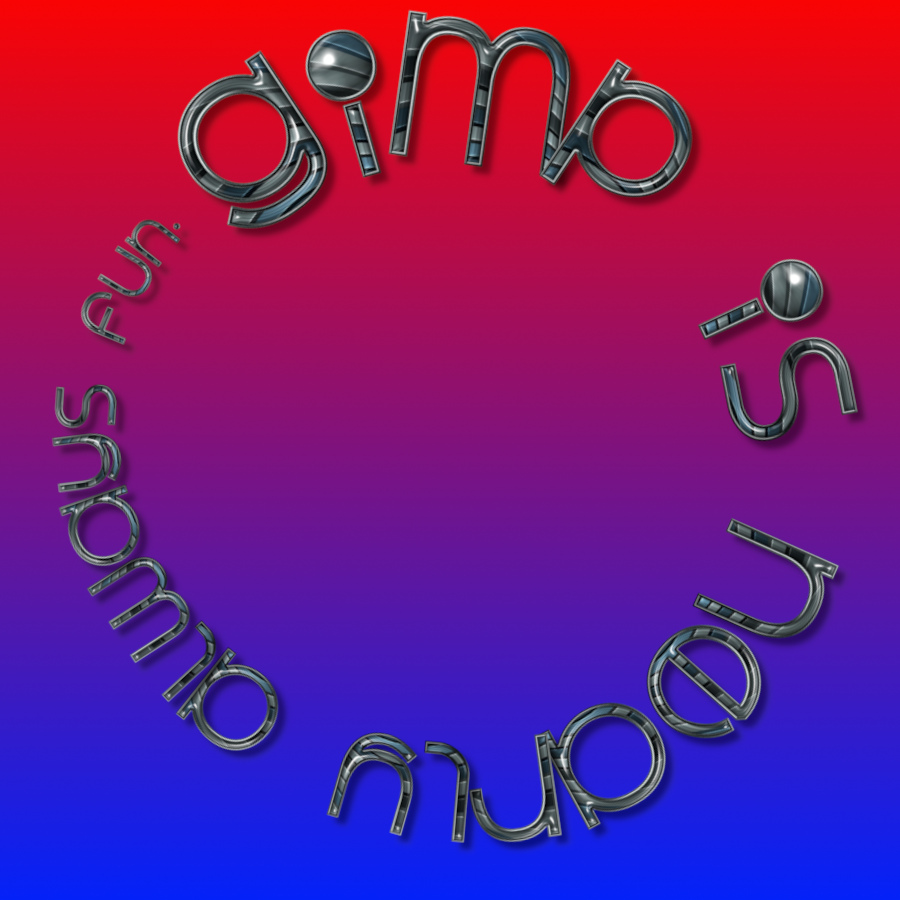
The path used was not a circle selection converted to a path from the Selection menu, but was made with a couple of points added with the path tool before closing, so that the text would start from the appropriate point on the circumference.

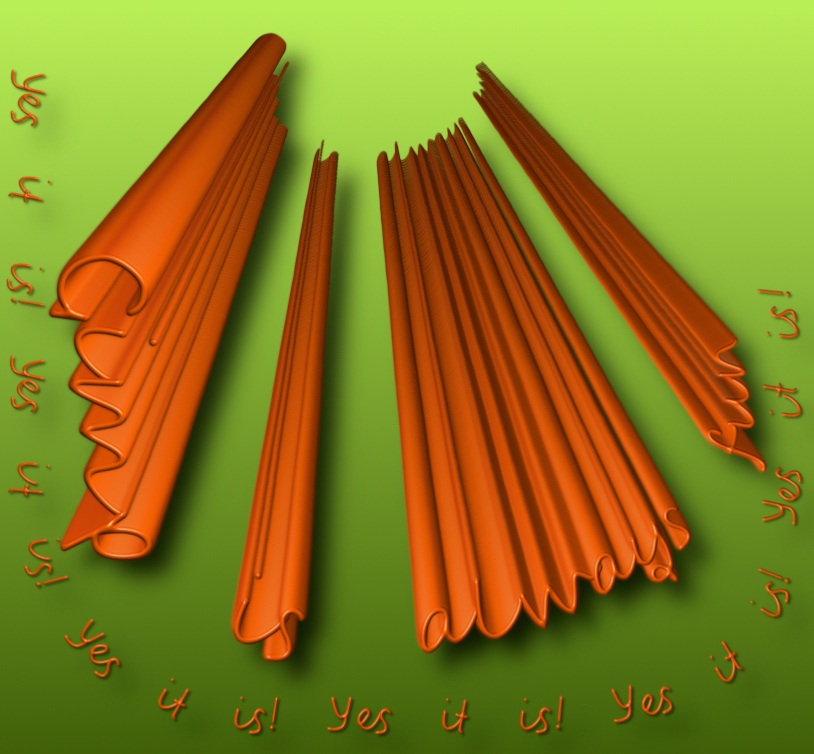
The last option on the 2nd Tab provides a quick way of repeating text along a path (as opposed to manually typing) as shown below in the repeated phrase (6 repeats used here).
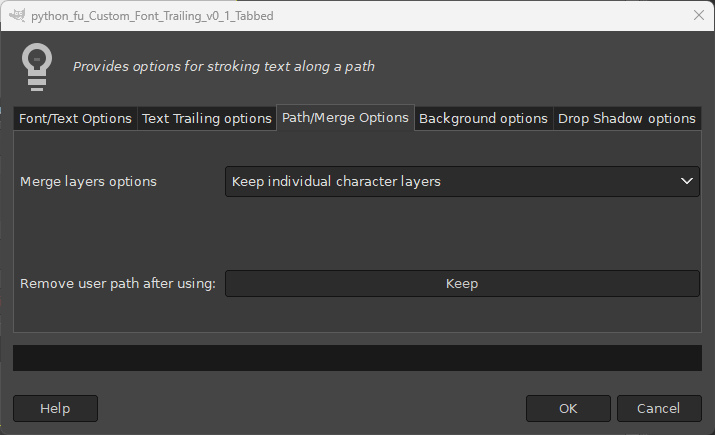
The other Tabs with the currently implemented options:
Tab 3
Tab 4:
The background options (as in my Paragrapher filter)...
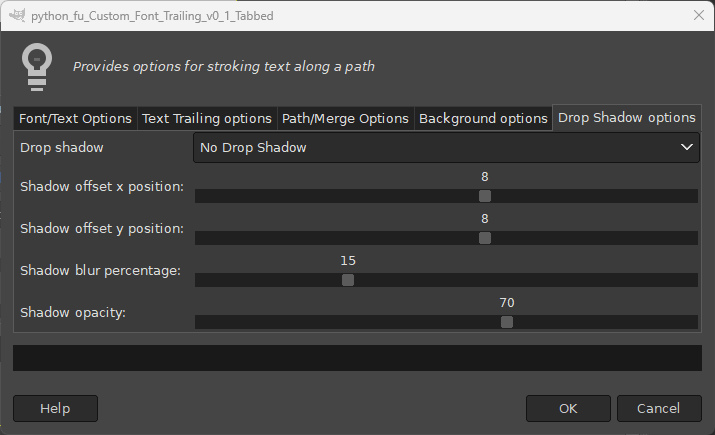
Tab 5:
Drop shadow options (as in my Paragrapher filter)…
Be aware that currently the drop shadow is applied to every layer in the image that contains ‘.png’ in the layer name.
One final example of using Custom Font Trailing using two passes of the filter with custom fonts from the same family (after deleting unwanted character layers).

Have fun!
 Login
Login Register
 Tweets
 FAQ
FAQ Advanced Search