Last time I tried to do this GimpChat went down so fingers crossed...
This plug-in is a compilation of a couple of filters that I often use for generating a background or textured image using randomly sized and/or rotated shapes. The results are usually tweaked or refined with other filters before being used – usually for custom font faces.
Since you can use the filter to generate a significant number of layers I often convert the layer names to custom font format so that I can apply custom font filters to many layers in one go. You can apply filters to each individual layer – if you wish.
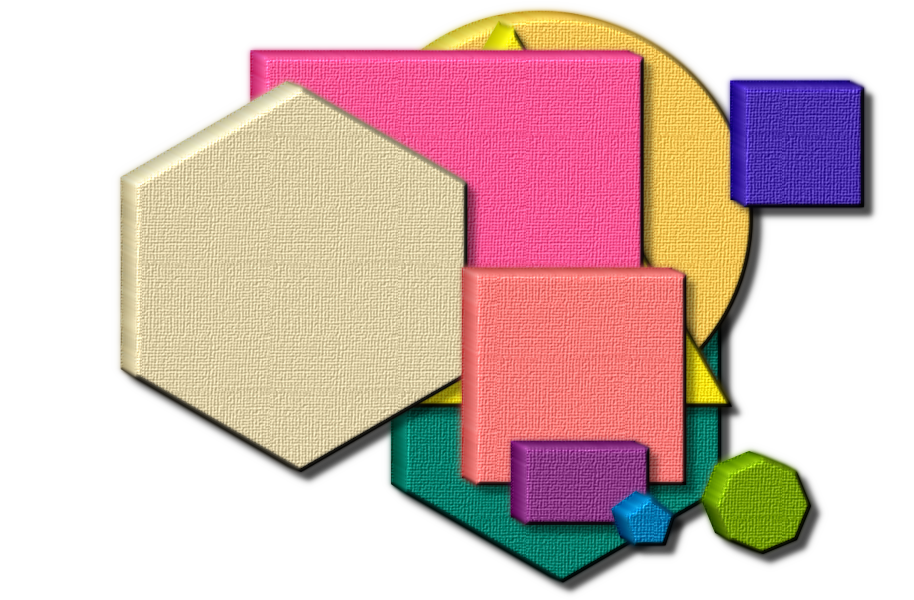
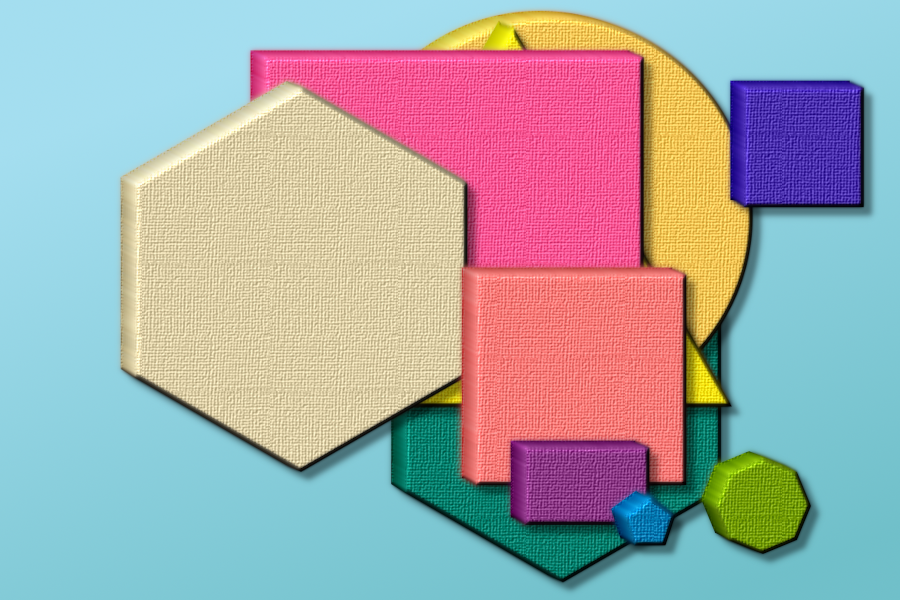
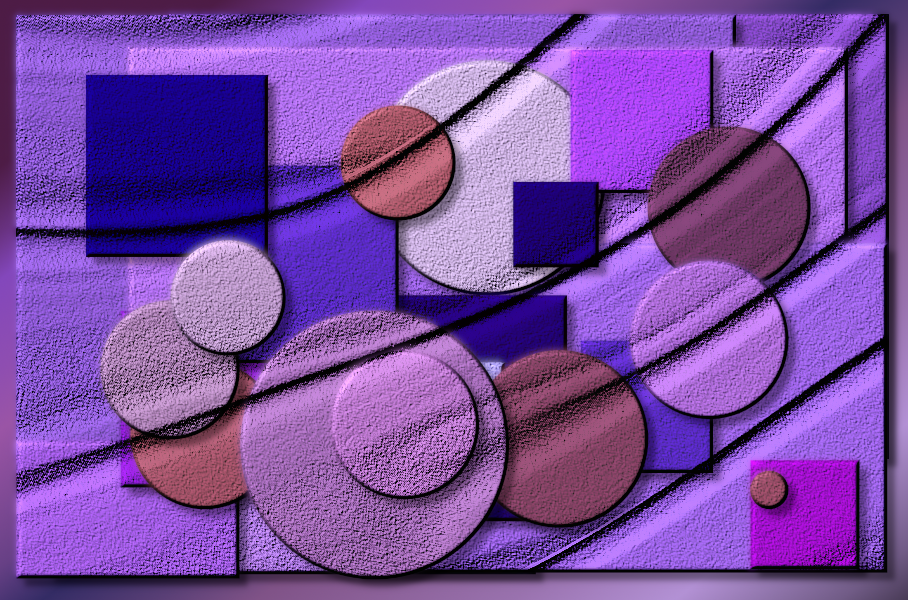
A recently used background image as an example, that uses 27 shape layers and makes use of embossing, bump-mapping and drop shadow filters in Gimp.
The accompanying Resources Folder contains the Regular Shape plug-in and an updated Layer Utilities filter (version 1.37 Tabbed). You can download other Custom Font filters and guides by following the link to my signature on GimpChat.
Attachment:
 ShapeMakerv02_Resources.zip [36.41 KiB]
Downloaded 3 times
ShapeMakerv02_Resources.zip [36.41 KiB]
Downloaded 3 times
A pdf of this help guide:
Attachment:
 Regular-ShapeMaker_Help.pdf [1.7 MiB]
Downloaded 3 times
Regular-ShapeMaker_Help.pdf [1.7 MiB]
Downloaded 3 times
Getting StartedSo (assuming that you have downloaded and unzipped the filters and placed them in your Gimp 2.10 user plug-ins folder) open Gimp 2.10 and add a new image, with a transparent background.
Call up the filter dialog:
Filters>>Regular Shape Maker Tabbed v0.2 Tabbed…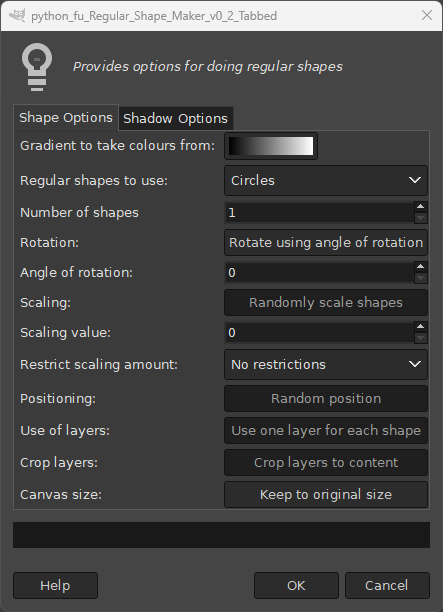
Use the Gradient option to select a gradient: Regular Shape Maker will randomly choose a colour from the current gradient. If you want to use colours from the custom BG-FG gradient do this before calling up the filter.
Select the shape and number of shapes to add to the image and hit ‘OK’.
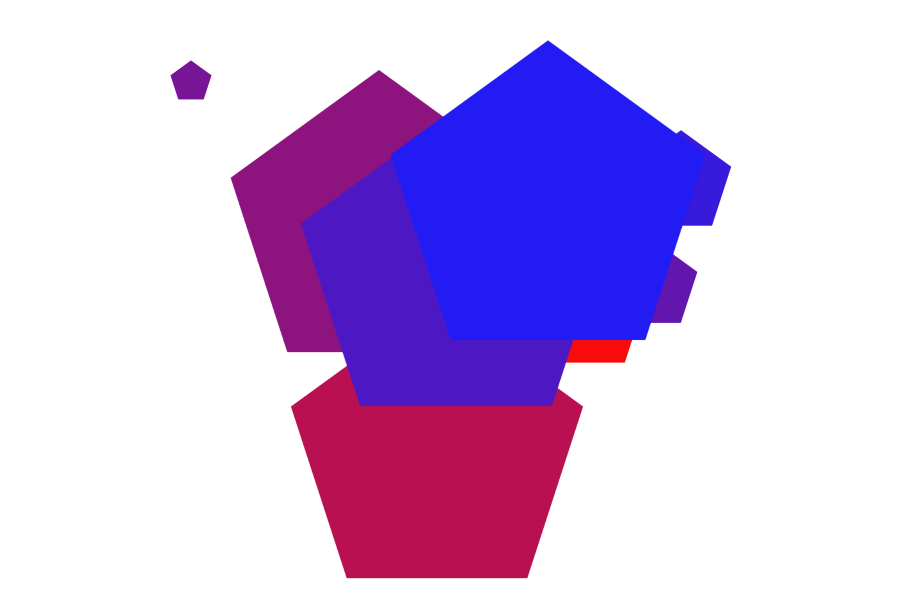
I used a Red-Blue custom gradient with pentagons and generated 8 shapes.
The default options randomly set the size and position of each shape and crops each layer to fit each shape.
The default cropping option allows you to drag the shapes around and re-position them if you are not satisfied with the initial outcome.
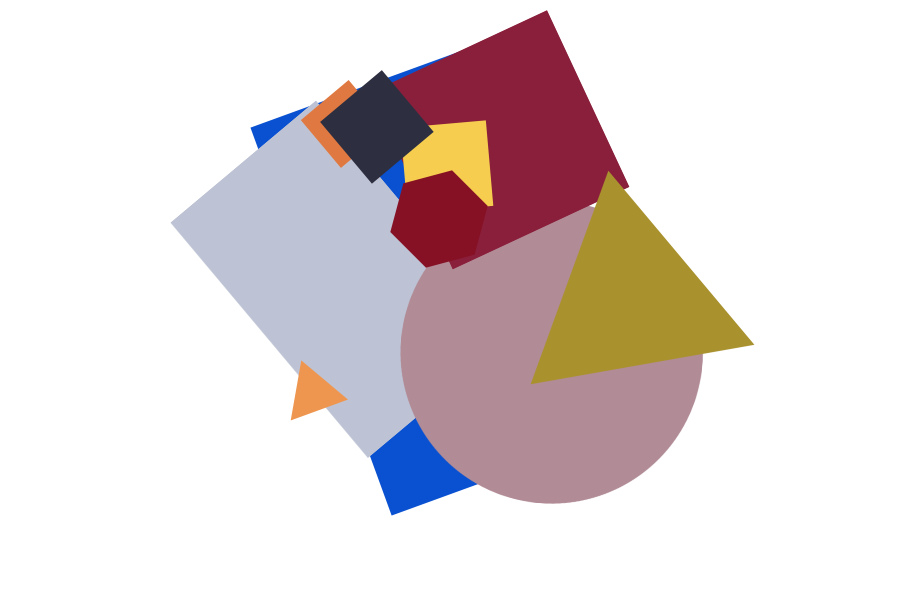
If any shapes are completely hidden, you can always re-order the hidden layer in the layers dock tool pane, moving it nearer the top of the layer tree.
By default, the shapes are placed with a rotation of zero degrees. You can set your own angle of rotation or use random rotation for each shape.
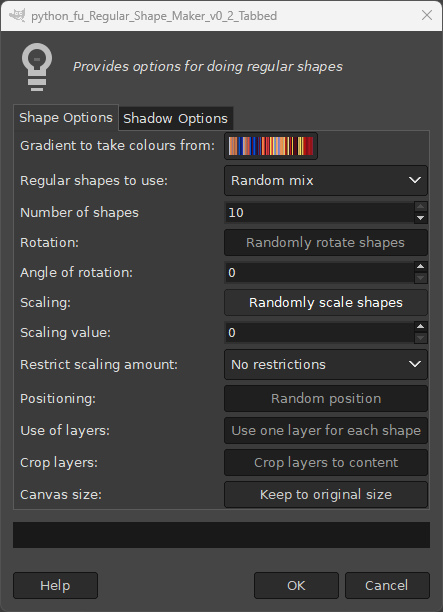
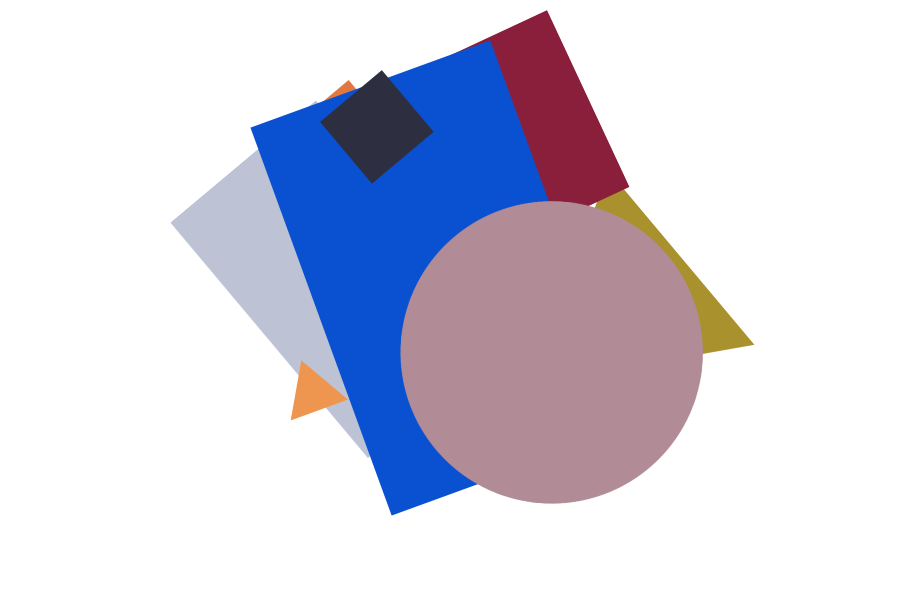
The following example uses a mix of 10 shapes, sizes and rotations with a coloured gradient.
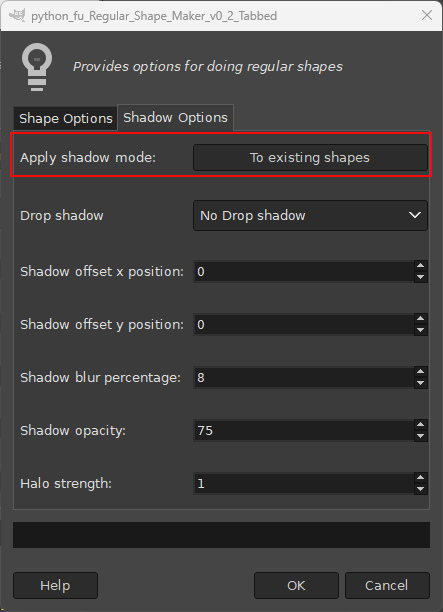
My dialog options:
The initial outcome:
Two of the smaller shapes were hidden, so a little re-ordering was required.
I could have run the filter again to generate more layers.
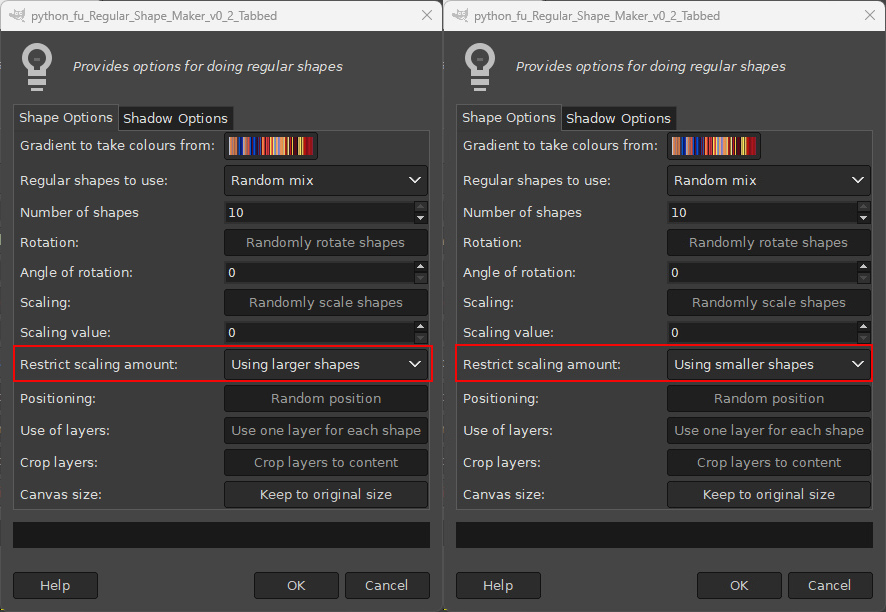
There is an option to focus the generated size of shapes to larger or smaller sizes…
 Adding Effects
Before adding effects to the plain shape layers use the Custom Font Layer Utilities plug-in.
Filters>>Custom Fonts>>Utility Tools>>Custom Font Layer Utils v1.37 Tabbed
Use the ‘Force custom font names’ option Tab 3 of the dialog...
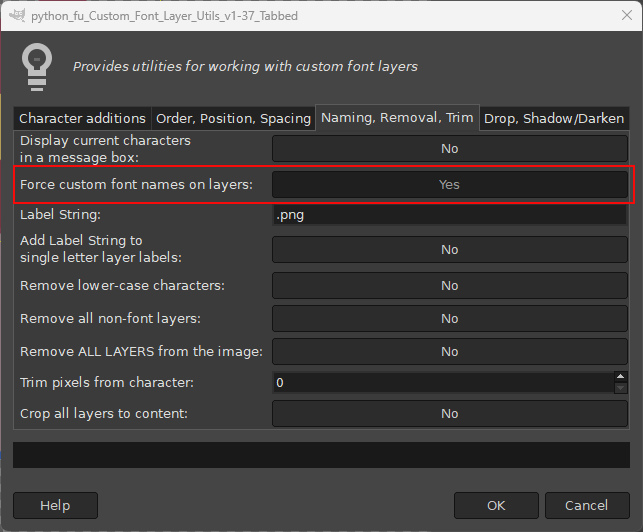

Then call the filter again. Set the same option to ‘No’ and then use the last option on Tab 2 to resize all layers to the image size. Some effects do not work very well without having transparent pixels around the layer content.

Many of the Custom Font Decorative Tools such as Effects Only, Artistic Pack, Noise Packs, Distortion Packs and Metallic Effects will now work with the layers in the image.
Refer to the help guides for each filter.
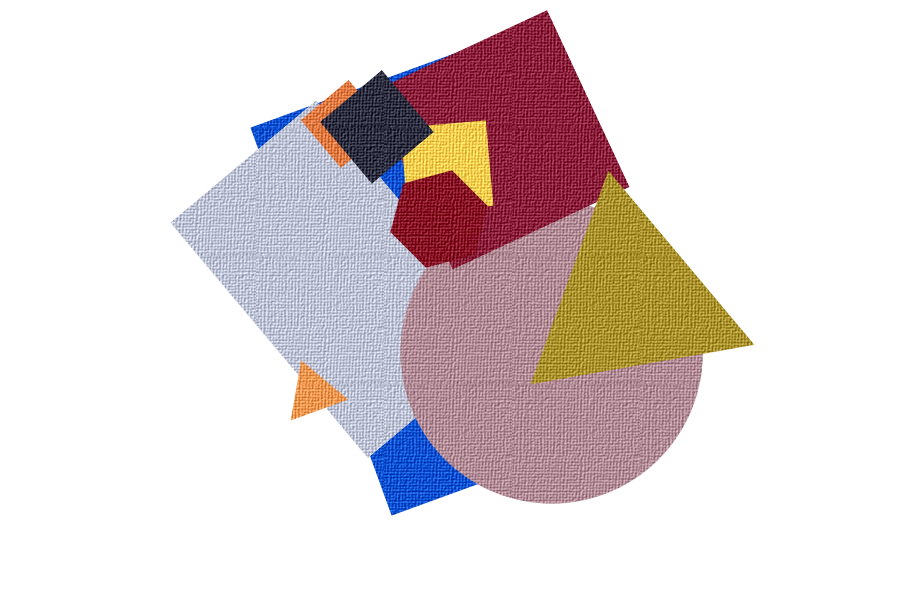
Apply a canvas texture option from the Artistic Pack to add a little interest to the layers.
Filters>>Custom Fonts>>Decorating Tools>>Custom Font Artistic Pack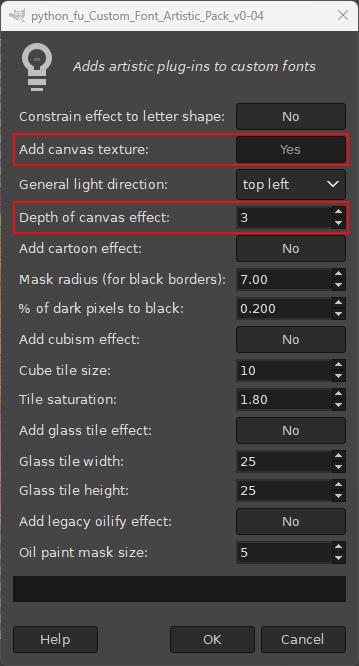
The outcome:
Apply an emboss effect with the Effects Only plug-in.
Filters>>Custom Fonts>>Decorating Tools>>Custom Font Effects Only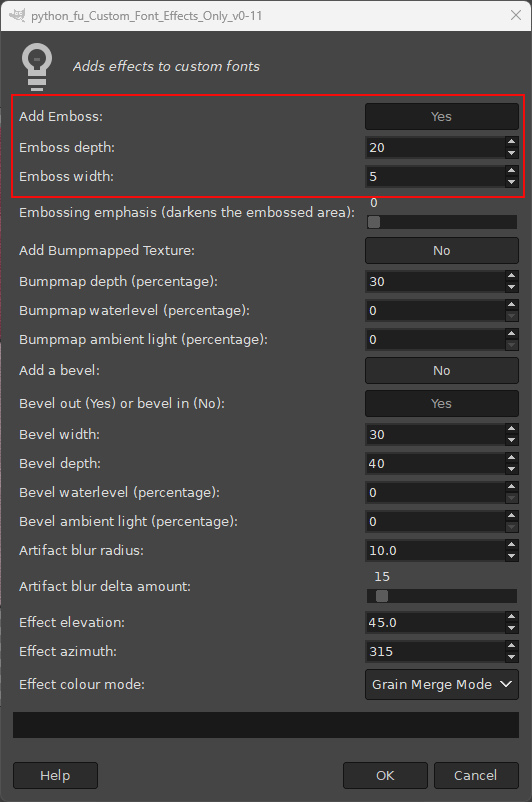
The outcome…
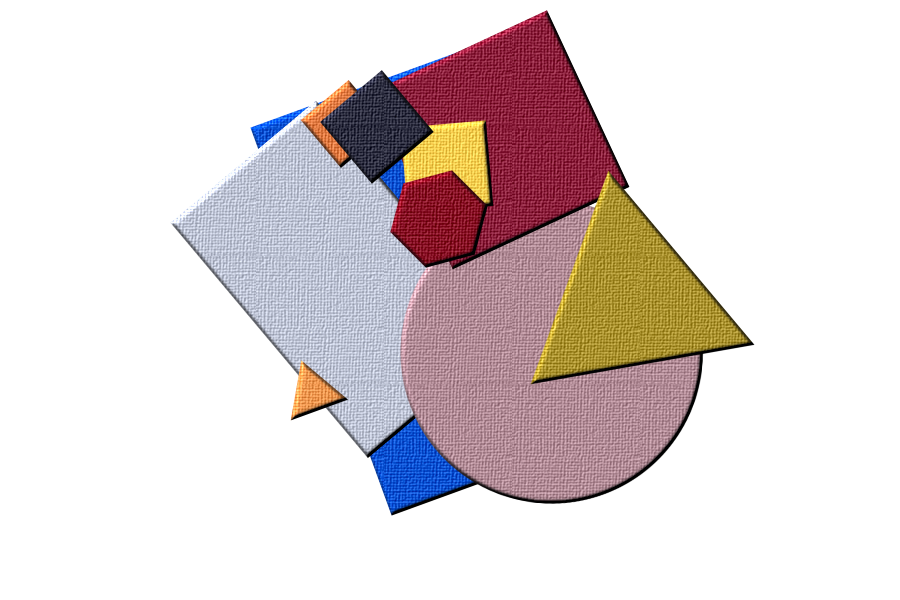
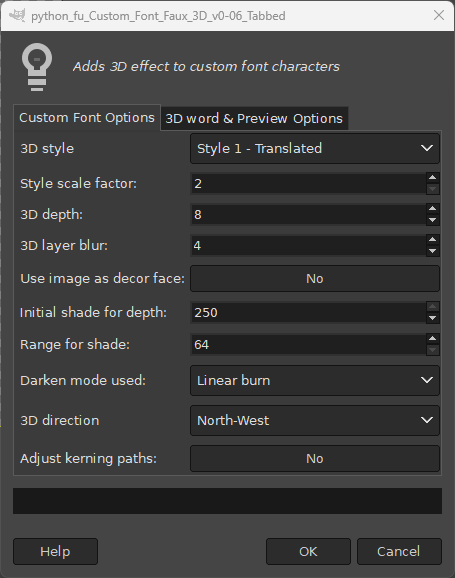
Apply 3d with the Faux3D plug-in…
Filters>>Custom Fonts>>3D Tools>>Custom Font Faux 3D Tabbed...[NB Effect applied to a different image - I lost the original.]
The outcome…

To be continued in part 2...
 Login
Login Register
 Tweets
 FAQ
FAQ Advanced Search