Custom Font Alternative Characters for Gimp 2.10
This is a first attempt at adapting some of my Custom Font plug-ins to use alternative characters.
Some resources to download and use if you would like to explore this feature:
Attachment:
 Plug-ins and Resources.7z [1.02 MiB]
Downloaded 79 times
Plug-ins and Resources.7z [1.02 MiB]
Downloaded 79 times
Attachment:
Custom Font File Resources.7z [4.25 MiB]
Downloaded 63 times
A pdf version of this topic:
Attachment:
 Alternative Characters.pdf [901.7 KiB]
Downloaded 58 times
Alternative Characters.pdf [901.7 KiB]
Downloaded 58 times
What are Alternative Characters?
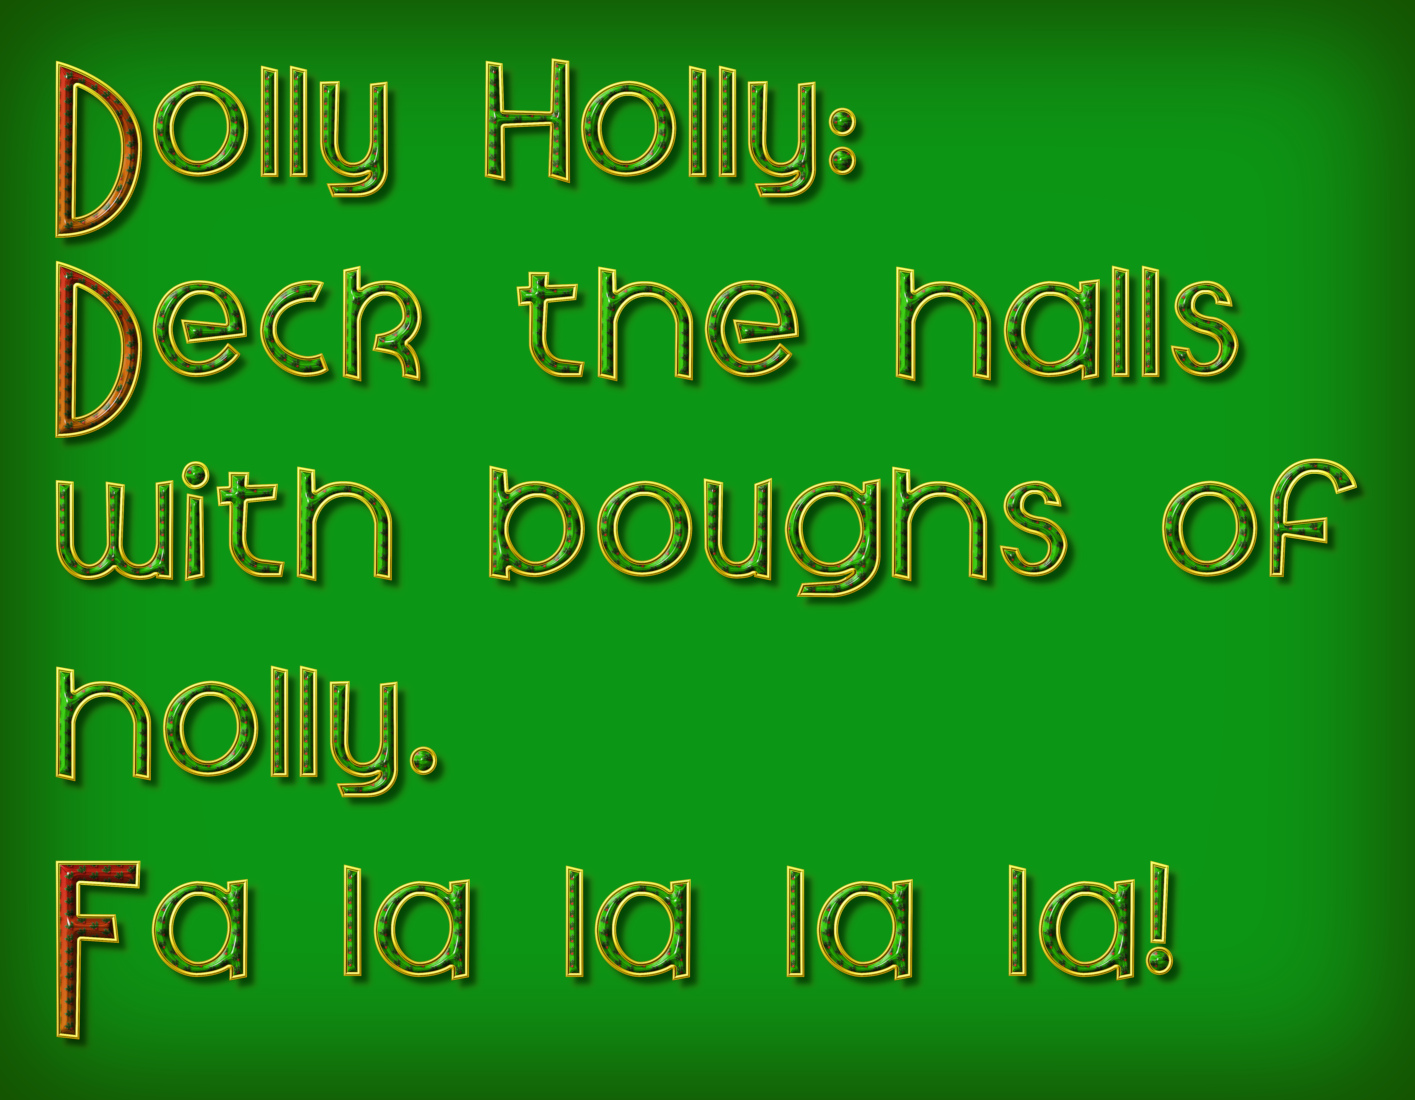
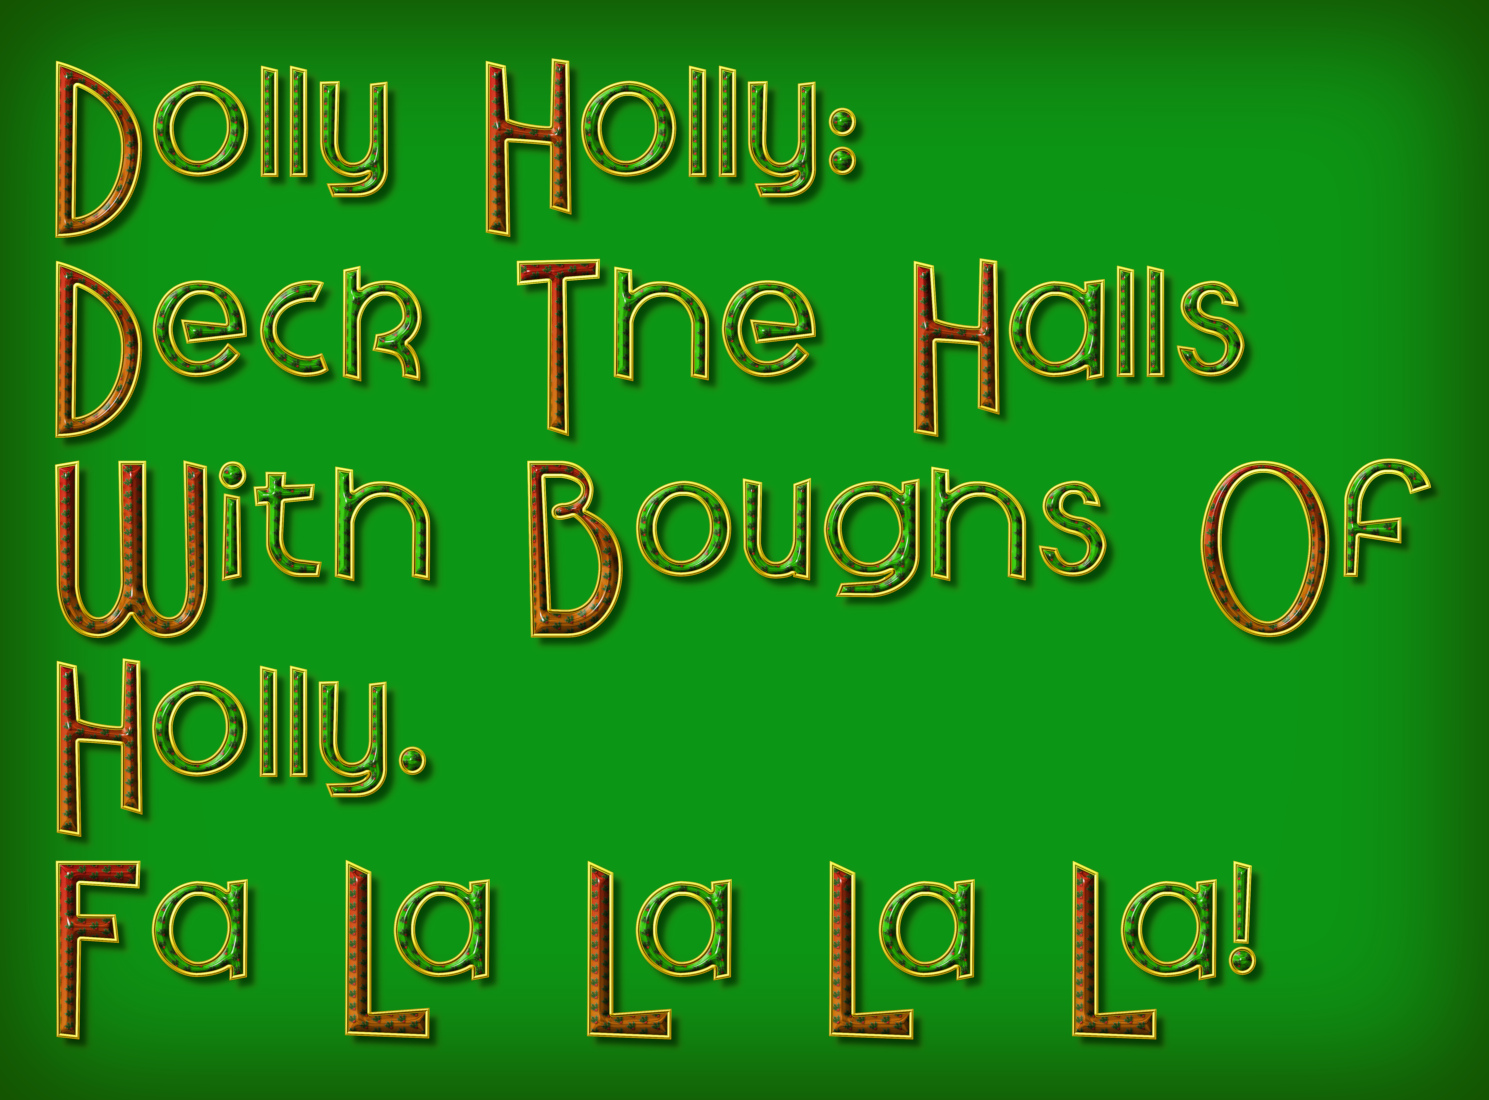
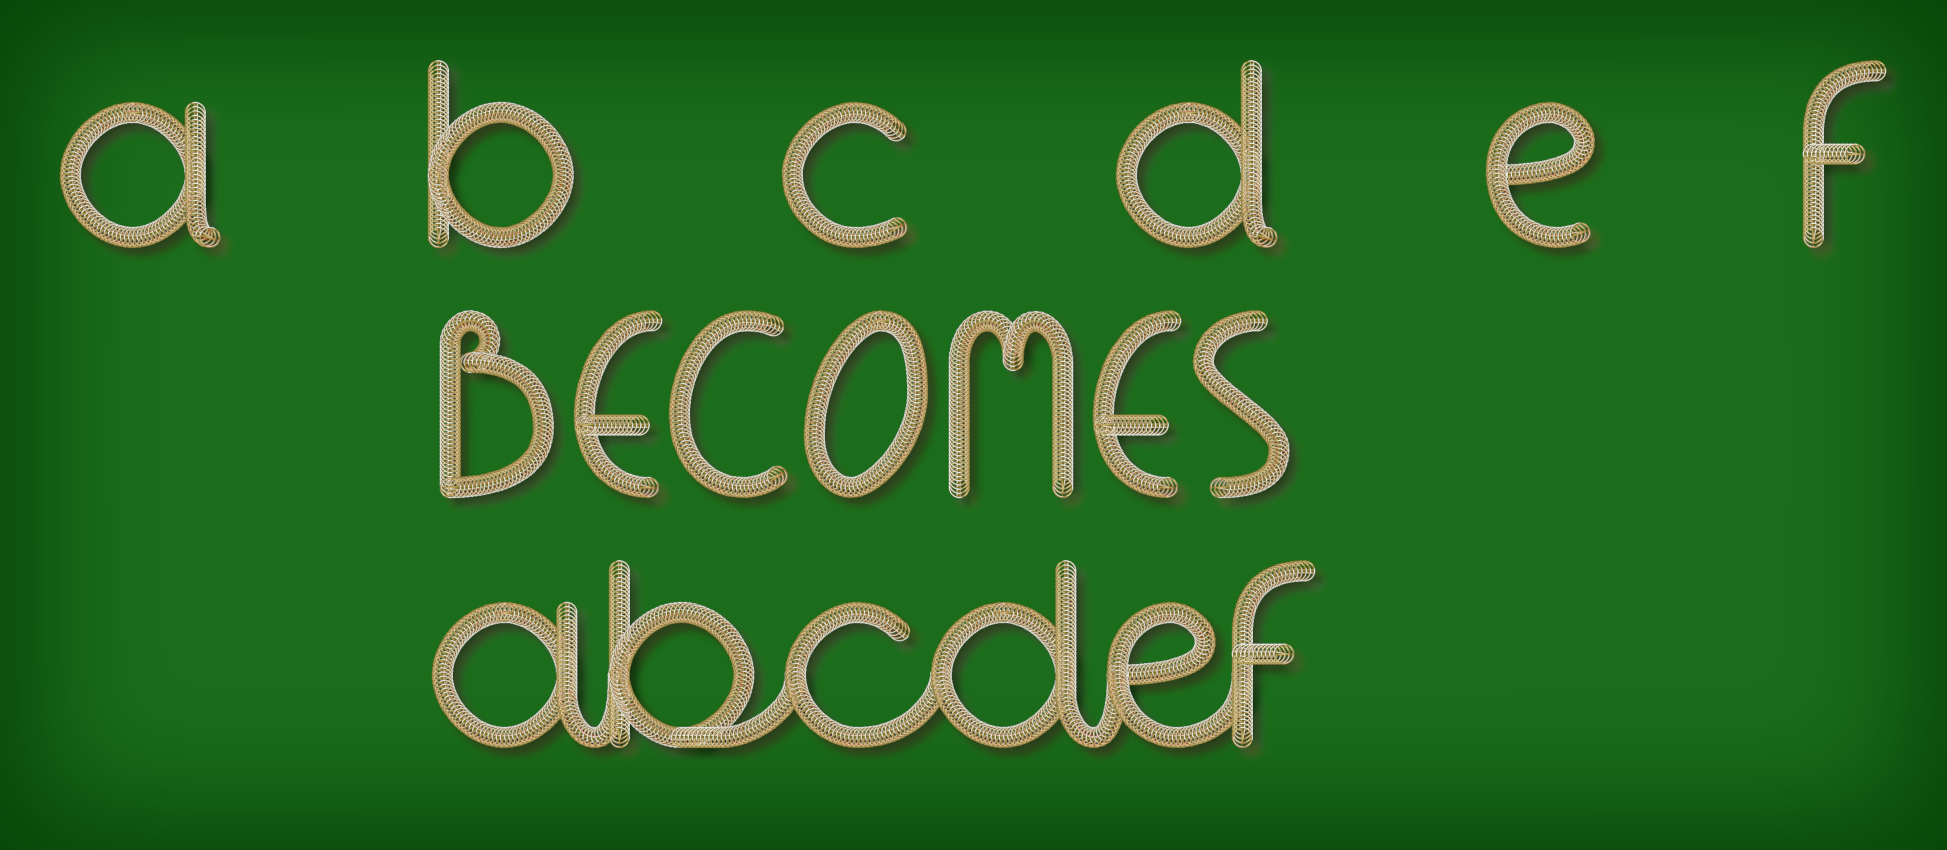
They are character layers that can be used to extend the range of character shapes and add variety contained within a custom font. The alterative characters are randomly used instead of the original character in a piece of text.
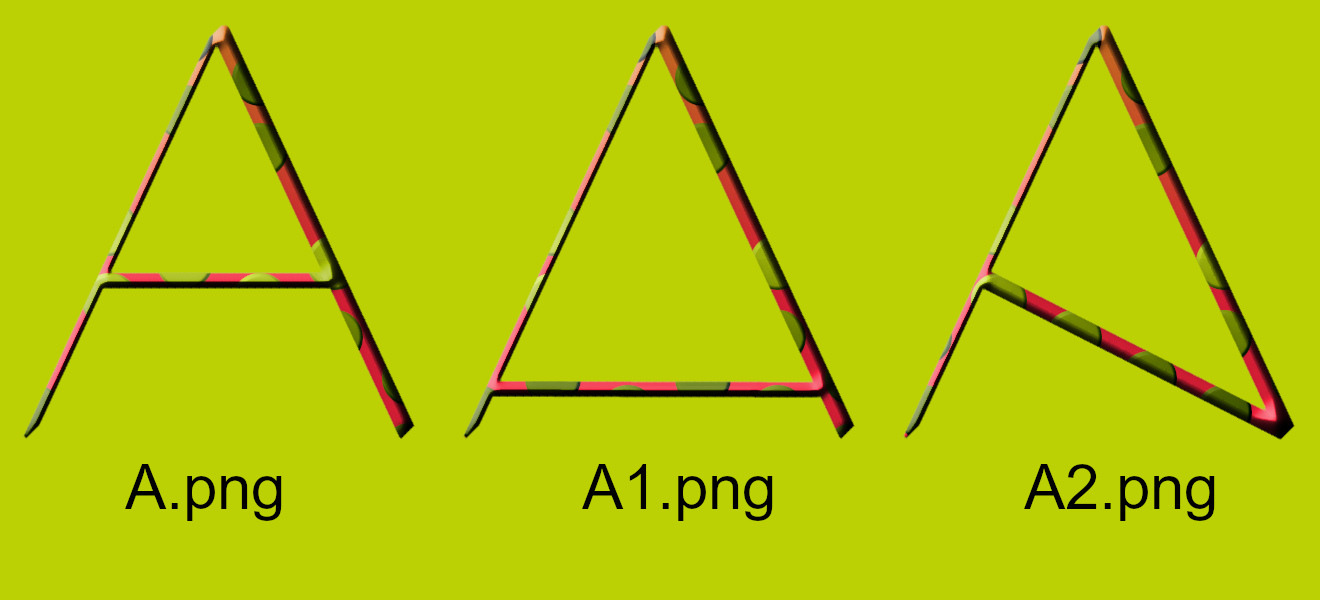
The naming convention for the ‘A’ character is ‘A.png’. You can add extra ‘A’ characters and name them ‘A1.png’ then ‘A2.png’ etc. The maximum number of alternative characters for each letter is currently 9.
I have a small number of versions of existing plug-ins available to try with these alternative characters. These plug-ins all have a version number ending in ‘b’ to make them easier to identify.
If you want to have a play, download the resources folders. One contains the plug-ins and the other contains three xcf files (a custom path characters file and some custom font files with alternative characters).
Download and unzip the resources folders if you haven't already done so. Copy the plug-ins that you want to use to your user plug-ins folder before starting Gimp. Copy the xcf files to a folder where you can find them later.
Play 1:
If you just want to play with creating some text using an existing set of alternate characters then use the Paragrapher plug-in.
Create a new image (I used 900 x 600 @ 300ppi) and open the Paragrapher dialog:
Filters>>Custom Fonts>>Using Tools>>Custom Font Paragrapher v1.4b Tabbed…
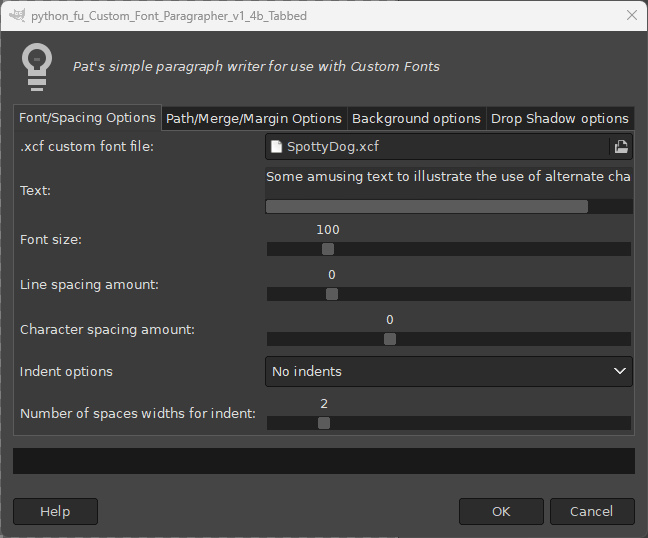
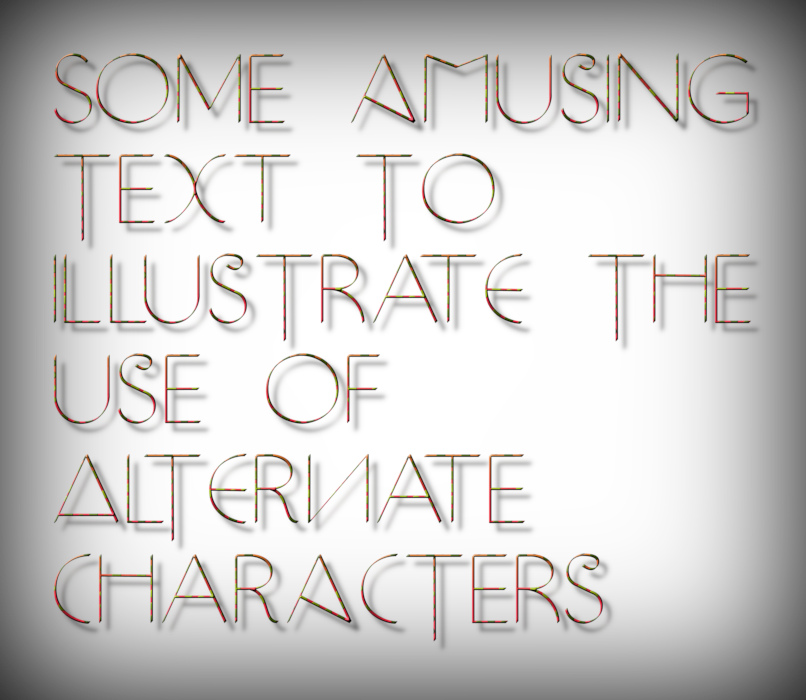
Simply enter the text to display and click on the folder icon in the dialog and navigate to (and click on) the custom font xcf file that you copied from the resources folder. There are options for adding a background layer and a dropped shadow on the other dialog tabs. When you are ready, click on ‘OK’.
If you need more information, click on the link:
Paragrapher HelpPlay 2:
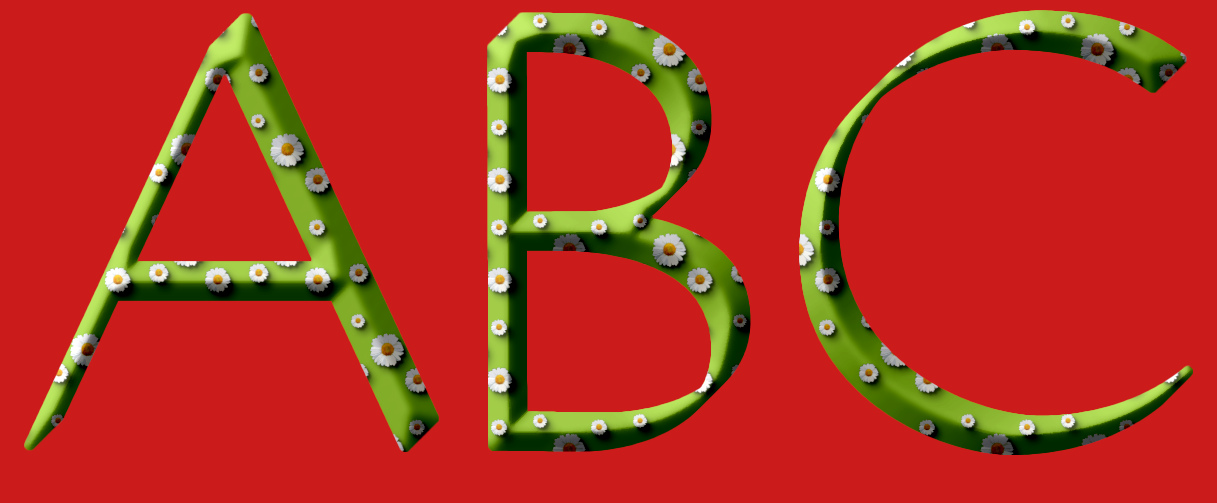
If you want to try out adding your own emboss and then decorating the characters use the Embossible and Facemaker plug-ins.
Open the xcf file WhiteItalic_Medium that you downloaded earlier.

Use the Embossible plug-in to give the characters some emboss and depth.
Open the Embossible plug-in:
Filters>>Custom Fonts>>Constructing Tools>>Custom Font Embossible v0.8b…
Use the values below to create a soft peaked emboss effect.

Save the file with a suitable name if required.

Click here for more help with Embossible:
Embossible HelpTo add a decorative face to the characters use the Facemaker plug-in with a suitable image layer like the one in the Resource folder.
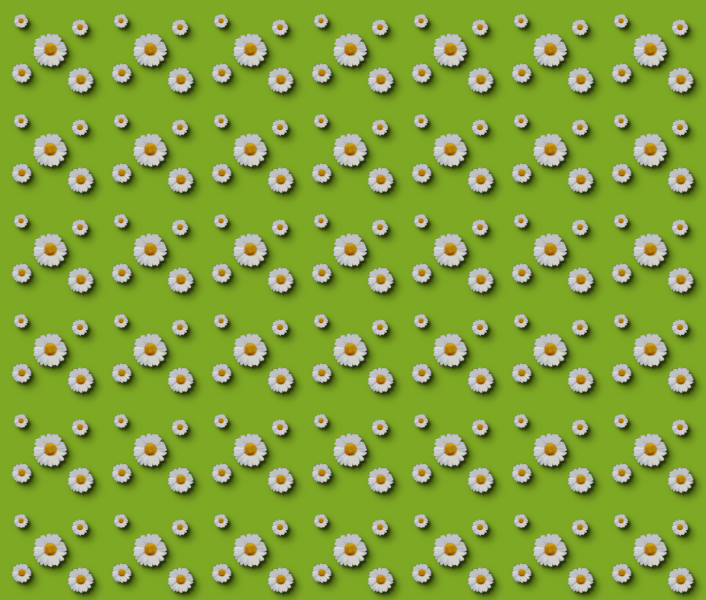
Open the decorative layer in Gimp and copy it:
Edit>>Copy (Ctrl + C)
Switch to the embossed custom font file and add your image as a decorative layer with:
Edit>>Paste as>>New Layer in Place (Ctrl+Alt+P)
Call up the Facemaker dialog:
Filters>>Custom Fonts>>Decorating Tools>>Face Maker v0.13b Tabbed…
The only option you should need to set is the ‘New Mode’ with Grain merge as the mode.
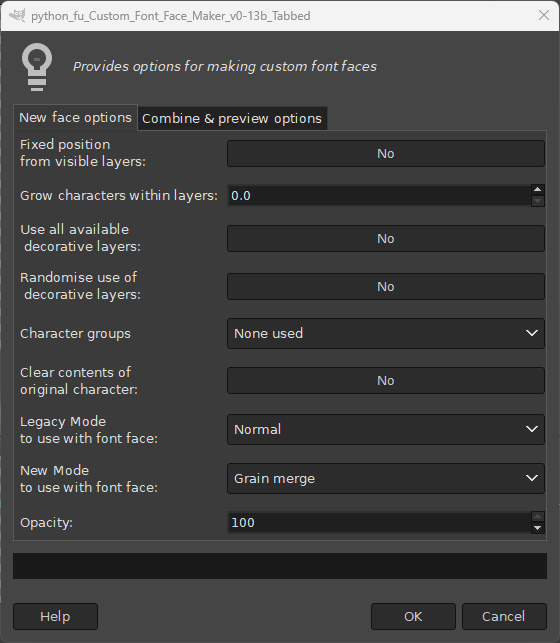
Click on ‘OK’.
Save the file, if required, with a suitable name.
Link to download an older version quick-start guide:
Guide LinkPlay 3:
Finally if you really want to play with a method of adding alternative characters as a set of white characters use the version of Custom Font Paths to Layers in the Resources folder.
Before doing this, however, you will probably want to add some more character paths to the file containing the set of character vectors.
Open the AltStyleCaps.xcf file containing the custom font character paths in Gimp.
Make sure that you have the Path Tool Dock displayed so that you can view the paths in the tree directory.
To add an extra alternative ‘A’ character, scroll down to the original A character path; select that path (click on it) to make it active and duplicate the vector (right-click>>Duplicate Path).
Click on the name for this duplicated character and rename the character (for the first alternative name add 1 to the character name otherwise increase the name’s number by one); because ‘A char1’ ‘A char2’ and ‘A chr3’ already exist name the new character as ‘A char4’.
Make this vector the only visible path (click on its eye icon). It will turn from blue to red in the main window.
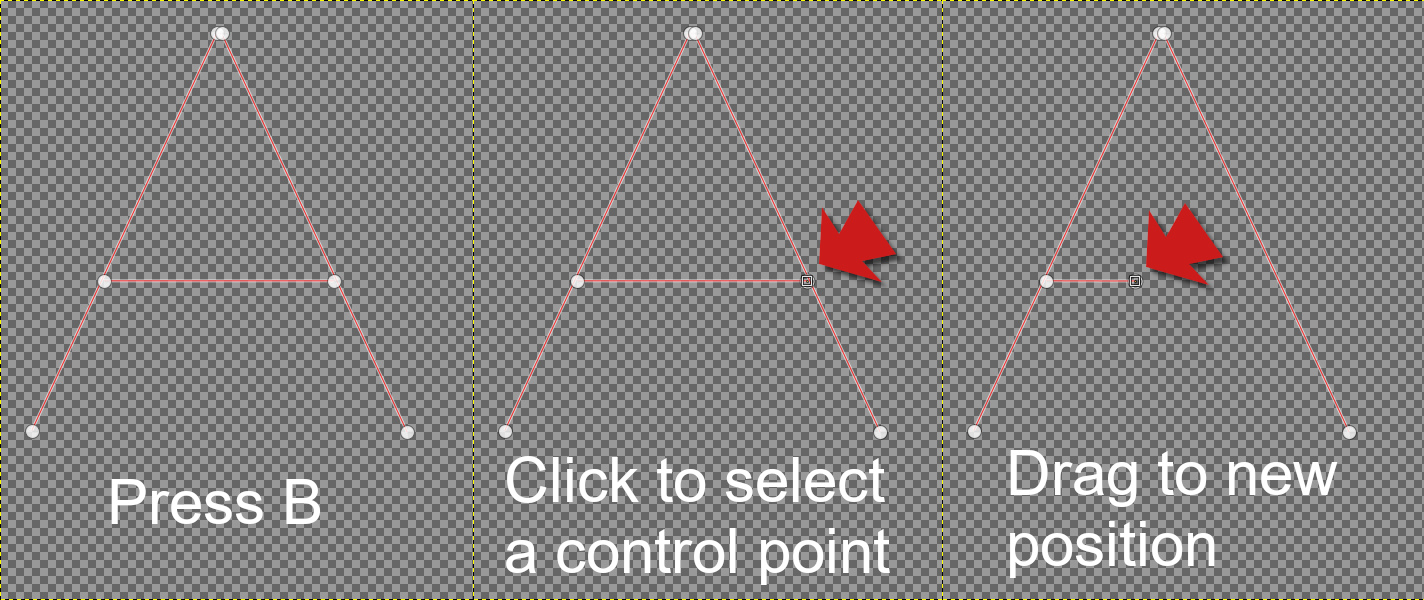
Press B on the keyboard to enter path edit mode and click on the path in the main window to show the path’s control points.
Click on one of the control points, hold it down and drag the point to a new location. Repeat this process for as many characters as you like. When you are happy with your changes save the file.
Using Custom Font Paths to Layers
This filter has a large number of options and you could use it to stroke the character paths with a textured brush in a variety of ways. In this example we are only interested in producing a set of plain white characters.
Set your foreground colour to white and open AltStlyeCaps.xcf (if it is not already open).
Open the filter dialog:
Filters>>Custom Fonts>>Constructing Tools>>Custom Font Paths to Layers v0.13b Tabbed
Use the options on the first and last tabs of the dialog shown below.
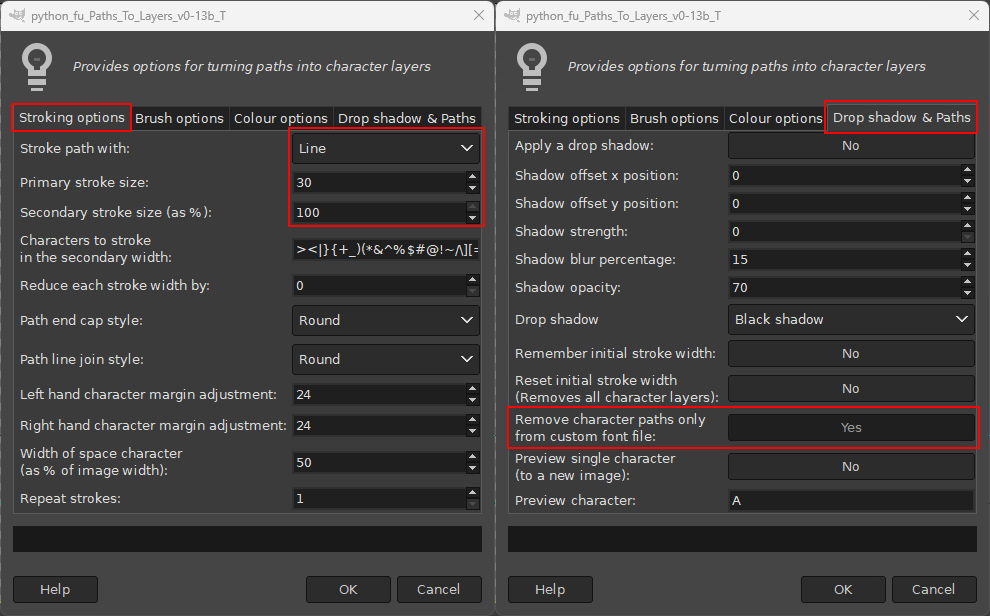
Click on ‘OK’.

Save your work if required.
If you want to create italic style characters choose a rectangular shaped brush set at an angle of between 60 and 45 degrees.
Use the same options as above but change the ‘Stroke path with:’ option to ‘Brush’.
Use the options on Tab 2 shown below to speed up the process.
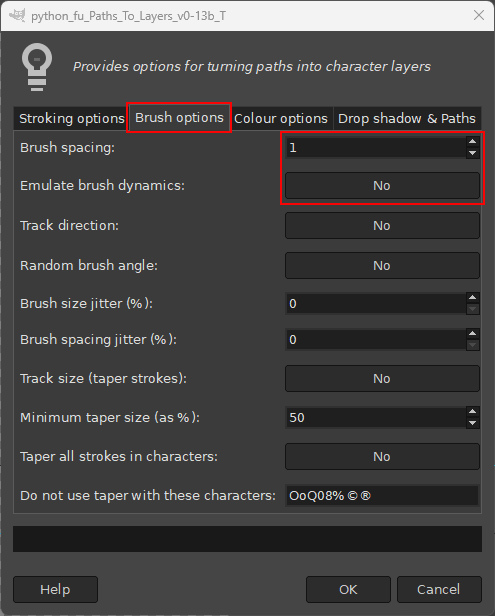
Click on ‘OK’ when ready.
If you want to use a much thicker stroke you may need to resize the image first to allow for extra space at the top and bottom of the generated layers.
If you want to learn about some of the other features of the filter, try this link: Paths to Layers Help
A number of custom font paths are available to use from the ‘Character Paths’ link in my signature - not all of them are suitable for stroking with the filter, however.
As ever, have fun!