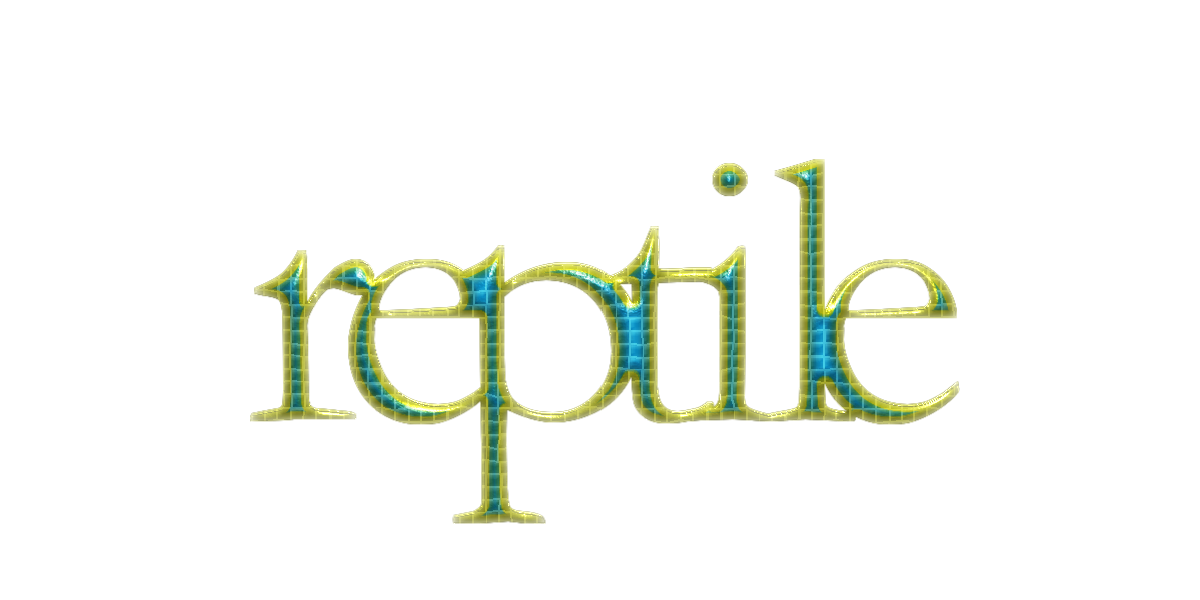
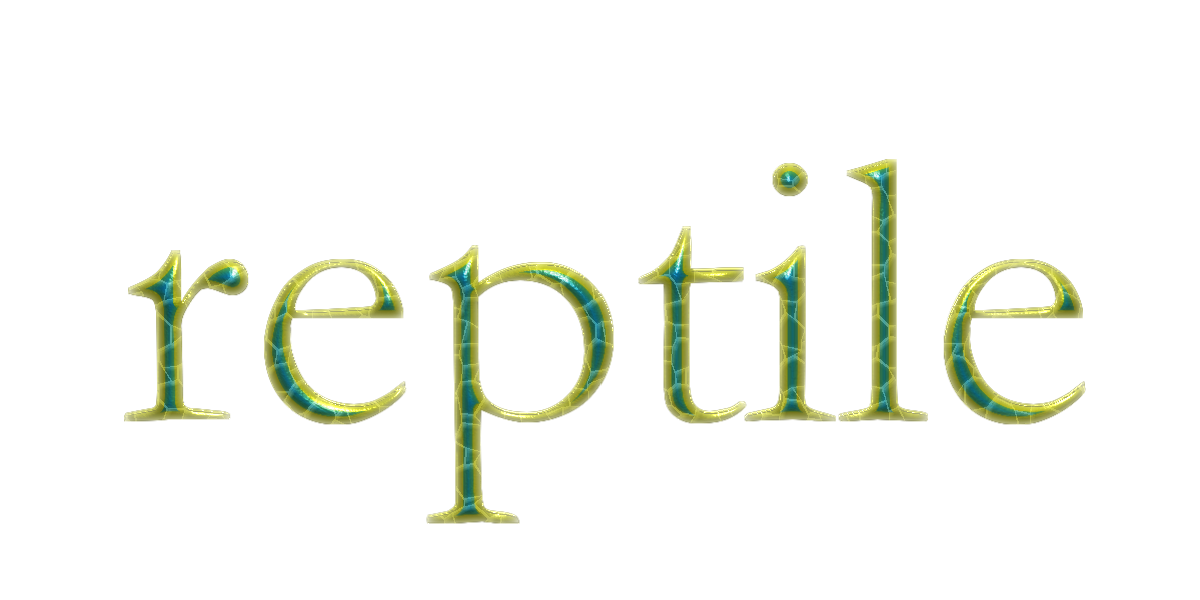
Got it working. I definitely learned a lot from this one.

Thanks for all your help Saulgoode.
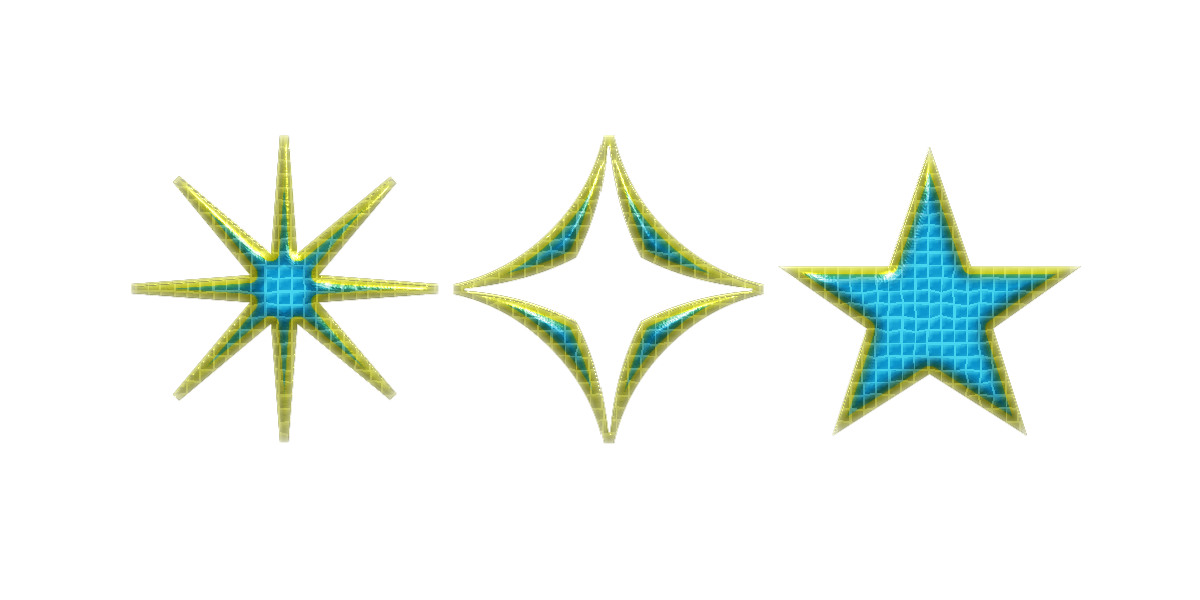
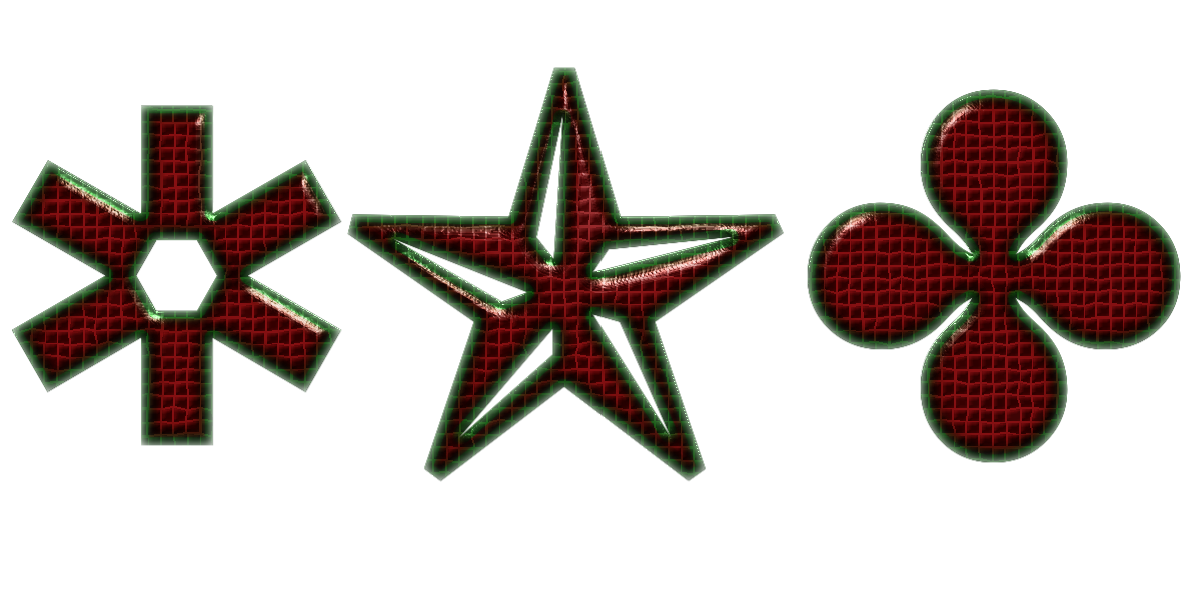
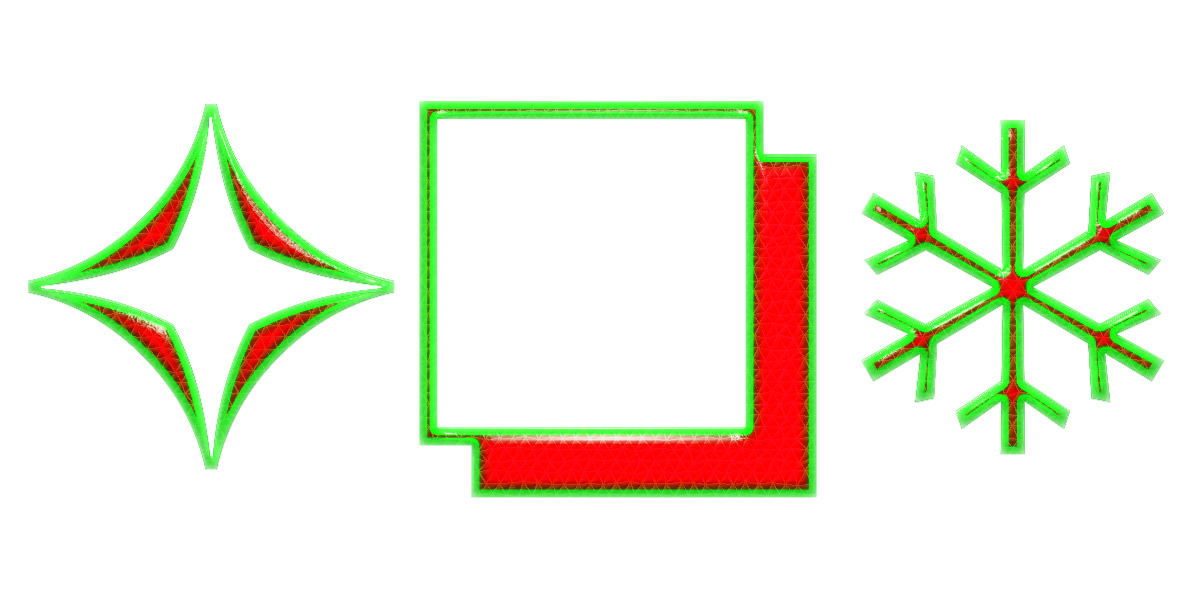
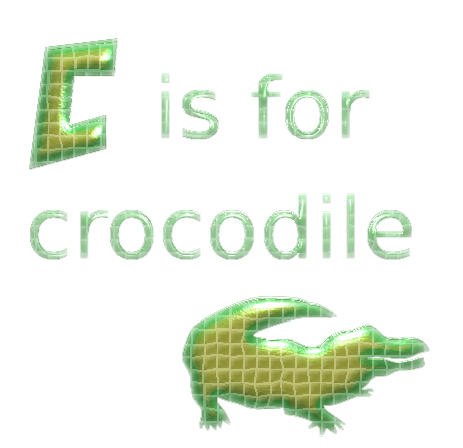
By the way i decided to not use channels for my selections in the filter. I just created a new from visible and ran effects with that selection. Works fine. Just have to make sure you are not using a filled bg layer when you run it or the filter fills in the entire drawable. Here is the final code and an example after running it.
Location is Rod>Reptile Skin Effect
Works best on thinner fonts i think but you can experiment.
To save just select all from the window copy and paste into notepad ++ or the like and save as reptile-skin-effect_RD.scm in your scripts folder.
Enjoy!
;;; Plugin  : reptile skin
;;; Author  : Rod Detmer
;;; Date    : December 2015
;;; Revision: v-01
;;;
;;; Version : v-01
;;; Latest version at: http://www.gimpchat.com
;;; Required : Gimp 2.8 or later
;;;
;;; Description:
;;; Creates a reptile skin effect on a user created selected layer
;;; -----------------------------------------------------------------------------
;;; Change Log:
;;; Version-1.0
;;;
; Information can be found at http://www.gimpchat.com
;
; License: GPLv3
; This program is free software: you can redistribute it and/or modify
; it under the terms of the GNU General Public License as published by
; the Free Software Foundation, either version 3 of the License, or
; (at your option) any later version.
;
; This program is distributed in the hope that it will be useful,
; but WITHOUT ANY WARRANTY; without even the implied warranty of
; MERCHANTABILITY or FITNESS FOR A PARTICULAR PURPOSE. See the
; GNU General Public License for more details.
;
; To view a copy of the GNU General Public License
; visit: http://www.gnu.org/licenses/gpl.html

(define (script-fu-reptile-skin-effect_RD image drawable
                                                scalesize
                                    insidescalecolorsize
                                    blur
                                                scaleshape
                                                color1
                                                color2
                                    color3
                                    hiliteblur
                                    hilitecolor
                                    hilitesize
                                    hiliteopacity
      )
(gimp-image-undo-group-start image)

  ; save user settings
  (gimp-context-push)

  ; begin

  (let*
    (
   (width (car (gimp-image-width image)))
    (height (car (gimp-image-height image)))
    (scalescolortwo (car (gimp-layer-new-from-visible image image "Color Inside")))
    (scales (car (gimp-layer-new image width height RGBA-IMAGE "Scales" 100 0)))
    (beveled (car (gimp-layer-new-from-visible image image "Beveled - Color Outside")))
    (bumpmap (car (gimp-layer-new-from-visible image image "Bumpmap")))
    (background (car (gimp-layer-new image width height RGBA-IMAGE "Background" 100 0)))
    (scale-bevel-bump-map (car (gimp-layer-new image width height RGBA-IMAGE "Scales Beveled" 100 0)))
    (hilitelayer (car (gimp-layer-new image width height RGBA-IMAGE "Hilites" 100 0)))
    )

    ; add the layers

  (gimp-image-add-layer image beveled 2)
  (gimp-selection-layer-alpha beveled) ; our only selection
  (gimp-context-set-foreground color1)
  (gimp-edit-fill beveled FOREGROUND-FILL)
  (plug-in-gauss RUN-NONINTERACTIVE image beveled blur blur 1)


      ; create our scales
  (gimp-selection-none image)
  (gimp-image-add-layer image scales 1)
  (gimp-context-set-foreground '(0 0 0))
  (gimp-edit-fill scales FOREGROUND-FILL)
  (plug-in-mosaic RUN-NONINTERACTIVE image scales scalesize 4 2 0.6 0 120 0.2 0 0 scaleshape 0 0) ; create scales on layer
  (gimp-selection-layer-alpha beveled) ; our only selection
  (gimp-selection-invert image)
  (gimp-edit-clear scales)
  (gimp-layer-set-mode scales OVERLAY-MODE)


     ; add our scale bevel layer for a new bumpmap choice
  (gimp-image-add-layer image scale-bevel-bump-map 0)
  (gimp-selection-layer-alpha scales)
  (gimp-context-set-foreground '(255 255 255))
  (gimp-edit-fill scale-bevel-bump-map FOREGROUND-FILL)
  (plug-in-gauss RUN-NONINTERACTIVE image scale-bevel-bump-map blur blur 1)

    ; add our bevel to the beveled layer

     ; effects on bumpmap layer to prepare for lighting effects as bumpmap
  (gimp-image-add-layer image bumpmap 4)
  (gimp-selection-layer-alpha beveled) ; our only selection
  (gimp-context-set-foreground '(255 255 255)) ; for blur and bumpmap lighting effect
  (gimp-edit-fill bumpmap FOREGROUND-FILL)

  (plug-in-gauss RUN-NONINTERACTIVE image bumpmap blur blur 1)


     ; create our actual beveled effect
  (gimp-selection-none image)
  (plug-in-lighting RUN-NONINTERACTIVE
                    image            ; input image id
                    beveled          ; input layer id
                    bumpmap      ; load bumpmap? 0 = DISABLED name = enabled
                    0                ; load env map? 0 = DISABLED name = enabled
                    TRUE             ; enable bumpmaping (TRUE/FALSE)
                    FALSE            ; enable env maping (TRUE/FALSE)
                    0                ; Type of mapping (0=linear,1=log, 2=sinusoidal, 3=spherical
                    0                ; type of light src 0 = point
                    '(255 255 255)   ; light src color is white
                    0.57 -1.27 1.00   ; light position 1 xyz - alt 0.57 -1.27 1.00 or 0.53 2.20 1.00 works
                    -1.00 -1.00 1.00 ; light direction 1 ijk - alt
                    1.00             ; Material ambient intensity (0..1)
                    0.20             ; Material diffuse intensity (0..1)
                    0.50             ; Material diffuse reflectivity (0..1)
                    0.50             ; Material specular reflectivity (0..1)
                    27.0             ; Material highlight (0..->), note: it's expotential
                    TRUE             ; Apply antialiasing (TRUE/FALSE)
                    FALSE            ; Create a new image (TRUE/FALSE)
                    FALSE            ; Make background transparent (TRUE/FALSE)
   )
      ; create our inside top color
  (gimp-image-add-layer image scalescolortwo 0)
  (gimp-selection-layer-alpha beveled) ; our only selection
  (gimp-context-set-foreground color2)
  (gimp-edit-fill scalescolortwo FOREGROUND-FILL)
  (gimp-layer-set-mode scalescolortwo HUE-MODE)
  (gimp-selection-layer-alpha beveled) ; our only selection
  (gimp-selection-shrink image insidescalecolorsize)
  (gimp-selection-invert image)
  (gimp-edit-clear scalescolortwo)


    ; add the backdrop colored layer
  (gimp-image-add-layer image background 5)
  (gimp-image-lower-item-to-bottom image background)
  (gimp-context-set-foreground color3)
  (gimp-drawable-fill background FOREGROUND-FILL)

  (gimp-image-raise-item image beveled)
  ;(gimp-image-raise-item image beveled)
  (gimp-image-raise-item-to-top image scales)
  (gimp-selection-none image)

    ; set visibility for the used map

  (gimp-item-set-visible bumpmap FALSE)
  (gimp-item-set-visible scale-bevel-bump-map FALSE)
  (gimp-item-set-visible drawable FALSE)

    ; add hilites
  (gimp-image-add-layer image hilitelayer 0)
  (gimp-selection-layer-alpha scalescolortwo)
  (gimp-context-set-foreground hilitecolor)
  (gimp-drawable-fill hilitelayer FOREGROUND-FILL)
  (gimp-selection-shrink image hilitesize)
  (gimp-selection-invert image)
  (gimp-edit-clear hilitelayer)

  (plug-in-gauss RUN-NONINTERACTIVE image hilitelayer hiliteblur hiliteblur 1)
  (gimp-layer-set-mode hilitelayer OVERLAY-MODE)
  (gimp-layer-set-opacity hilitelayer hiliteopacity)

          ; end
  (gimp-selection-none image)
  ; display new image and return user settings
  (gimp-context-pop)
  (gimp-image-undo-group-end image)
  (gimp-displays-flush image)

  )
)


    ;register menu location and information

(script-fu-register
"script-fu-reptile-skin-effect_RD"
"<Image>/Rod/Reptile Skin Effect"
"creates a reptilian scales effect from any layer  -  script name: reptile-skin-effect_RD.scm"
"Rod Detmer"
"Rod Detmer"
"December 2015"
"RGB* GRAY*"
SF-IMAGE       "The Image" 0
SF-DRAWABLE    "The Drawable" 0
SF-ADJUSTMENT  "Scales Size"                           '(13 5 100 1 10 0 SF-SLIDER)
SF-ADJUSTMENT  "Inside Scales Color Size (in Pixels)"  '(8 1 32767 1 10 0 SF-SLIDER)
SF-ADJUSTMENT  "Bevel Blur"                            '(17 0.0 9056.0 1 10 0 SF-SLIDER)
SF-OPTION      "Scales Shape"                          '( "Hexagons" ;1
                                                        "Squares" ;0
                                                        "Octagons and Squares" ;2
                                                        "Triangles" ;3
                                                        )
SF-COLOR "Scale Color One (bevel outside color)"       '(158 160 32)
SF-COLOR "Scale Color Two (inside color)"              '(10 128 167)
SF-COLOR "Background Color"                            '(255 255 255)
SF-ADJUSTMENT  "Hilite Blur"                            '(14 0.0 9056.0 1 10 0 SF-SLIDER)
SF-COLOR "Hilite Color"                                '(255 255 255)
SF-ADJUSTMENT  "Hilite Size"                           '(8 1 32767 1 10 0 SF-SLIDER)
SF-ADJUSTMENT  "Hilite Opacity"                        '(100 1 100 1 10 0 SF-SLIDER)
)
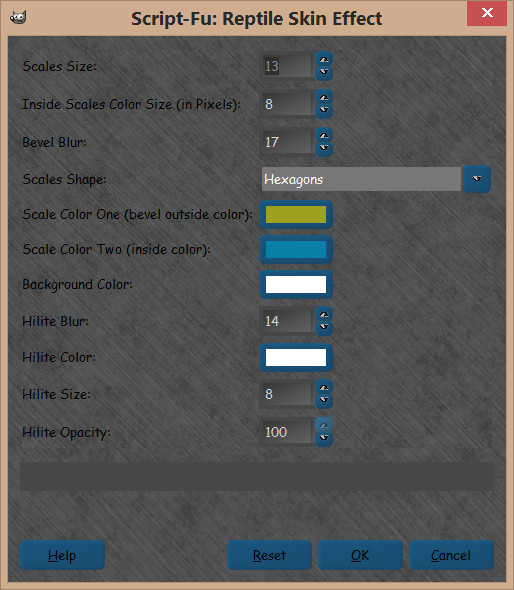
The widget
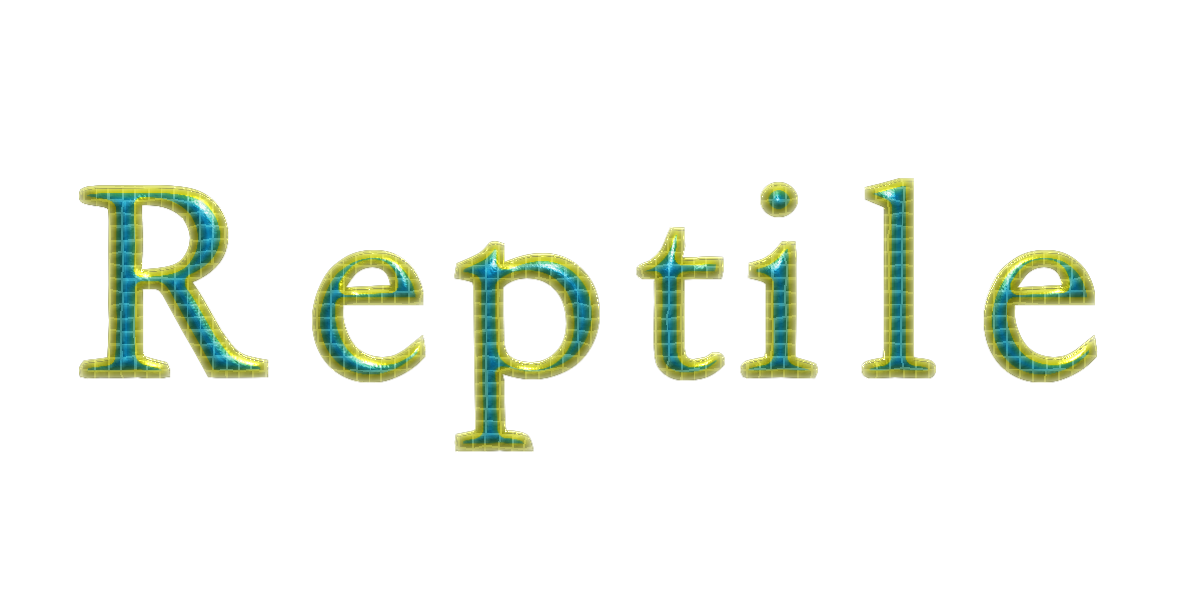
The results
Thanks again!
I attached the scm.

Attachment:
 reptile-skin-effect_RD.scm [8.8 KiB]
Downloaded 353 times
reptile-skin-effect_RD.scm [8.8 KiB]
Downloaded 353 times
 Login
Login Register
 Tweets
 FAQ
FAQ Advanced Search