Download, unzip and place the filter in your Gimp user plug-ins folder.
Attachment:
A pdf version of this short guide:
Attachment:
This is another utility for breaking up custom font files into smaller files. This plug-in allows you to choose the number of files and how many layers each file should contain.
You can quickly find out how many layers a file has by opening a custom font file and looking at the title bar.
The one below shows you that the image file contains 87 layers.

If you need more information about the characters contained in the custom font, you can use another custom font utility, Custom Font Size Reducer, to analyse the contents of the file.
Once you have decided how many files you need to make and how many layers you wish to have in each file, open the filter dialog:
Filters>>Custom Fonts>>Utility Tools>>Custom Font File User Splicer v01…
Use the first option to enter the number of files you wish to generate and then enter the number of layers to place in each of the files before clicking on ‘
OK’.
The filter will then display and/or save the layers according to the outcome that you select with the last option.
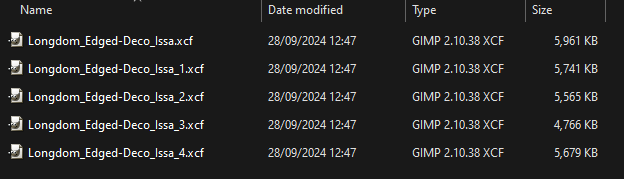
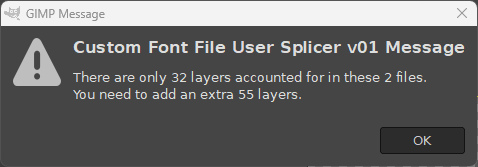
If the number of layers chosen does not add up to the number of layers contained in the file, the plug-in will throw up a message box to suggest how many layers need to be added or removed from your selection options in order to continue.
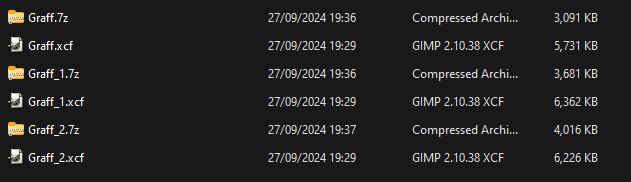
The example folder view below shows one of my recent custom fonts after using the filter, together with compressed versions of the files -
(the original file started out with a size of 17.6 Mb):
The files can be re-assembled with the Stitcher plug-in.
 Login
Login Register
 Tweets
 FAQ
FAQ Advanced Search











 I don't know how to do it correctly.