Quick one following on from a custom font BRL chat with Rod...
Sometimes I create what I feel is a brilliant Emap image for use with BRL custom fonts only to find that the results are rather underwhelming to say the least.
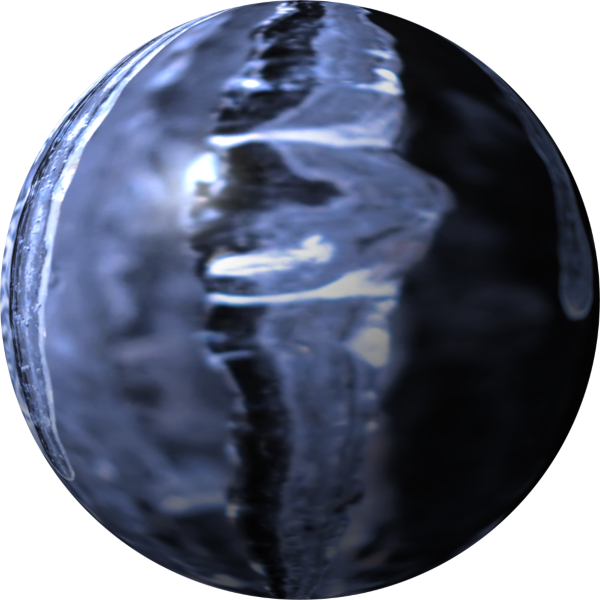
Take this Emap which I have had for such a long time that I no longer can remember where the source image came from.
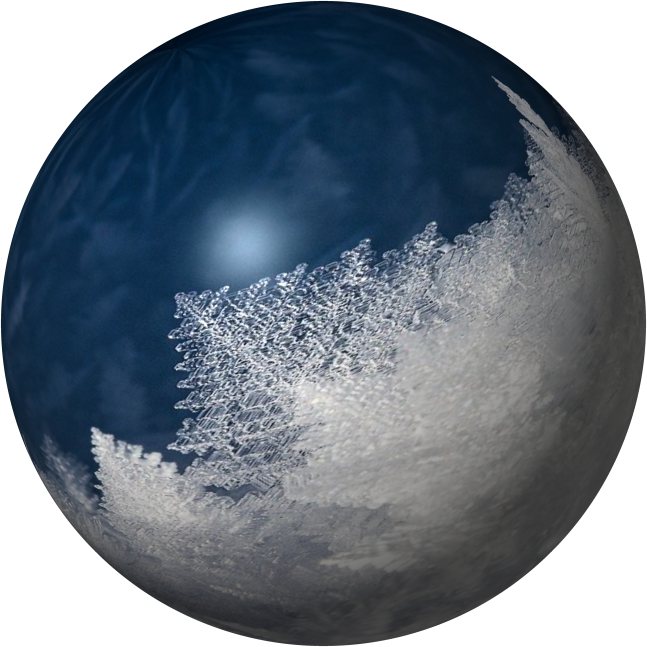
I was convinced that the result would be spectacular…
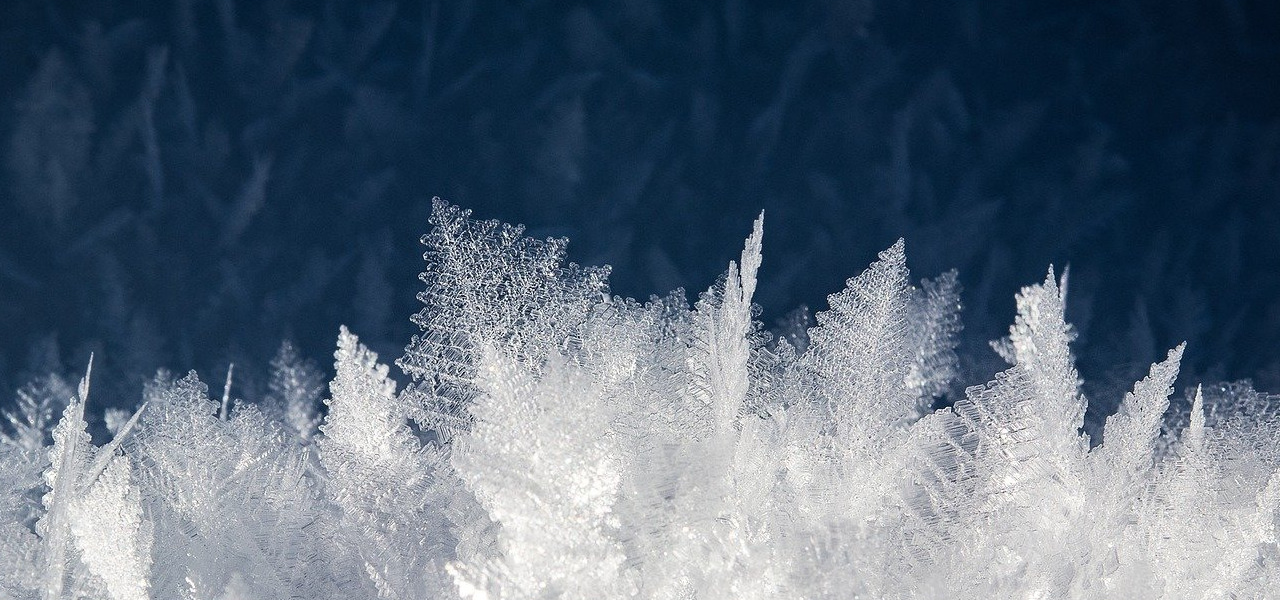
...but oh dear me:

A truly disappointing outcome when applied to a custom font using Custom Font Bevel Reflect!
Time for a re-think.
The new plan:
Use Custom Font FaceMaker to apply the same image to a set of custom font characters and then apply the highlights generated by the same Emap by using the desaturate emap result option.
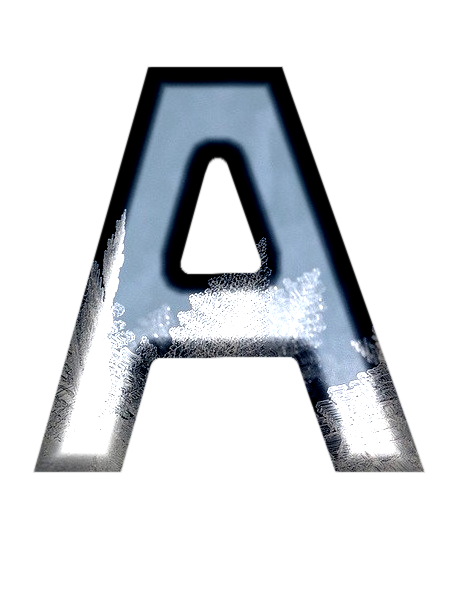
So starting with a trimmed version of a custom font using Custom Font Embossible to apply a base gloss effect.

Add the image to the gloss panel characters with the FaceMaker plug-in.

The new characters still need a touch of BRL highlighting to add some extra detail.
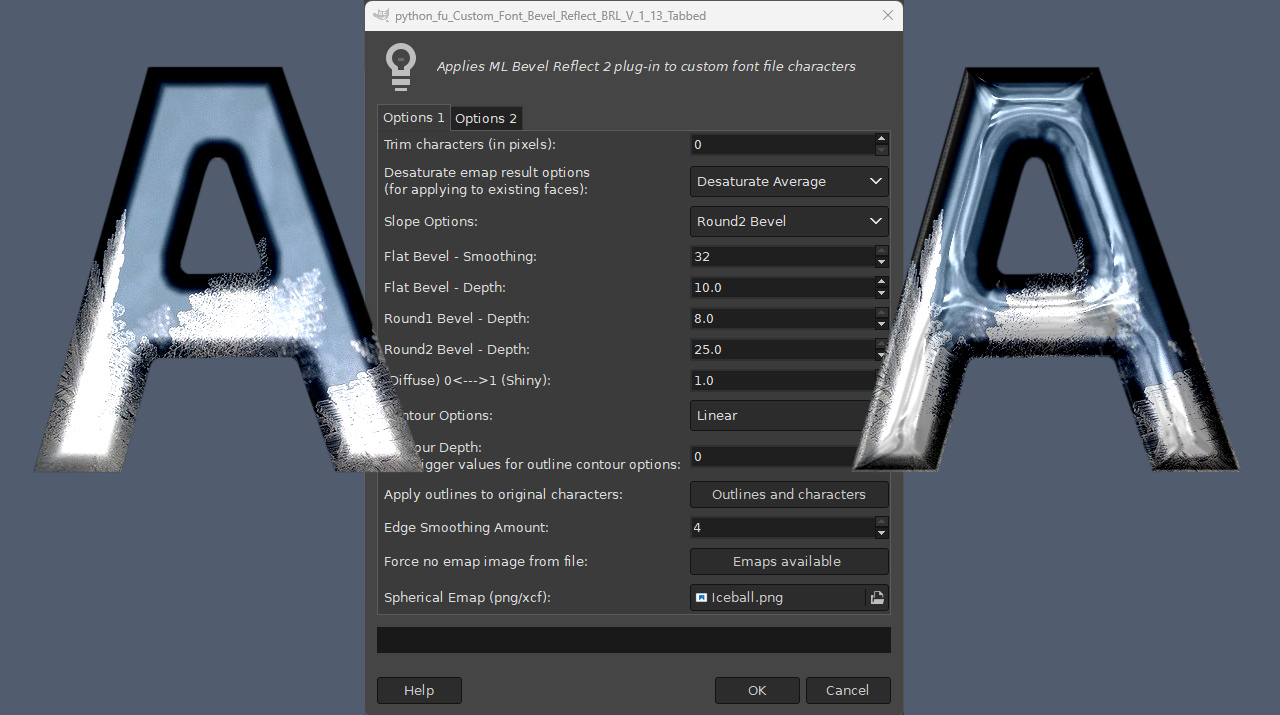
Using a different Emap that I originally saved as iceball with the BRL custom font plug-in:
Setting the ‘Desaturate emap result’ option to ‘Desaturate Average’ (other options are available):
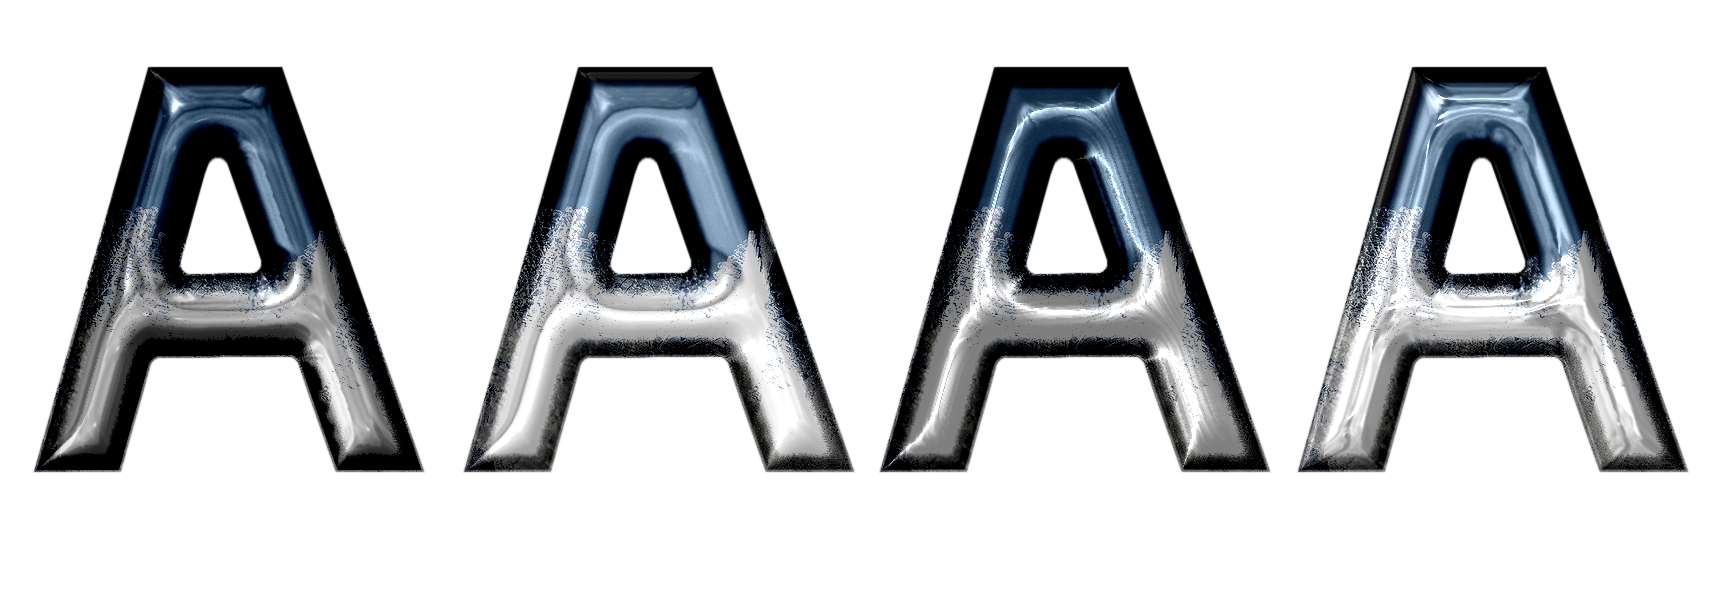
Different emaps obviously produce different highlights when used with the same character layers.
My final look after adding a box outline with Custom Font Embossible…
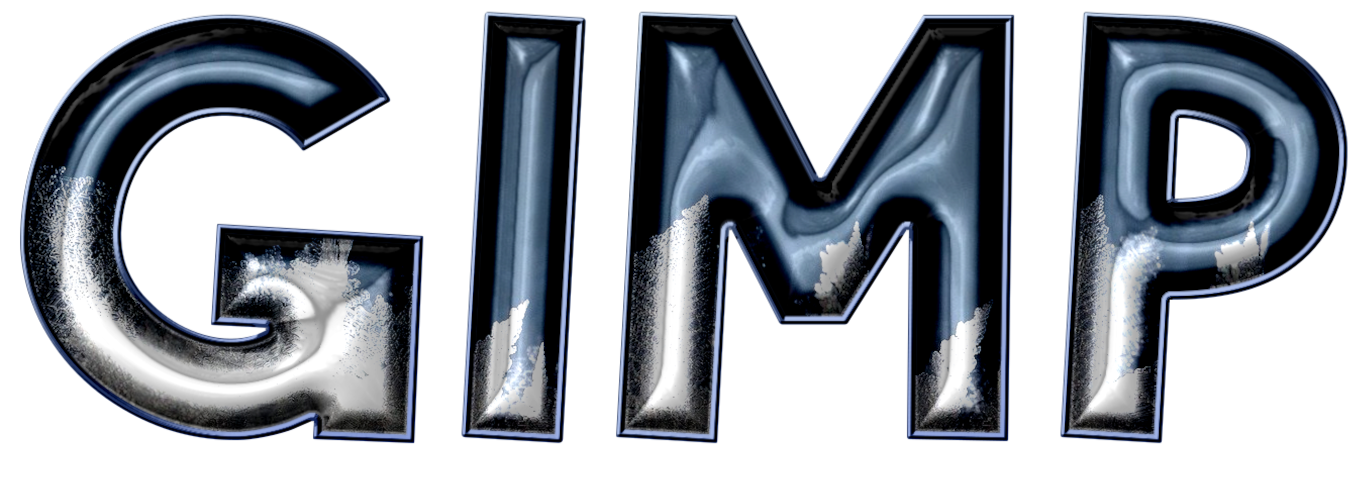
Although I could easily have produced a 3D version instead using Custom Font Faux 3D…

An overview of the steps involved...
Attachment:
 ChilledSteps.png [ 399.36 KiB | Viewed 77 times ]
Have fun...