GIMP Chat -
Environment Mapped Text Tutorial - GPL V3
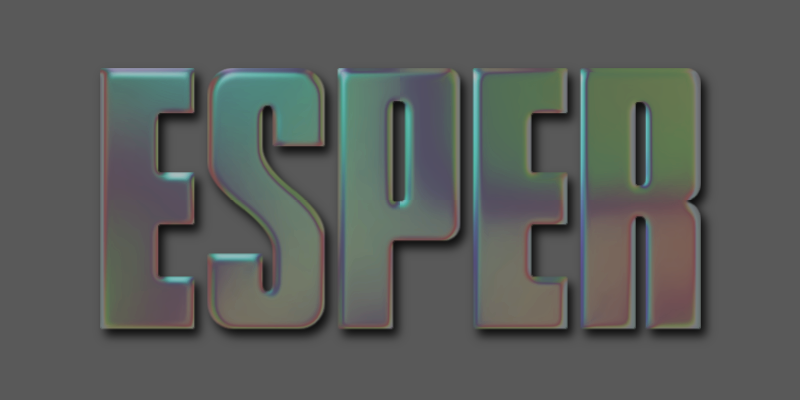
This tutorial demonstrates using GIMP's Lighting Effects plug-in to generate environment mapped text (or other objects).
Step #1
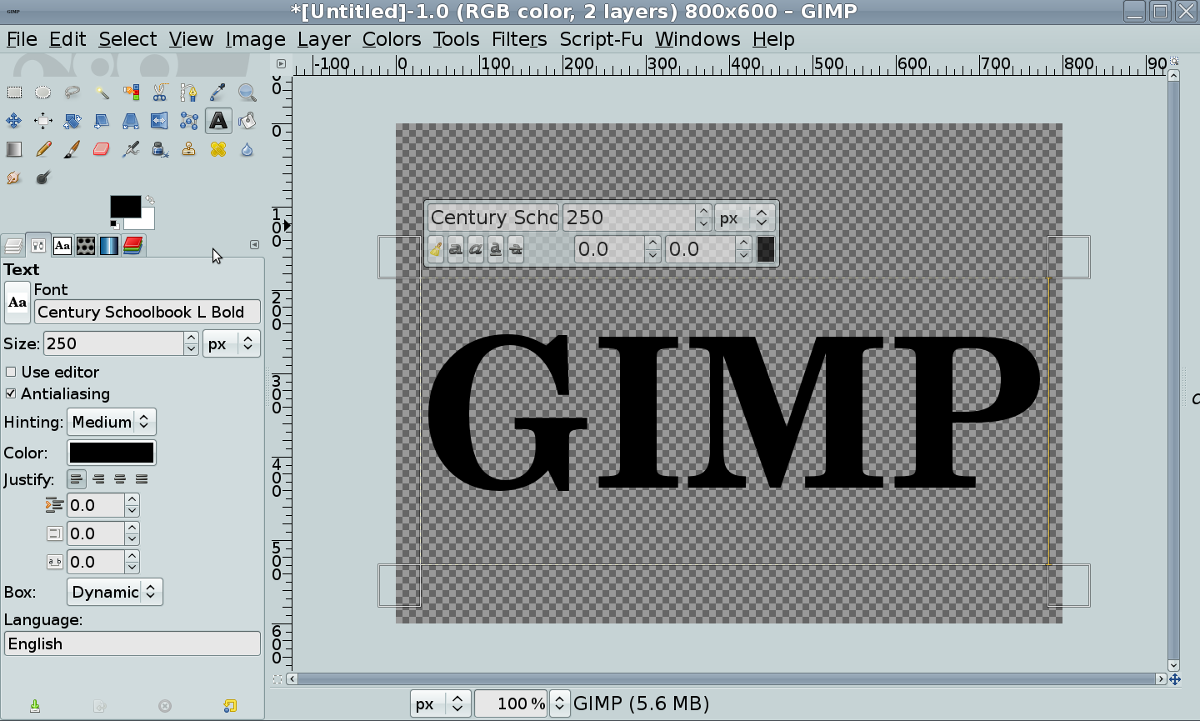
Create a new image (File/New) and add text using the text tool

. In this example, I'm using Century Schoolbook L Bold at 250px. Name the layer GIMP.
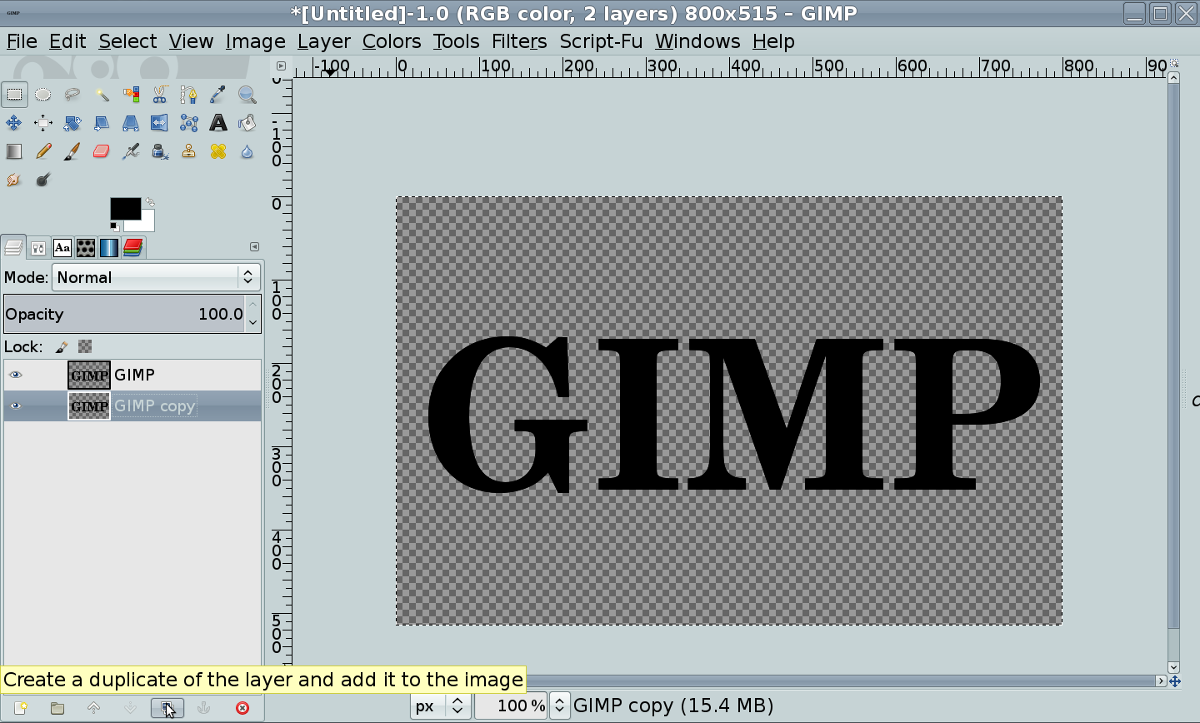
Step #2
Duplicate the text layer by clicking the duplicate button at the bottom of the layer dialog.
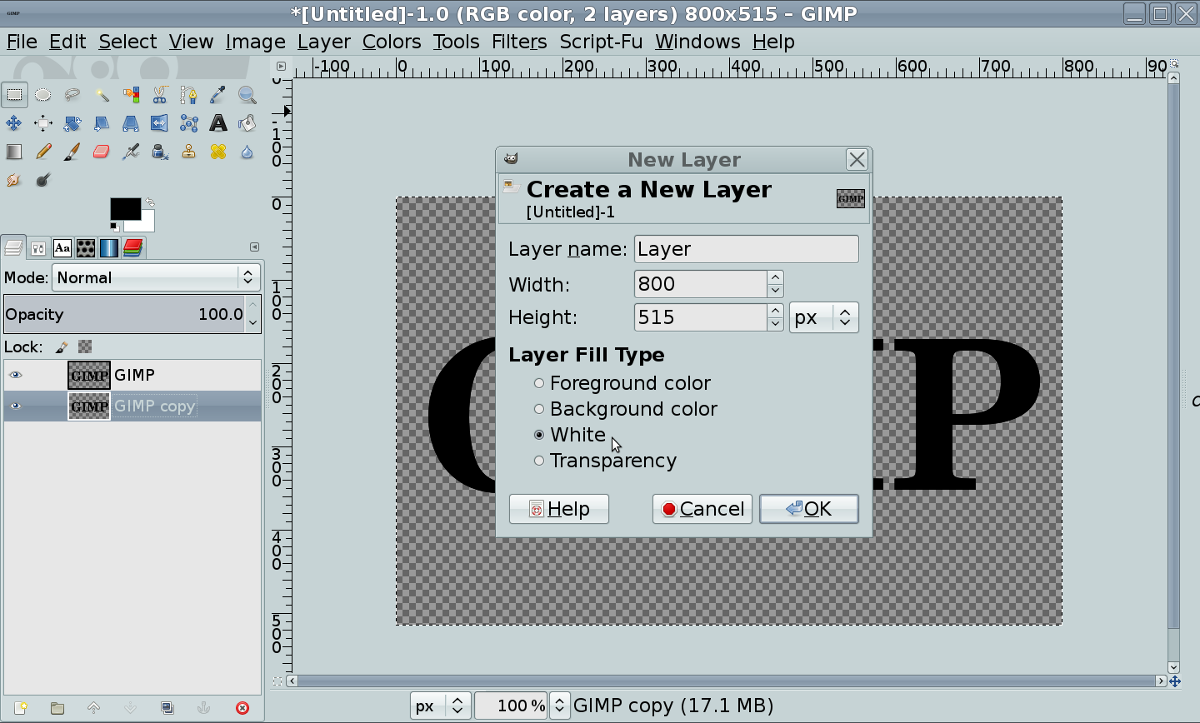
Step #3
Create a new "White" layer by selection Layer/New from the menu.
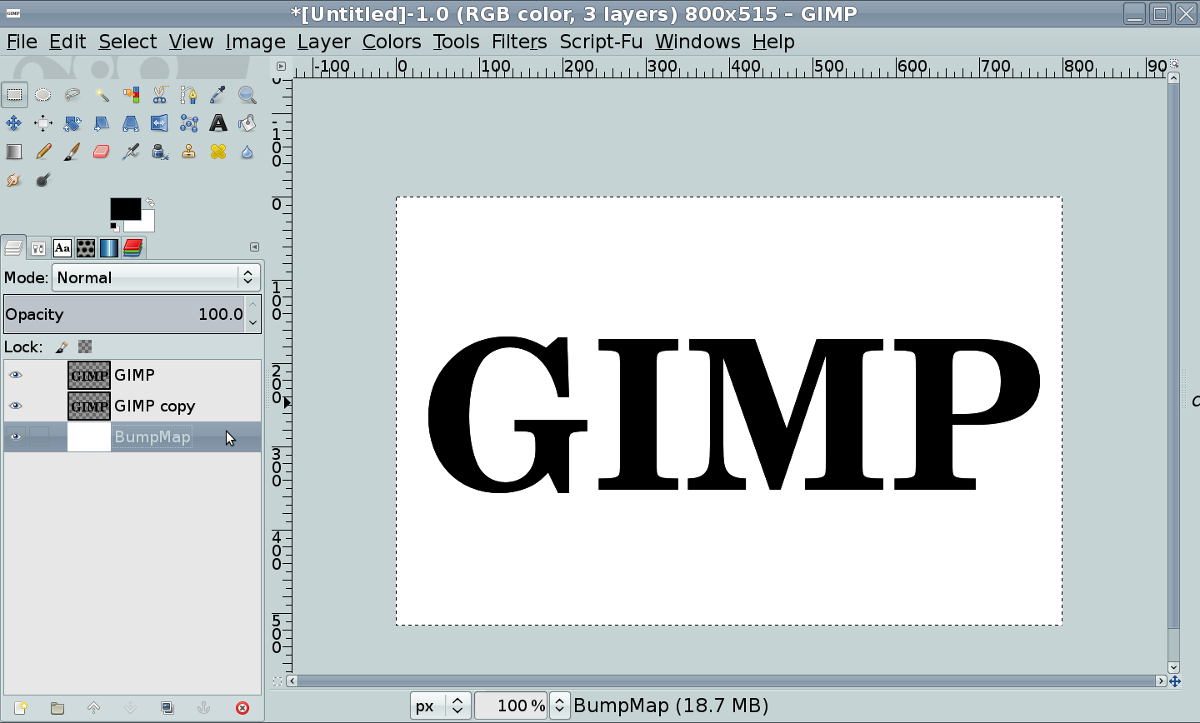
Step#4
Rename the layer to BumpMap and rearrange the layers by dragging them to the positions shown below.
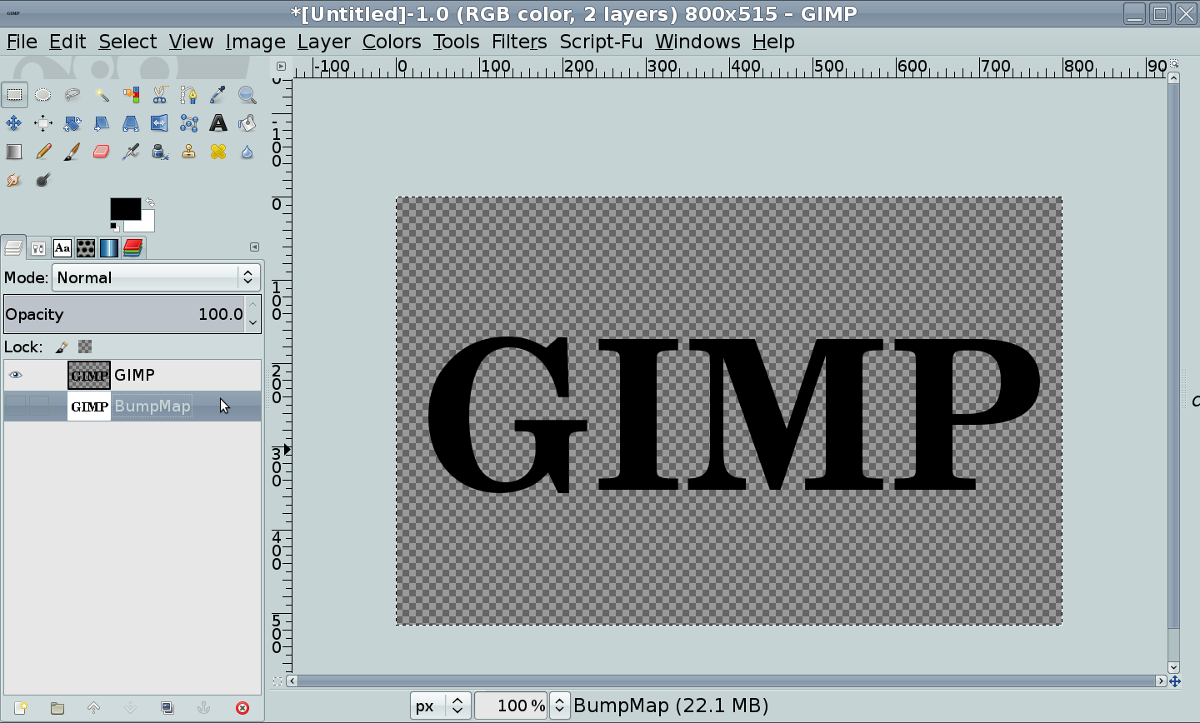
Step#5
Right Click on the GIMP Copy layer and select Merge Down. Select the BumpMap Layer, as shown below.
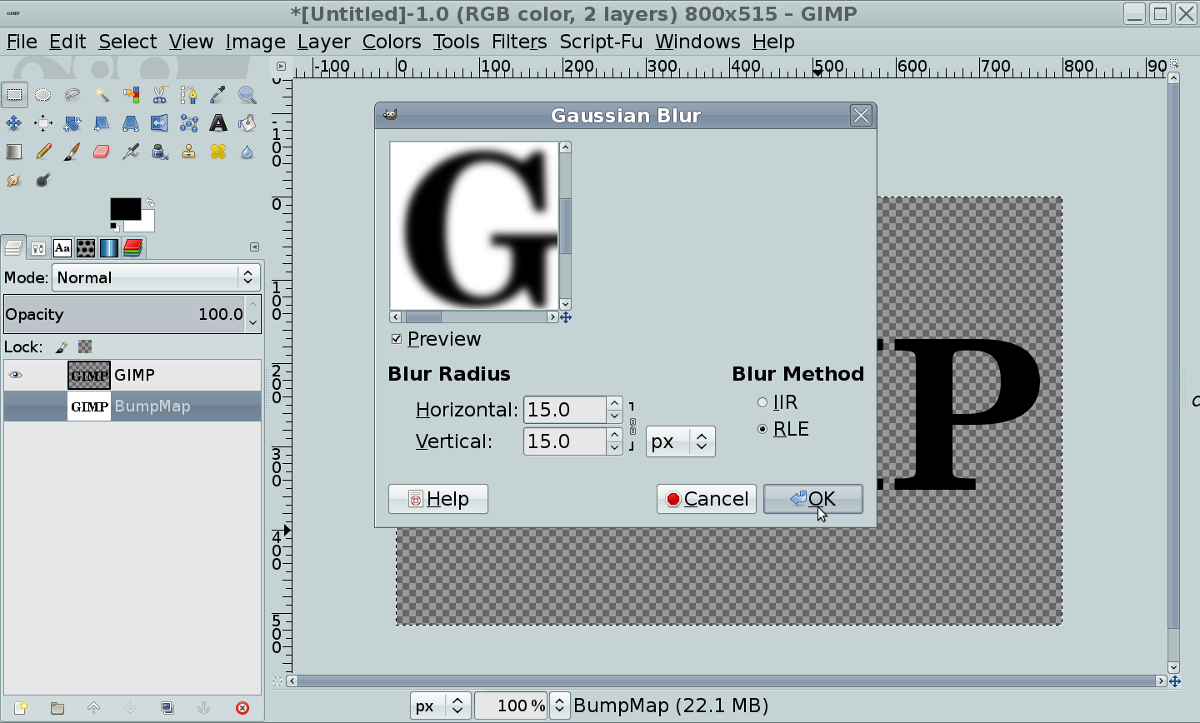
Step #6
Select Filters/Blue/Gaussian Blur from the menu and set the Blur Radius to 15. Click OK.
Note: Increase or decrease the blur value for more or less beveling.
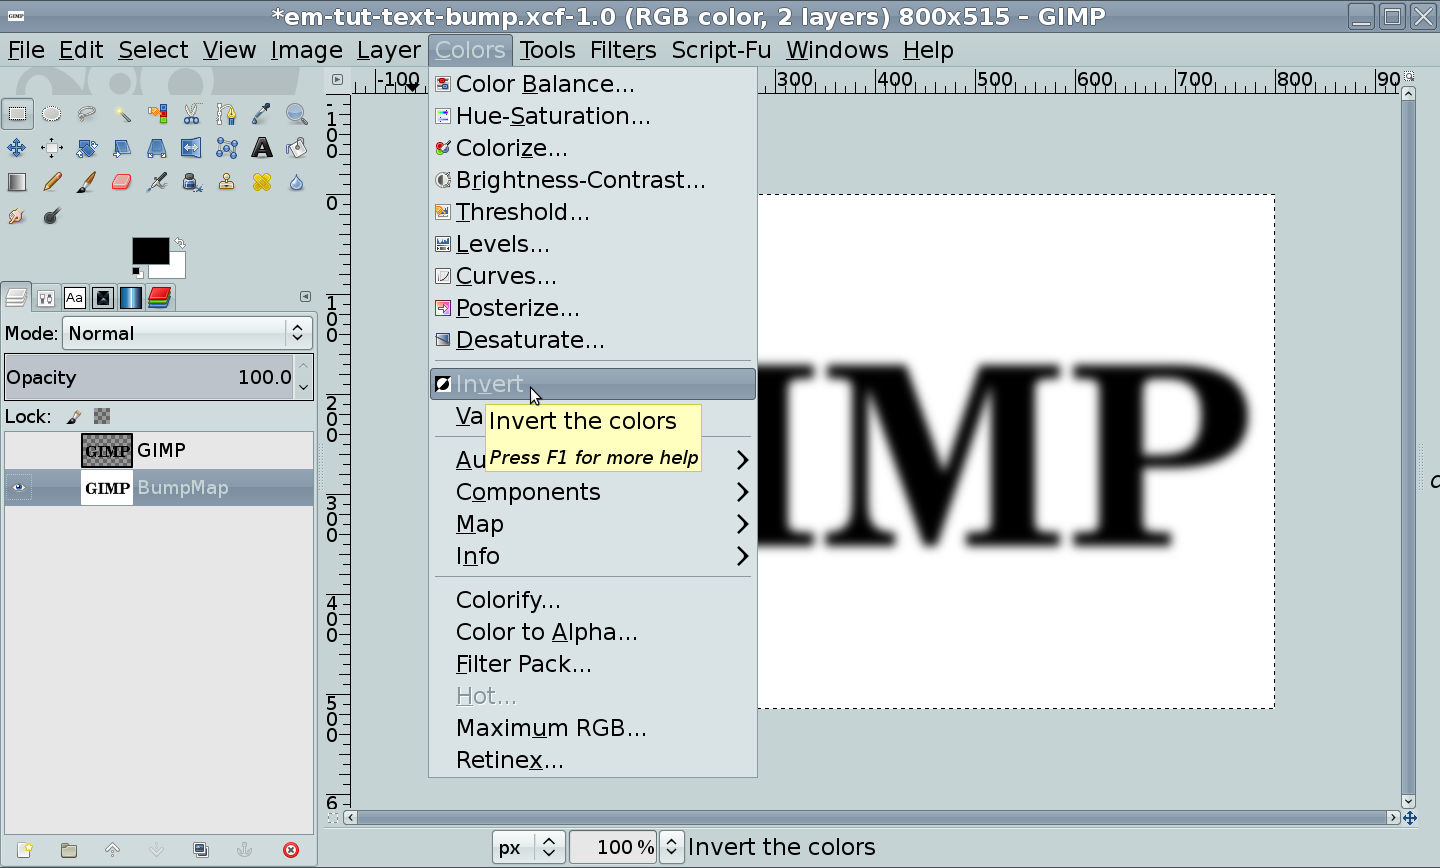
Step #6a
While still having the BumpMap layer selected, Choose Colors/Invert from the menu.
Step #6b
Open the Environment Map image: envmap_red.jpg (Image attached to this post). It will appear in a new tab in GIMP

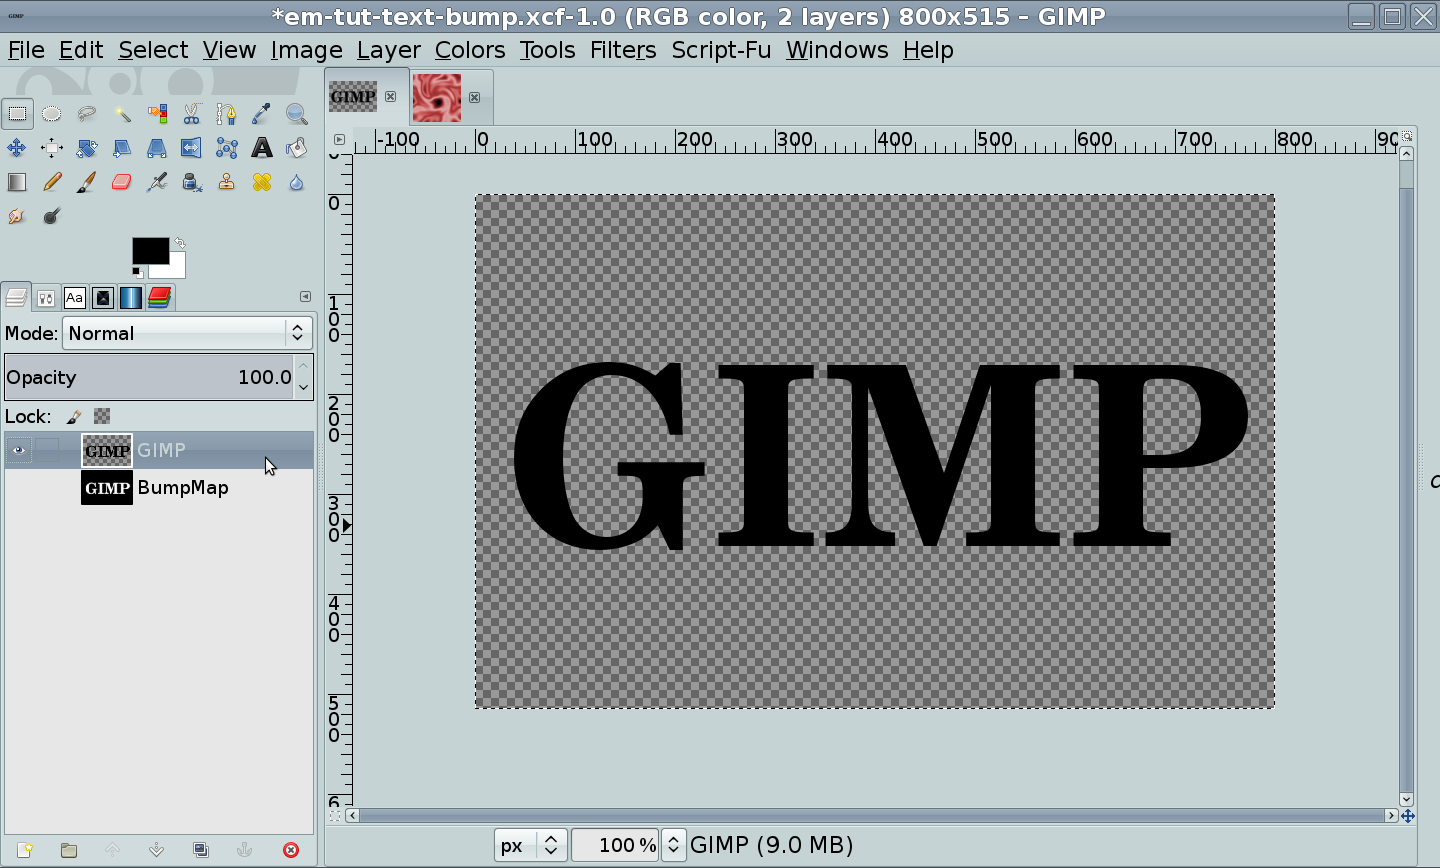
Step #7
Click back to the GIMP tab at the top. Then click off the "eye" icon next to the BumpMap layer and select the GIMP text layer as shown below.
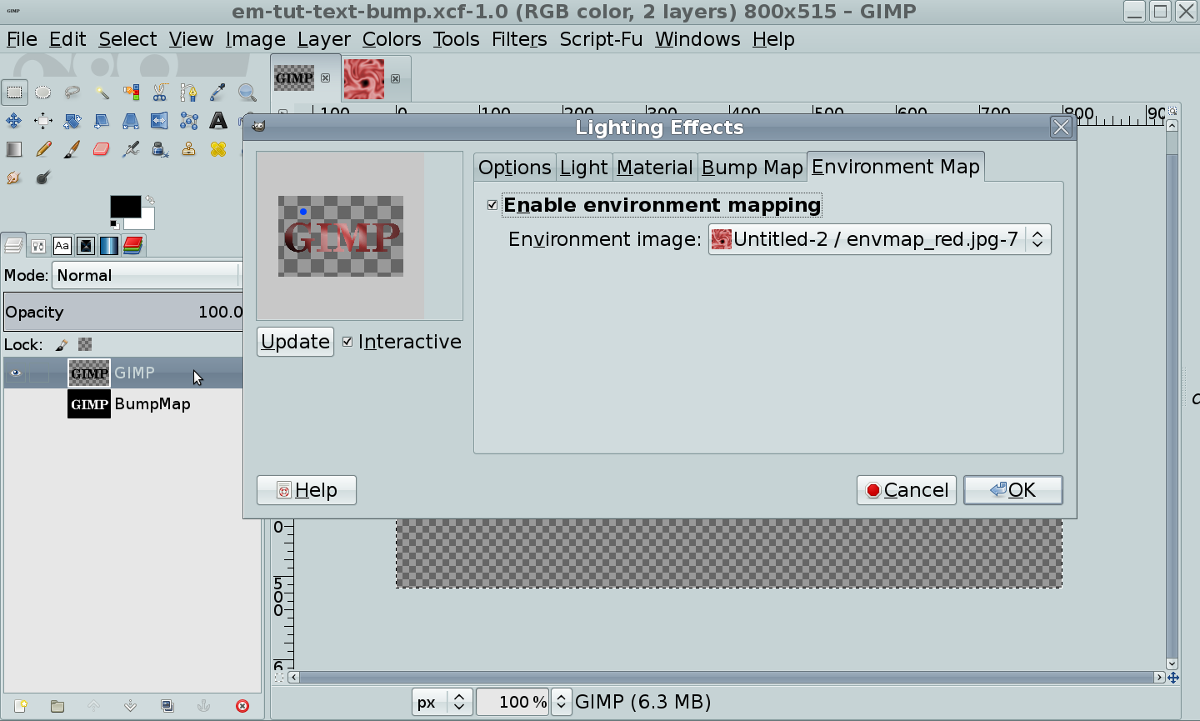
Step #8
From the menu, select Filters/Light and Shadow/Lighting Effects. Under the environment tab, click "Enable Environment Mapping and select the environment map image we loaded in Step #6b.
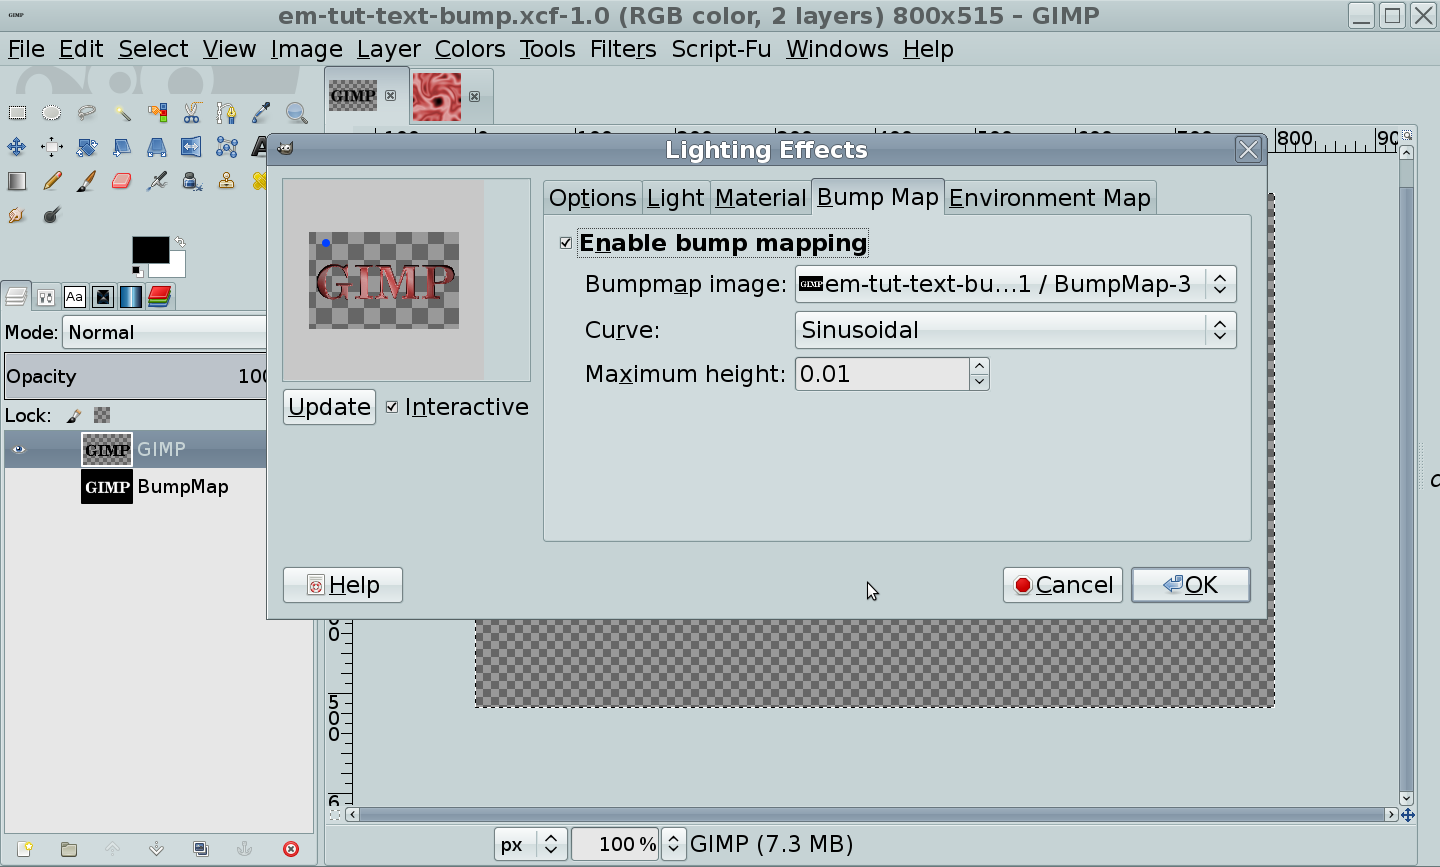
Step #9
Under the Bump Map tab, select "Enable Bump Mapping", Select the Bumpmap image: BumpMap we created earlier. Select Curve "Sinusoidal" and set the Depth to 0.01.
Note: You will get different results by choosing a different curve at this step. I get better results when the Depth is low but there can be cases where you might need to increase the Depth to 0.02 or higher, depending on the font and the emap you are using.
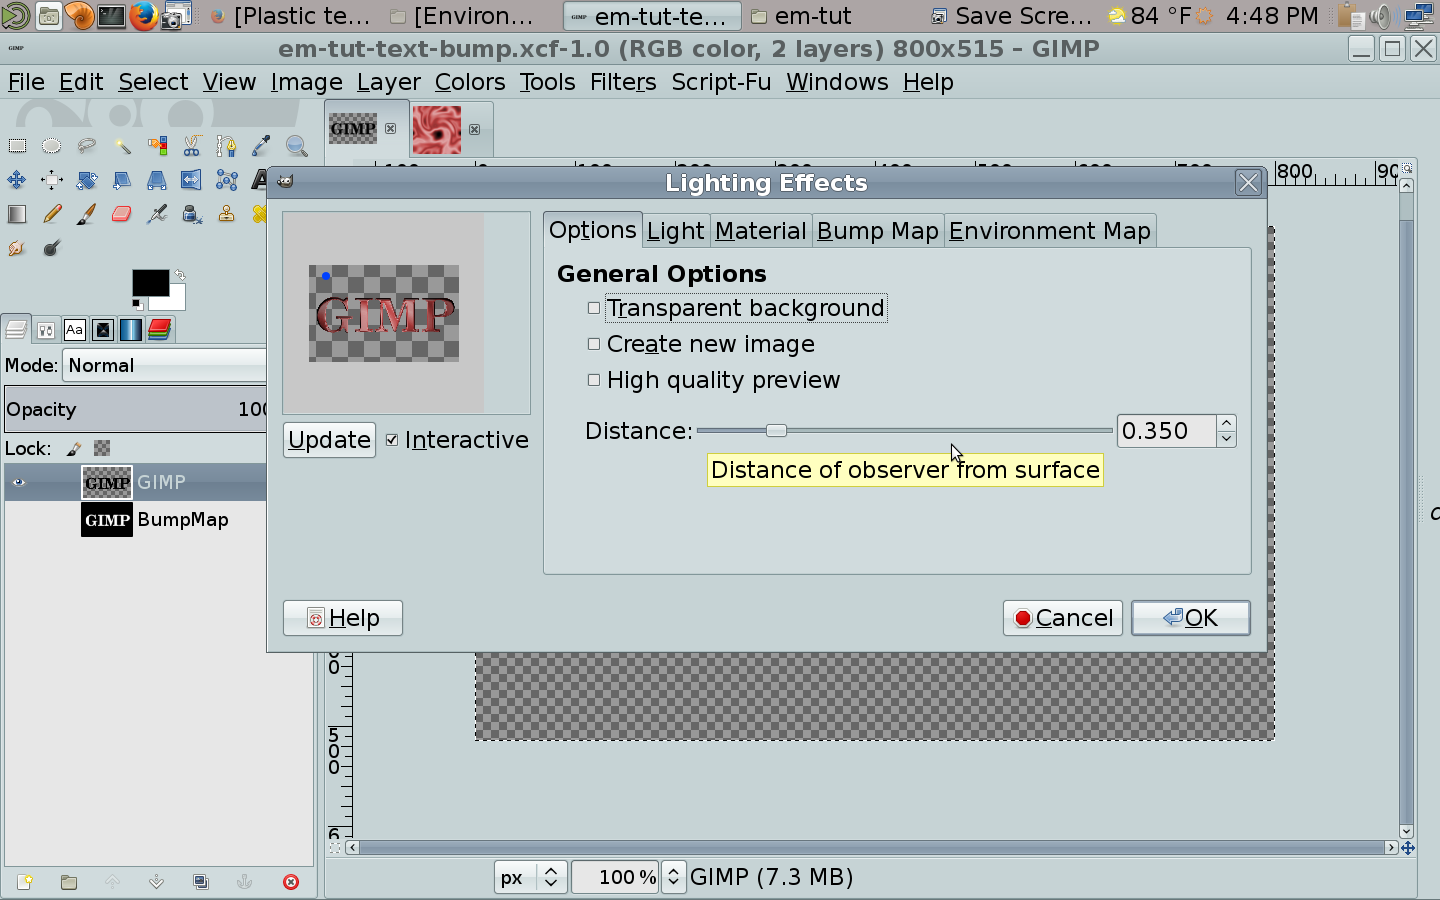
Step #10
Under the Options tab, set the distance to .350. Increasing this value during this step will increase the amount of light falling on the object, while decreasing the value produces less light.
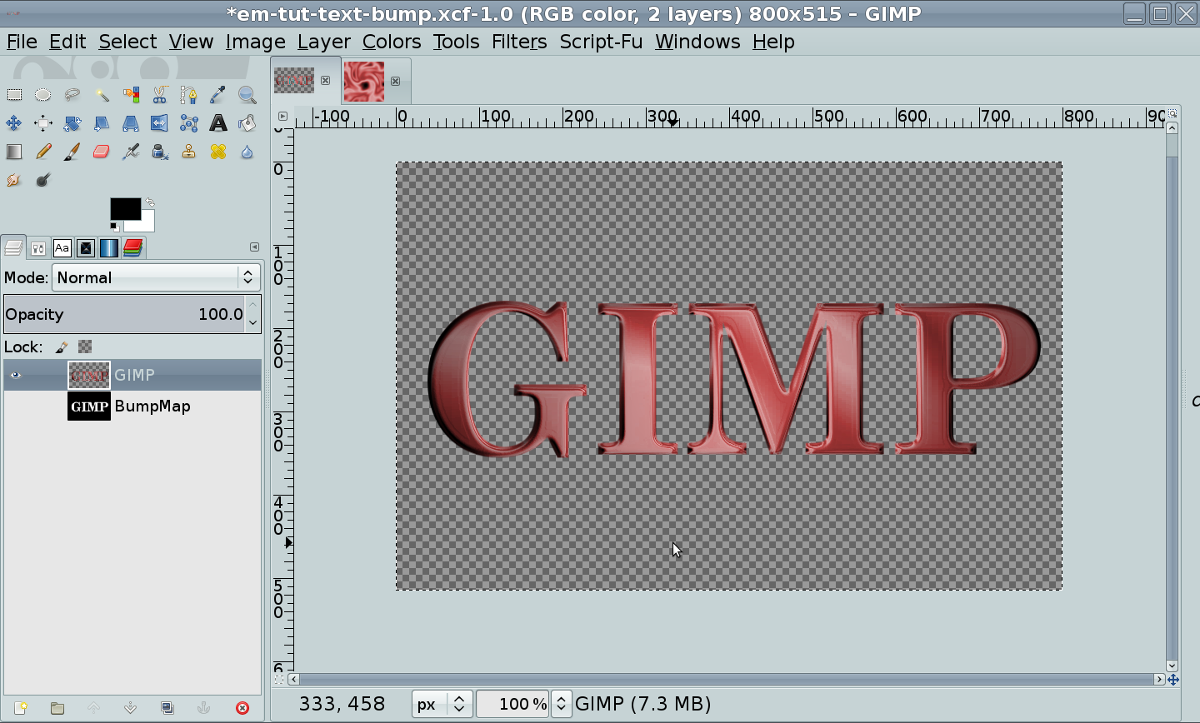
Step #11
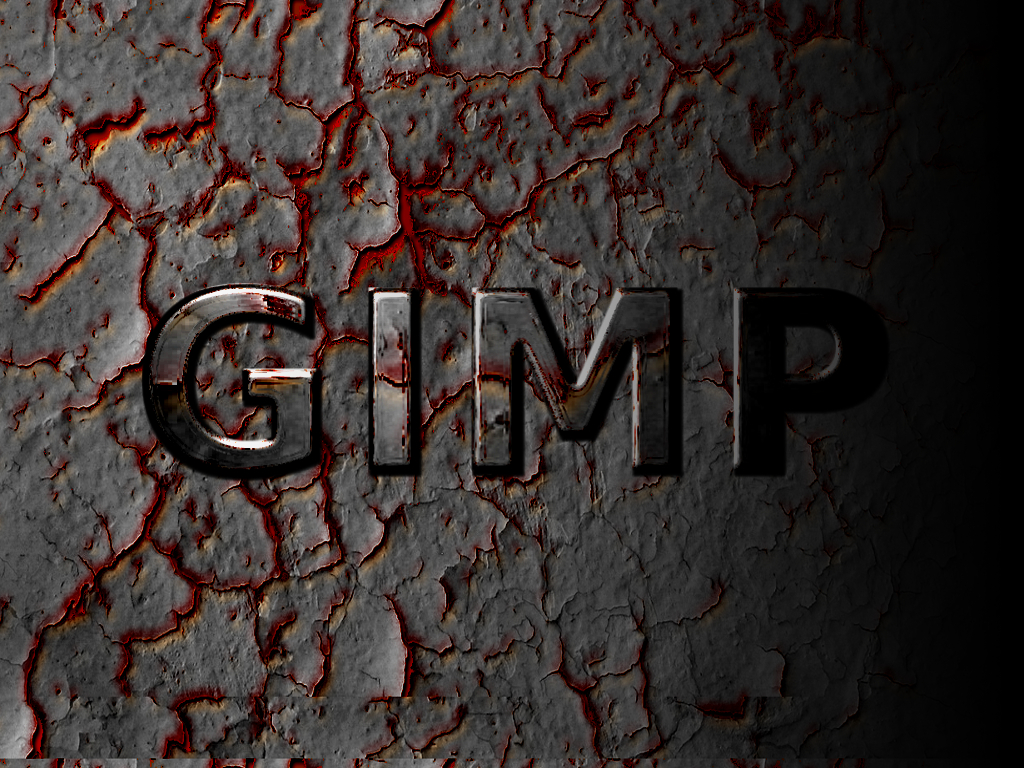
Click OK to produce the following image.
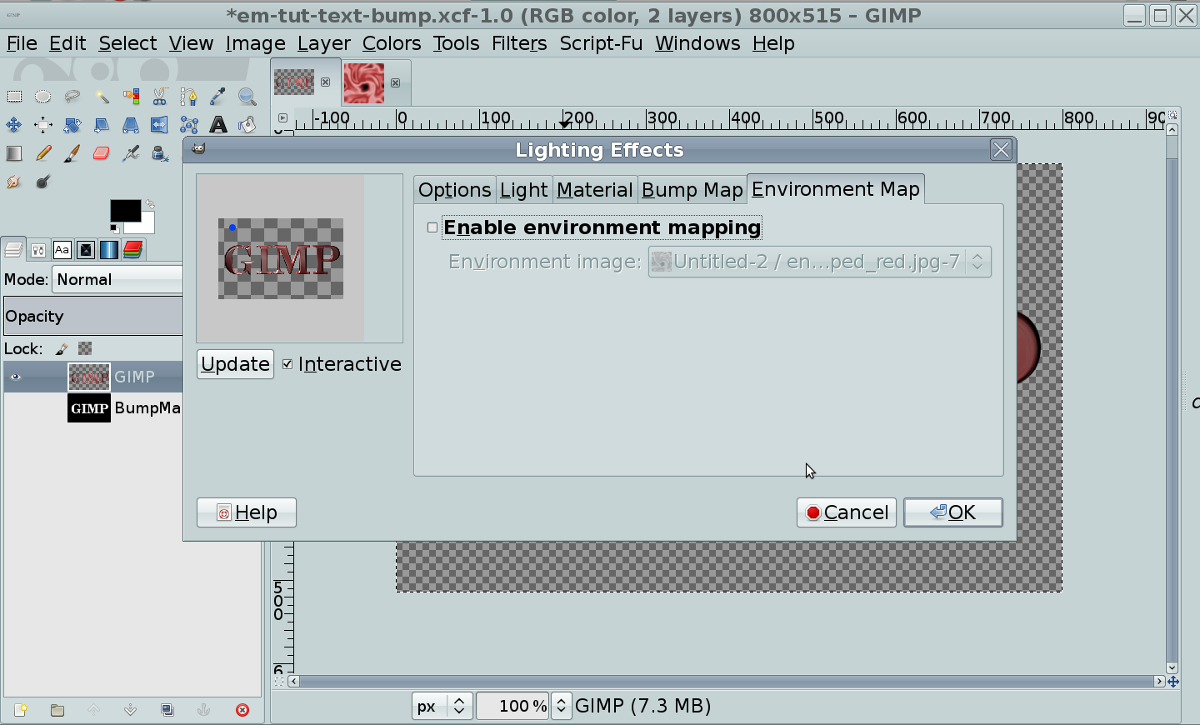
Step #12
From the menu, Select Filters/Re-Show Lighting Effects. Under the Environment Map tab, deselect "Enable Environment Map".
Note: #12 is an optional step but excellent results can be achieved by applying a 2nd round of lighting or lighting+bump to the previously mapped object. Changing the values in the material and light tabs will yield a wide range of interesting results. You can also specify multiple light sources and types in the light tab, which can quickly becomes confusing, so it's probably a good idea to keep track of your steps so you can duplicate the effect again.
Step #12a
Click OK on the Lighting Effects dialog and the following image will be shown.
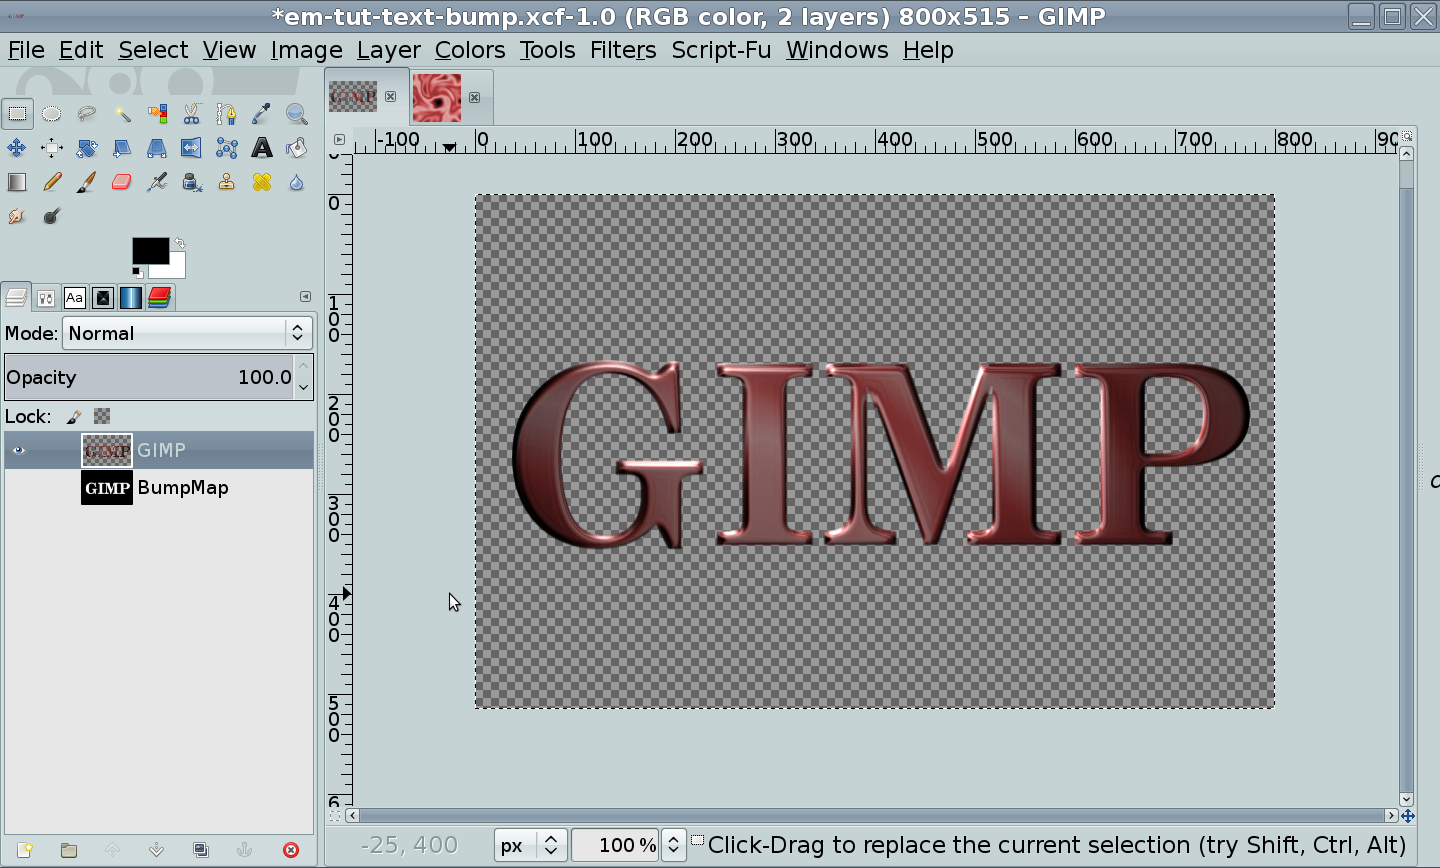
Step #13
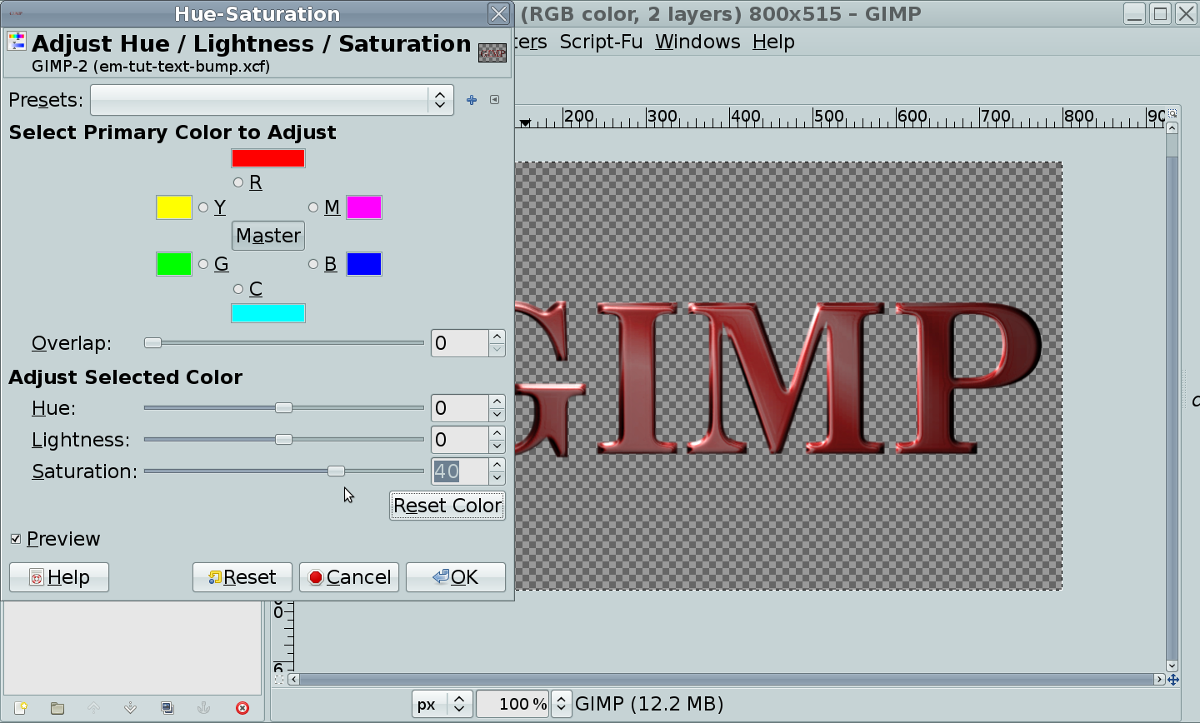
You can optionally increase the saturation, which is increased by 40 in this example.
Step #14
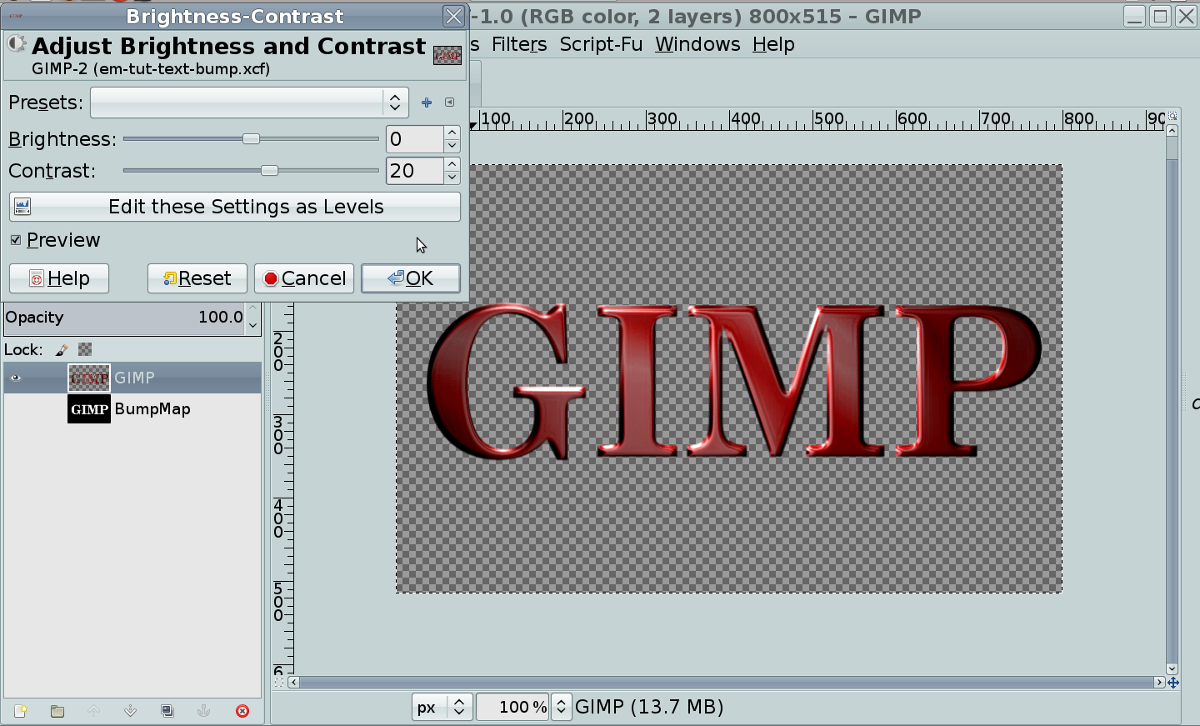
You can optionally increase the contrast, which is increased by 20 in this example.
Step #15
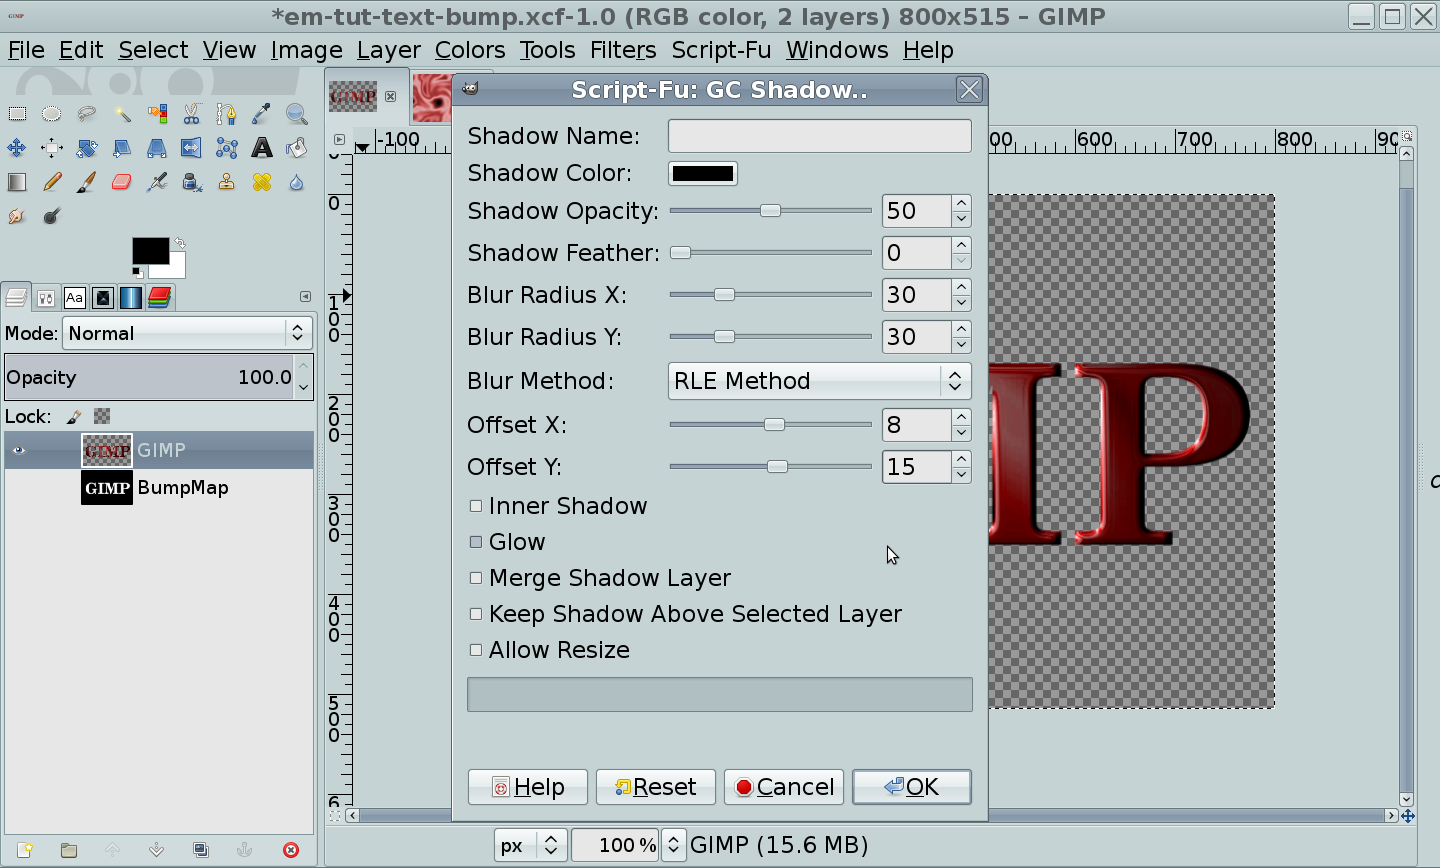
Create a Drop Shadow to make your image pop. I used
GC-Shadow script (Filters/Light and Shadow/GC Shadow) with the following settings.
Add a background layer of your choice, with the final result result shown below.

The final result you get from this technique will depend on the environment map used. I've created a script called:
Enviromap, which will assist in the creation of custom Environment maps. I have also created a script:
EnviroLogo, which uses the techniques outlined in this tutorial to allow you to quickly produce environment mapped text and logos.
You can also tweak and experiment with any of the settings in the Lighting Effects Plug-in for a variety of cool & interesting results. Tweaking the values under the Materials Tab during Step #12 will yield excellent results, perhaps giving you an even better final result.
Attached is a zip file containing the Environment Map used in this tutorial and a sample XCF of the final result.
I'm also working on a Logo Script that leverages Environment Mapping. I won't be able exactly duplicate the steps in this tutorial, due to the fact that GIMP does not provide an API that includes all the parameters of the lighting effect plug-in, but I should be able to duplicate the final results, which is what matters anyway.

I hope someone finds this tutorial useful, and more importantly, fun!