OK, here goes. (ref:
http://www.gimptalk.com/forum/how-to-ge ... 48488.html)
Download saulgoode's Mean Fill script:
sg-mean-fill.scmSuggestion before starting: Ctrl + T to disable selection Ants (which can slow down everything if enabled; Thanks to RobA for suggesting this trick to me).
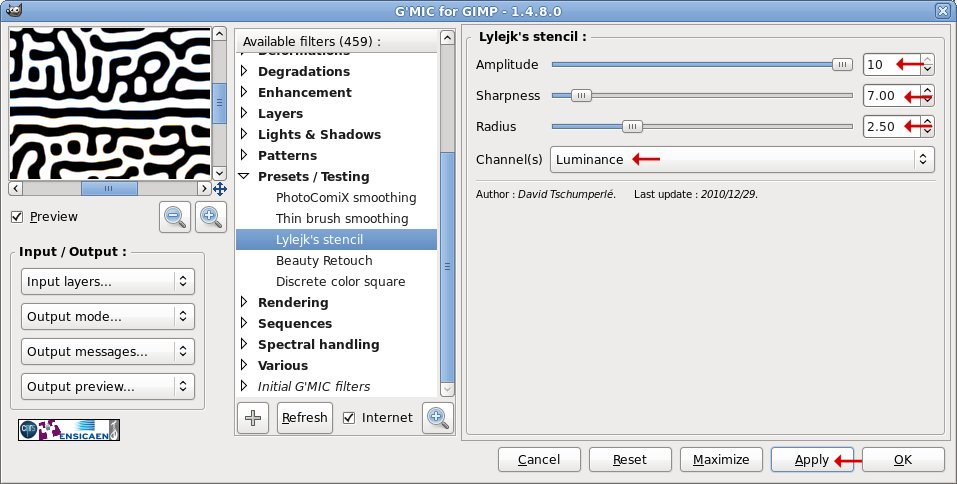
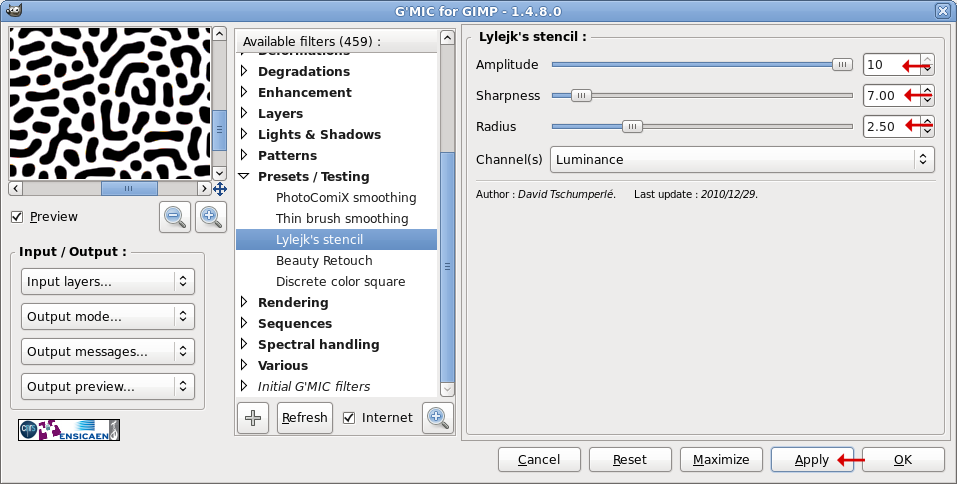
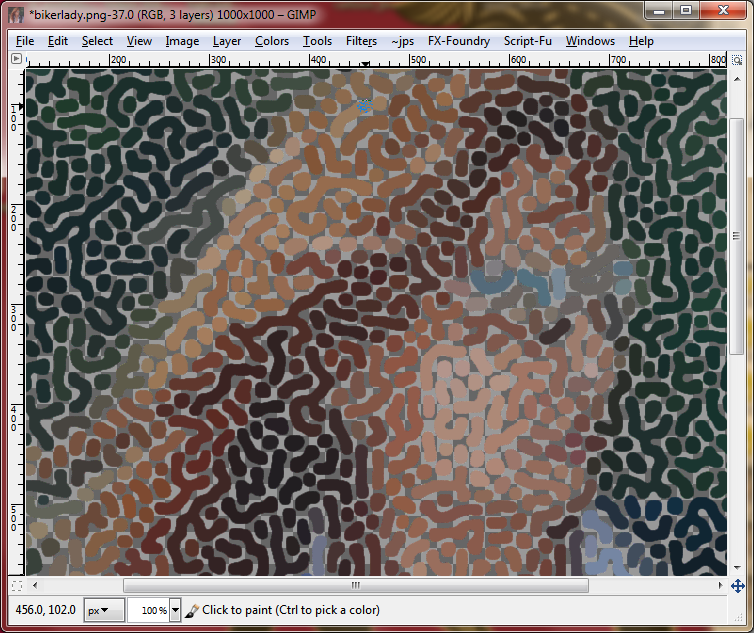
Step one: Choose your target, duplicate, and run Filters > G'MIC > Presets/Testing > Lylejk's stencil. Press Apply and repeat a few times, then OK
Step two: Create an additional Fill layer and choose a pattern and run Stencil on that layer too. Repeat Apply a few times, then OK. You'll see why later; I chose Dried Mud for this one).
Set the Top layer to Lighten and merge Down.
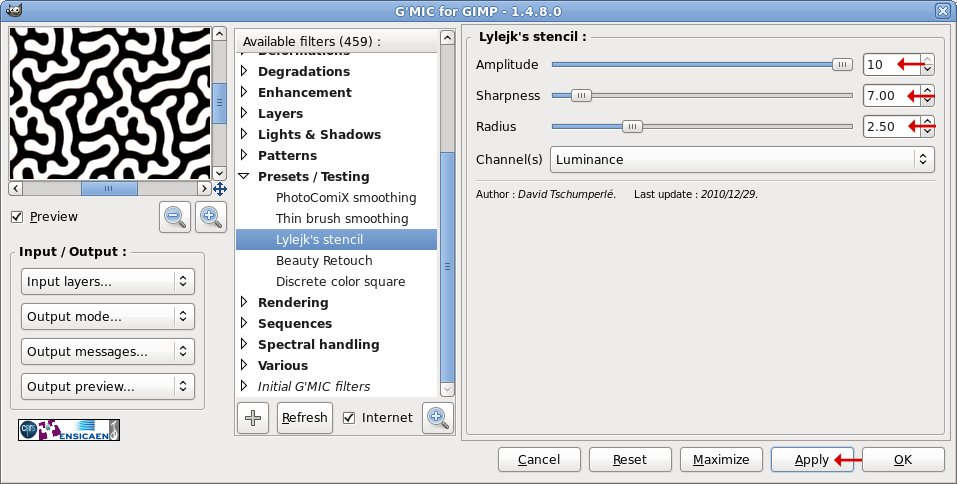
Run Stencil on the resulting Layer. Repeat Apply a few times, then OK. Doing this gives you smaller brick sizes (very important).
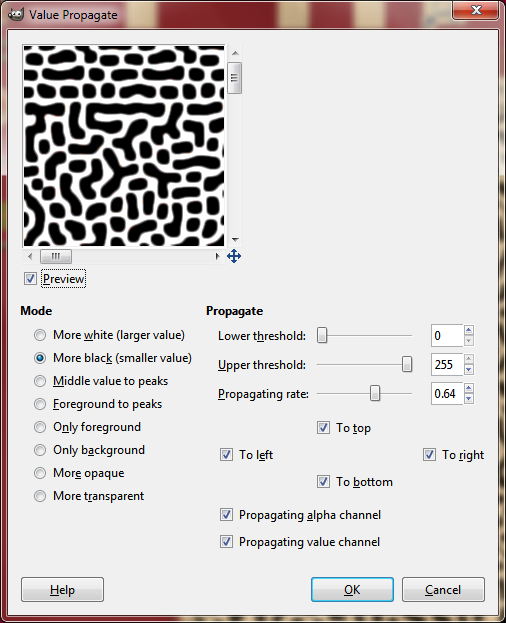
Run Filters > Distort > Value Propogate (set to Darken) to widen the outlines.
Invert the result for the mask and cut it to clipboard.

Toggle selection Mask and paste it into the target image.
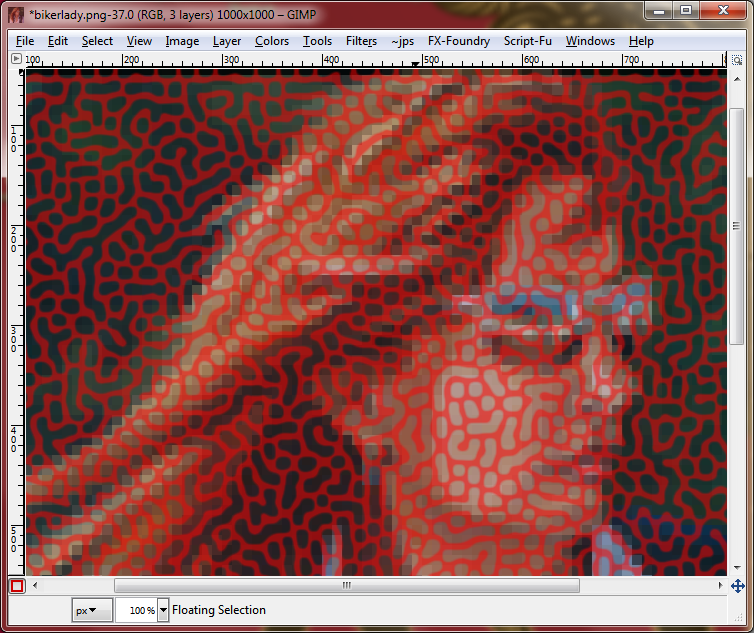
Untoggle the selection mask and run Saul's Script-fu, Filters > Misc > Mean Fill.
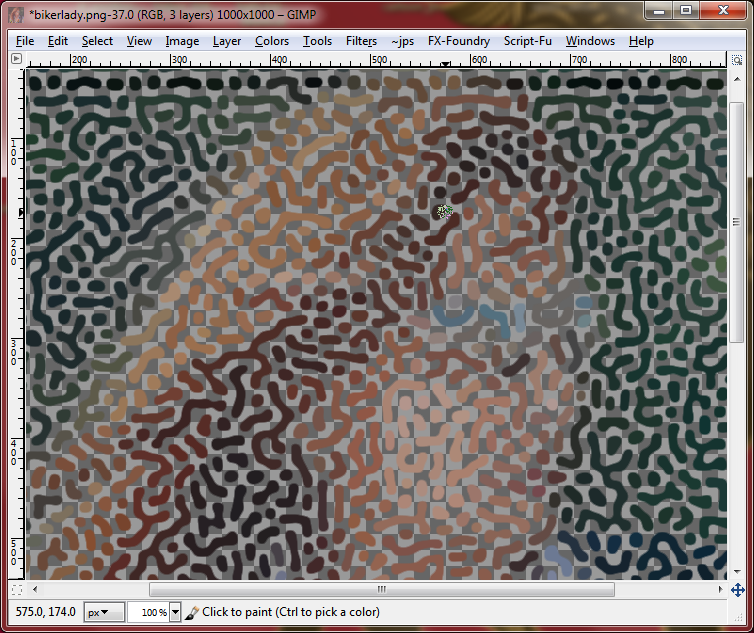
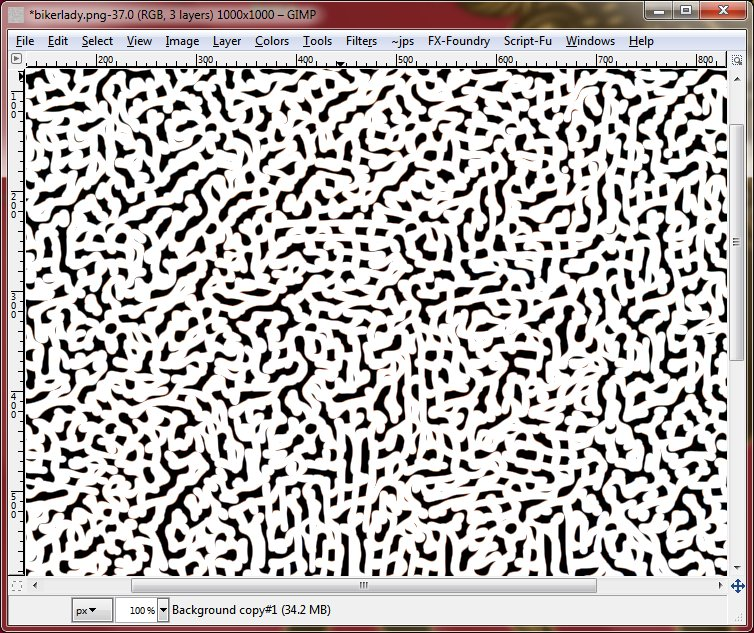
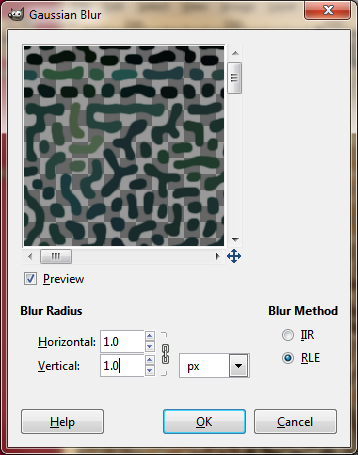
Deselect then Dup the result, and blur the lower layer 1 px and duplicate till solid and merge down. This step widens the islands.
Below's the result of everything so far. Hope that helps.
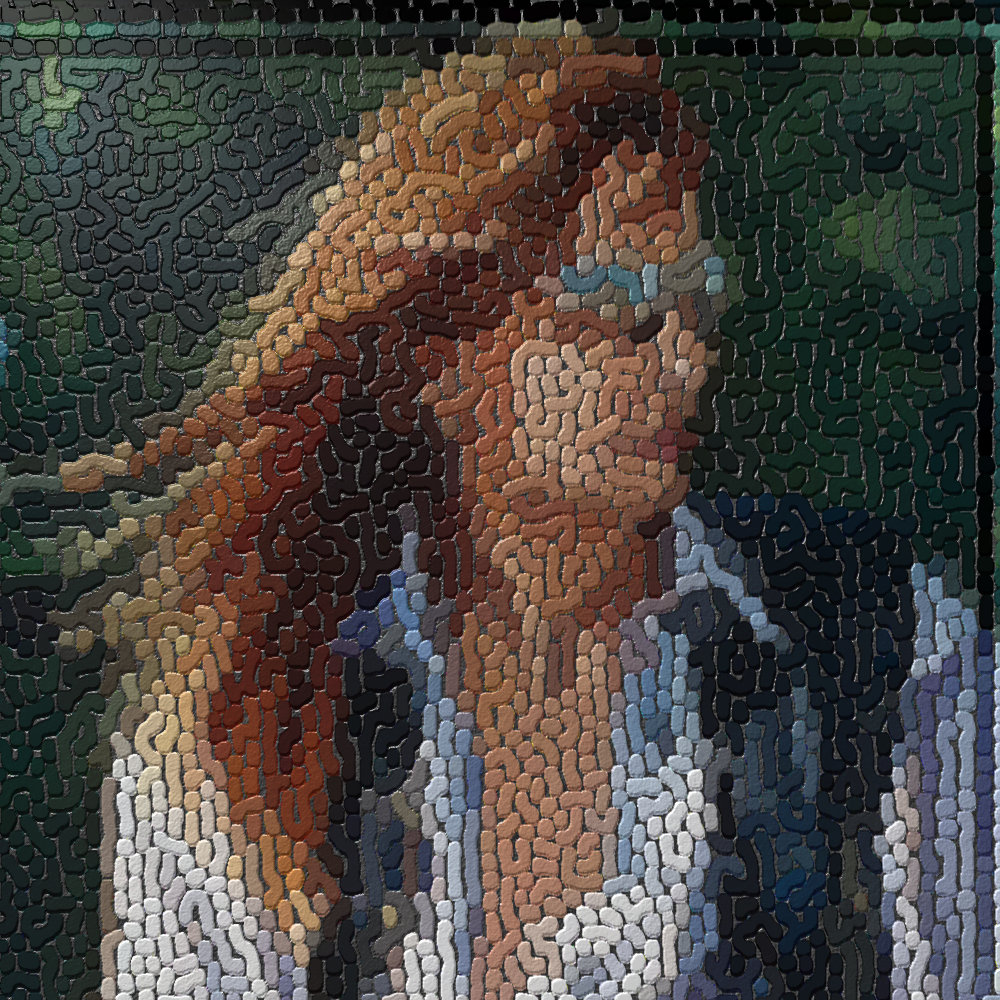
Additional steps for texturizing, but I'm not going to outline those steps. below's my final result.


