Wow OMG and teapot, very nice ribbons, love them


oldmangrumpy wrote:
Leftyleo - thanks; I appreciate your comments. As for Path Blend, just keep experimenting with those paths shapes, they can be very simple.
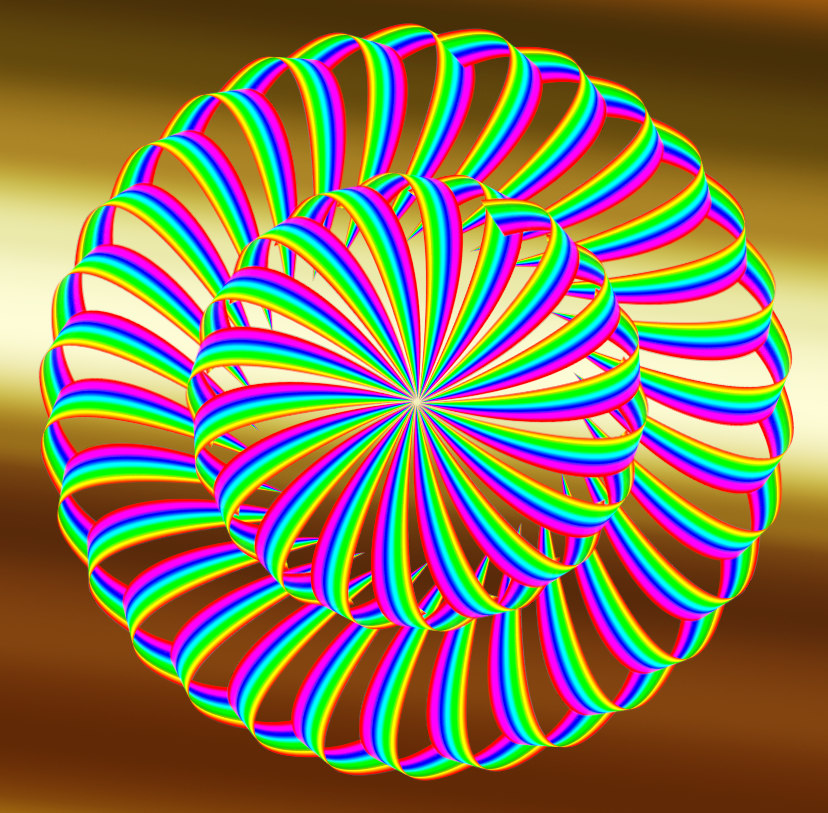
The steps for creation of this mandala were -
1. Draw a path; duplicate that path and rotate it using the path bottom as a fixed axis.
2. Run Path Blend against those paths, using my custom built gradient.
3. Using the Path Blend output as the basic 'brush', run it against GMIC>Contours>Local Orientation>YIQ Luma (create new layer, do not overwrite).
4. Place the output GMIC layer below the Path Blend layer and set that Path Blend layer to Overlay/Grain Merge mode and merge it down.
5. Select new shape and edit >copy to turn it into a brush, available as required.
6. Selected an appropriate brush size, painted one layer and then used Mura Meister Copies script set to 8 copies.
7. Then created a circular selection, ran the gradient in Radial mode against the selection.
8. Ran the YIQ luma filter against the circular gradient layer and repeated step 4 for these two layers.
9. Placed that merged radial layer below those created in step 6.
And that's basically it.
Thanks OMG for the tuto, but I did miss something, 3 and 4 don't make the same texture as you and teapot (the ribbon alike "fiber"), and 6 the Mura Meister script, what does this script do?
Anyway I did a try

Attachment:
 symmetry 3D-ish.jpg [ 255.96 KiB | Viewed 1548 times ]


.png)
.png)


.png)