Ok, you do need 2 scripts.
1st to
prepare the text with format that the 2nd script can handle to
Fill the selection, or the text will be too stretched and ugly
I did put the 2 scripts together (delete the old one in your plugins folder or it will interfere), both paths in the menu are in Filters/Text/Text fit selection/ (Prepare then Fill)
Yeah I took it directly from my plugins directory, thus it's
my menu path
Attachment:
 fill text to selection.7z [4.35 KiB]
Downloaded 37 times
fill text to selection.7z [4.35 KiB]
Downloaded 37 times
How to use it?
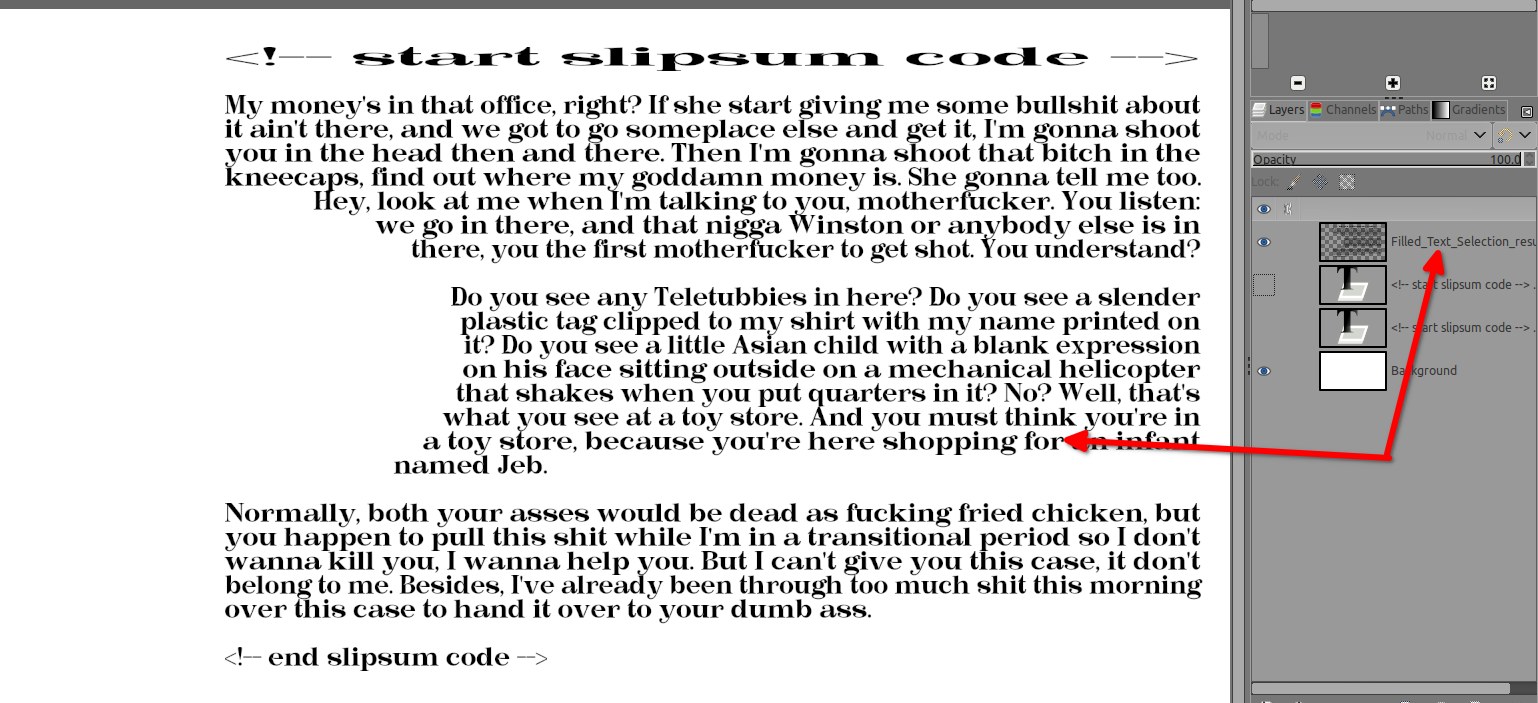
Paste your text with the text tool (I did it with the option Box > Fixed)
Then make a selection, work on your selection, in my example a rectangle then an ellipse in minus mode

Then select your text in the layers' dialog and go to
Filters > Text > Text fit Selection > Prepare Text Into Selection...Let the script doing its job for a while (watch the bar at the bottom of GIMP),
once it's finished, you get a
new text layer with the text aligned on the left and
no more selection.
Untick the visibility of the original text below in the layers' stack, then go to the channel dialog and click that button to "re"-select

Go back to the layers' dialog select the
new text generated by the "Prepare" script
then launch the second script
Filters > Text / Text fit selection/ Fill selection with text..Result (it's quite nice

)


 Maybe someone here have the plugin and might be able to share it.


.png)

 Video from :