@Issabella
I have been enchanted by your posts here and on the
G'MIC Finger paint Tutorial, now in such number, that I have no idea on how to begin figuring out which I like best or how they impress me. Confining myself to this thread, I am reminded of
A Sunday on La Grande Jatte by Georges Seurat. By breaking up color with dark veins, it approaches Seurat's Pointillist technique, I suppose. Your choice of the woman quietly reading in that sunny place is particularly apt, especially in the way the pattern picks up local color.
@okyl168
I enjoy the dream-like surrealism you achieved by using the hedcut pattern as a mask to pick between the two images. Being black and white, the pattern can be readily used as a selection for no end in purposes. I look forward to more such uses.
@oldmangrumpy
Welcome to the game! I particularly enjoy your
finger paint sunset on the FP tutorial thread. It was a nice doubletake when I came to notice that an erstwhile reflection of clouds off of the water resolved faintly into your "OMG" signature. I like such visual games. Keep surprising me.
For my contribution to this game, I will throw another pebble in the water and see where its expanding wavelets take me. My gambit stems from okyl168 use of the hedcut pattern as a mask, more generally as a production element, and not necessarily as a direct imposition on another image.
The Nethermead in Prospect Park, Brooklyn, rendered somewhat impressionistically.
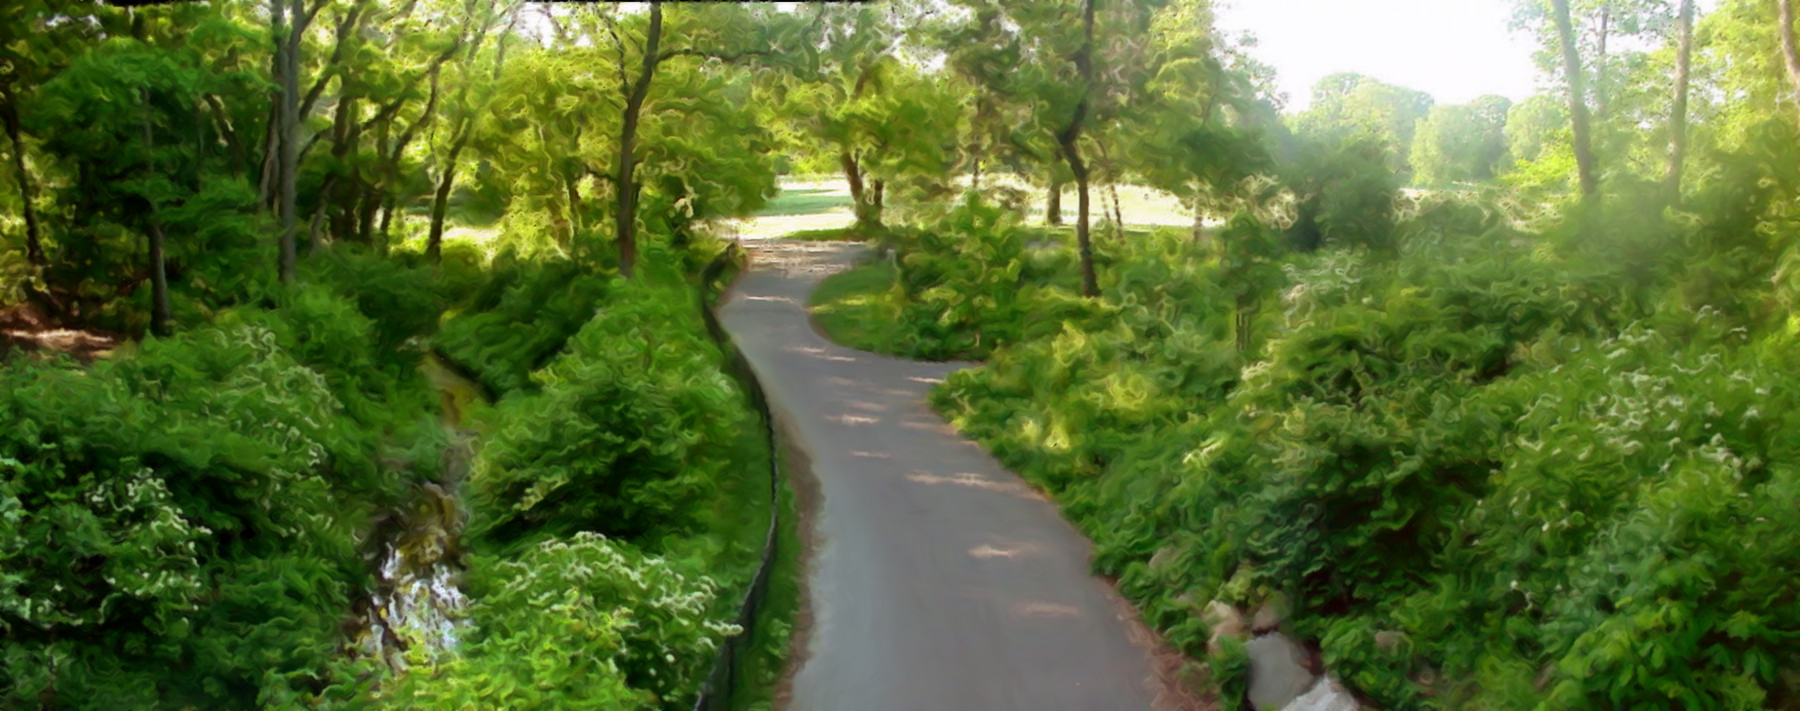
The original at
Wikimedia CommonsThe gambit relies on another one of my toys, the
Blur by Color Gimp Filter, which currently resides in Testing->Gmic Tutorials->Blur by color. I've yet to do a GimpChat specific tutorial on BBC, but in lieu of that, here are some nice experiments by Marcello on the
Blur by color thread.
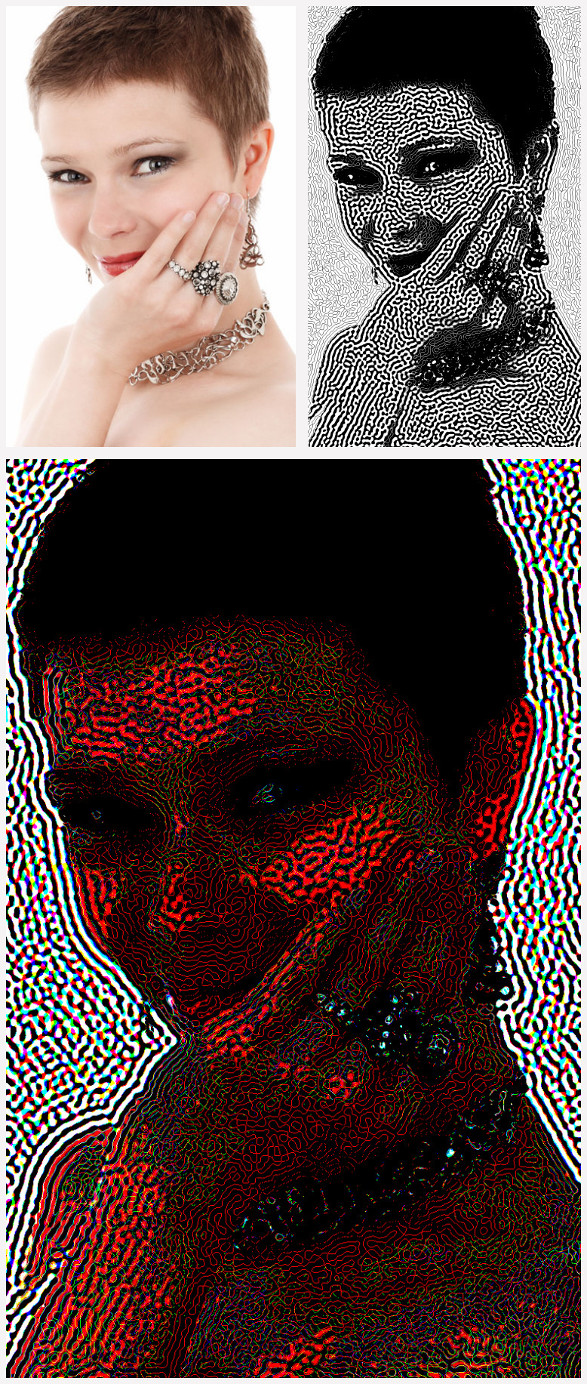
Here's a play-by-play:
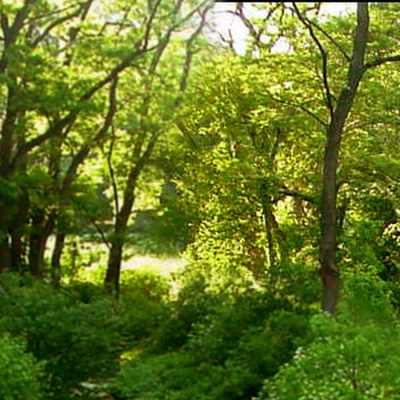
A section of the original

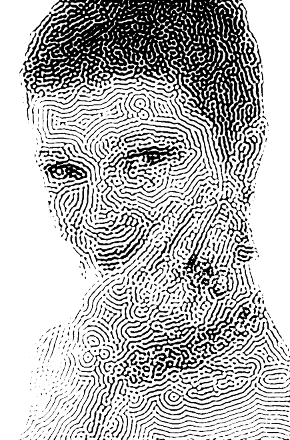
A hedcut of the section.
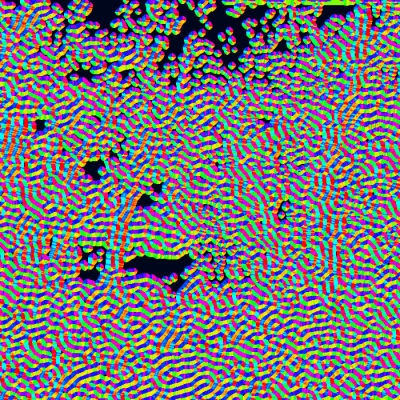
The hedcut rendition converted by the Gimp-G'MIC Contours -> GradientRGB filter. Blur by color uses color to steer the direction of blurring, so that a linear blur can be made to loop around. Here, the intention is to have blurring follow the direction imposed by the hedcut pattern -- faux brush-stroking. The GradientRGB settings are default for minimum and maximum threshold. The smoothness setting is made just large enough to close (almost!) all of the black regions in the hedcut pattern, about 1.0 to 1.5. Leave large gaps open. The "Orientation only" flag is checked on and "Negative Colors" is unchecked. This becomes the "Control Layer" for Blur by color.
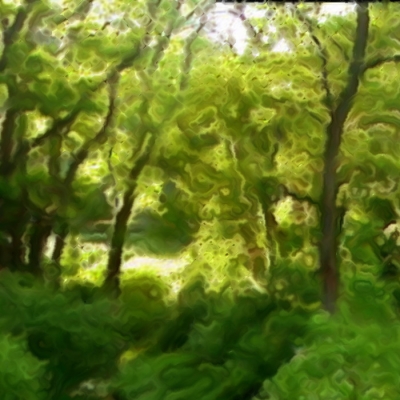
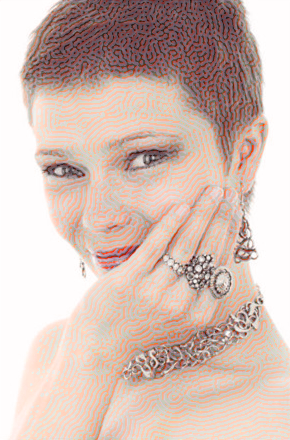
Blur by color applied.
The Blur by color filter operates on two layers. Situate the hedcut modified control layer immediately above or below the target layer, and choose as an input layer "Active and Above" or "Active and Below", depending on how you have positioned the control layer relative to the target layer. I also recommend choosing "New Layer" for Output Mode so as not to loose your Control Layer.
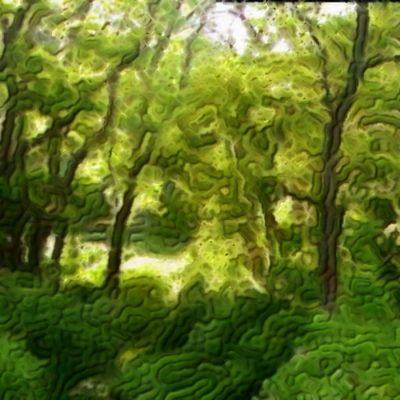
The original hedcut pattern, blurred by a 5 pixel kernel radius and reapplied as a bumpmap.
There are many ways you can take this. For example, prior to applying blur by color, you can apply a salt-and-pepper noise to the target image to achive Finger paint like effects. Indeed, you would be using a good bit of Finger paint machinery in a somewhat disassembled fashion.
Thank you everyone for your tests and outcomes! By all means, keep on playing.
Garry
 Login
Login Register
 Tweets
 FAQ
FAQ Advanced Search






 ; now I am going to have to attempt to use them too!






 me, and probably dinasset, oldmangrumpy and whoever else is not far behind. You have a rich and fertile imagination; it will take you as far as you want to go.

