Blending with gradient does not work well with all images.
With the image you are playing with, I'd use a sharp brush to paint over the stone on the layer mask, so that the grass looks natural in front of it. The brushes Gimp includes, "bristles 01" and "bristles 02" would be good for grass and fur.
After that you can play with the Hue-Saturation & Brightness-Contrast on the animal/object layer to make it blend even better with the background.
Here's a quick demo. Dog from wikimedia over random garden image.

Painted most off with a round big brush on layer mask. This step could be done also with eraser on the layer itself.

Switch from mask to layer to use Hue-Sat now, so that you can see the effect of colors and lighting has when blending images.
Increased saturation little and reduced lightness. Then a bit of contrast with Brightness-Contrast.
The new Hue-Chroma in 2.10 is also good for this kind of tweaking.

Cleaning rest around the dog using "bristles 02" black brush on layer mask. Size 14-17 with this image.
Brush hardness reduced to 50.
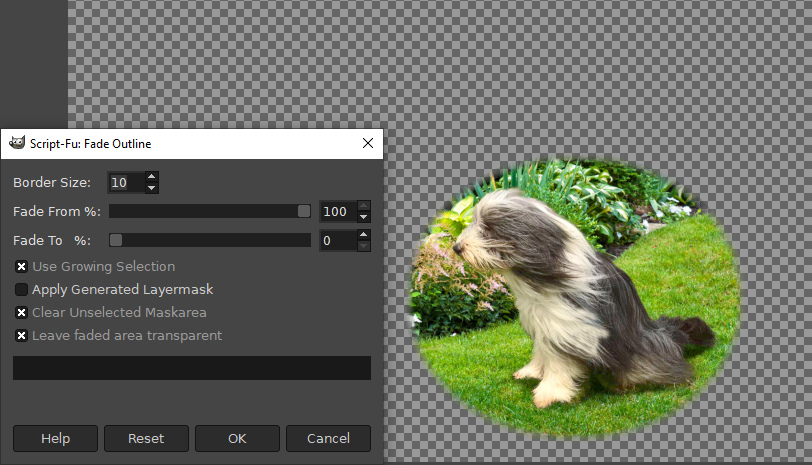
You have the possibility to make corrections later with layer mask method, but here's why I normally make first perfect .png cutout of the object I wish to blend over the background.
Not that you always have to, but 9 times out of 10 there will be leftover pixels when you brush.

Fixed, now the dog can sit and oversee anywhere in the garden it (or he or she?) wants.

 Login
 Register
 Tweets
 FAQ
 Advanced Search