otherwhirl wrote:
I am able to follow everything up to (4:32)
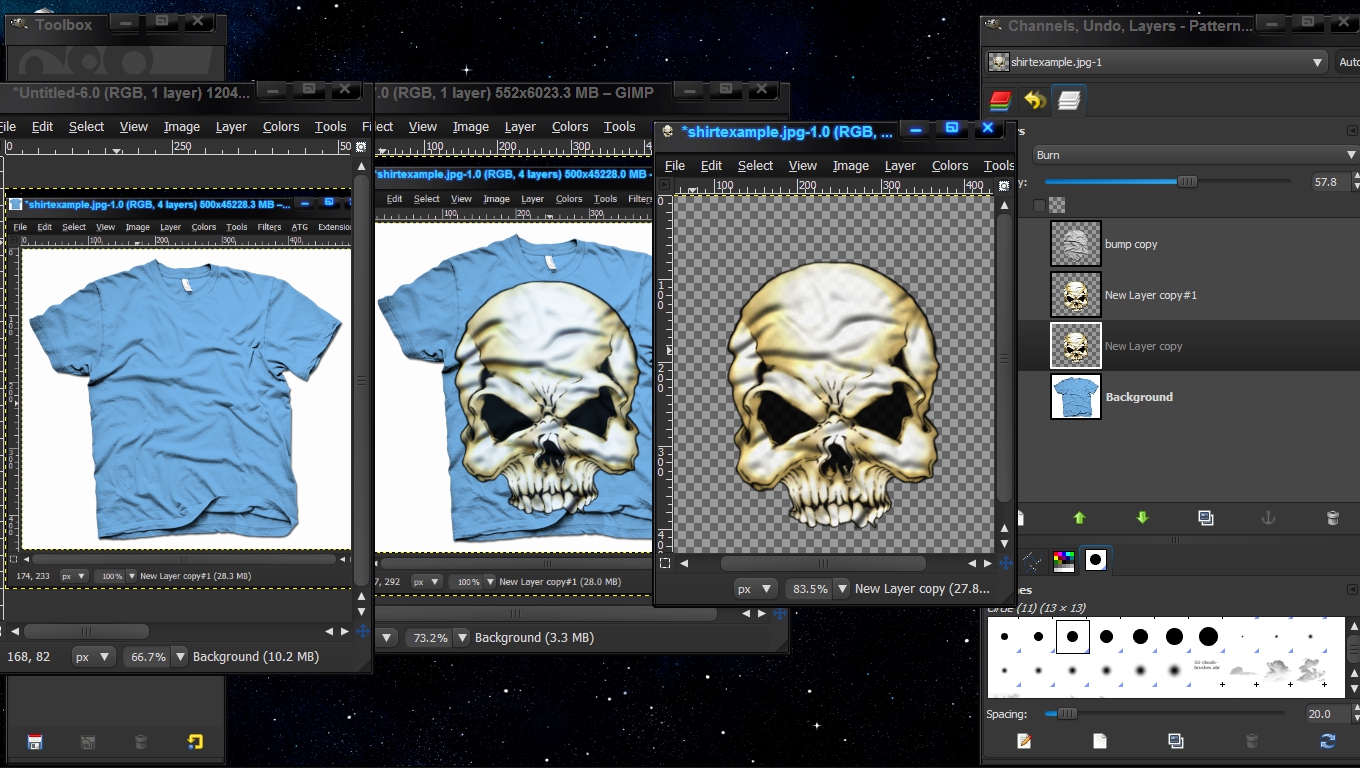
At that point, you should have an image similar to the attached .xcf file, comprising a background layer ("t-shirt.jpg"), a hidden displacement map layer ("disp map"), and the distorted graphic layer ("wilber"). It should appear like this:

GIMP does not have a direct equivalent to Photoshop's "layer styles", so you will need to first create a desaturated version of the t-shirt to correspond to selecting "gray" for the Photoshop Blend If option.
- Duplicate the background layer.
- Desaturate the duplicate layer (using luminosity).
- Activate the "wilber" layer and perform "Layer->Transparency->Alpha to Selection".
- Create a layermask on the duplicate layer, choosing "Layer's alpha channel" for the Initialize Layer Mask To option.
You next need to create a layermask on the "wilber" layer and place inside of it a copy of the "t-shirt.jpg" layer.
- Create a layermask on the duplicate layer, choosing "Selection" for the Initialize Layer Mask To option.
- Activate the background layer and perform an "Edit->Copy"
- Activate the "wilber" layermask and perform an "Edit->Paste Into".
- Perform a "Layer->Anchor Layer".
At this point your layer stack should look like this:

(You can download the XCF file for this from
here.)
You can now use the "Colors->Levels" tool to adjust the tone and contrast of the shadows -- moving the triangles in the Levels tool roughly corresponds to the "underlying layers" controls of Photoshop's Layer Styles dialog.
Attachment:
 wilber-t-shirt.jpg [ 148.9 KiB | Viewed 2493 times ]
 Login
Login Register
 Tweets
 FAQ
FAQ Advanced Search


 ) I was to follow it and pretty much apply the instruction to Gimp. However, there is part where the ''Underlying layers'' are being tweeked.











 The t-shirt was used as I found it, all wrinkly and stuff. Wrinkles are in anyway.