A few days ago I came across an old thread wherein somebody was asking for a script to produce this sort of pattern:

(NB. This is
not a tiled pattern - it may look like it at first glance ..that's what everybody says - use the Symmtery Tile plugin or GMIC ..but it's not tiling! )
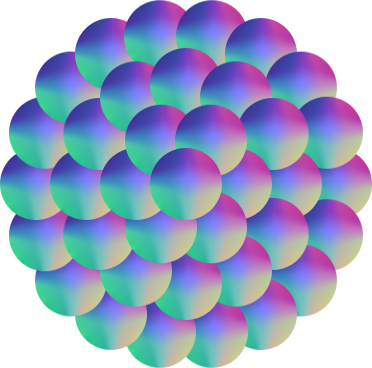
The difference between tiling and this "concentric-rings" pattern can easily be seen in this example where the motif is itself a hexagon:

The pattern is produced simply by replicating the motif at regular intervals around the circumferences of concentric circles. The rings are equally spaced and so, if there are 6 motifs in the first ring, there will be 12 in the second, 18 in the third and so on. This is simple high-school trigonometry, nothing more complex.
Strangely enough, there still doesn't seem to be any off-the-shelf way of producing this pattern even now, so I have adapted another script for this purpose and it turns out to have some rather interesting capabilities according to the parameters you choose, which I describe and illustrate below.
The script will work upon a selection of a layer, if there is one, else upon the whole layer.
(For best results, prepare your motif on a transparent background.)
Enjoy.
------------------------------------------------------------------------------------------------------------------
Parameters==========
Replication radixThis is the fundamental parameter of the pattern - the number of repeats in the first ring from the centre.
If "Replication radix"=6, there will be 6 motifs in the first ring, 12 in the second, 18 in the third and so on.
The script will allow values from 1 to 20, but values in the range 4 to 8 seem to produce the best results.
(Lower values just produce rather odd results, much higher values just produce distinct rings.)
Number of ringsThe number of rings to produce. The script will allow up to 30 rings ..but be warned it can take a very long time to render high values, depending upon the size of the input layer/selection.
Ring spacingThe nominal spacing between rings.
For "distinct" patterns (such as the dots pattern above), this should generally be set to a value greater than the maximum dimension of the motif.
Lower values will cause motifs to overlap, which can produce a number of interesting compositing effects (see "Gallery").
This value may be modified by the zoom (see below).
Offset angleBy default, the script will render each ring clockwise from the middle right side (ie. the "3 o'clock position"). This may leave a "seam" in this direction if the motifs overlap. You can adjust the alignment of the pattern by setting the Offset angle.
eg. if Offset angle=-90, the script will render each ring from the middle top (ie. the "12 o'clock position").
Use in conjunction with the Replication radix to change the alignment of the pattern.
eg. if radix=6, setting Offset angle to -30 or 30 will change the hexagon in the centre of the pattern from having a flat edge at top to having a vertex at top.
Progressive offsetBy default, the script will produce concentric circles. However, if you set the Progressive offset (X,Y) values to non-zero, the rings will be offset progressively by the specified distance, starting from the centre. This can yield "lop-sided", "clumped" or "shock effect" patterns.
ZoomBy default, the script replicates the motif with the same size and ring-spacing throughout the pattern.
If you set the "Zoom at centre" and "Zoom at outer ring" to values other than 1.00, the script will scale the motif accordingly.
Also, if you check the "Zoom-adjust ring-spacing" option, the script will adjust the spacing between the rings progressively in accordance with the motif size.
This can yield a number of effects, especially when used in conjunction with the "Progressive offsets".
Central motifIf unchecked, the script will not include the motif in the central position of the pattern (ring 0). This is useful for generating rotationally-symmetic patterns.
Rotate motifsIf enabled, the motif will be rotated by the same angle as it's position from the centre of the pattern - this means that the same part of the motif will always be towards the centre of the pattern and yields a rotational symmetry to the overall pattern.
Outer rings uppermostIf the replicated motifs overlap, setting this option will cause the outermost rings to appear above the inner rings (rather than the usual centre-at-top). This can yield dramatically different results when overlapping motifs.
------------------------------------------
Additional Effects=============
Iteration
----------
You can achieve more intricate composition effects by using the output from one run of the script (eg with radix=6,rings=5) as input motif to another run of the script with similar values, adjusting ring-spacing as necessary.
Seam-mending
-------------------
As mentioned above (under "Offset angle"), the script will render each ring clockwise from the middle right side (ie. the "3 o'clock position") by default. This may leave a "seam" in this direction if the motifs overlap, as the last motif in the ring is overlaid onto the first instead of being "tucked underneath".
You can rectify this problem manually after the running the script
For patterns which have rotational symmetry, you can use the duplicate-rotate-merge method of seam-mending:
- merge visible layers (if not already merged)
- duplicate the layer
- rotate duplicate layer 180 degrees
- add layer mask
- use the blend tool with gradient "FG to BG (RGB)", default colors (FG = black, BG = white), drag across the mask layer from just left of centre to just right of centre - the seam should "magically disappear"
- merge down
For patterns which do not have rotational symmetry, run the script a second time on the original motif, this time setting "Offset angle"=180, merge down (if not already) overlay onto first output, add layer mask and blend as above.
------------------------------------------------------------------------------------------------------------------
Gallery=======
Basic Patterns
------------------
The following patterns were produced using a simple 30px black-filled circle on a transparent background as motif, ring-spacing=40, other settings as default (except radix):
Radix=4:

Radix=5:

Radix=6:

Radix=7:

Radix=8:

With Radix=6, Rings=5, Ring-spacing=35, Zoom at centre=1.0, Zoom at outer ring=0.5, Zoom-adjust ring-spacing=Yes:

Ditto, but Progressive offset X=6:

With Radix=6, Rings=5, Ring-spacing=30, Zoom at centre=0.5, Zoom at outer ring=1.0, Zoom-adjust ring-spacing=Yes:

Ditto, but Progressive offset X=6:

----------------------
The following patterns were produced using Oregonian's multi-color hypocycloid image (
viewtopic.php?f=23&t=11961) as motif:
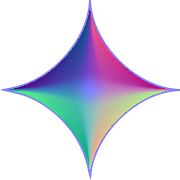
Radix=6, rings=3, Rotate motifs=Yes, (other settings as default):

Ditto, script iterated:

Ditto, colorized:
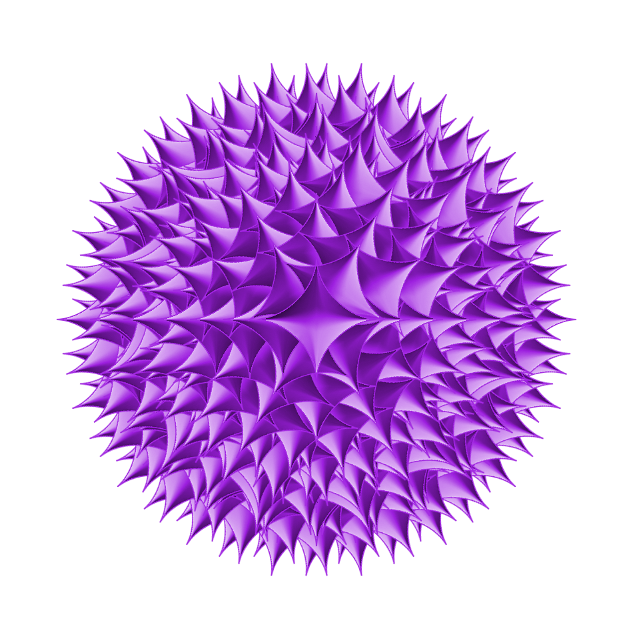
As first above, but Outer rings uppermost=Yes (and seam-mended):

Ditto, iterated:

As first above, but rings=7:

Radix=6, rings=7, Zoom at centre=1.00, Zoom at outer ring=0.30, Zoom-adjust ring-spacing=No, Rotate motifs=Yes, (other settings as default):
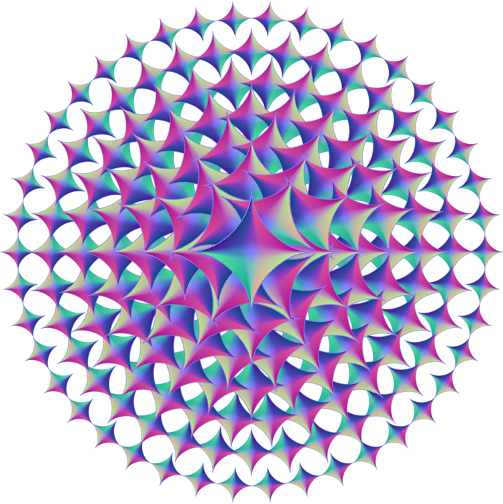
Ditto, but Progressive offset X=20:

Ditto, but Outer rings uppermost=Yes (and seam-mended)
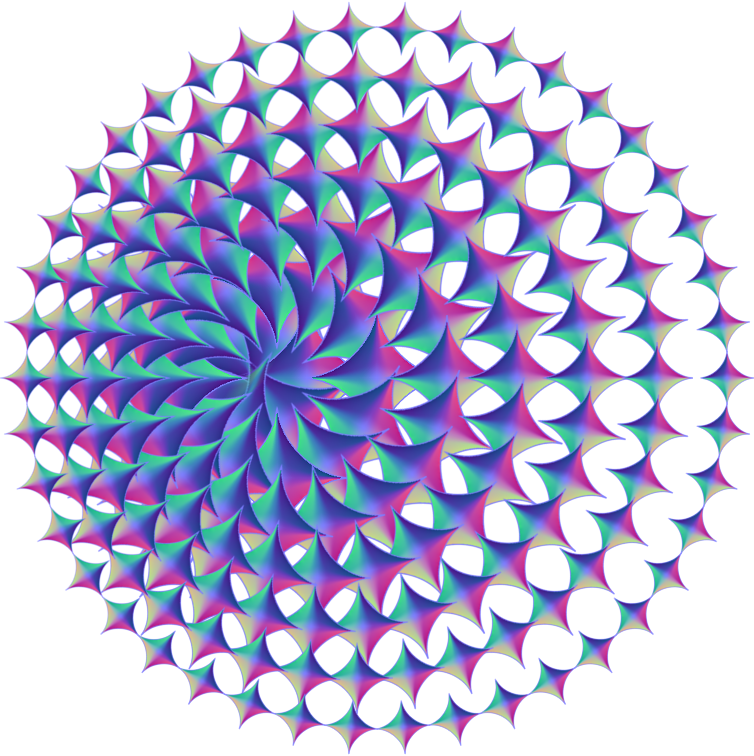
Radix=6, rings=7, Zoom at centre=0.50, Zoom at outer ring=1.00, Zoom-adjust ring-spacing=Yes, Rotate motifs=Yes, (other settings as default):

Ditto, but Outer rings uppermost=Yes (and seam-mended)
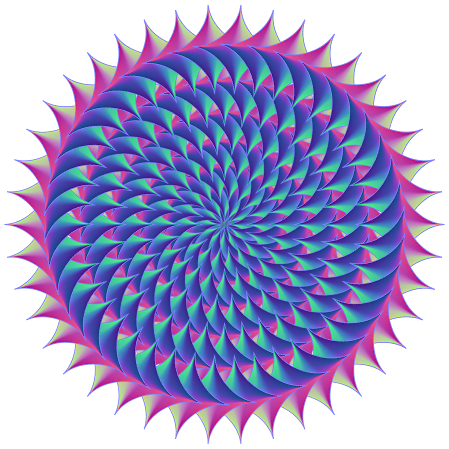
-----------------------------------------------------------------------
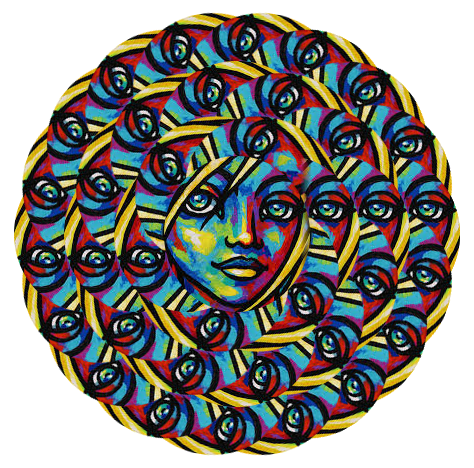
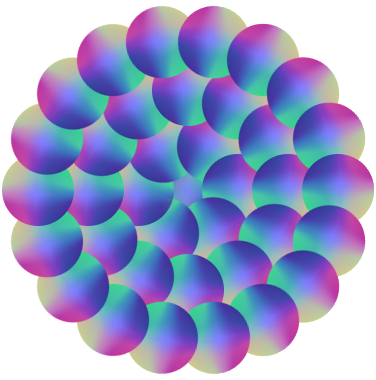
Some other images created with this script:



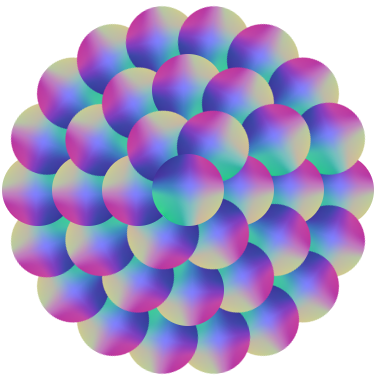
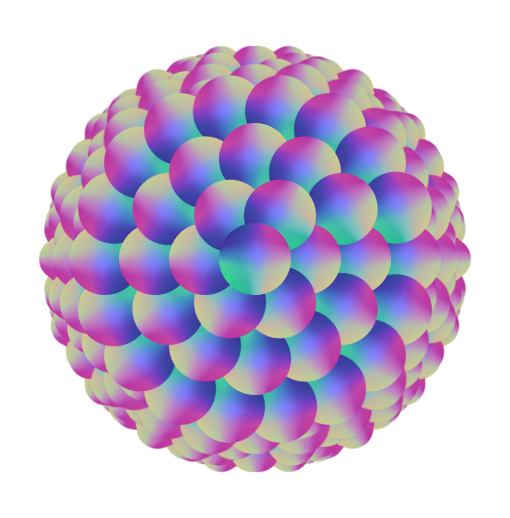


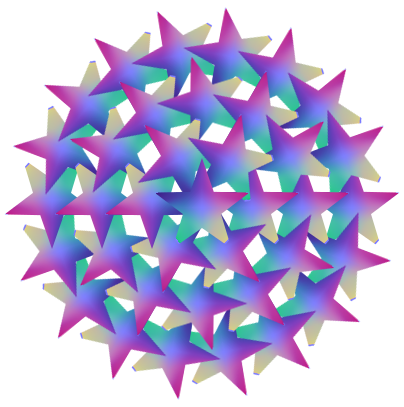


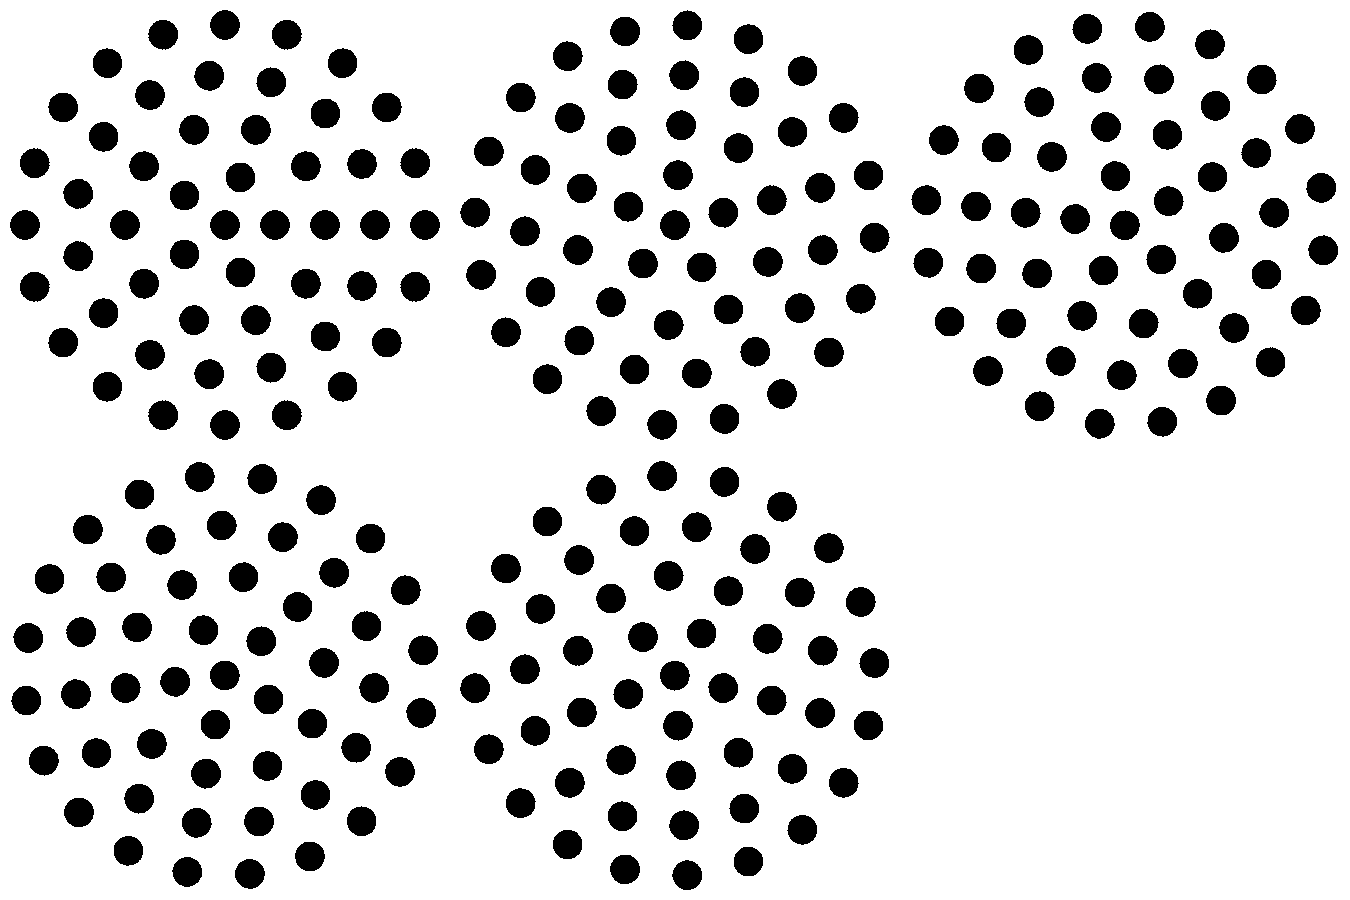
This classic "wagonwheel effect" is in fact just 5 frames with all the dots in a fixed pattern, rotating just 14.4 degrees anti-clockwise between each frame. But because of the relative spacing of the dots, the eye interprets the outer rings as revolving clockwise, and at different rates.
------------------------------------------------------------------------------------------------------------------
Installation============
Download the attached file, unzip, copy the file JT-replicate-in-rings.scm to your personal scripts folder:
Linux: ~/.gimp-2.8/scripts
Windows: C:\WINDOWS\Users\<name>\.gimp-2.8/scripts
Start Gimp or do "Filters>Refresh scripts" and you should find a new menu entry "Filters>Misc>JT Replicate in Rings"
Attachment:
 Login
Login Register
 Tweets
 FAQ
FAQ Advanced Search