Here is a G'MIC preset to help automate the process described in AnMal's first tutorial, above.
This preset does NOT do the first step (generating an image using a conical gradient or some other means) nor does it do the last major step, the Whirl and Pinch (which is a Gimp plug-in).
But it does do the 5 steps in between, ie.
- Cartesian Transform
- Kaleidoscope
- Offset x/2,y/2
- Kaleidoscope (transparent) and merge
- Offset x/3, 2y/3
At each step, the parameters default to the same as used in AnMal's tutorial, but you can tweak those values to get a better result.
Also, each step has an "Enable" checkbox so that you can selectively disable steps or just turn them on progressively to check how the pattern develops.
InstallationTo use this preset, do Select-All on the code-box below, then copy and paste the text into your personal gmic file:
On Linux: ~/.gmic
On Windows: C:\Users\user\AppData\Roaming\gmic
(Note that the filename begins with a dot on linux, but not on Windows!)
You will need a plain-text editor such as gedit (on linux) or notepad (on Windows) to edit the gmic file.
#@gimp <b>Testing</b>
#@gimp <i>AnMal</i>

#@gimp AnMal Pattern 1 : gimp_AnMal_pattern1, gimp_AnMal_pattern1(1)
#@gimp : note = note("<span foreground="blue"><u>Cartesian transform :</u></span>")
#@gimp : Enable = bool(1)
#@gimp : X-warping = text{"(w+h)/20 * cos(y*20/h)"}
#@gimp : Y-warping = text{"(w+h)/20 * sin(x*20/w)"}
#@gimp : Relative warping = bool(1)
#@gimp : Interpolation = choice(1,"Nearest neighbor","Linear")
#@gimp : Boundary = choice(1,"Black","Nearest","Repeat")
#@gimp : Sep = separator(), note = note{"<span foreground="blue"><u>First kaleidoscope :</u></span>"}
#@gimp : Enable = bool(1)
#@gimp : Iterations = int(12,1,32)
#@gimp : Angle = float(0,0,360)
#@gimp : Boundary = choice(1,"Transparent","Nearest","Repeat")
#@gimp : Symmetry sides = choice("Backward","Forward","Swap")
#@gimp : Sep = separator(), note = note{"<span foreground="blue"><u>First offset :</u></span>"}
#@gimp : Enable = bool(1)
#@gimp : X-offset (%) = float(50,0,100)
#@gimp : Y-offset (%) = float(50,0,100)
#@gimp : Sep = separator(), note = note{"<span foreground="blue"><u>Second kaleidoscope :</u></span>"}
#@gimp : Enable = bool(1)
#@gimp : Iterations = int(12,1,32)
#@gimp : Angle = float(0,0,360)
#@gimp : Boundary = choice(0,"Transparent","Nearest","Repeat")
#@gimp : Symmetry sides = choice("Backward","Forward","Swap")
#@gimp : Sep = separator(), note = note{"<span foreground="blue"><u>Second offset :</u></span>"}
#@gimp : Enable = bool(1)
#@gimp : X-offset (%) = float(33.33,0,100)
#@gimp : Y-offset (%) = float(66.67,0,100)
#@gimp : Sep = separator(), note = note("<small>Authors : <i>AnMal, Jon Tait</i>.   Latest update : <i>2015/07/26</i>.</small>")
#@gimp : Note = link("Description and support","http://gimpchat.com/viewtopic.php?f=23&t=12849")

gimp_AnMal_pattern1 :
 -to_rgba[-1]
 -if {$1} -gimp_custom_deformation[-1] "$2","$3",$4,$5,$6 -endif
 -if {$7} -gimp_symmetrizoscope[-1] $8,$9,$10,$11 -endif
 -if {$12} -shift[-1] $13%,$14%,0,0,2 -endif
 -if {$15} --gimp_symmetrizoscope[-1] $16,$17,$18,$19 -compose_rgba[-1,-2] -endif
 -if {$20} -shift[-1] $21%,$22%,0,0,2 -endif
If you do not currently have a personal gmic file, just download the file attached below, unzip and copy to the relevant folder. (On Windows, rename the file without the leading dot!)
Attachment:
File comment: Personal .gmic file including AnMal Pattern 1
 .gmic.zip [873 Bytes]
Downloaded 197 times
.gmic.zip [873 Bytes]
Downloaded 197 times
UsageThe next time you invoke G'MIC you should find the new preset under "Testing> AnMal".
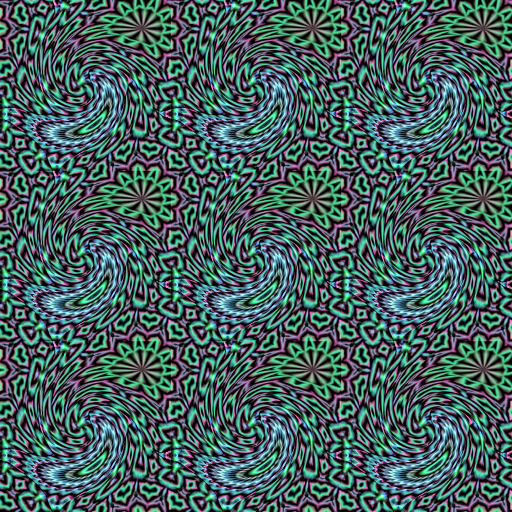
(It's called "AnMal Pattern 1" because the output is not actually paisley-ish - that will only happen when you run Gimp's Whirl-and-Pinch plugin on the output image.)
If you're going to be playing with this a lot, make it a "fave" so you don't have to keep scrolling down to Testing.
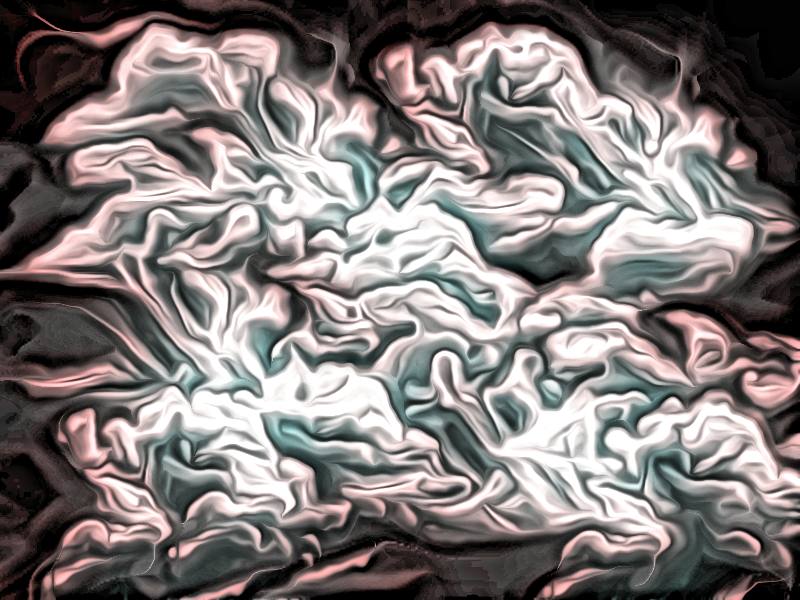
Note that you can start with any image, not just the conical gradient pattern described in AnMal's tutorial.
Run the new preset first with default settings (click Reset if necessary), then run Gimp's Whirl+Pinch on the result.
If you kinda like the result but think it could be better, ctrl-z twice to get back to the starting image, run the G'MIC preset again but this time tweak the parameters in the various steps and try again.
 Login
Login Register
 Tweets
 FAQ
FAQ Advanced Search













 this is so cool! i've never
  that last one is really amazing. but does this mean your back in your old addiction again?
 we're drowning in paisleys now - we got