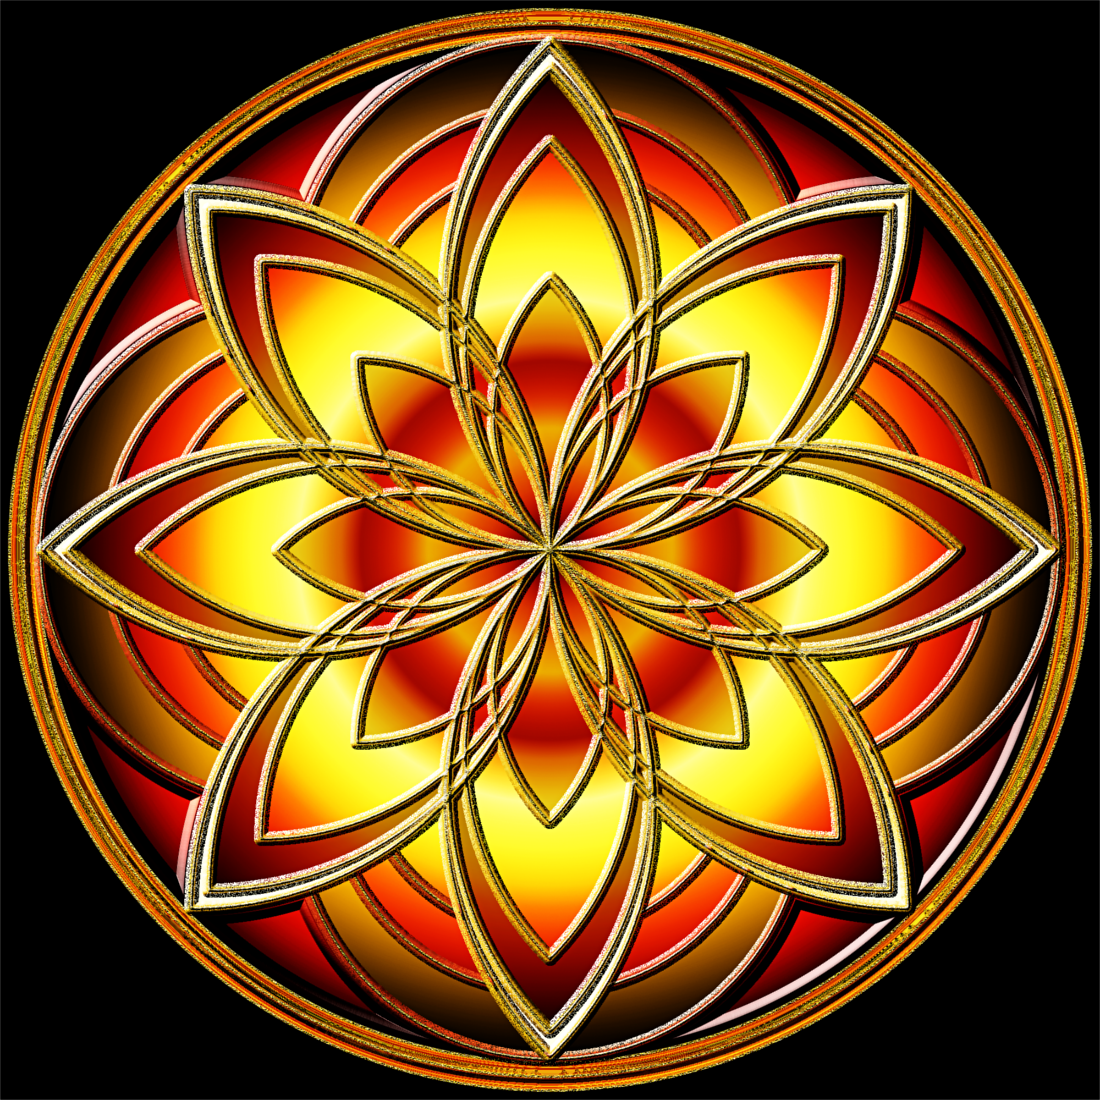
To those GC members (and others) who may have had a look at some recent tutorials I posted on the 'Chisel or Carve' filter, I think I owe you an apology.

In those tutorials I expressed my admiration for the dynamics of this filter and what it can produce. However, some further play with it recently has shown me that there are yet more elements that I have now discovered and which I did not address in those tutorials, particularly the last one where I used the filter against gradient patterns.
So please let me just point out some additional manipulations you may like to try out :
1. Try using
'colors>colorize' against the chisel/carve layer to add a softer hue to the feature – the gold gradient image below features this modification.
2. The default 'blend mode' for the filter is 'hard light' at 80% opacity. Try using
different combinations, e.g. change the blend mode to 'overlay', then duplicate the layer and change its blend mode to 'multiply'. The red centred and green gradient image below features this approach. I also used 'burn mode' for one of the 'chisel/carve' layers in the gold gradient image too.
3. I probably referenced this next method but did not emphasise it sufficiently. The red/green gradient image referenced in 2 above also features several layers where the
selection has been chiselled on the outside and carved on the inside. I really like that feature and again different blend modes were used.
4. Also try reversing the approach in 3 above. The third image below has a carved outside and chiselled inside, once more with modified blend modes.


Oh well ... never stop learning!
 Login
Login Register
 Tweets
 FAQ
FAQ Advanced Search