Thought I would try adding a different format of custom font resources and see how it goes...
These are some of my own custom fonts as resources for people to use as a range of base custom fonts which they can then add their own decorative finishes; and while I am at it I thought that I would add a range of accented characters to each custom font style for non-English users.
The advantage of this approach is that the base custom fonts can be compressed much more efficiently for upload.
The first one is uses my Chunky Stencil Custom Font; download, unzip and save to a convenient location.
Attachment:
 Chunky_Stencil_Resources.7z [4.25 MiB]
Downloaded 96 times
Chunky_Stencil_Resources.7z [4.25 MiB]
Downloaded 96 times
Attachment:
Other-Resources.7z [2.02 MiB]
Downloaded 103 times
A pdf version of this guide...
Attachment:
 Custom Font DIY.pdf [1.3 MiB]
Downloaded 107 times
Custom Font DIY.pdf [1.3 MiB]
Downloaded 107 times
The main resource folder (Chunky Stencil Resources) contains the following files:
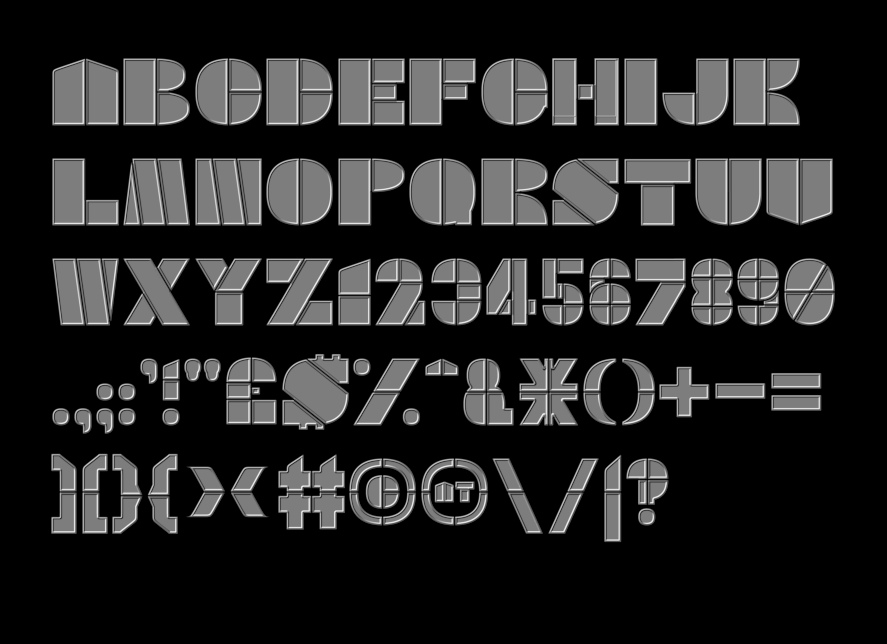
Chunky Stencil Box to use as the outside edge or frame of the custom font; add a decorative finish to the custom font characters.
The other files are the panel characters that can be decorated and then added to the box characters.
Chunky Stencil TightPanel – a plain panel to decorate in whatever way you want.

Chunky Stencil TightGlossPanel:

Chunky Stencil TightPeakPanel

Chunky Stencil TightBRLHilitePanel

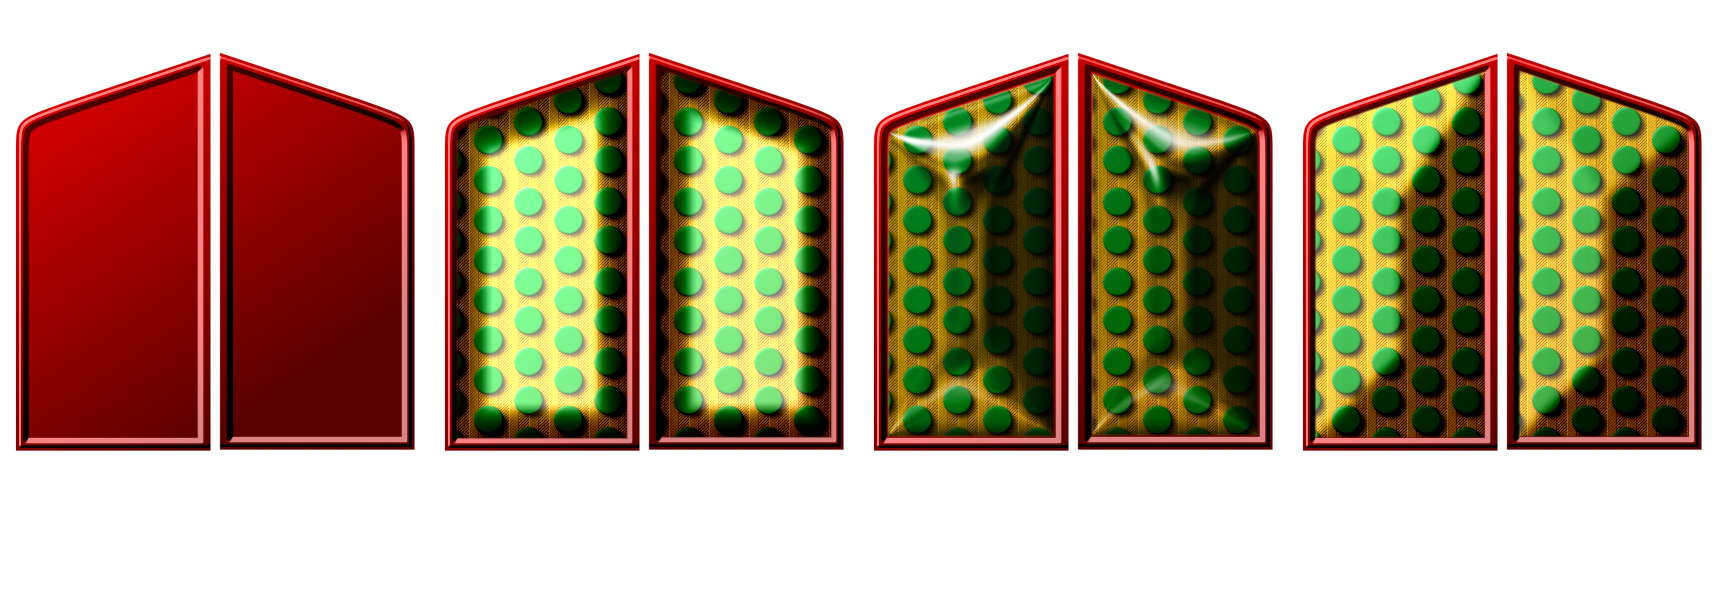
The examples below show how the different panels look when the same decorative layer is applied with Custom Font FaceMaker and then combined with the box file. (From left to right: the box file using a simple red gradient, the high gloss panel, the BRL hilite panel and the peak panel.)
The Chunky Stencil Accented resources folder (found in the Other Resources folder) contains various accented characters used in French, German, Italian, Polish and Spanish in each of the same Chunky Stencil styles. People can then copy the characters that they need and add them to the main custom font file before adding a decorative face.
I have place a copy of the FaceMaker plug-in, together with some decorative images, in the folder called ‘Other-Resources’ for you to play with.
An example project workflow (you will need to have installed Custom Font FaceMaker in your user plug-ins folder):
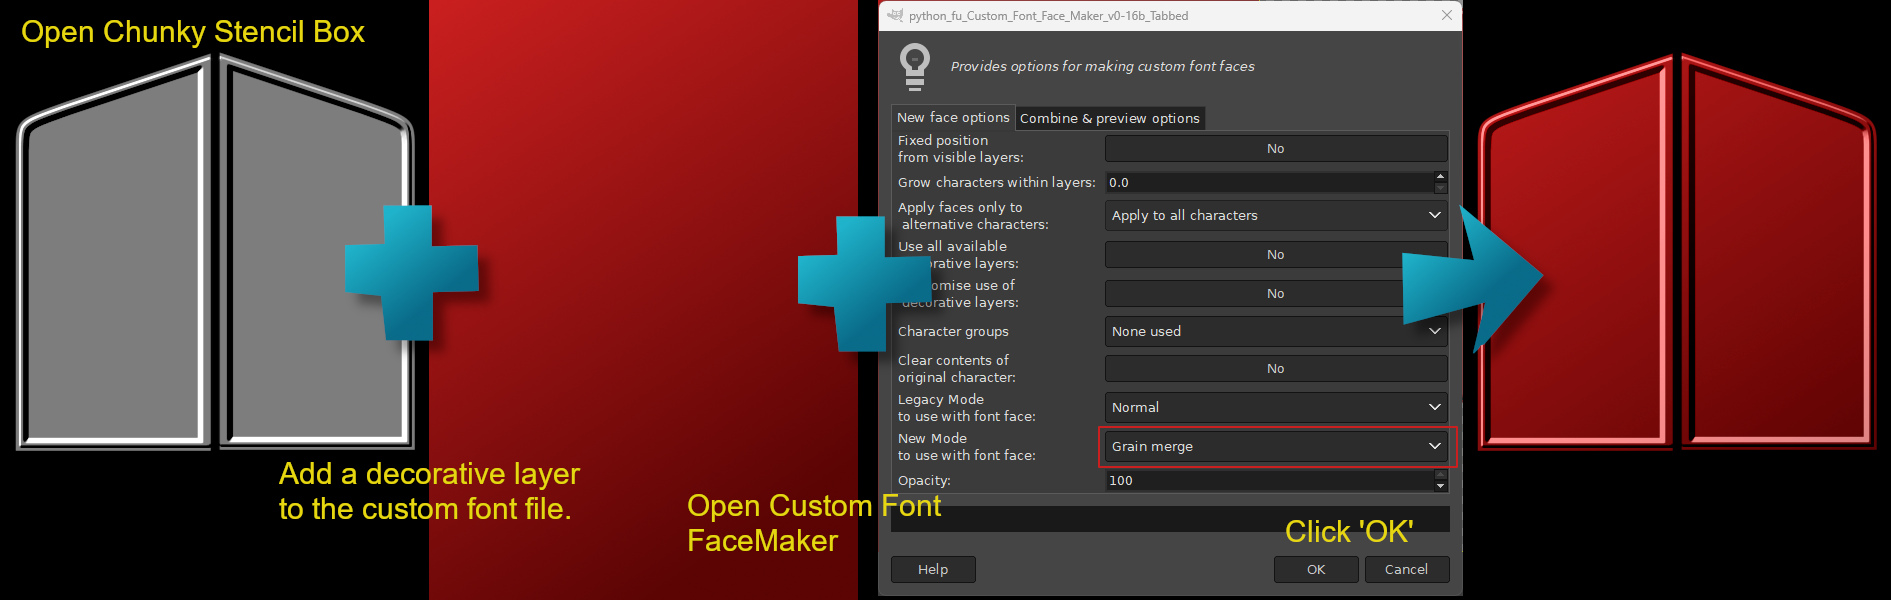
Open Chunky Stencil Box in Gimp.
Add a new layer and fill it with a colour fill or paste an image into the file as a new layer.
Open the FaceMaker dialog:
Filters>>Custom Fonts>>Decorating Tools>>Custom Font FaceMaker v0.16b Tabbed…
Select the mode that you want to use (Grain merge usually works well) and click on ‘OK’ to apply the change to each of the character layers.
When the filter has finished save the file with a new name (you can do this later if you are going to continue with this project now).
Open Chunky Stencil TightPeakPanel in Gimp.
Add a new layer and fill it with a colour fill or paste an image into the file as a new layer (you can also use one of the images included in the Other-Resources folder).
Open the FaceMaker dialog:
Filters>>Custom Fonts>>Decorating Tools>>Custom Font FaceMaker v0.16b Tabbed…
Select the mode that you want to use (Grain merge?) and click on ‘OK’ to apply the change to each of the character layers.
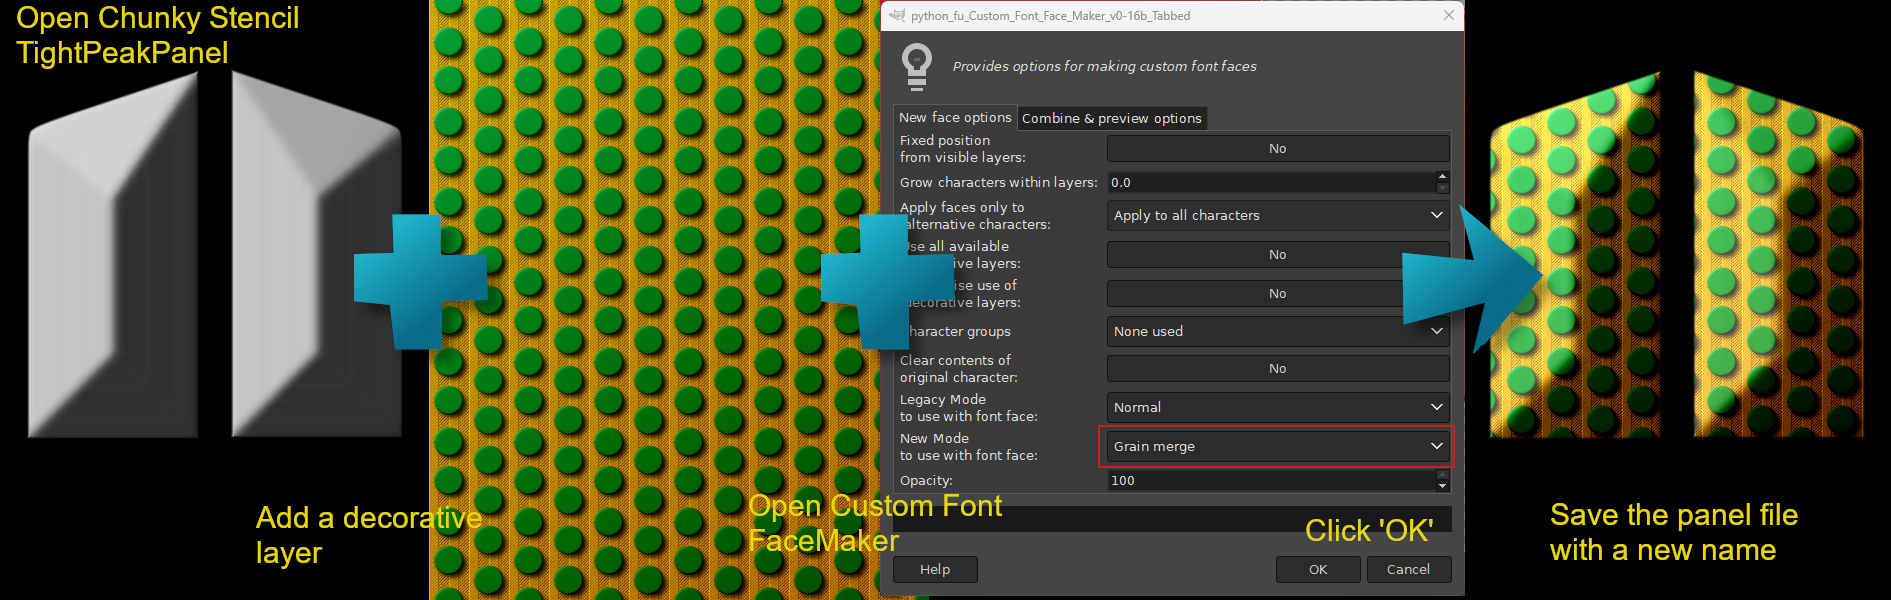
Save the new ‘panel’ file with a new name.
The final step is to combine the panel file with the box file.
Return to the box file that you worked on earlier or open it again if you saved and closed it.
Open the FaceMaker dialog:
Filters>>Custom Fonts>>Decorating Tools>>Custom Font FaceMaker v0.16b Tabbed…
On the first tab of the dialog set the mode to ‘Normal’.
On the second tab set the ‘combine the current character with one from the file below’ option to ‘Yes’ and click on the folder icon in the ‘.xcf custom font file’ option and navigate to the panel file that you saved in the last step.
Click on ‘OK’ to generate the new characters.

Save the new file with an appropriate name.
The custom font is ready to use in your own projects.
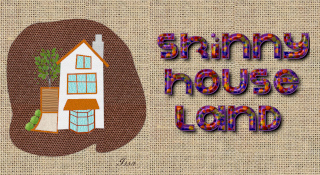
I made the version below using a pattern (with a background generator from bg.siteorigin.com) in the same way but I added a slight 3d effect using Custom Font Faux 3D.

Have fun