This is my take on the Path Wobbler plug-in that made use of Tim’s Wobble 3d plug-in. It does not require Tim’s filter to be installed and was intended to be more suitable for making custom fonts from custom paths.
Download, unzip and install to your user plug-ins folder:
Attachment:
Here is a pdf copy of this guide should you need one:
Attachment:
 Wibbler Help.pdf [2.54 MiB]
Downloaded 141 times
Wibbler Help.pdf [2.54 MiB]
Downloaded 141 times
Some resources to help (a custom font character path and some brushes - install these to your user brushes folder):
Attachment:
 Resources.7z [921.58 KiB]
Downloaded 88 times
Resources.7z [921.58 KiB]
Downloaded 88 times
The Path Wibbler filter dialogs are very similar to the Wobbler dialogs since they provide similar options for adding random changes to the appearance of character shapes by altering the positions of the x/y co-ordinates of the anchors and handles that influence the shape of vectors in Gimp.
As with Wobbler the filter can be used to stroke skeleton character paths with the line or brush tool (using the char suffix)

or to fill closed character paths (using the path suffix).

This guide attempts to focus on some of the areas that Wibbler may be of use to making custom fonts.
1. Stroking character paths in their original form
2. Adding variety to character shapes
3. Adding textured edges with strokes
4. Using brushes
5. Stroking non-custom font character pathsThe Filter Dialog Tabs:
Dialog Tab 1: Wibble and Stroke Options
1. Set the amount of random variation for path anchors/handles
2. Target the adjustments in a much more specific way
3. Excludes certain anchor points from the filter
4. Use line or brush to stroke paths
5. Set the width for the line and brush stroke
6. Set the amount to reduce the stroke width used for each temporary path
7. Set an amount to reduce the fill width used for each temporary path
8. Set the number of temporary paths/layers
Dialog Tab 2: Brush, Colour and gradient Options
1. Set the spacing between brush strokes
2. Use track direction or random brush angle
3. Set a random brush sizing
4. Decide where to take colour from - foreground/background/gradient
5. Gradient colours – random/ordered/restricted choice
6. Set the amount to reduce the stroke width used for each temporary path
7. Apply current gradient along stroke
8. Blur the strokes or fill layers as they are added
Dialog Tab 3: Opacity, Margins and path removing Options
1. Set the style for the end cap when stroking with line
2. Set the style for joins when stroking with line
3. Set the base opacity level for stroking/filling paths
4. Set the options for using opacity
5. Left hand margin size for custom font making
6. Right hand margin size for custom font making
7. Set the width for the space character for custom font making
8. Remove paths used after use
9. Apply the filter to custom font paths or other paths
Section 1. Stroking character paths in their original formYou may have created your own set of character paths or downloaded a set of character paths from the custom path thread on GimpChat and want to make a custom font as a base for decorating with other tools.
Open a file containing character paths in Gimp 2.10 and select the colour you want to use to stroke the custom font: White is normally the colour used.
Open the filter dialog:
Filters>>Custom Fonts>>Constructing Tools>>Custom Font Wibbler v0.1c Tabbed...Use the settings shown to create characters that follow the exact curves of the original vectors.

 Weighting
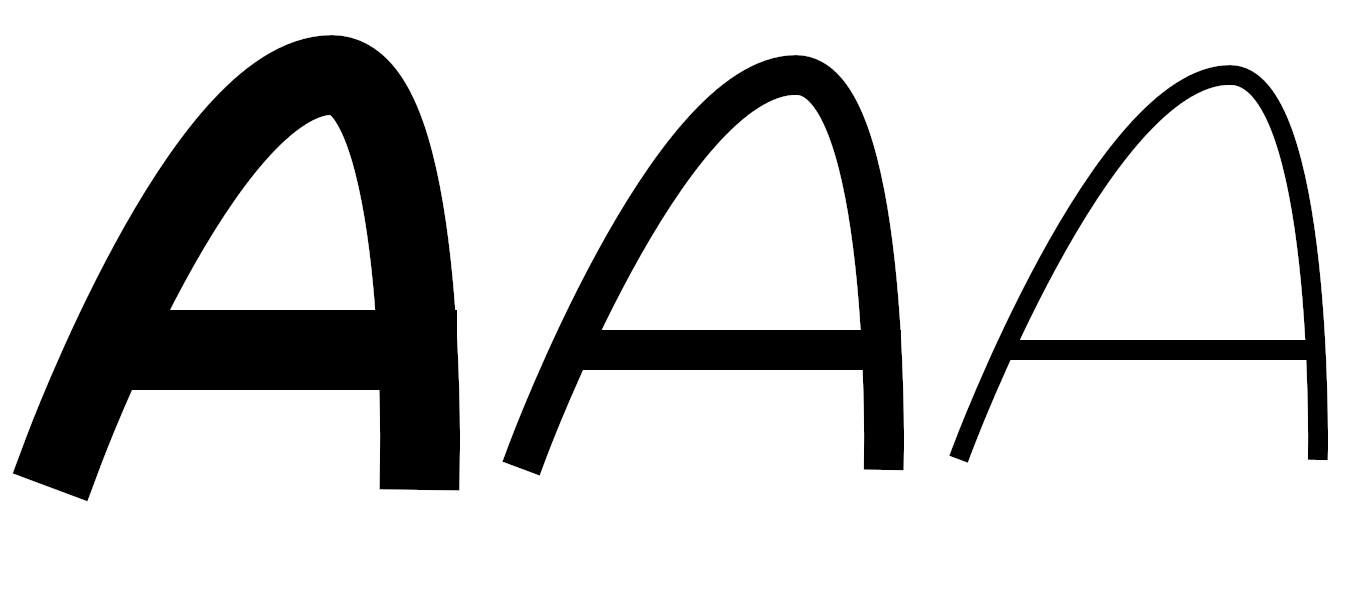
If you need to create a custom font in different thicknesses or weights, simply change the stroke width on Tab 1 of the dialog.
The stroke width values used in the examples below: 80, 40 and 20.
 Shaping
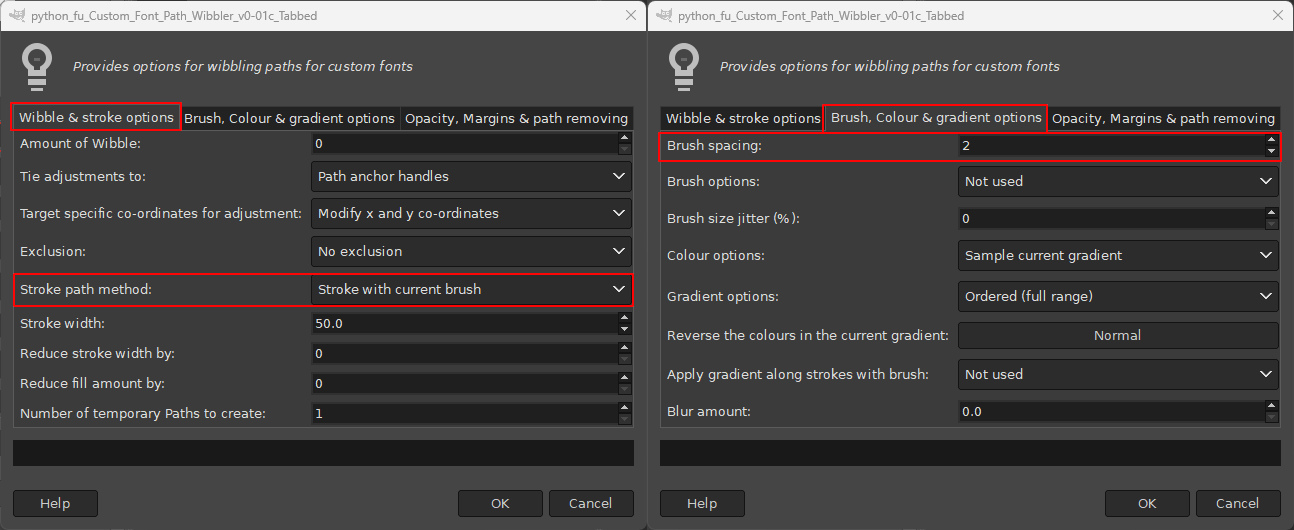
If you want to change the shaping of the strokes use a brush to stroke the paths (click on the ‘Stroke path method’ option on Tab 1 of the filter dialog).
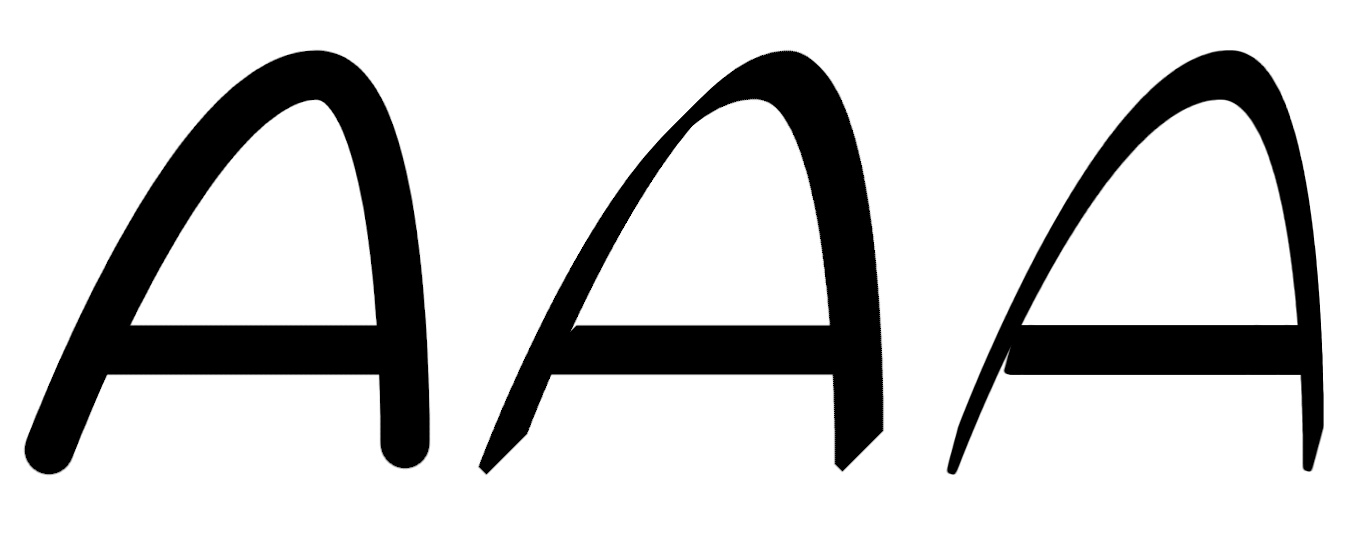
Use a round brush with a hard edge to add rounded end caps to the strokes or use an angled thin rectangle brush to achieve more calligraphic outcomes. Set the brush spacing amount on Tab 2 to a value of 1 or 2. (The filter will take longer to complete its work at very small brush spacing values.)
Outcomes below were with a round brush and two differently angled rectangle brushes.
 Section 2: Adding variety to character shapes
To do this you need to increase the amount of wibble used on Tab 1.
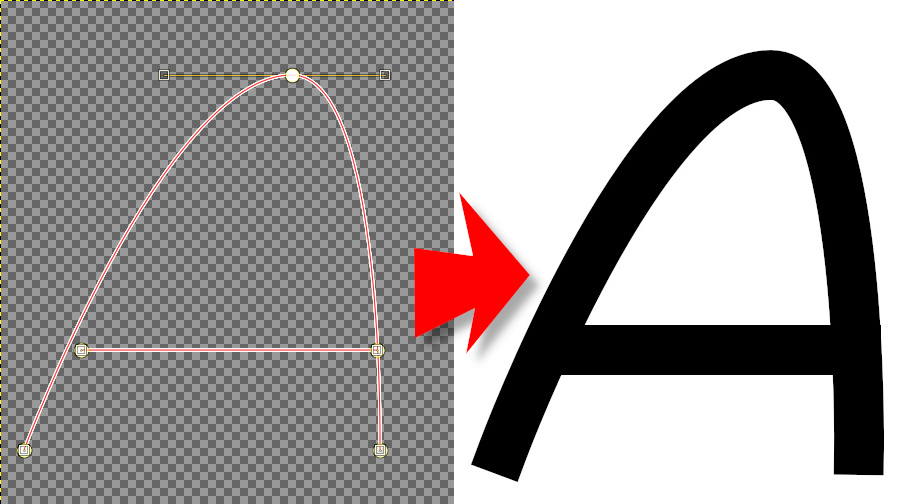
The default settings will randomly adjust all the position of the anchor handles that shape the path. The upper-case A shown below consists of five anchor points together with 10 control handles (the control handles for most of the anchors are difficult to see because they lie directly on top of the them).
To do this you need to increase the amount of wibble used on Tab 1.
The default settings will randomly adjust all the position of the anchor handles that shape the path. The upper-case A shown below consists of five anchor points together with 10 control handles (the control handles for most of the anchors are difficult to see because they lie directly on top of the them).

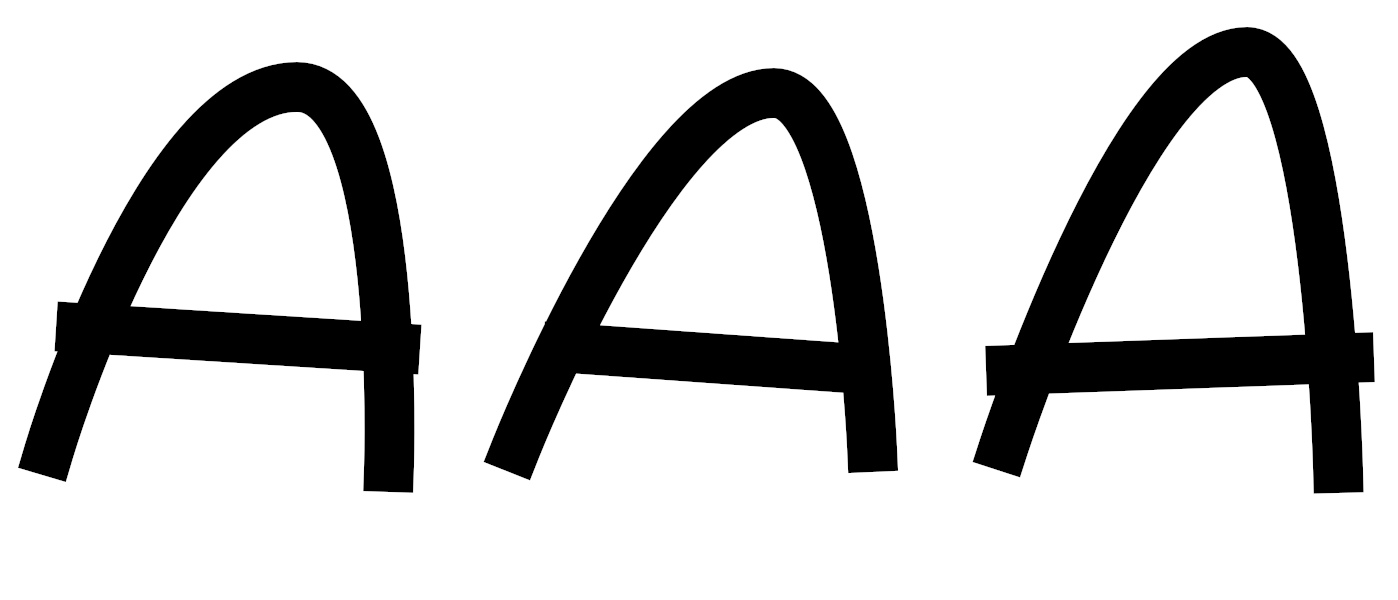
The image below shows three versions of the character created by setting the ‘Amount of Wibble’ to its maximum value of 24 while leaving the number of paths set to 1.
By default the filter adjusts the x and y co-ordinates of the anchor handles. The image below shows three variations of the character generated by adjusting the position of the anchors themselves
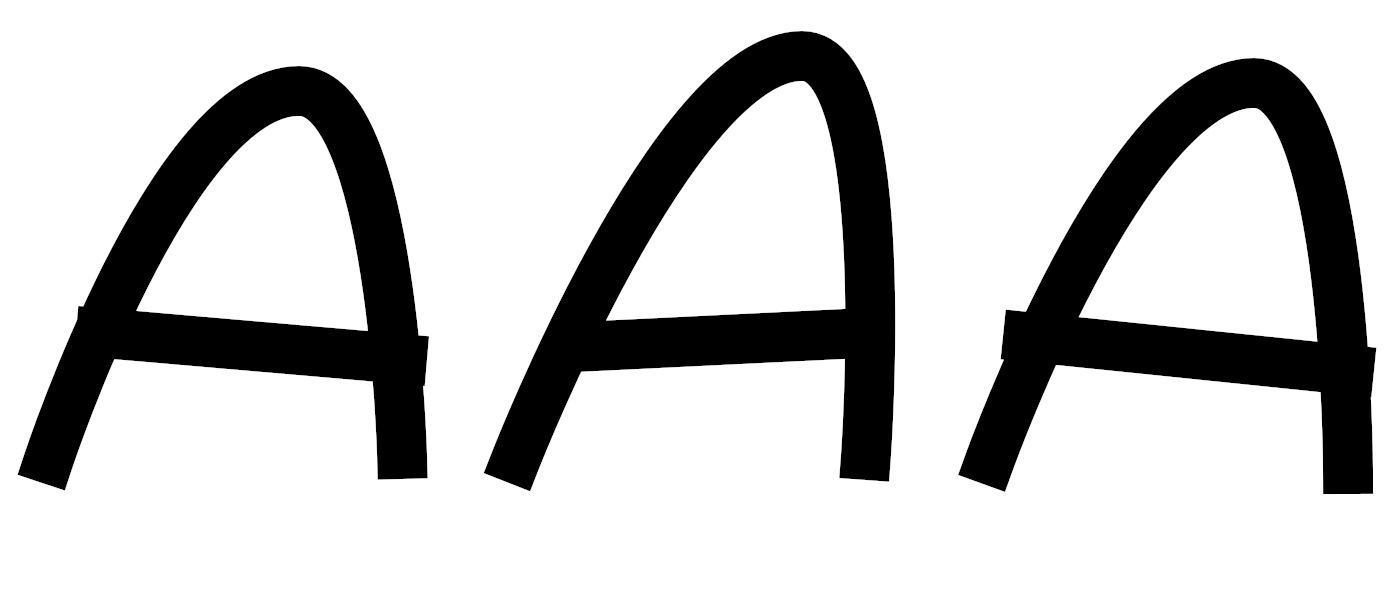
And this next image show three versions of the character generated with adjustments made to both the handles and the anchors.

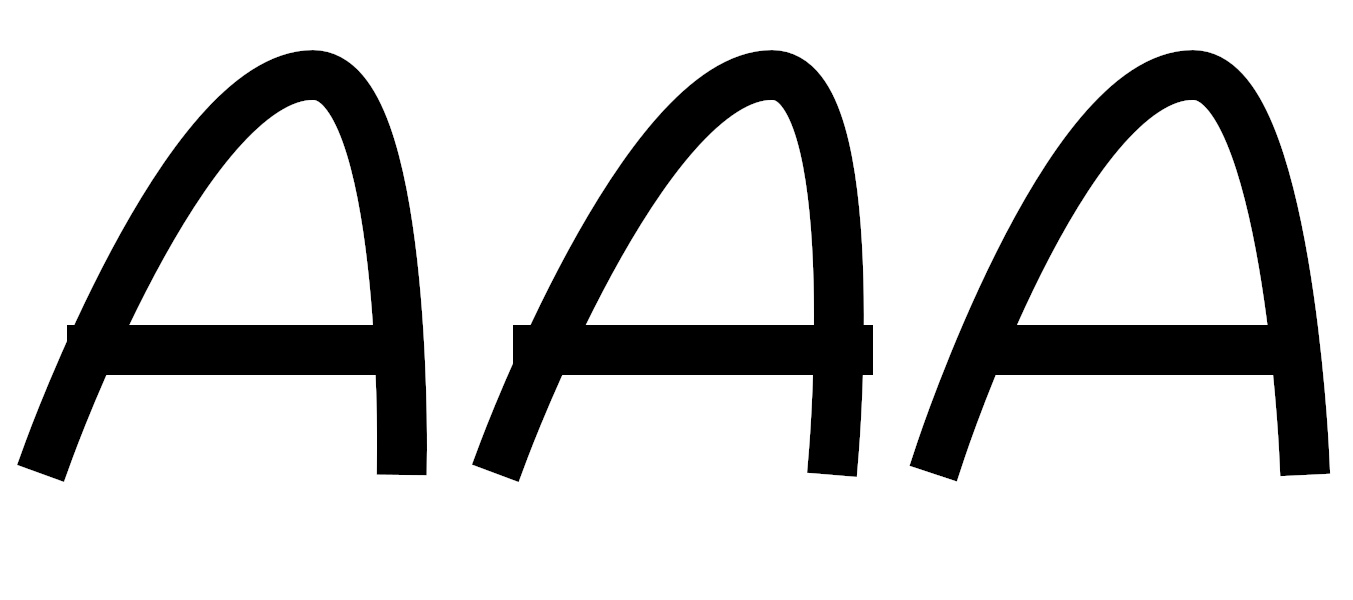
Use the ‘Tie adjustments to’ option on Tab 1 of the filter to change the focus of the variations. If you want to be even more pedantic you can target the specific co-ordinates to add variety to by using the option with that name. The examples below target only the x co-ordinates.
 3. Adding textured edges with strokes
Some interesting effects can be achieved by overlaying different coloured strokes (taken from the currently selected gradient). This textured base can then be worked on by other decorative custom font filters.
Use the quicker ‘Stroke method’ set to line on Tab 1 to experiment with this approach and increase the number of temporary paths used to 5.

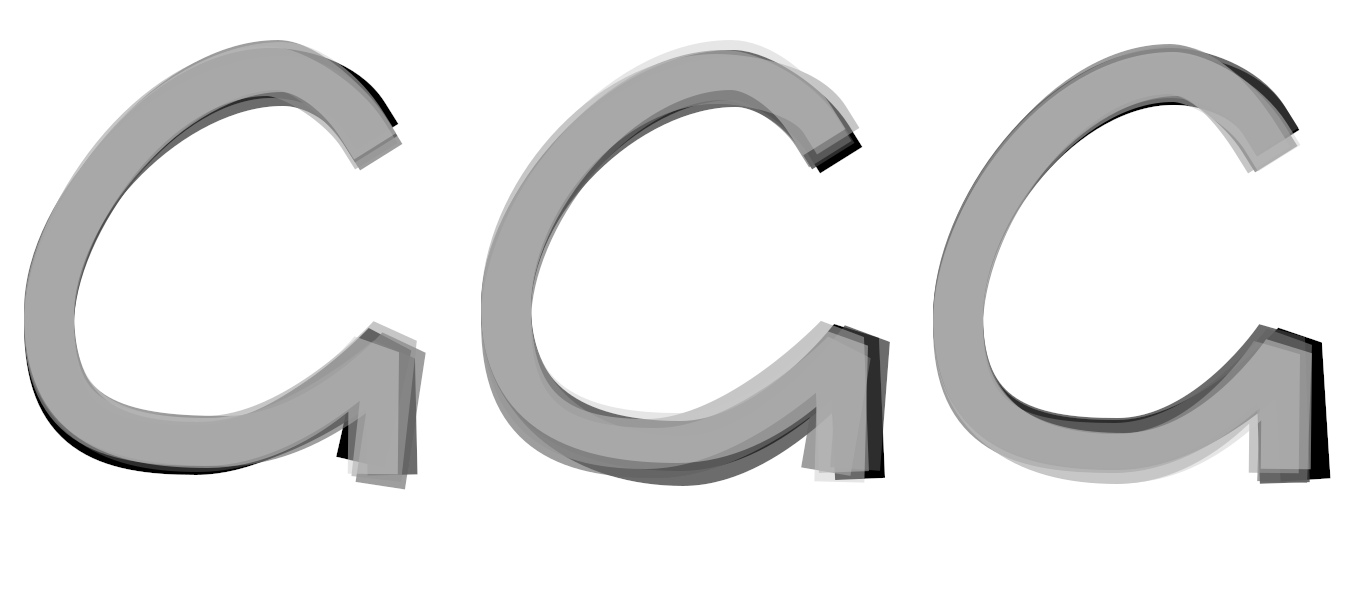
And the same effect but with a wibble value of 24:
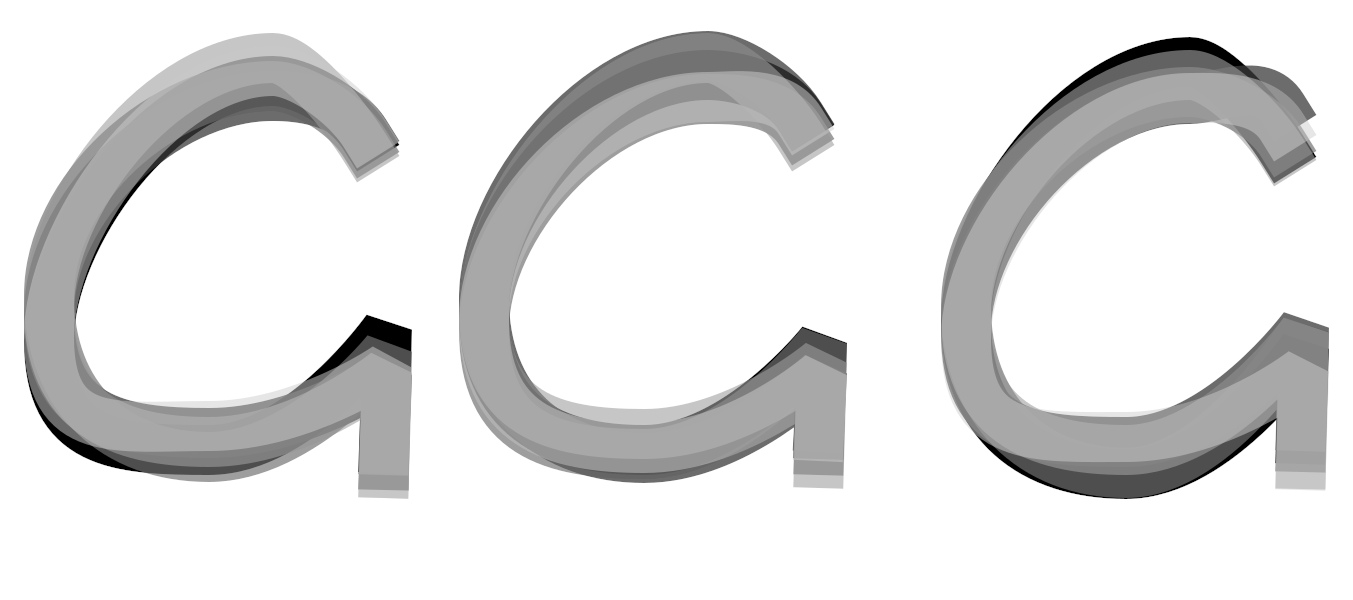 Reducing stroke width
The option to reduce the width of the stroke (for each temporary path) can also be employed to increase the effect of the textured edges as in the examples below where the value used is first 2, then 4 and finally 8.

If you are a little underwhelmed by the wibble effect when using characters that use straight lines – such as with an uppercase ‘M’...
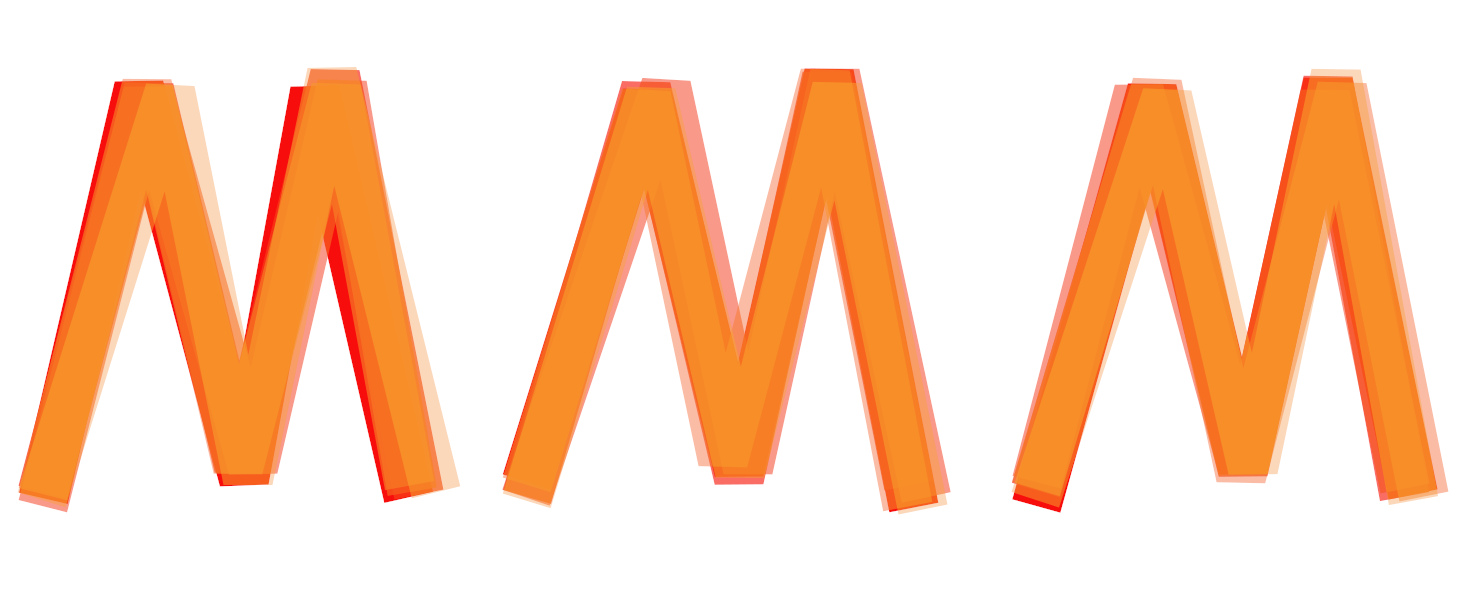
...it may be caused by using too few anchor points in the character path.
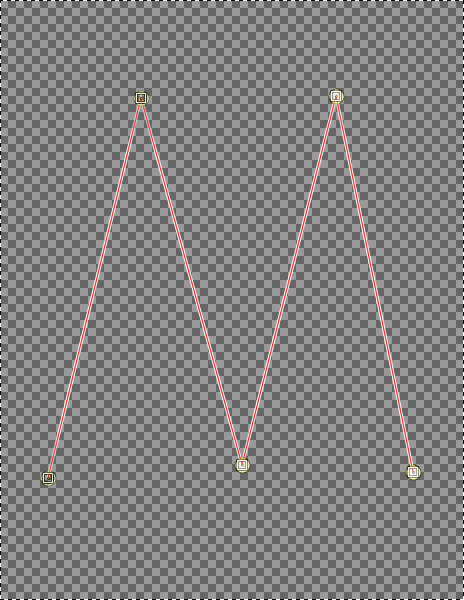
I have a habit of using the bare minimum of anchors when creating custom paths – but this works less well when wibbling is required.
If you were to add additional anchors with the path tool by say clicking in the middle of each of the four straight path lines whilst holding down Ctrl before running the filter...

…it would produce a more pleasing outcome (IMHO).
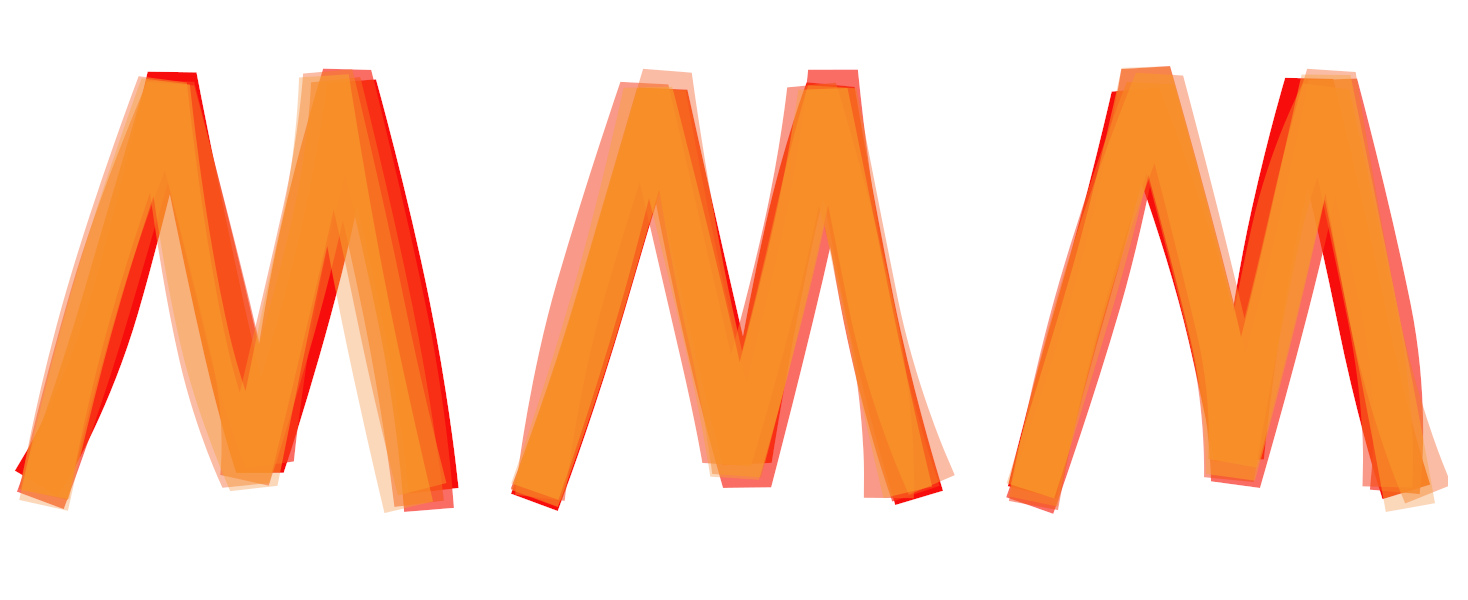 Tab 2 Gradient options
By default the filter uses colours from the full range of the colours in the gradient in an ordered way; if the gradient begins with a dark colour then the filter will use a darker colour for its first layer and move on for each new temporary path using a lighter colour.
There are options on Tab 2 to use the gradient colours in a random way…
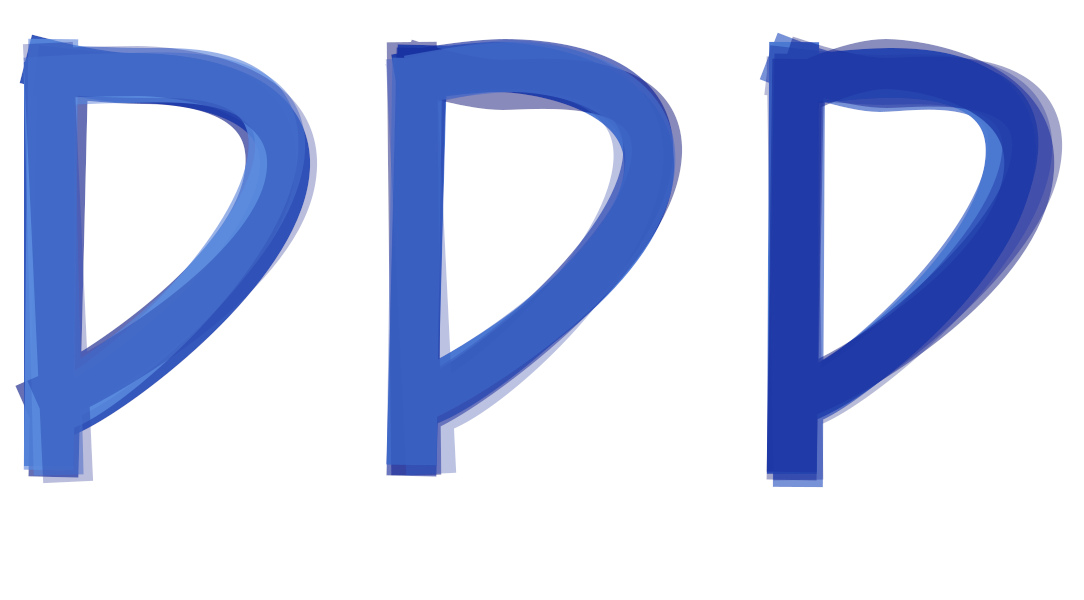
and to weight the choice of colour to either the first or second half of the gradient.
In the case of the gradient used above it would use darker colours for the first half…
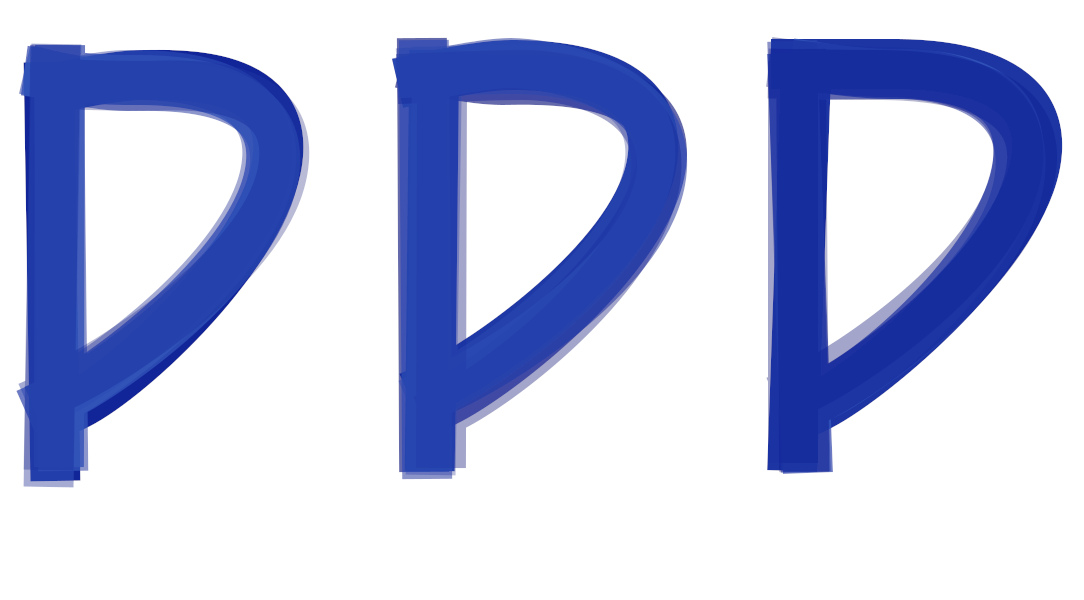
...and lighter colours for the second.
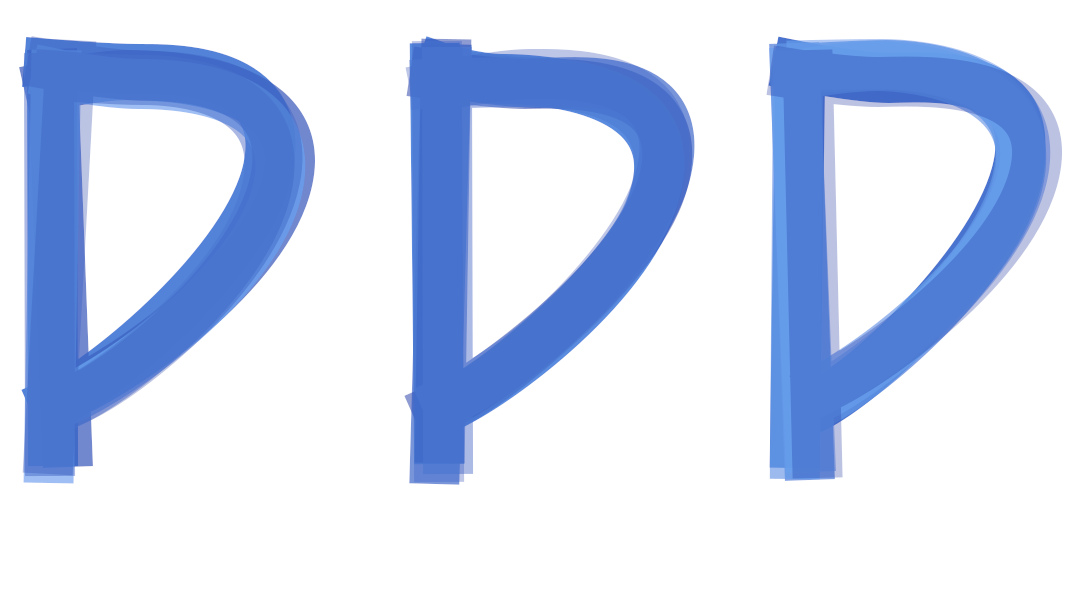
There is also a ‘Reverse gradient’ option to experiment with.
4. Using brushesThis section deals with the two options intended for stroking character paths with brushes that paint objects or patterns along a path rather than those that paint with colour. The brushes may contain single objects or several objects (i.e. animated or pipe brushes).
Select a brush from the Gimp brushes dock. Test it on a single character path – since I have found that one or two brushes do not work with the filter and produce empty layers – to find the best brush spacing value. The path width, which determines the brush size used in Wibbler, influences the effect of the currently used brush spacing value.
There are two options that can be employed from the ‘Brush options’ drop-down menu on the second tab of the filter dialog.
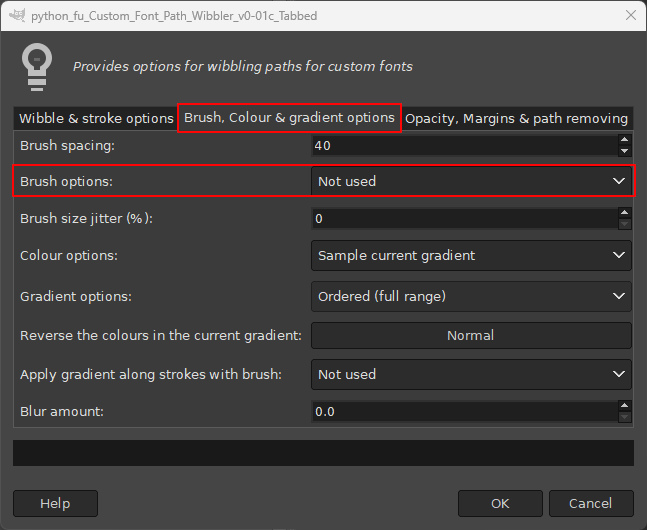 Track direction
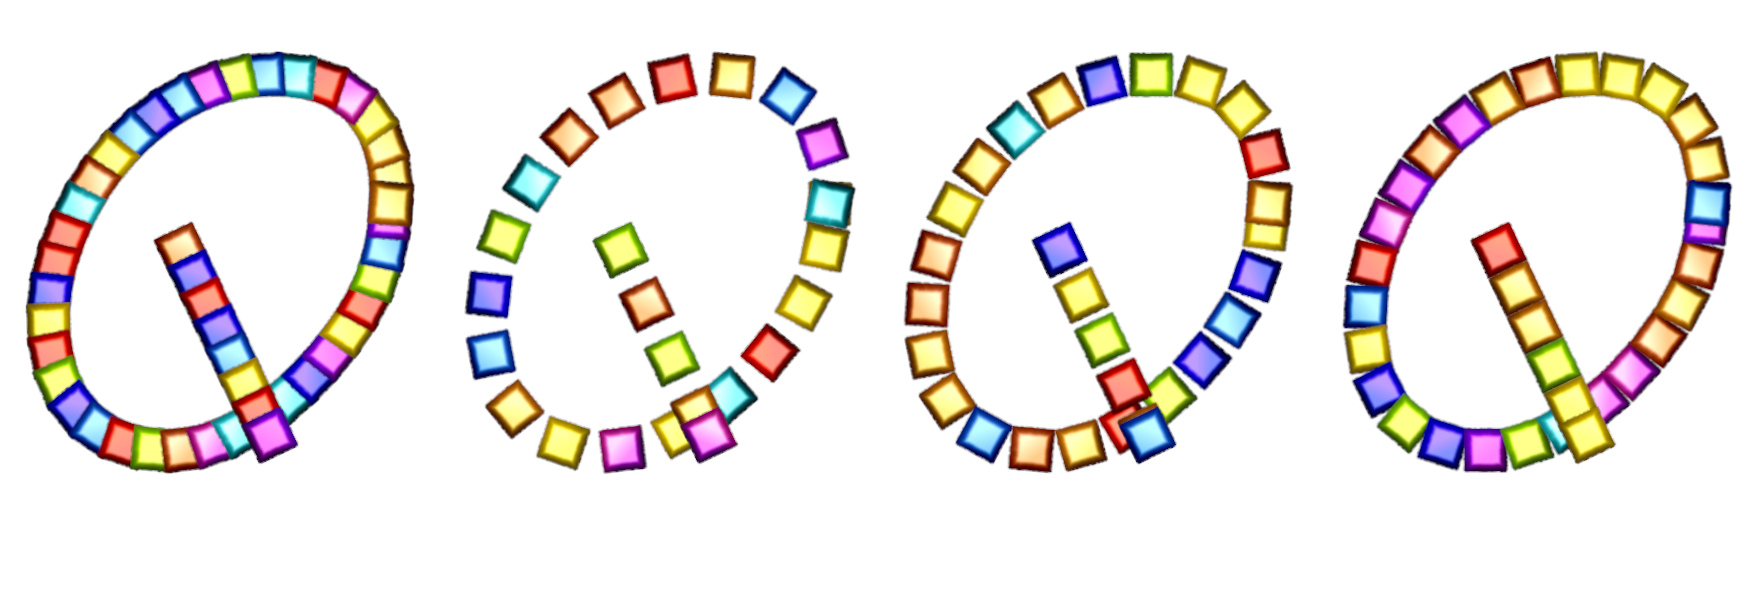
This option forces the brush to follow the direction of the path stroke. In my example I wanted the tiles in a mosaic tile brush to appear to just touch each other. Initially the brush spacing value was too small – the image below shows my attempts at reaching a successful outcome.
Some examples of different brushes used with track direction.

Random Brush AngleThis brush option was initially intended for use with naturalistic styled brushes to combine the results with other custom font bases but there are also many abstract brushes that produce excellent results.
The following examples show brushed characters combined with a line stroked character.
An example without using the rotation option:
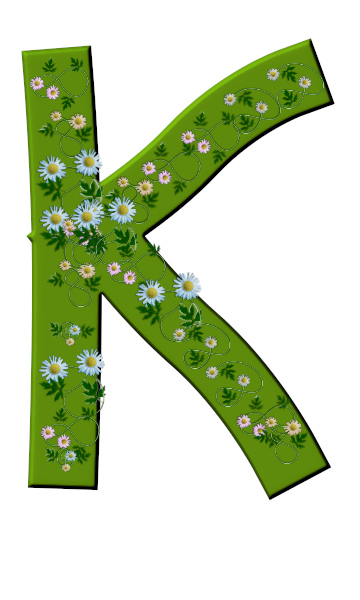
And with rotation:

And with the additional use of the brush size jitter option.
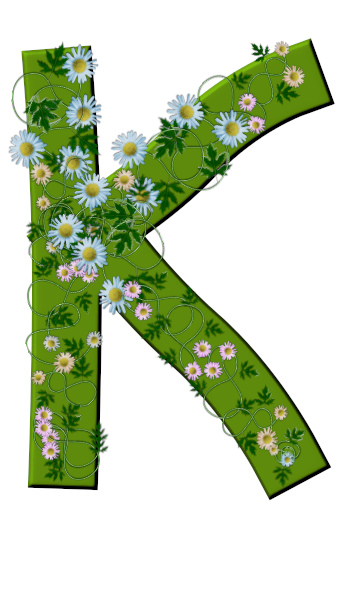
An example of a final form: A 3d version of the stroked characters combined with a brushed floral layer and drop shadow:
 5. Other optionsStroke along path
There is an option to stroke a character with the brush and spread the gradient colour along each stroke of the character path or along the whole character path.

 Stroking non-character paths
The older Wobbler filter required the renaming of paths (i.e paths that did not end with ‘ char’ or ‘ path’) but Wibbler provides an option on Tab 3 of the dialog to use these paths.

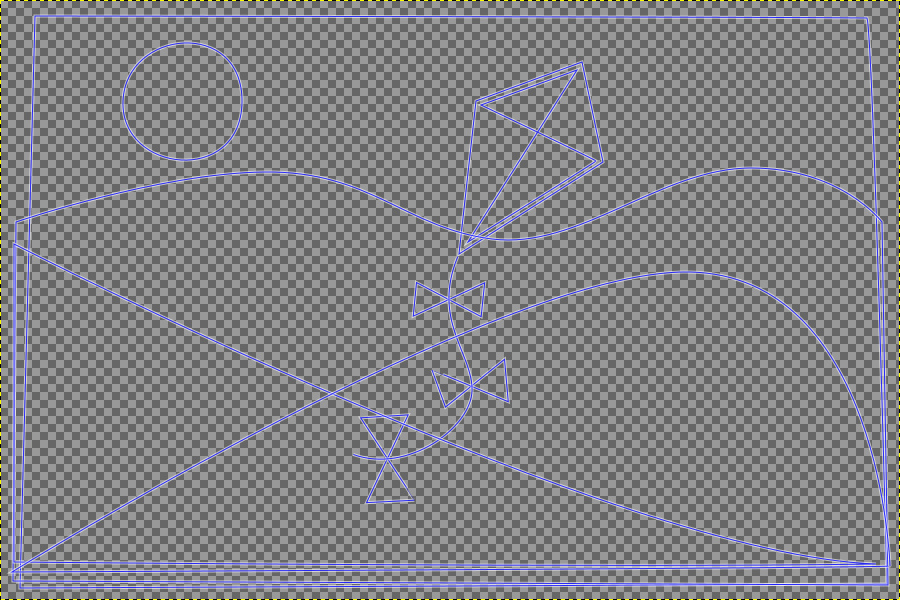
You can select an option to fill or to not fill all the available paths (although paths that are not closed will never be filled). Take the four paths shown below:

The default option will apply the filter to custom paths only (adding a space character) and ignore the other paths.

The second option, ‘All paths and fill’, will fill non-custom paths where appropriate.

The third option, ‘All paths and no fill’, will stroke non-custom paths.

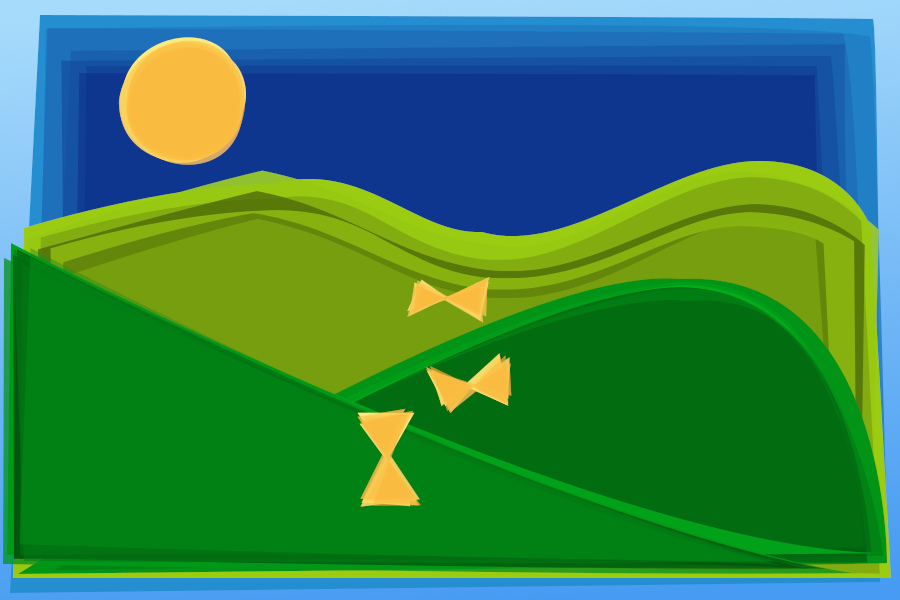
Quite interesting images can be built up by stroking/filling ordinary paths with the filter:
See the separate guide for more information about using Wibbler to create images.
 Login
Login Register
 Tweets
 FAQ
FAQ Advanced Search